1. Introduction
This manual provides essential information for the safe and effective use of your BEGWVDJTP 2A3C Vacuum Tube. The 2A3C is a direct-heated triode vacuum tube designed for high-fidelity audio amplification, commonly used in DIY HiFi amplifier projects. Please read this manual thoroughly before installation and operation to ensure optimal performance and longevity of the product.
2. Product Overview
The BEGWVDJTP 2A3C vacuum tube is engineered to replace 2A3B, 2A3-T, and E2A3 tubes in compatible audio amplifier circuits. It is characterized by its clear glass envelope and robust internal structure, designed for stable and high-quality audio signal amplification.
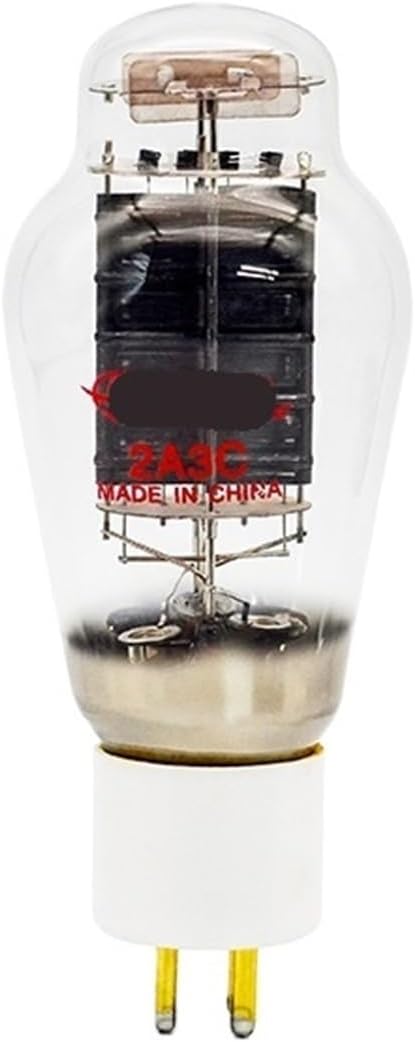
Figure 2.1: Front view of the 2A3C vacuum tube, highlighting its construction.
Key Features:
- Direct-heated triode design for classic audio reproduction.
- Compatible replacement for 2A3B, 2A3-T, and E2A3 tubes.
- Suitable for HiFi and DIY audio amplifier applications.
- Robust construction for durability and stable performance.
3. Safety Information
Vacuum tubes operate at high voltages and can generate significant heat. Improper handling or installation can result in electric shock, burns, or damage to the tube and amplifier. Always observe the following safety precautions:
- Disconnect Power: Always ensure the amplifier is turned off and unplugged from the mains power supply before installing, removing, or handling vacuum tubes.
- Allow Cooling: Vacuum tubes become very hot during operation. Allow sufficient time for tubes to cool down completely before touching them.
- Handle with Care: Hold tubes by their base, not the glass envelope, to avoid damage and contamination from skin oils.
- Proper Insertion: Ensure tubes are correctly oriented and fully seated in their sockets. Forcing a tube can damage the pins or socket.
- Ventilation: Ensure adequate ventilation around the amplifier to prevent overheating.
- Professional Installation: If you are unsure about any aspect of installation or operation, consult a qualified audio technician.
4. Setup and Installation
Follow these steps to safely install the 2A3C vacuum tube into your compatible audio amplifier.
- Power Off and Unplug: Ensure your audio amplifier is completely powered off and disconnected from the electrical outlet.
- Allow Cooling: If the amplifier has been in use, wait at least 15-30 minutes for any existing tubes to cool down.
- Identify Socket: Locate the appropriate socket for the 2A3C tube. Refer to your amplifier's manual for specific tube placement.
- Remove Old Tube (if applicable): Gently grasp the old tube by its base and pull it straight up with a slight rocking motion to remove it from the socket. Do not twist excessively.
- Inspect New Tube: Carefully inspect the pins of the new 2A3C tube for any bends or damage. Straighten any bent pins gently with small pliers if necessary.
- Align Pins: Align the pins of the 2A3C tube with the corresponding holes in the socket. The pins are typically keyed to prevent incorrect insertion.
- Insert Tube: Gently push the tube straight down into the socket until it is fully seated. Do not force it. If resistance is met, re-check pin alignment.
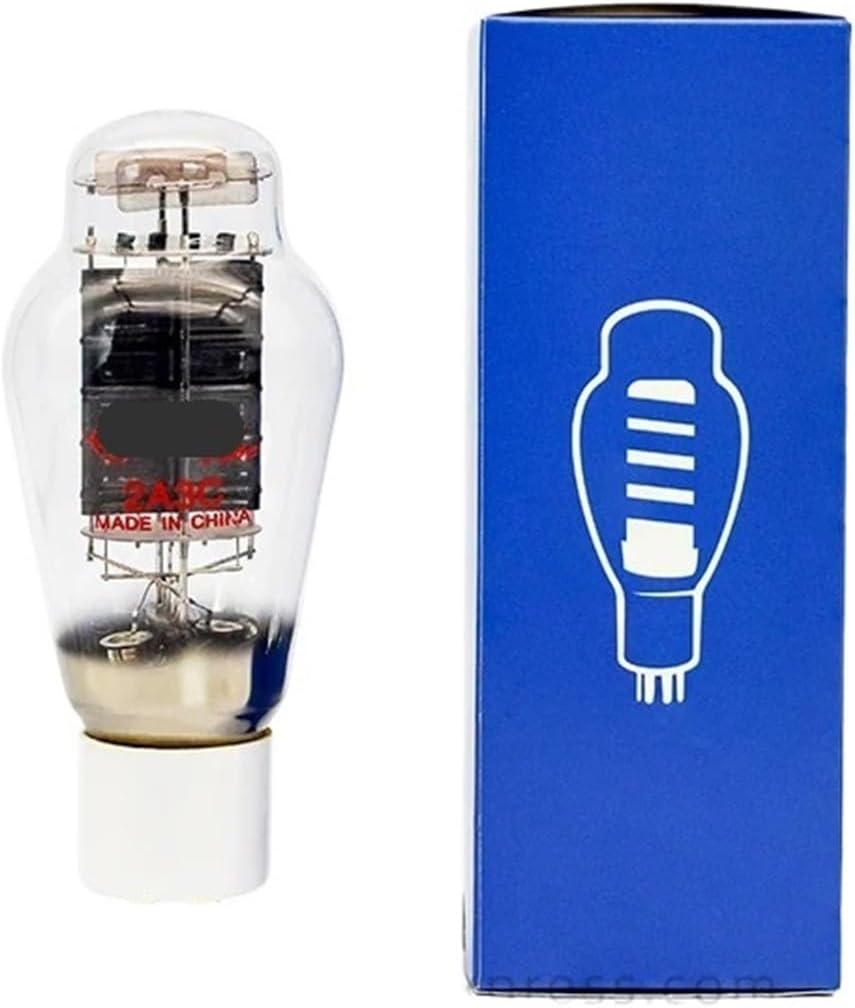
Figure 4.1: The 2A3C vacuum tube and its packaging, ready for installation.
5. Operating Instructions
Once the 2A3C vacuum tube is correctly installed, you can power on your amplifier. Observe the following during operation:
- Warm-up Period: Vacuum tubes require a brief warm-up period after power-on before reaching optimal operating conditions. You may notice a slight delay before sound is produced or before the sound quality stabilizes.
- Tube Glow: It is normal for the tube's filament to emit a visible orange or red glow during operation. The intensity of the glow can vary between tubes and is not necessarily an indicator of performance issues.
- Sound Characteristics: The 2A3C tube is known for its warm, rich, and detailed sound signature. Allow some listening time for the tubes to 'break-in' and for your ears to adjust to the new sound.
- Avoid Vibrations: While operating, avoid excessive vibrations or impacts to the amplifier, as this can affect tube performance and potentially cause microphonics (unwanted noise).
6. Maintenance
Proper maintenance ensures the longevity and consistent performance of your 2A3C vacuum tubes.
- Cleaning: Periodically, when the amplifier is off and the tubes are cool, gently wipe the glass envelope of the tubes with a soft, dry, lint-free cloth to remove dust and fingerprints. Avoid using liquid cleaners directly on the tubes.
- Socket Cleaning: If tubes are frequently swapped, consider using a specialized contact cleaner on the tube sockets occasionally to ensure good electrical contact. Always do this with the amplifier unplugged and powered off.
- Storage: If storing tubes, keep them in their original packaging or in a protective, anti-static container in a cool, dry place away from direct sunlight and extreme temperatures.
- Regular Inspection: Periodically inspect tubes for any visible damage, such as cracks in the glass or loose internal components.
7. Troubleshooting
This section addresses common issues you might encounter with vacuum tubes.
| Problem | Possible Cause | Solution |
|---|---|---|
| No sound or very low sound | Tube not fully seated; faulty tube; amplifier issue. | Ensure tube is fully inserted. Try swapping with a known good tube. Check amplifier connections and power. |
| Humming or buzzing noise | Ground loop; faulty tube; external interference. | Check amplifier grounding. Try swapping tubes. Move amplifier away from other electronics. |
| Microphonics (tapping tube causes noise) | Tube is microphonic; excessive vibration. | Replace the tube. Ensure amplifier is on a stable surface. |
| Tube does not glow | Faulty filament; tube not seated; amplifier issue. | Ensure tube is fully seated. Try swapping with a known good tube. Consult amplifier manual. |
| Distorted sound | Faulty tube; incorrect bias (if adjustable); amplifier issue. | Try swapping tubes. If amplifier has adjustable bias, ensure it is set correctly (consult amplifier manual). |
8. Specifications
The following are general specifications for the BEGWVDJTP 2A3C Vacuum Tube. Specific performance characteristics may vary slightly depending on the amplifier circuit and operating conditions.
| Characteristic | Value |
|---|---|
| Tube Type | Direct-Heated Power Triode |
| Equivalent Types | 2A3B, 2A3-T, E2A3 |
| Application | Audio Amplifier Output Stage |
| Filament Voltage | 2.5V (AC or DC) |
| Filament Current | 2.5A |
| Plate Voltage (Max) | 300V |
| Plate Dissipation (Max) | 15W |
| Amplification Factor (μ) | 4.2 |
| Transconductance (gm) | 5250 μmhos |
| Dimensions (Approx.) | 1.18 x 0.79 x 0.39 inches (Package) |
| Weight (Approx.) | 1.76 ounces |
9. Warranty and Support
For warranty information and technical support regarding your BEGWVDJTP 2A3C Vacuum Tube, please refer to the documentation provided with your purchase or contact your retailer. Ensure you retain your proof of purchase for any warranty claims.
For further assistance or inquiries, please reach out to the manufacturer or authorized distributor.