
SANSUI ES-G27C1L
SANSUI 27 Inch Curved 160Hz Gaming Monitor
User Manual - Model: ES-G27C1L
Brand: SANSUI
Introduction
This manual provides detailed instructions for the setup, operation, and maintenance of your SANSUI 27 Inch Curved 160Hz Gaming Monitor. Designed for an immersive gaming experience, this monitor features a 1500R curvature, a high 160Hz refresh rate, and a rapid 1ms MPRT response time. Please read this manual thoroughly before using the monitor to ensure optimal performance and longevity.
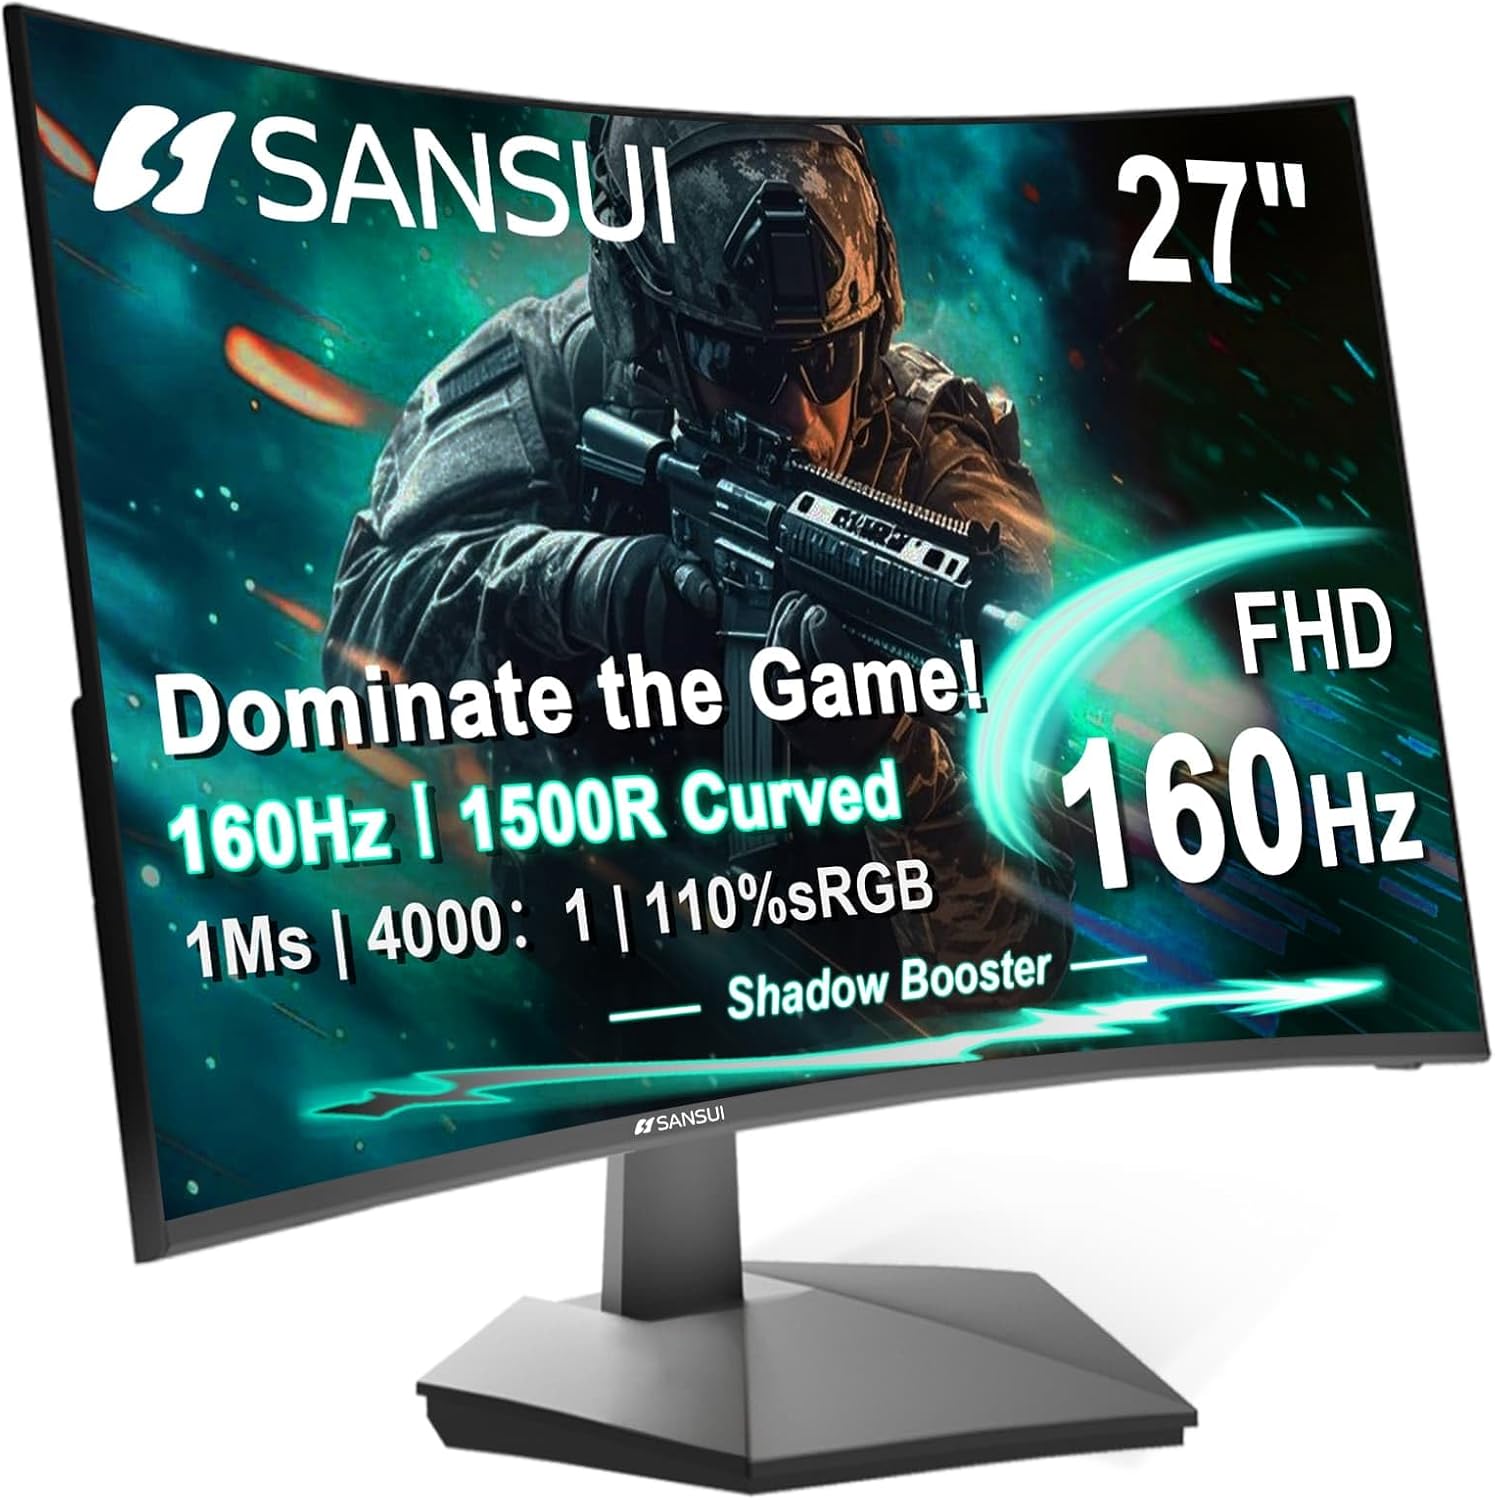
Front view of the SANSUI 27 Inch Curved 160Hz Gaming Monitor, showcasing its immersive curved display.
Package Contents
Before proceeding with the setup, please verify that all items listed below are present in your package:
- Monitor
- Monitor Stand
- Power Adapter
- HDMI Cable
- User Manual
Setup Instructions
1. Assembling the Stand
- Carefully remove the monitor and stand components from the packaging.
- Attach the stand base to the stand neck using the provided screws.
- Align the assembled stand with the mounting slot on the back of the monitor.
- Secure the stand to the monitor by pushing it firmly until it clicks into place, or by tightening the designated screws.

Illustration of the monitor with its stand, ready for assembly.
2. Connecting to a Device
The monitor supports multiple input options. Choose the appropriate cable for your device:
- HDMI: Connect one end of the HDMI cable to the HDMI port on your computer or gaming console, and the other end to the HDMI port on the monitor. Supports up to 160Hz refresh rate.
- DisplayPort (DP): Connect one end of the DP cable to the DisplayPort on your computer, and the other end to the DP 1.4 port on the monitor. Supports up to 160Hz refresh rate.
- Audio Jack: For audio output, connect headphones or external speakers to the 3.5mm audio jack on the monitor. Note: The monitor does not have built-in speakers.
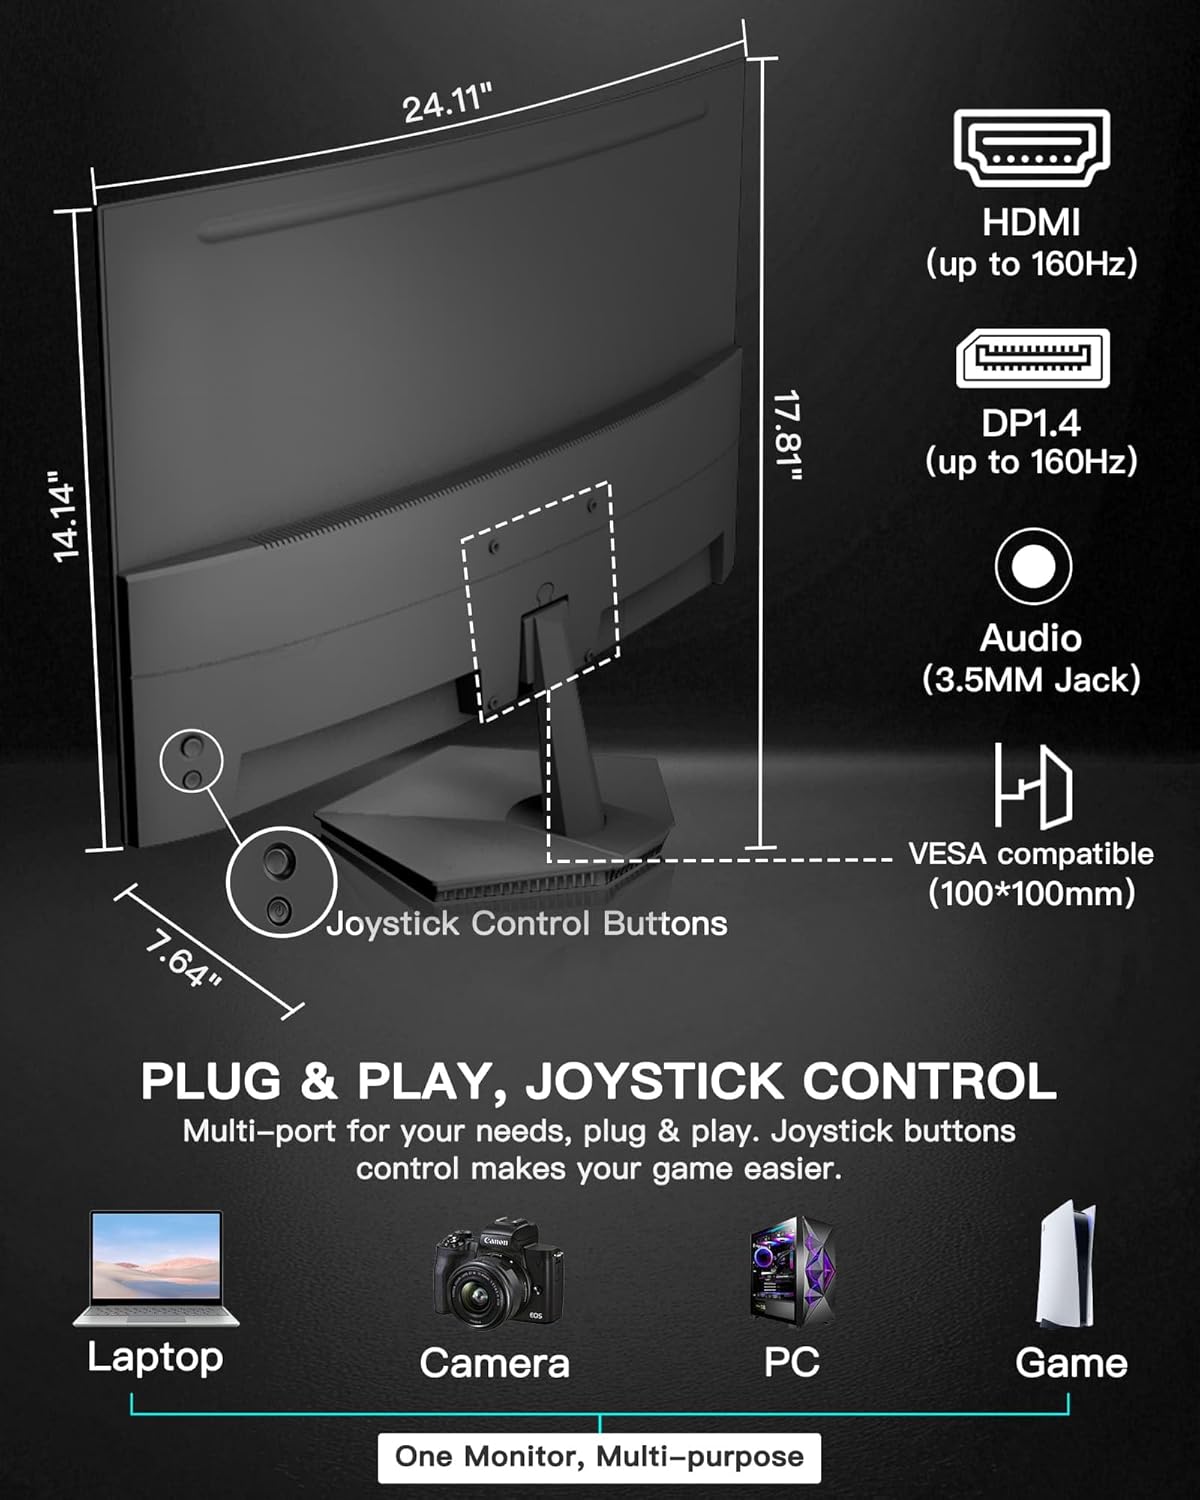
Rear view of the monitor highlighting the HDMI, DisplayPort, and Audio Jack connections, along with the joystick control.
3. Powering On
- Connect the power adapter to the monitor's power input.
- Plug the power adapter into a wall outlet.
- Press the power button (integrated into the joystick control) on the back of the monitor to turn it on.
Operating the Monitor
Joystick Control
The monitor's settings are controlled via a single 5-way joystick located on the back. This joystick allows for intuitive navigation through the On-Screen Display (OSD) menu.
- Press the Button: Confirms selection or enters menu. Also functions as Power On/Off.
- Up: Navigates up in menus, increases Brightness.
- Down: Navigates down in menus, decreases Volume.
- Left: Navigates left in menus, decreases Contrast, returns/exits.
- Right: Navigates right in menus, increases Contrast, selects input source.
On-Screen Display (OSD) Menu
To access the OSD menu, press the joystick button. Use the joystick to navigate and adjust settings.
- Picture Settings: Adjust brightness, contrast, sharpness, and color temperature.
- Color Control: Fine-tune color saturation and hue. Features 110% sRGB color coverage and 4000:1 contrast ratio for accurate color expression.
- Display Settings: Adjust aspect ratio and input source.
- OSD Settings: Configure OSD language, transparency, and timeout.
- Audio Settings: Adjust volume for connected audio devices.
- Other Settings: Access advanced features and reset to factory defaults.
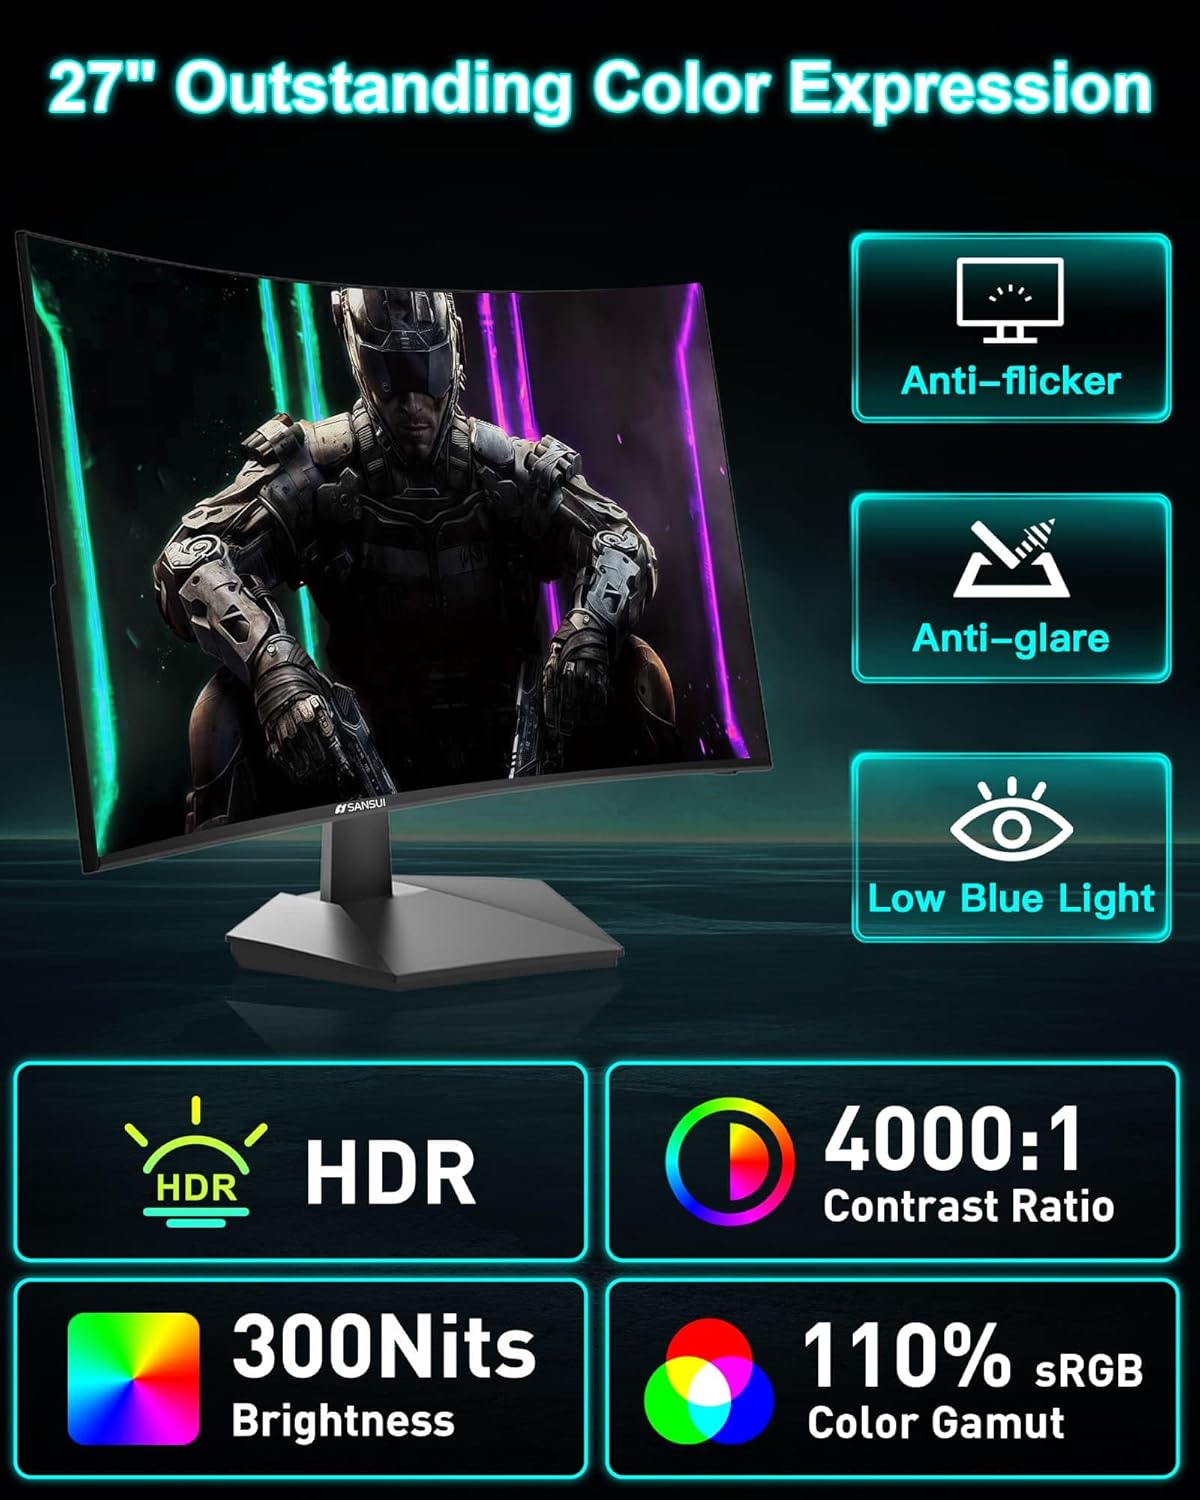
The monitor's display showcasing its color expression capabilities and eye-care features.
Gaming Features
- 160Hz Refresh Rate & 1ms MPRT: Experience ultra-smooth visuals and minimal motion blur, crucial for fast-paced gaming.
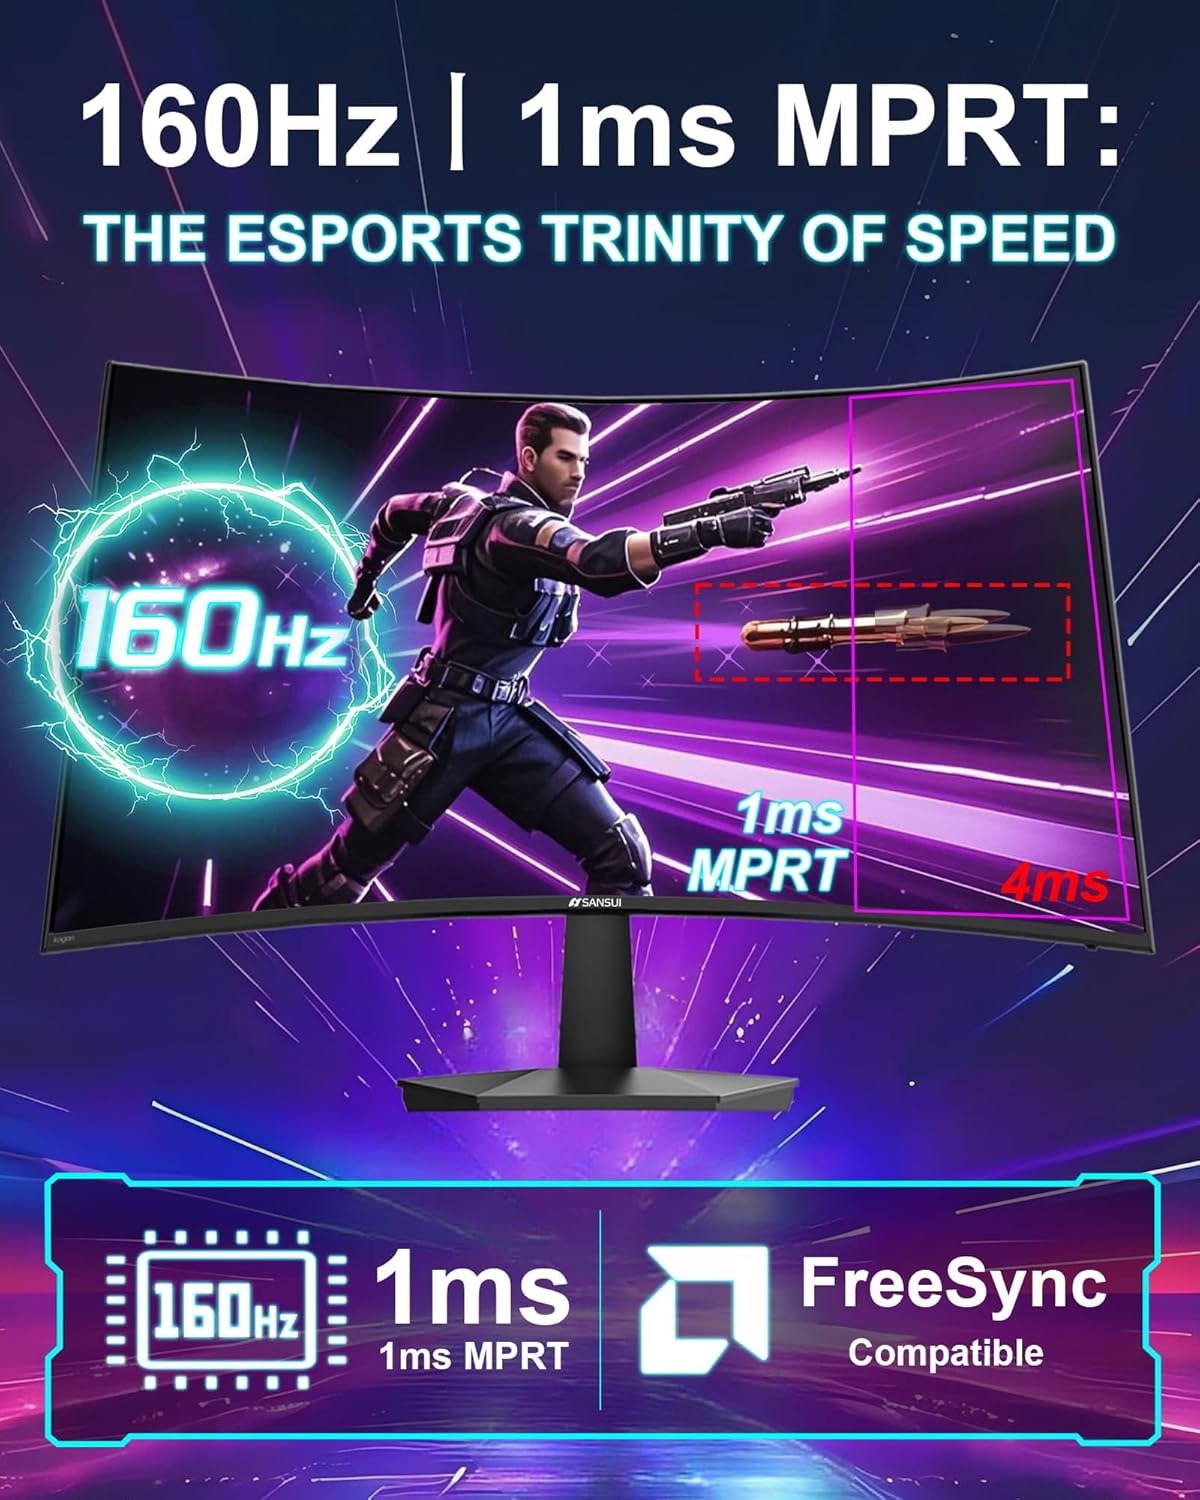
Visual representation of the monitor's high refresh rate and fast response time, essential for competitive gaming.
- FreeSync Support: Synchronizes the monitor's refresh rate with your GPU's frame rate, eliminating screen tearing and stuttering for fluid gameplay.

Comparison illustrating the visual benefits of FreeSync technology, reducing tearing and latency.
- Game Assistant:
- Black Level Adjustment (Shadow Booster): Enhances visibility in dark areas of games, allowing you to spot hidden enemies.
- Crosshair: Provides an on-screen crosshair for improved aiming accuracy.
- Timer: Displays a countdown timer on the screen.
- Counter: Displays a real-time refresh rate counter.
- Preset Modes: Optimize display settings for specific game genres (FPS, RTS, Racing) or other uses (Movie, Office).
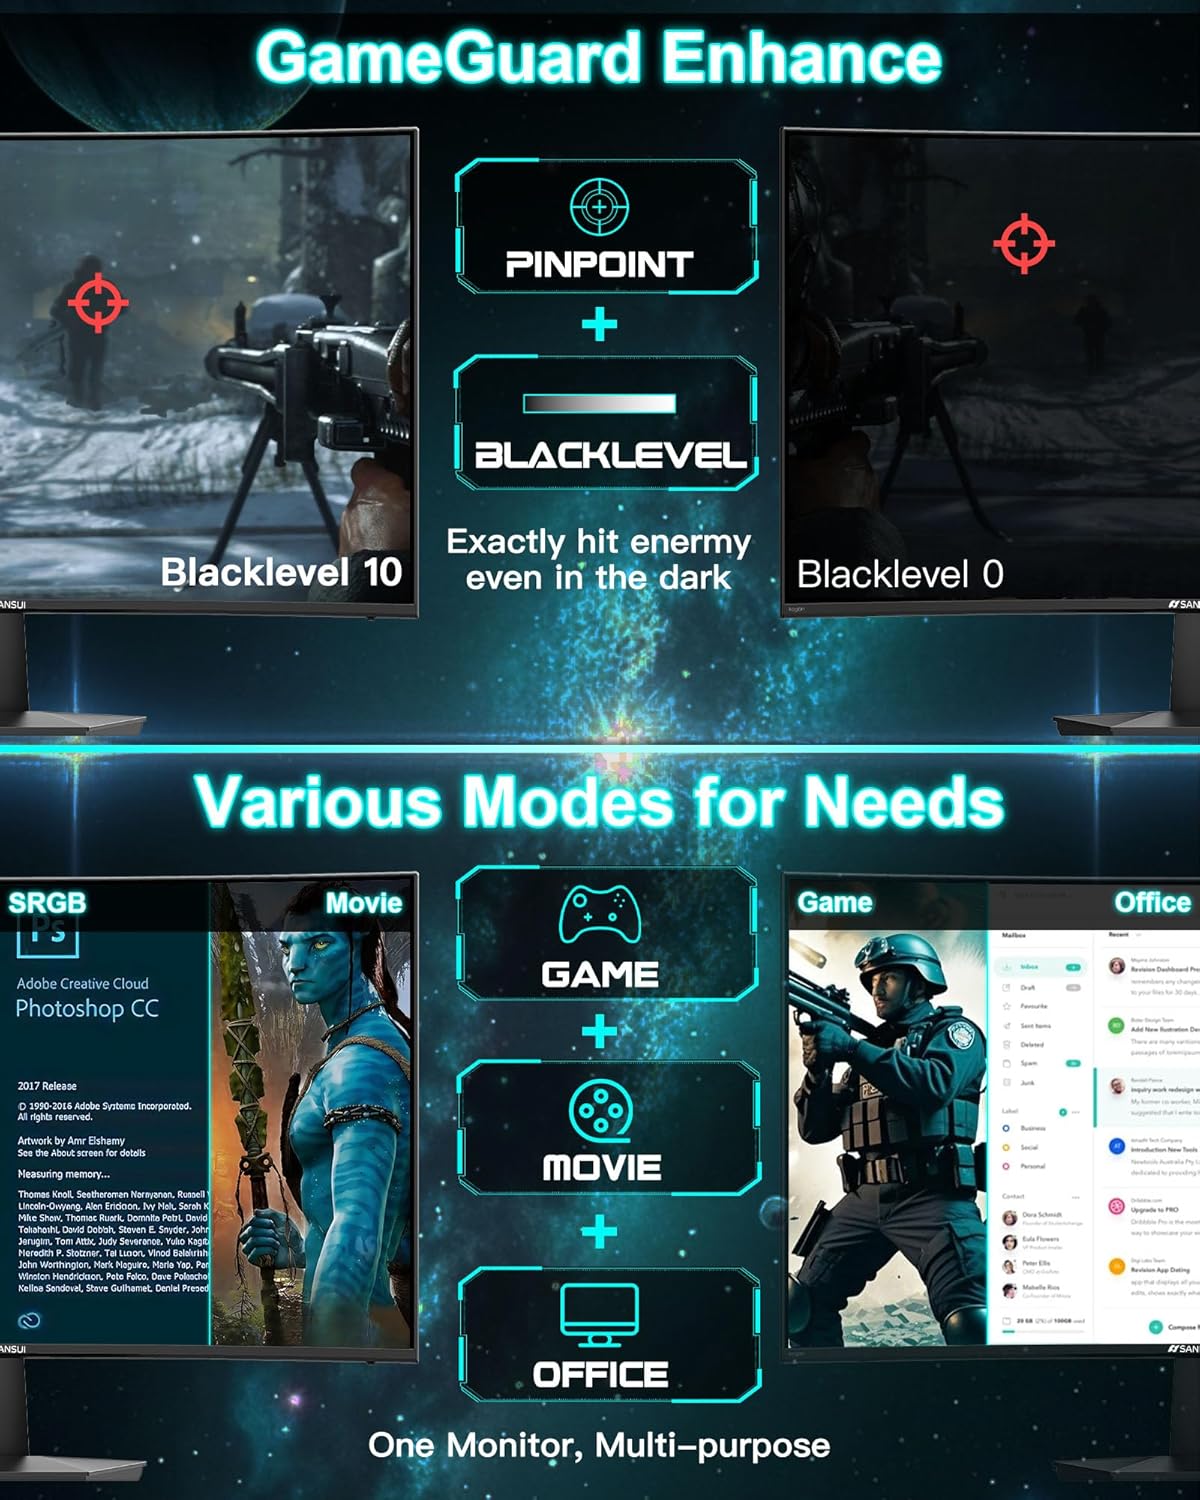
Overview of GameGuard Enhance features and multiple display modes for different applications.
Eye Care Features
- Low Blue Light: Reduces harmful blue light emissions to minimize eye strain during prolonged use.
- Anti-Flicker: Eliminates screen flickering, providing a more comfortable viewing experience.
- Anti-Glare: Reduces reflections on the screen, improving visibility in brightly lit environments.
Maintenance
Proper maintenance ensures the longevity and optimal performance of your monitor.
- Cleaning the Screen: Gently wipe the screen with a soft, lint-free cloth. For stubborn marks, dampen the cloth slightly with water or a non-abrasive, monitor-safe cleaning solution. Do not spray liquid directly onto the screen.
- Cleaning the Casing: Use a soft, dry cloth to clean the monitor's casing. Avoid using harsh chemicals or abrasive materials.
- Storage: If storing the monitor for an extended period, disconnect all cables and store it in a cool, dry place, preferably in its original packaging to protect it from dust and physical damage.
Troubleshooting
If you encounter issues with your monitor, please refer to the following common problems and solutions:
| Problem | Possible Cause | Solution |
|---|---|---|
| No image on screen | Power cable disconnected; Video cable disconnected; Incorrect input source selected. | Ensure power cable is securely connected. Check video cable connections (HDMI/DP). Use the joystick to select the correct input source. |
| Image is blurry or distorted | Incorrect resolution; Video cable issue. | Set the display resolution to 1920 x 1080 pixels. Try a different video cable. |
| Screen flickering | Refresh rate mismatch; Cable issue; FreeSync setting. | Ensure your graphics card drivers are updated. Check if FreeSync is enabled and compatible with your GPU. Try a different video cable. |
| No audio | Headphones/speakers not connected; Volume too low; Incorrect audio output selected on PC. | Ensure external audio devices are properly connected to the 3.5mm audio jack. Adjust monitor volume via OSD. Verify audio output settings on your computer. |
If the problem persists after trying these solutions, please contact SANSUI customer support for further assistance.
Specifications
| Feature | Detail |
|---|---|
| Product Dimensions | 7.64 x 24.09 x 17.8 inches |
| Item Weight | 7.7 pounds |
| Manufacturer | EXPRESS LUCK INDUSTRIAL(ZHONGSHAN)LIMITED |
| ASIN | B0F2T7WLFK |
| Item Model Number | ES-G27C1L |
| Standing Screen Display Size | 27 inches |
| Aspect Ratio | 16:9 |
| Resolution | 1920 x 1080 Pixels (FHD 1080p) |
| Image Brightness | 300 Candela (nits) |
| Screen Surface Description | Matte |
| Refresh Rate | 160Hz |
| Response Time | 1ms (MPRT) |
| Curvature | 1500R |
| Contrast Ratio | 4000:1 |
| Color Gamut | 110% sRGB |
| VESA Support | 100x100mm |
| Tilt Adjustment | -5° to 15° (±2°) |
Warranty and Support
SANSUI provides comprehensive support for your monitor:
- Money-back and free replacement: Available within 30 days of purchase.
- Quality Warranty: A 1-year quality warranty covers manufacturing defects and performance issues.
- Lifetime Technical Support: SANSUI offers lifetime technical support for your product.
For any product problems or technical assistance, please contact SANSUI service support directly. Refer to the contact information provided on the SANSUI official website or your purchase documentation.
Please retain your proof of purchase for warranty claims.
Related documentsES-G27C1L


Ask a question about this manual
Ask about setup, troubleshooting, compatibility, parts, safety, or missing instructions. Manuals+ will review the question and use this page’s manual context to help answer it.