
1. Introduction
The CENMATE 4-Bay Hard Drive Enclosure (Model 804PM6G) provides a reliable external storage solution for both 2.5-inch and 3.5-inch SATA HDDs and SSDs. This enclosure supports a maximum capacity of 80TB (20TB per drive bay) and offers high-speed data transfer via USB 3.0 and eSATA interfaces. Designed for ease of use, it features tool-less installation for 3.5-inch drives and wide compatibility with Windows, Mac OS, and Linux operating systems. Please note that this model does not support RAID configurations.

Image 1.1: Front view of the CENMATE 4-Bay Hard Drive Enclosure, showcasing the four drive bays with blue LED indicators.
2. Package Contents
Please verify that all items listed below are included in your package:
- 1 x CENMATE 4-Bay Hard Drive Enclosure
- 1 x USB 3.0 Cable (USB-A to USB-B)
- 1 x USB-C Cable (USB-C to USB-B)
- 1 x eSATA Cable
- 1 x Power Adapter (DC 12V)
- 1 x Screws and Screw Driver (for 2.5-inch drives)
- 1 x User Manual (this document)
3. Product Features
- 4-Bay Design: Supports up to four 2.5-inch or 3.5-inch SATA I/II/III HDDs/SSDs.
- High Capacity: Total storage capacity up to 80TB (20TB per drive bay).
- High-Speed Connectivity: USB 3.0 (up to 5Gbps) and eSATA interfaces for fast data transfer.
- Hot-Swapping Support: Allows drives to be added or removed without powering down the enclosure.
- Wide Compatibility: Compatible with Windows 7 and above, Mac OS 9.1 and above, and Linux.
- Efficient Cooling: Built-in fan and aluminum-alloy housing for optimal heat dissipation.
- Stable Power Supply: Includes a DC 12V power adapter for reliable operation.
- Tool-less Installation: Easy installation for 3.5-inch hard drives.

Image 3.1: Diagram illustrating the 80TB maximum capacity of the enclosure, supporting 2.5-inch and 3.5-inch SATA HDD/SSD.

Image 3.2: Visual representation of the enclosure's 5Gbps data transfer speed via USB 3.0, connected to a desktop setup.
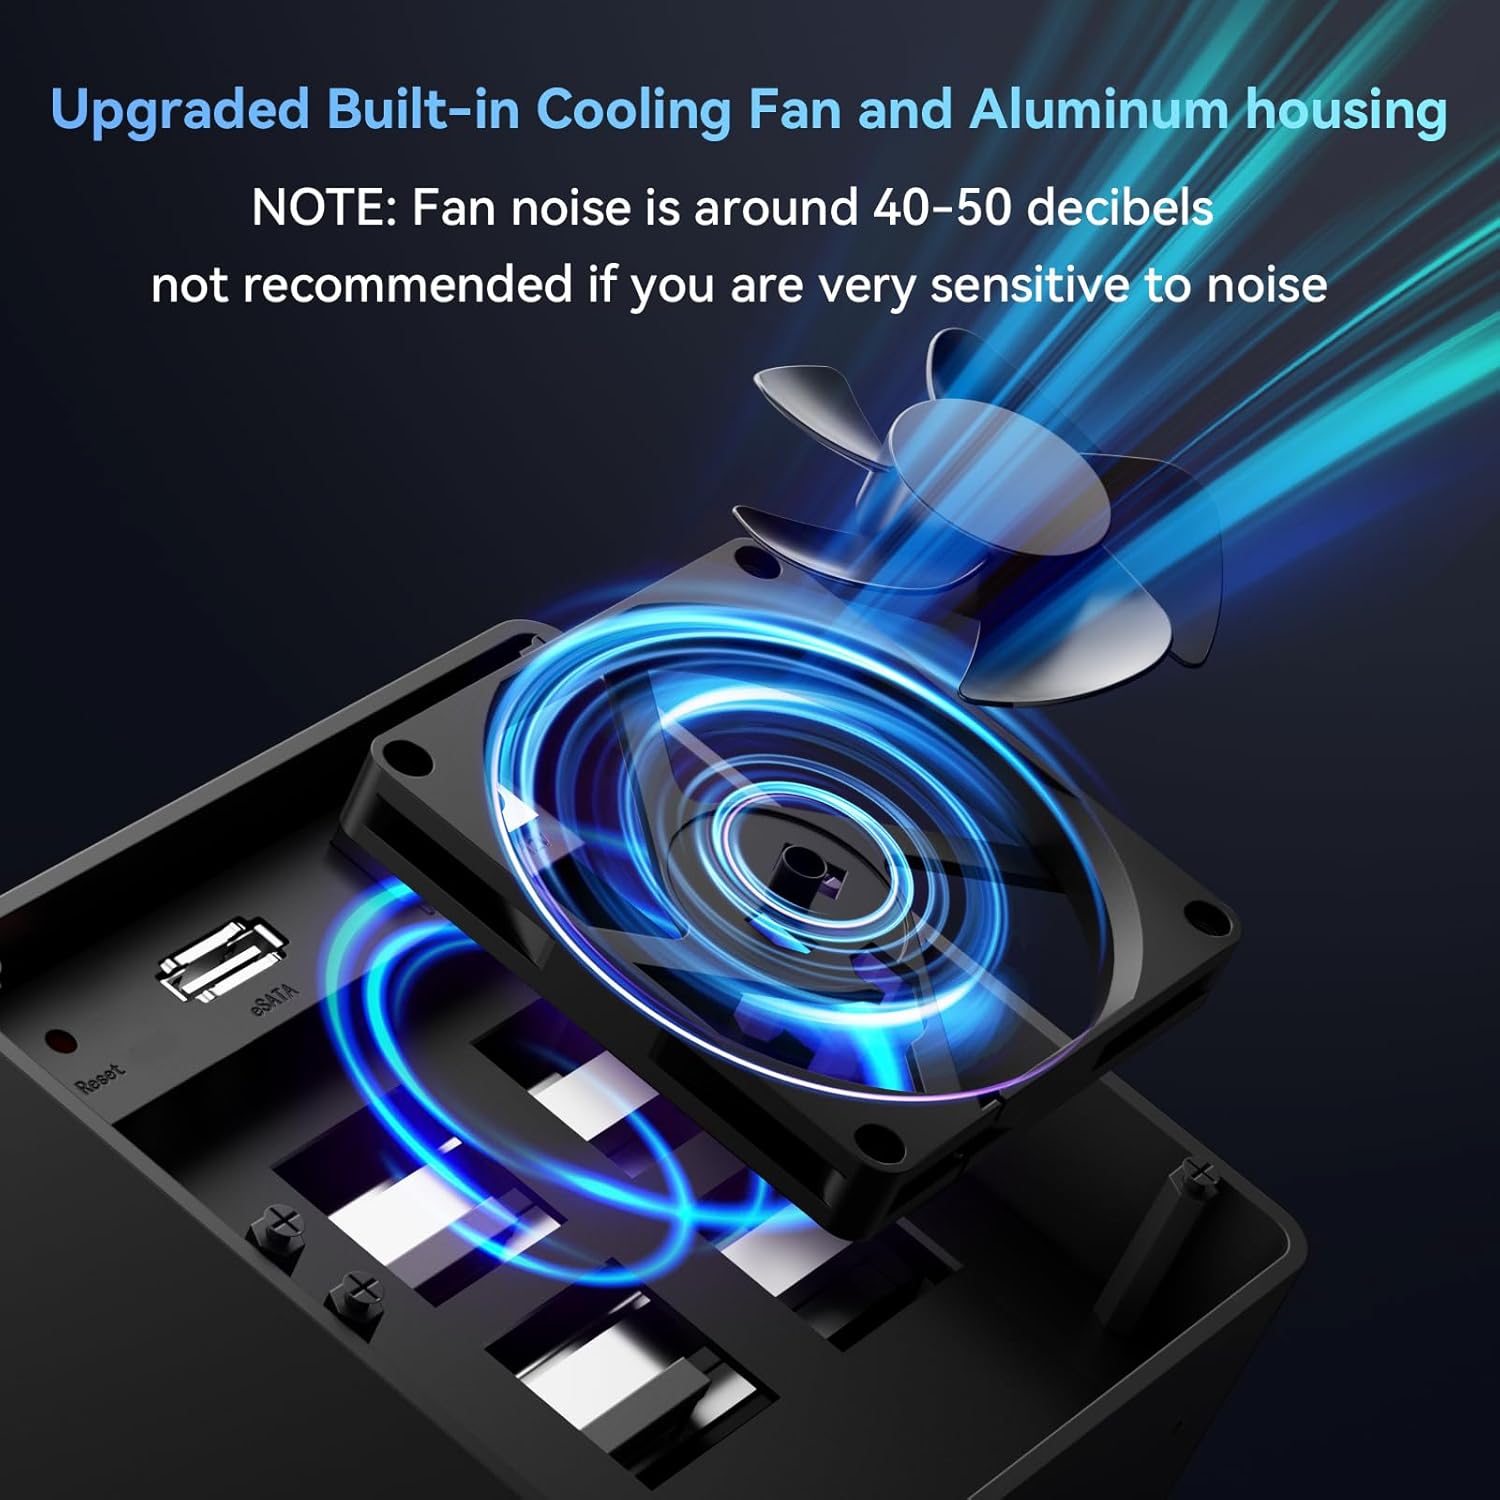
Image 3.3: Close-up view of the enclosure's built-in cooling fan and aluminum housing, designed for heat dissipation. Note: Fan noise is approximately 40-50 decibels.
4. Specifications
| Model | 804PM6G |
| Material | Aluminum, Plastic |
| External Interface | USB 3.0 (USB-A/C), eSATA |
| Max Transfer Rate | 5Gbps (USB 3.0) |
| Supported Devices | 2.5-inch / 3.5-inch SATA HDD/SSD |
| Max Capacity | 80TB (20TB per drive) |
| OS Support | Windows 7 and above, Mac OS 9.1 and above, Linux |
| Hot-Swapping | Supported |
| Power Supply | DC 12V Power Adapter |
| Product Dimensions | 20.2 x 13.2 x 14.6 cm |
| Item Weight | 1.37 kg |
5. Setup
5.1 Installing Hard Drives
- Prepare the Enclosure: Ensure the enclosure is powered off and disconnected from your computer.
- Open a Drive Bay: Gently press the release button or lever on the front of a drive bay to open it.
- Install 3.5-inch HDD: For 3.5-inch drives, slide the drive into the bay until it clicks into place. The enclosure supports tool-less installation for these drives.
- Install 2.5-inch HDD/SSD: For 2.5-inch drives, secure the drive to the provided drive tray using the included screws and screwdriver. Then, slide the tray with the drive into the bay until it clicks.
- Close the Bay: Close the drive bay door securely.
- Repeat: Repeat the process for any additional drives you wish to install.

Image 5.1: Illustration of the screwless installation feature for 3.5-inch drives and the non-slip feet on the enclosure's base.
5.2 Connecting the Enclosure to Your Computer
- Connect Data Cable:
- USB 3.0: Connect one end of the USB 3.0 cable (USB-A or USB-C) to the corresponding port on the enclosure and the other end to an available USB 3.0 port on your computer.
- eSATA: Alternatively, connect one end of the eSATA cable to the eSATA port on the enclosure and the other end to an available eSATA port on your computer.
- Connect Power Adapter: Connect the DC 12V power adapter to the power input port on the enclosure, then plug the adapter into a power outlet.

Image 5.2: The enclosure connected to a laptop, highlighting the DC 12V power supply connection for stable operation.
5.3 Powering On
Press the power button on the back of the enclosure. The LED indicators on the front panel will illuminate, indicating that the drives are powered on and ready for use. Your operating system should detect the new drives automatically.
If the drives are new or unformatted, you may need to initialize and format them through your operating system's disk management utility before they can be used.
6. Operation
6.1 Hot-Swapping Drives
The CENMATE 4-Bay Enclosure supports hot-swapping. This feature allows you to remove or insert drives while the enclosure is powered on and connected to your computer, without needing to shut down the system. Ensure that no data transfer is actively occurring to or from the drive you intend to remove to prevent data loss.
6.2 Data Transfer
Utilize the USB 3.0 or eSATA connection for optimal data transfer speeds. USB 3.0 offers speeds up to 5Gbps, significantly faster than USB 2.0. The actual transfer speed may vary depending on your computer's hardware, operating system, and the performance of the installed hard drives.
6.3 Compatibility
The enclosure is compatible with a wide range of operating systems and devices:
- Operating Systems: Windows 7 and above, Mac OS 9.1 and above, Linux.
- Devices: Desktop computers, Laptops.

Image 6.1: Diagram illustrating the plug-and-play functionality and wide compatibility with laptops, PCs, and operating systems including Windows, Mac OS, and Linux.
7. Maintenance
7.1 Cleaning
To maintain optimal performance and longevity, regularly clean the exterior of the enclosure with a soft, dry cloth. Avoid using liquid cleaners or solvents, as they may damage the finish or internal components. Ensure the fan vents are free from dust accumulation to prevent overheating.
7.2 Fan Operation
The built-in fan helps dissipate heat from the hard drives. While the fan is designed for efficient cooling, it produces a noise level of approximately 40-50 decibels. If you are sensitive to noise, consider the placement of the enclosure. Ensure the fan is not obstructed to allow for proper airflow.
8. Troubleshooting
- Enclosure not detected by computer:
- Ensure the power adapter is securely connected and the enclosure is powered on.
- Verify that the USB or eSATA data cable is firmly connected to both the enclosure and the computer.
- Try connecting to a different USB or eSATA port on your computer.
- Test with a different data cable if available.
- Hard drives not appearing in "My Computer" or "Finder":
- For new drives, they may need to be initialized and formatted. Access Disk Management (Windows) or Disk Utility (Mac OS) to prepare the drives.
- Ensure drives are properly seated in their bays.
- Check the drive's health by connecting it directly to a computer if possible.
- Slow data transfer speeds:
- Ensure you are using a USB 3.0 port on your computer and the provided USB 3.0 cable.
- Verify that your computer's drivers for USB 3.0 or eSATA are up to date.
- The performance of the installed hard drives can affect transfer speeds.
- Enclosure overheating:
- Ensure the enclosure is placed in a well-ventilated area.
- Check that the fan vents are not obstructed by dust or other objects.
9. Warranty and Support
CENMATE provides technical support for this product. If you encounter any issues or have questions regarding the CENMATE 4-Bay Hard Drive Enclosure, please do not hesitate to contact our customer support team. We aim to reply and resolve your problem within 24 hours.
For support, please refer to the contact information provided on the CENMATE official website or your purchase documentation.


