
1. Introduction
This manual provides instructions for the operation and maintenance of your RadioShack AM/FM/SW 3-Band Vintage Radio. This device combines classic radio functionality with modern features such as Bluetooth connectivity and USB/TF playback. Please read this manual thoroughly before using the product to ensure proper function and longevity.

Image 1.1: Front view of the RadioShack Vintage Radio.
2. Package Contents
Verify that all items are present in the package:
- 1 x RadioShack AM/FM/SW 3-Band Vintage Radio (Model 1202268)
- 1 x Type-C USB Charging Cable
- 1 x User Manual (this document)

Image 2.1: The RadioShack Vintage Radio and its included Type-C USB cable.
3. Product Overview
The RadioShack Vintage Radio features a user-friendly design with clearly labeled controls and multiple connectivity options.
Key Features:
- 3-Band Radio: AM/FM/SW reception for a variety of broadcasts.
- Bluetooth Connectivity: Wireless audio streaming from compatible devices.
- USB/TF Ports: Play MP3 audio files directly from USB drives or TF cards.
- Rechargeable Battery: Built-in battery for portable use.
- Portable Design: Integrated carry handle and telescopic antenna.

Image 3.1: Visual representation of the radio's main features.
Controls and Ports:
Familiarize yourself with the radio's controls and connection points:
- Power Switch/Volume Knob: Located on the side, controls power and audio volume.
- Tuning Knob: Front-facing knob for precise radio frequency selection.
- Mode Button: Cycles between Radio, Bluetooth, and USB/TF modes.
- Playback Control Buttons: Play/Pause, Previous Track, Next Track (for Bluetooth and USB/TF modes).
- Band Selector Switch: On the side, selects AM, FM, or SW radio bands.
- DC 5V IN Port: For charging the internal battery.
- USB Port: For playing MP3 files from a USB flash drive.
- TF Card Slot: For playing MP3 files from a TF (MicroSD) card.
- Telescopic Antenna: Extend for improved radio reception.
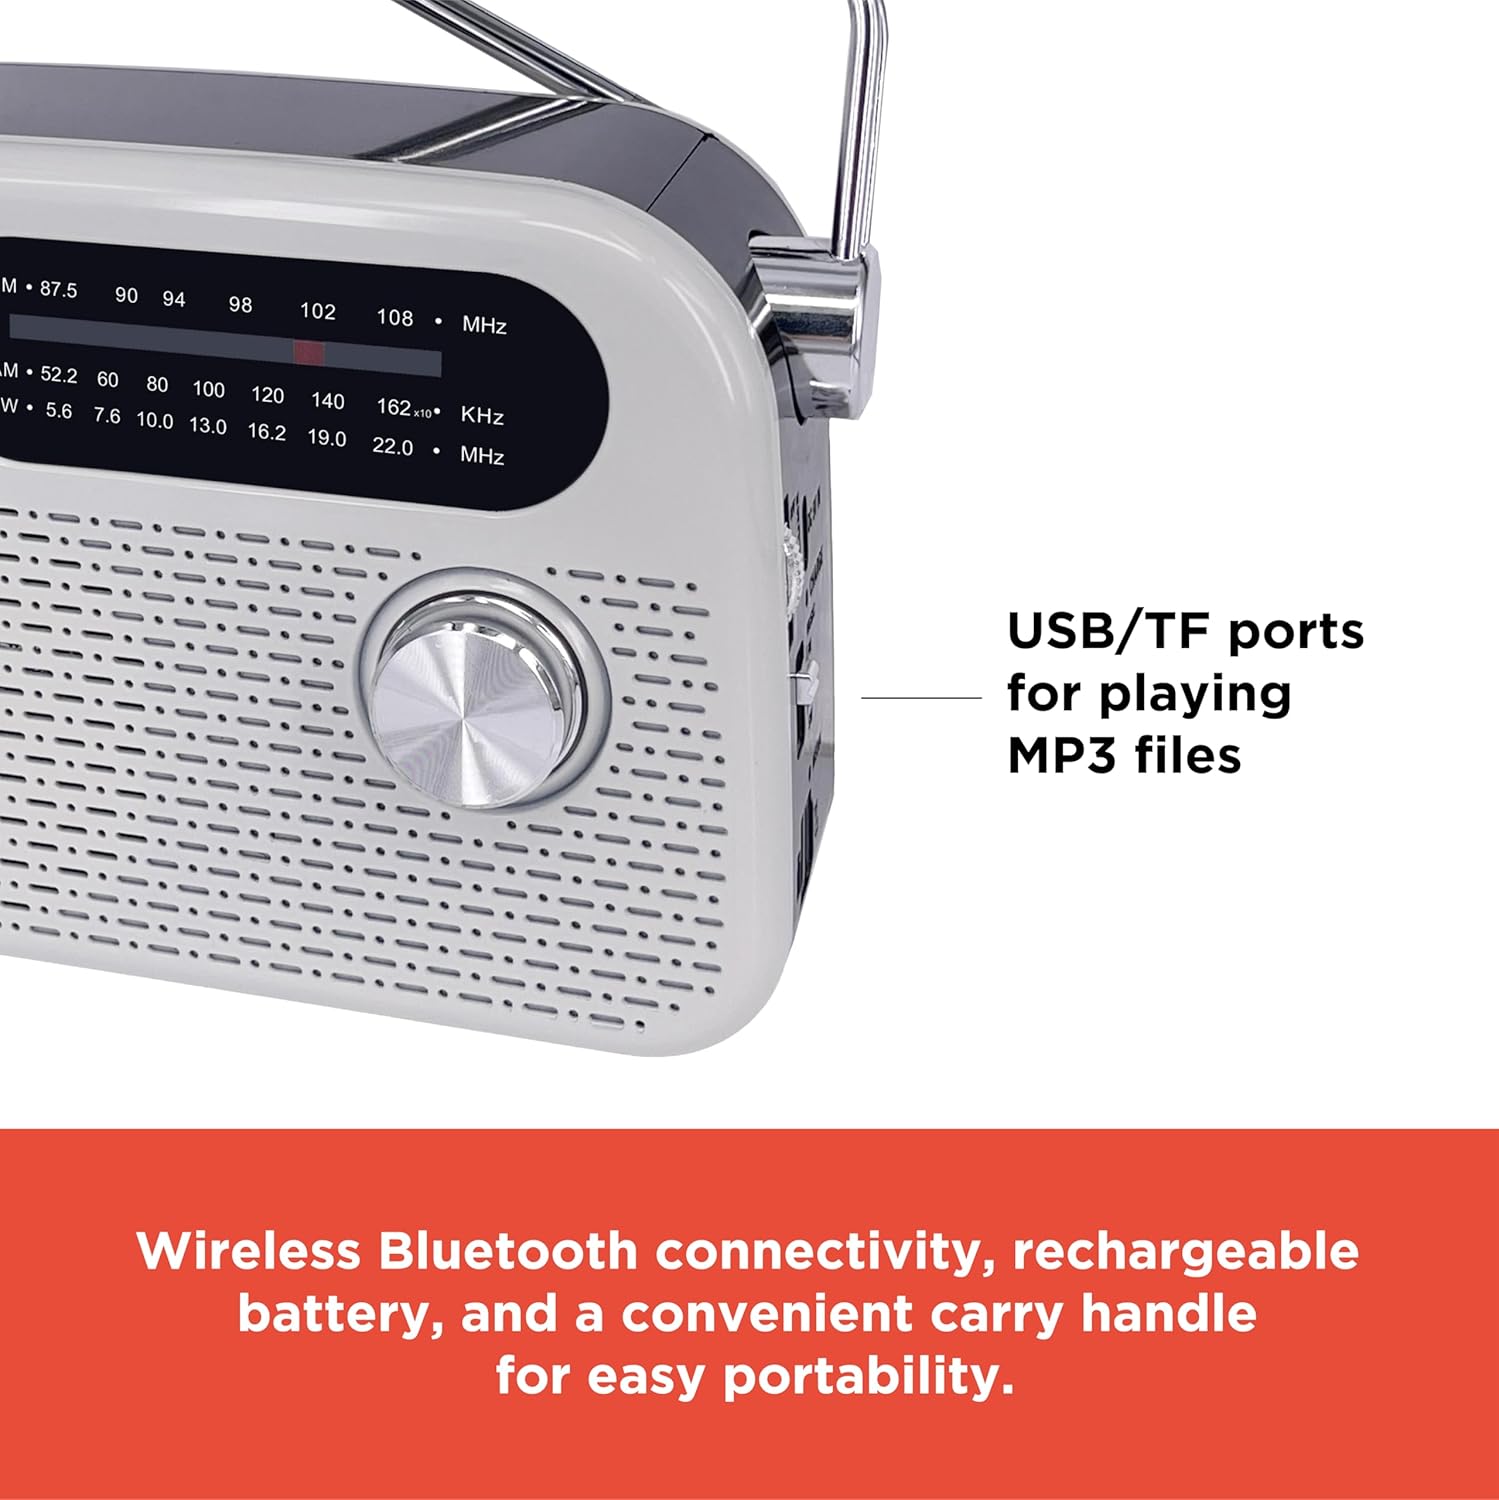
Image 3.2: Side view highlighting the USB and TF card ports for media playback.
4. Setup
4.1 Initial Charging
- Before first use, fully charge the radio's internal battery.
- Connect the supplied Type-C USB cable to the DC 5V IN port on the side of the radio.
- Connect the other end of the USB cable to a standard USB power adapter (not included) or a computer USB port.
- The charging indicator light (if present) will illuminate during charging and turn off or change color when fully charged.
4.2 Powering On/Off
- To power on, rotate the Volume knob clockwise until you hear a click and the radio turns on.
- To power off, rotate the Volume knob counter-clockwise until you hear a click and the radio turns off.
5. Operating Instructions
5.1 Radio Operation (AM/FM/SW)
- Power on the radio.
- Use the Band Selector switch on the side to choose between FM, AM, or SW (Shortwave) bands.
- Extend the telescopic antenna for optimal FM and SW reception. For AM, rotate the radio for best signal.
- Rotate the Tuning knob on the front to scan for radio stations. The frequency display will indicate the current tuning.
- Adjust the Volume knob to your desired listening level.

Image 5.1: Adjusting the tuning knob to find a radio station.
5.2 Bluetooth Function
- Power on the radio.
- Press the "MODE" button repeatedly until "Bluetooth" mode is selected. The radio will emit an audible prompt indicating it's in pairing mode.
- On your Bluetooth-enabled device (e.g., smartphone, tablet), enable Bluetooth and search for available devices.
- Select "RadioShack 1202268" (or similar name) from the list of devices to pair.
- Once paired, you can stream audio from your device to the radio.
- Use the Play/Pause, Previous, and Next buttons on the radio to control playback, or control directly from your paired device.
5.3 USB/TF Card Playback
- Power on the radio.
- Insert a USB flash drive into the USB port or a TF (MicroSD) card into the TF card slot. Ensure the card is inserted correctly.
- Press the "MODE" button repeatedly until "USB" or "TF" mode is selected. The radio will automatically begin playing MP3 files from the inserted media.
- Use the Play/Pause, Previous, and Next buttons to control audio playback.
Video 5.1: Demonstration of the RadioShack Vintage Radio's features and usage.
6. Maintenance
- Cleaning: Use a soft, dry cloth to clean the radio's exterior. Do not use liquid cleaners or abrasive materials.
- Storage: Store the radio in a cool, dry place away from direct sunlight and extreme temperatures when not in use for extended periods.
- Battery Care: To prolong battery life, avoid fully discharging the battery frequently. Recharge the radio regularly, even if not in constant use.
- Antenna: Handle the telescopic antenna carefully to prevent bending or breakage. Retract it when not in use.
7. Troubleshooting
| Problem | Possible Cause | Solution |
|---|---|---|
| No power | Battery discharged; Power switch off. | Charge the battery; Turn the Volume knob clockwise to power on. |
| Poor radio reception | Antenna not extended; Weak signal; Interference. | Extend the telescopic antenna fully; Rotate the radio for better AM reception; Move away from electronic devices causing interference. |
| Bluetooth not connecting | Radio not in Bluetooth mode; Device not in pairing mode; Already connected to another device. | Press MODE button to select Bluetooth; Ensure your device's Bluetooth is on and searching; Disconnect from other devices. |
| USB/TF playback not working | Incorrect mode; Unsupported file format; Corrupted media. | Press MODE button to select USB/TF; Ensure files are MP3 format; Try a different USB drive or TF card. |
8. Specifications
| Feature | Detail |
|---|---|
| Model Number | 1202268 |
| Radio Bands | AM, FM, SW (3-Band) |
| Connectivity | Bluetooth, USB, TF Card |
| Power Source | Rechargeable Battery (2 Nonstandard Battery batteries included) |
| Charging Port | DC 5V IN (Type-C USB) |
| Product Dimensions | 7.28"L x 1.77"W x 4.92"H (185 x 45 x 125 mm) |
| Item Weight | 1.6 ounces |
| Color | White |
9. Warranty and Support
For warranty information or technical support, please refer to the documentation included with your purchase or visit the official RadioShack website. Keep your proof of purchase for any warranty claims.
Online Support: Contact RadioShack Support