Introduction
This manual provides comprehensive instructions for the installation, operation, and maintenance of the VDO Instrument Speed Hour Meter, Model 333 035 010X. This device is designed to accurately measure engine speed (RPM) and accumulated operating hours for 12V/24V systems. Please read this manual thoroughly before installation and use to ensure proper function and longevity of the instrument.
Safety Information
Always observe the following safety precautions:
- Disconnect the vehicle's battery before performing any electrical work to prevent short circuits or electrical shock.
- Ensure all wiring connections are secure and properly insulated to avoid fire hazards.
- Do not expose the instrument to extreme temperatures, direct sunlight for prolonged periods, or excessive moisture.
- Consult a qualified technician if you are unsure about any installation or wiring procedures.
Package Contents
Upon opening the package, verify that all components are present:
- 1 x VDO Instrument Speed Hour Meter (gauge)
- Mounting hardware (nuts, washers, bracket)
- Wiring harness (if included with specific model variant)
Setup and Installation
Follow these steps for proper installation:
- Choose Mounting Location: Select a flat, stable surface on the dashboard or instrument panel that is free from obstructions and provides good visibility. Ensure there is sufficient space behind the panel for wiring and mounting.
- Prepare Mounting Hole: Drill a circular hole of the appropriate diameter (refer to specifications for exact size) using a hole saw. Deburr the edges of the hole to prevent damage to wiring.
- Mount the Gauge: Insert the meter into the drilled hole from the front of the panel. Secure it from the rear using the provided mounting bracket, nuts, and washers. Tighten firmly but do not overtighten.
- Wiring Connections:
- Power (12V/24V): Connect the positive power wire (typically red) to a switched 12V or 24V ignition source.
- Ground: Connect the ground wire (typically black) to a reliable chassis ground point.
- RPM Signal: Connect the RPM signal wire (color may vary, consult vehicle wiring diagram) to the appropriate signal source. This is typically from the ignition coil (negative terminal), ECU, or a dedicated tachometer output.
- Illumination (Optional): If applicable, connect the illumination wire to the vehicle's dashboard lighting circuit for night visibility.
- Verify Connections: Double-check all wiring connections for correctness and security before reconnecting the battery.
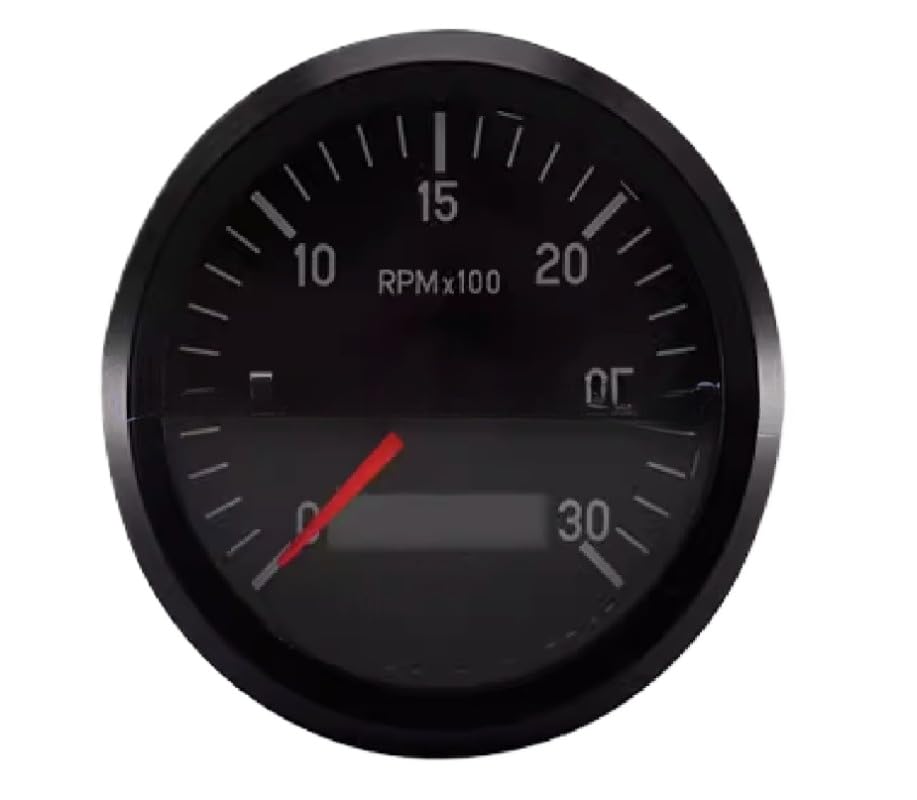
This image displays the VDO Instrument Speed Hour Meter. It features a black circular face with clear white numerical markings for RPM (revolutions per minute) scaled by 100, ranging up to 30. The gauge includes a prominent red needle for indicating current RPM and a rectangular digital display area at the bottom for hour readings or other information.
Operating Instructions
Once installed and powered, the VDO Instrument Speed Hour Meter operates automatically:
- RPM Display: The analog needle will indicate the current engine speed in RPM x 100. For example, if the needle points to '15', the engine speed is 1500 RPM.
- Hour Meter: The digital display at the bottom of the gauge continuously records the total accumulated operating hours of the engine when the instrument is powered. This reading is non-resettable and provides a cumulative record of engine usage.
- Power On/Off: The meter will activate when the ignition is turned on and deactivate when the ignition is turned off.
Maintenance
The VDO Instrument Speed Hour Meter requires minimal maintenance:
- Cleaning: Use a soft, damp cloth to clean the face of the gauge. Do not use abrasive cleaners or solvents, as they may damage the display or housing.
- Inspection: Periodically check wiring connections for looseness or corrosion. Ensure the mounting is secure.
- Environmental Protection: Keep the instrument free from excessive dust, dirt, and moisture.
Troubleshooting
If you encounter issues with your instrument, refer to the following common problems and solutions:
- No Power/Display:
- Check the power supply connection (12V/24V) and ensure it is receiving voltage.
- Verify the ground connection is secure and free of corrosion.
- Check for blown fuses in the power circuit.
- Incorrect RPM Reading:
- Ensure the RPM signal wire is correctly connected to the appropriate source (e.g., ignition coil negative, ECU tach output).
- Verify the signal source is providing a clean and consistent signal.
- Check for loose or damaged signal wire connections.
- Hour Meter Not Advancing:
- Confirm the instrument is receiving continuous power when the engine is running.
- The hour meter advances only when the unit is powered.
If problems persist after following these steps, contact customer support.
Specifications
| Feature | Detail |
|---|---|
| Model Number | 333 035 010X |
| Measurement Range | 0-3000 RPM (x 100) |
| Voltage Compatibility | 12V / 24V DC |
| Function | Speedometer (RPM) and Hour Meter |
| Manufacturer | zatagen |
| Package Dimensions | 13.78 x 13.78 x 13.78 inches |
| Item Weight | 2.2 Pounds |
Warranty Information
This VDO Instrument Speed Hour Meter is covered by a 180-day warranty from the date of purchase. This warranty covers defects in materials and workmanship under normal use. It does not cover damage resulting from improper installation, misuse, accident, unauthorized repair, or modification. Please retain your proof of purchase for warranty claims.
Customer Support
For technical assistance, warranty claims, or further inquiries regarding your VDO Instrument Speed Hour Meter, please refer to the contact information provided by your retailer or the manufacturer's official website. When contacting support, please have your product model number and purchase details ready.


