
Introduction
This manual provides comprehensive instructions for the setup, operation, maintenance, and troubleshooting of your Tecaki X3 Projector Remote Control. Please read this manual carefully before using the remote control to ensure proper functionality and to maximize your viewing experience.
The Tecaki X3 Projector Remote Control is designed specifically for seamless control of your X3 projector, offering full functionality and easy navigation. It features a long-range infrared signal for reliable control up to 30 feet.
Package Contents
Verify that all items are present in your package:
- 1 x Tecaki X3 Projector Remote Control
- 1 x User Manual (this document)
Note: Batteries are not included and must be purchased separately.
Product Overview
The Tecaki X3 Projector Remote Control is an ergonomically designed device for intuitive control of your X3 projector. Below is an image illustrating the remote control and its key components.
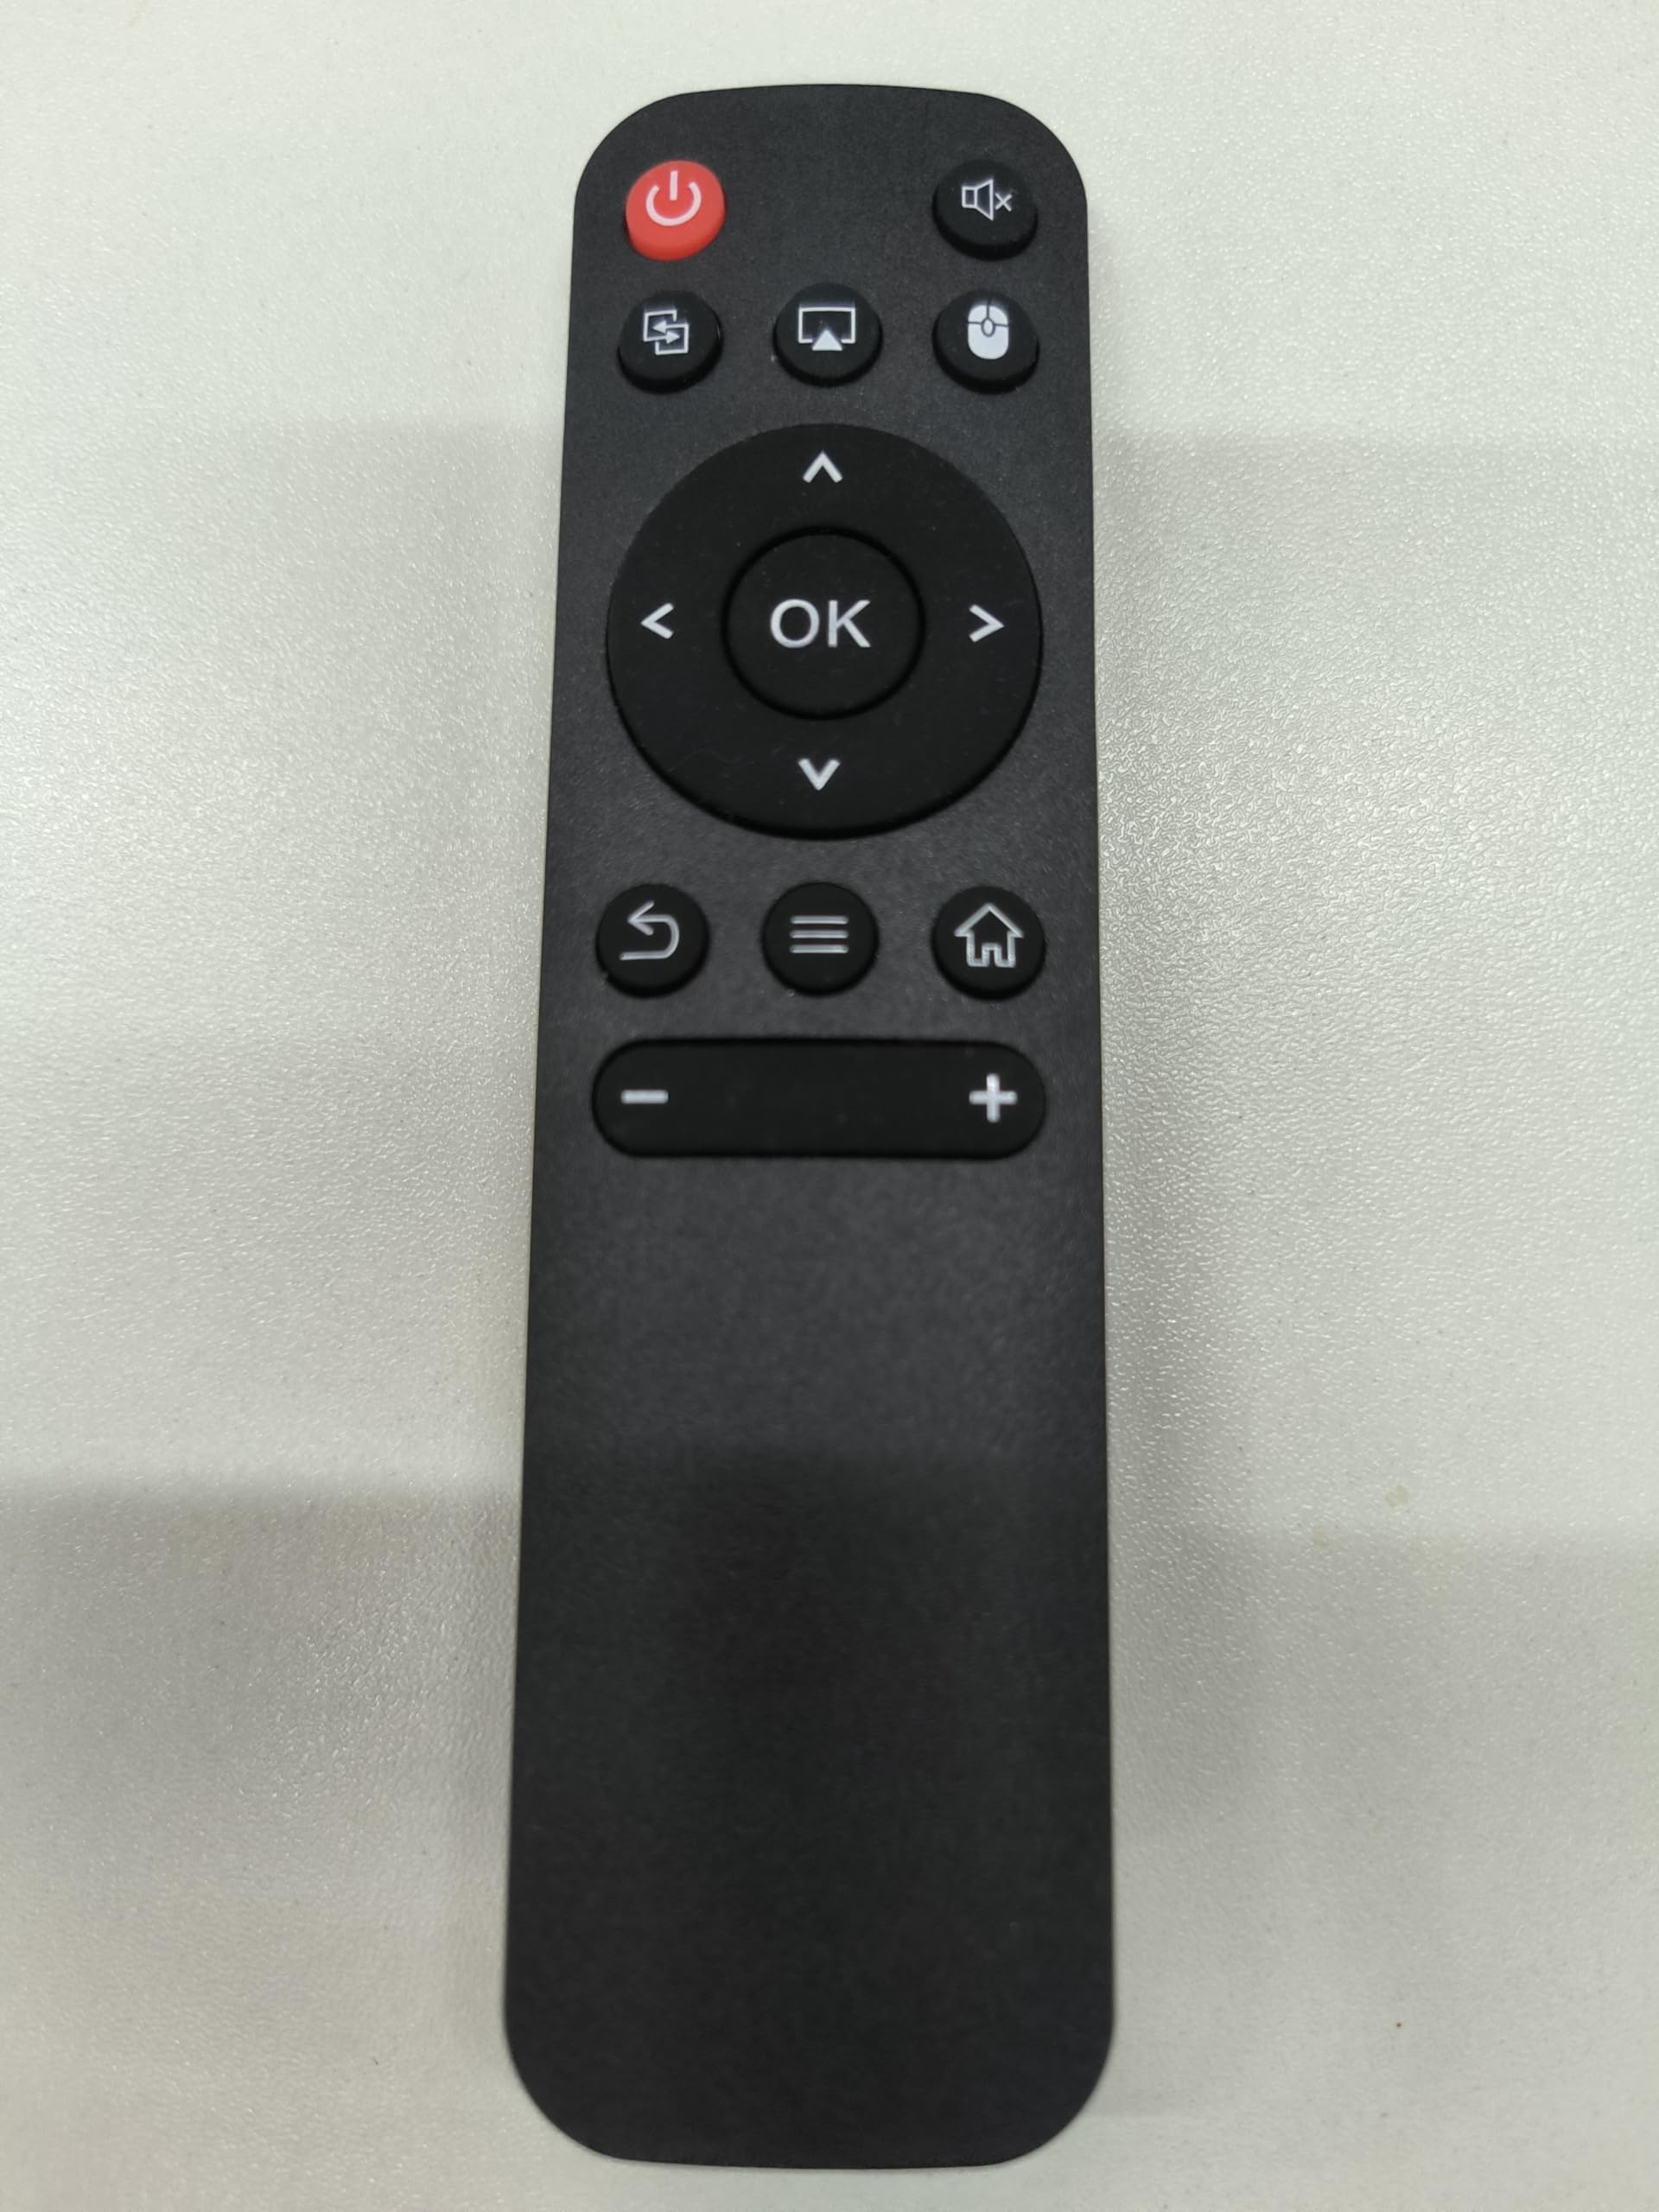
Image: Front view of the Tecaki X3 Projector Remote Control. It is black with various control buttons for power, navigation, volume, and input selection.
Button Functions
- Power Button: Turns the projector on or off.
- Input/Source: Selects the input source (HDMI, USB, etc.).
- Navigation Buttons (Up, Down, Left, Right): Used to navigate menus and selections.
- OK/Enter Button: Confirms selections.
- Menu Button: Accesses the projector's main menu.
- Back/Exit Button: Returns to the previous screen or exits a menu.
- Volume Up/Down: Adjusts the audio volume.
- Mute Button: Mutes or unmutes the audio.
- Focus/Keystone: Adjusts image focus or keystone correction (if supported by projector).
Setup
Battery Installation
The Tecaki X3 Projector Remote Control requires two AAA batteries (not included).
- Locate the battery compartment on the back of the remote control.
- Slide the battery compartment cover downwards or in the direction indicated by the arrow to open it.
- Insert two AAA batteries, ensuring the positive (+) and negative (-) terminals align correctly with the markings inside the compartment.
- Replace the battery compartment cover by sliding it back into place until it clicks securely.
Once batteries are installed, the remote control is ready for use with your Tecaki X3 Projector. No additional pairing or programming is required.
Operating Instructions
To operate your Tecaki X3 Projector using the remote control, ensure there is a clear line of sight between the remote's infrared emitter and the projector's IR receiver. The remote operates effectively up to 30 feet.
Basic Operation
- Turning On/Off: Press the Power button once to turn the projector on. Press it again to turn the projector off.
- Selecting Input Source: Press the Input/Source button to cycle through available input sources (e.g., HDMI 1, HDMI 2, USB, AV).
- Navigating Menus: Use the Navigation Buttons (Up, Down, Left, Right) to move through menu options. Press OK/Enter to confirm a selection.
- Adjusting Volume: Use the Volume Up and Volume Down buttons to control the audio output.
- Accessing Settings: Press the Menu button to open the projector's settings menu.
- Exiting Menus: Press the Back/Exit button to return to the previous screen or close a menu.
Maintenance
Cleaning the Remote Control
To maintain the appearance and functionality of your remote control:
- Wipe the surface with a soft, dry cloth.
- For stubborn dirt, lightly dampen the cloth with water or a mild, non-abrasive cleaner.
- Do not use harsh chemicals, solvents, or abrasive cleaning pads, as these can damage the remote's finish or internal components.
Battery Replacement
Replace batteries when the remote control's response becomes sluggish or it stops functioning. Always replace both batteries at the same time with new AAA batteries. Do not mix old and new batteries, or different types of batteries.
Warning: Dispose of used batteries according to local regulations. Do not expose batteries to excessive heat or fire.
Troubleshooting
If you encounter issues with your Tecaki X3 Projector Remote Control, refer to the following common problems and solutions:
| Problem | Possible Cause | Solution |
|---|---|---|
| Remote not responding. | Dead or incorrectly installed batteries. | Replace batteries with new ones, ensuring correct polarity. |
| Remote not responding. | Obstruction between remote and projector. | Ensure a clear line of sight to the projector's IR receiver. |
| Short operating range. | Weak batteries. | Replace batteries with new ones. |
| Specific buttons not working. | Button malfunction or projector incompatibility for that function. | Ensure the function is supported by your X3 projector. If not, contact customer support. |
Specifications
- Brand: Tecaki
- Model: X3 Projector Remote Control
- Connectivity Technology: Infrared (IR)
- Maximum Range: 30 Feet (approx. 9 meters)
- Compatible Devices: Tecaki X3 Projector
- Power Source: 2 x AAA Batteries (not included)
- Special Feature: Lightweight, Button Control
Warranty and Support
Warranty Information
This Tecaki X3 Projector Remote Control comes with a 2 Year Manufacturer Warranty. This warranty covers defects in materials and workmanship under normal use. It does not cover damage caused by misuse, accidents, unauthorized modifications, or normal wear and tear.
Please retain your proof of purchase for warranty claims.
Customer Support
For technical assistance, warranty claims, or further inquiries, please contact Tecaki customer support through the retailer where the product was purchased or visit the official Tecaki website.
You can also visit the Tecaki Store on Amazon for more information and support resources.