1. Introduction
The CADDXFPV Walksnail Avatar HD FPV Goggles X are designed to provide an immersive and high-definition First Person View experience for drone pilots and RC enthusiasts. Featuring dual 1920×1080 HD displays, a wide 50° field of view, and integrated head tracking, these goggles offer clear visuals and intuitive control. They are compatible with all Walksnail VTX Kits and support multiple video input interfaces for versatile use.
2. Key Features
- Immersive 1080p Ultra-Wide Screen with 50° FOV: Dual 1920×1080 HD displays offer vivid colors and crisp detail. The expansive 50° field of view surrounds your vision for a fully immersive FPV experience—perfect for racing, freestyle, and cinematic flying.
- Built-In Head Tracking for Realistic Control: Integrated gyroscope enables real-time head tracking—seamlessly syncing your view with camera movement. Perfect for controlling gimbals or fixed-wing drones for a more intuitive flight perspective.
- Modular Design with Multi-Interface Support: Supports HDMI, AV, and CVBS video input for both digital and analog systems. The removable front cover supports antenna upgrades and creative DIY styling, while the top cover enables easy module upgrades.
- Ultra-Low Latency & Smart Cooling System: Delivers 22ms ultra-low latency and up to 10km video transmission distance (Depends on the flight environment). Built-in intelligent cooling fan prevents fogging and overheating, ensuring stable performance during long flights.
- Universal Compatibility & Adjustable Fit: Fully compatible with all Walksnail VTX Kits—including Pro, Moonlight, and Standard Kits. IPD adjustable (57–72mm) and diopter range (+2.0 to -6.0) accommodate different vision needs. Equipped with two sizes of foam mask, suitable for a variety of face shapes, comfortable to wear, and is not easy to fatigue for long time use.
3. Product Overview

Front view of the CADDXFPV Walksnail Avatar HD FPV Goggles X, showcasing the sleek design and antenna ports.

Angled view of the goggles, highlighting the control buttons and overall ergonomic shape.

Illustration of the 1080p ultra-wide screen, emphasizing the 1920x1080 resolution and 100Hz refresh rate for a clear, immersive experience.

Diagram showing the DVR and Playback buttons for easy one-touch recording and review of FPV footage.

Visual representation of the built-in head tracking feature, allowing users to control their view by turning their head left, forward, or right.

Close-up of the goggle's side, labeling the AV In Interface, SD Card Slot, HDMI OUT Port, and HDMI IN Port for versatile connectivity.

Image illustrating the ultra-low latency (22ms) and long video transmission distance (up to 10km) capabilities of the goggles.
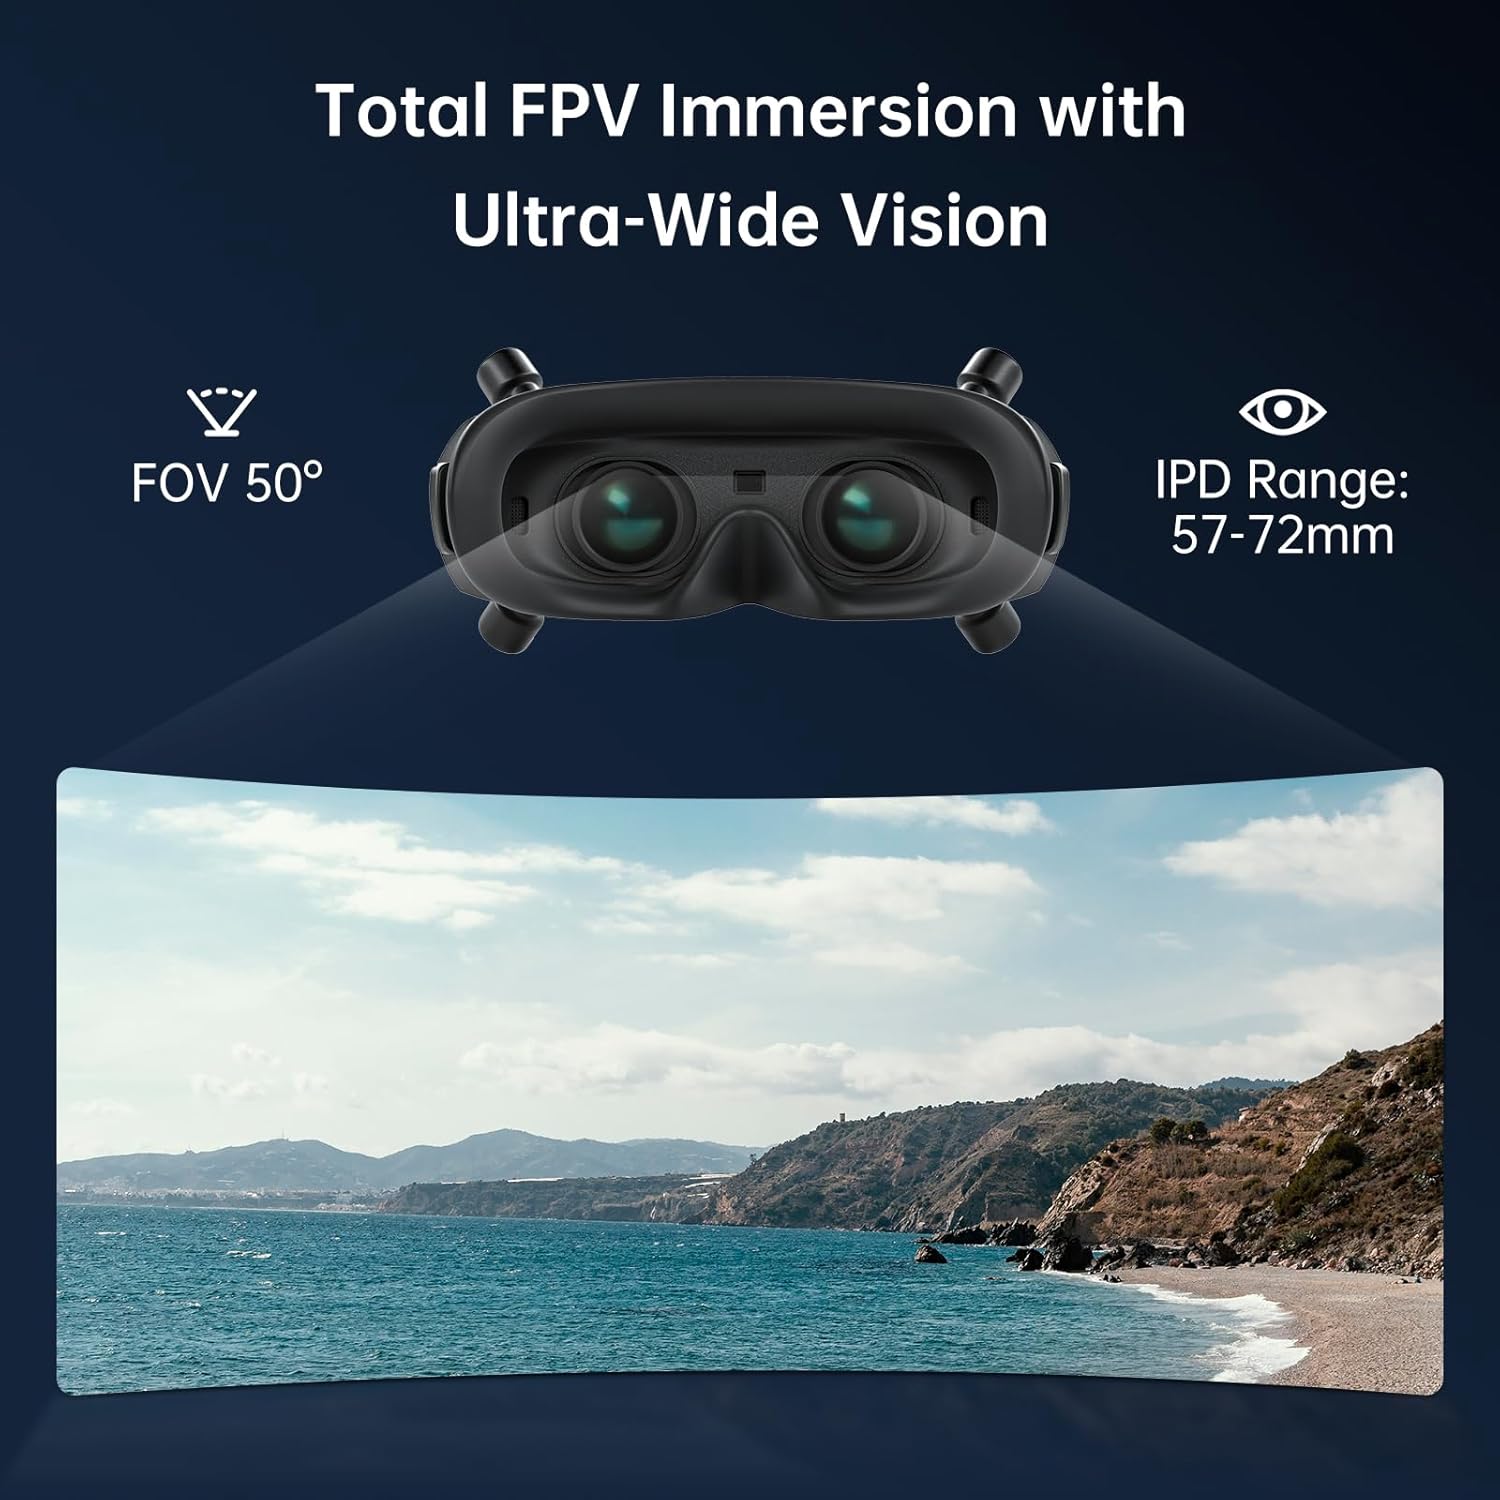
Visualizing the 50-degree Field of View (FOV) and IPD range (57-72mm) for a fully immersive FPV experience.
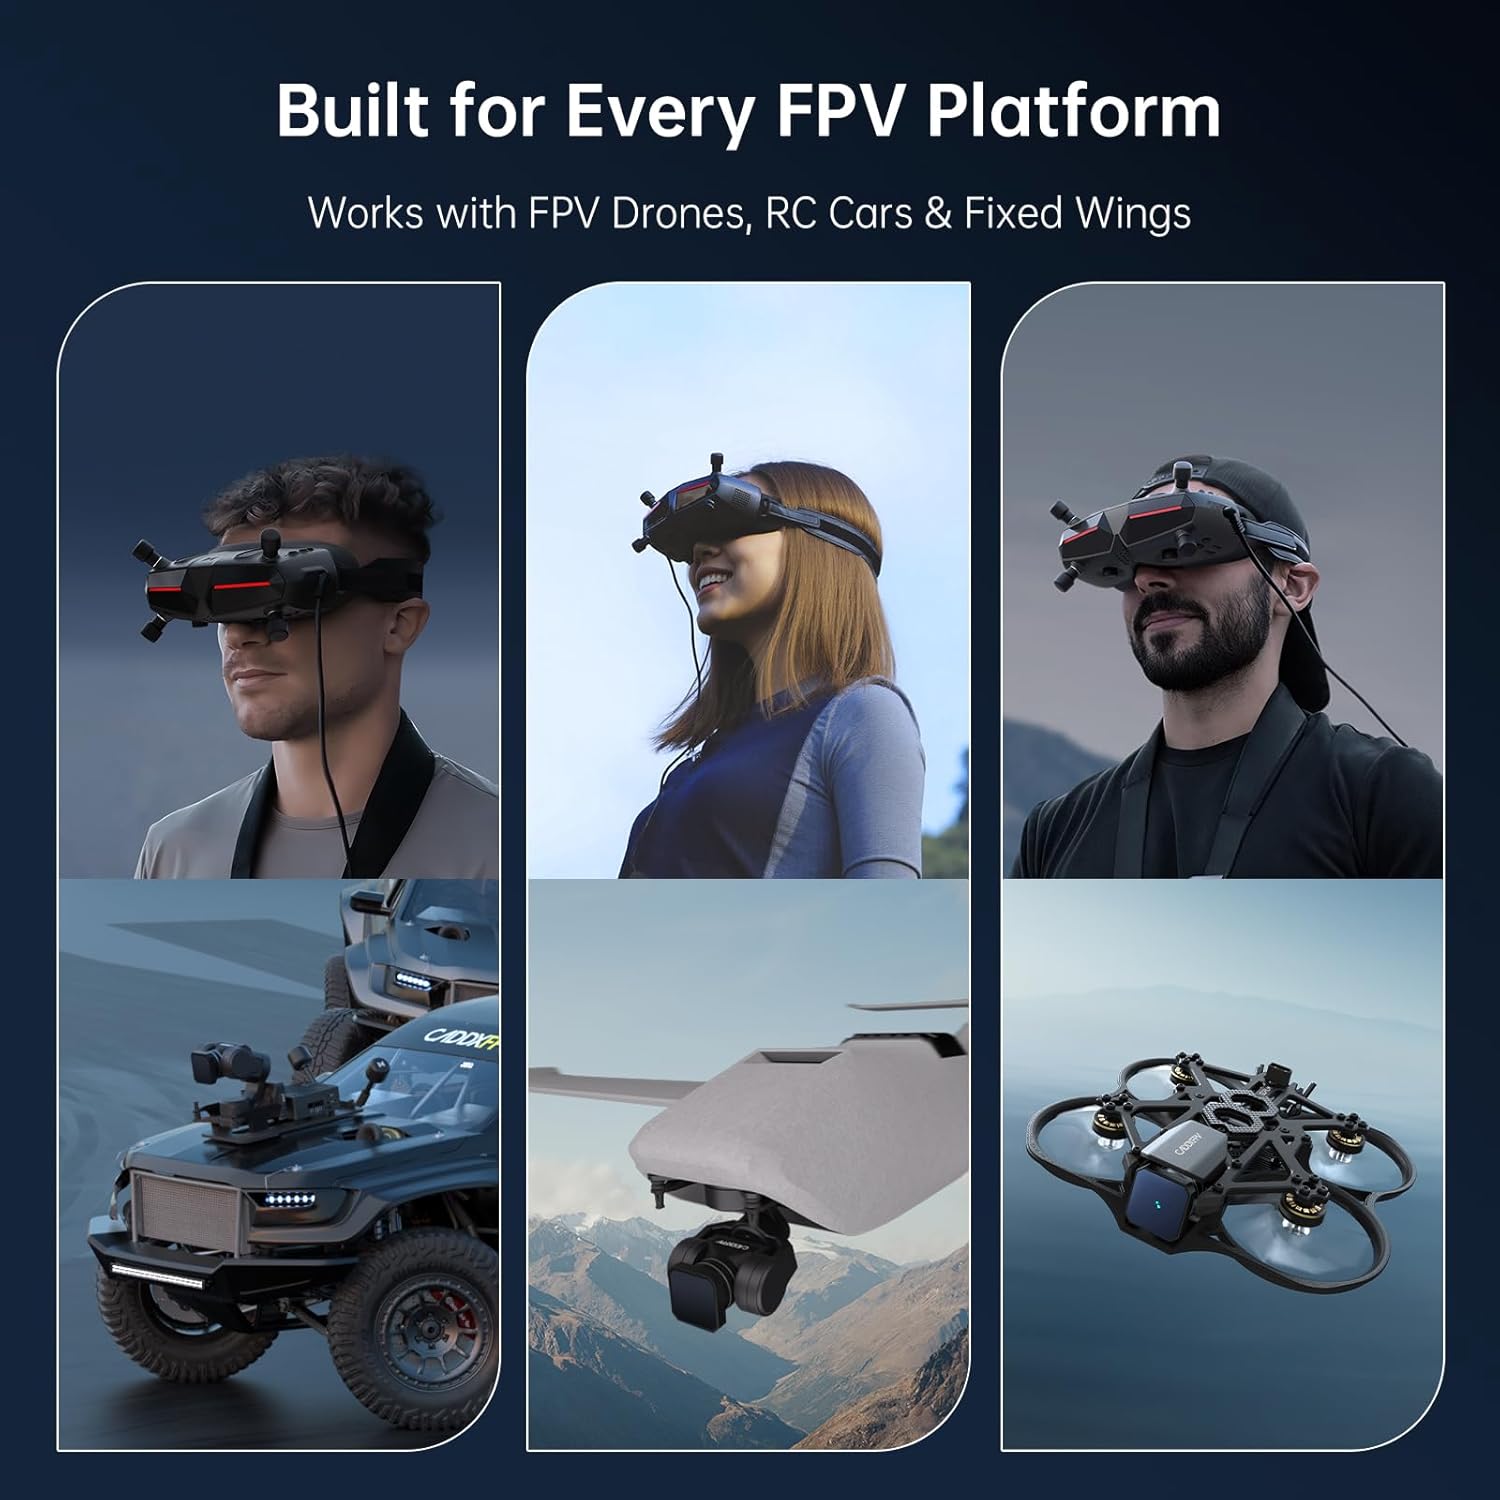
Demonstration of the goggles' compatibility with FPV Drones, RC Cars, and Fixed Wings, showing diverse application scenarios.
Product Videos
Video: Sleek and High-Tech Design - Avatar HD Goggles X. This video provides a visual overview of the goggles' design and key features.
4. What's in the Box
- Wide Foam (PU) x1
- Lens Cleaning Cloth x1
- XT60 to DC 5.5*2.1mm Power Cord x1
- Storage Box x1
- Audio Cable x1
- User Manual x1 (This document)
5. Setup Guide
- Unpacking: Carefully remove all components from the storage box. Verify that all items listed in the "What's in the Box" section are present.
- Power Connection: Connect the XT60 to DC 5.5*2.1mm Power Cord to the goggles and a compatible power source (e.g., an FPV battery). Ensure the power source matches the voltage requirements of the goggles.
- Antenna Installation: Attach your preferred FPV antennas to the designated ports on the goggles. Ensure they are securely fastened.
- Adjusting Fit:
- Attach the wide foam mask for comfortable wear.
- Adjust the head strap to ensure a snug yet comfortable fit, minimizing light leakage.
- Adjust the Inter-Pupillary Distance (IPD) by sliding the lenses until the image appears clear and comfortable for both eyes (range: 57–72mm).
- Adjust the diopter for individual eye focus if needed (range: +2.0 to -6.0).
- Initial Power On: Press and hold the power button to turn on the goggles. The display should activate.
- Firmware Update (Recommended): Before first use, it is highly recommended to check for and install the latest firmware updates for optimal performance and feature access. Refer to the official CADDXFPV website for instructions and downloads.
6. Operating Instructions
6.1 Basic Operation
- Power On/Off: Press and hold the power button located on the side of the goggles.
- Menu Navigation: Use the joystick and buttons (SD Button, Back Button, Record Button, Link Button) to navigate through the on-screen display (OSD) menu for settings adjustments.
- Video Input Selection: Switch between different video inputs (Walksnail digital, HDMI, AV) via the OSD menu or dedicated input button if available.
6.2 FPV Flight
- Pairing with VTX: Follow the pairing procedure outlined in your Walksnail VTX kit manual to establish a connection between the goggles and your drone's video transmitter.
- Head Tracking: Activate head tracking in the settings to control compatible gimbals or camera movements by simply moving your head. This provides a more natural and immersive flight experience.
- DVR Recording: Press the DVR button to start or stop recording your flight footage directly to an inserted SD card. Ensure a high-speed SD card is used for optimal recording quality.
6.3 External Connectivity
- HDMI Input: Connect external devices such as gaming consoles or media players via the HDMI IN port for a large-screen viewing experience.
- HDMI Output: Use the HDMI OUT port to mirror the goggle display to an external monitor or capture device for spectators or recording.
- AV Input: Connect analog FPV systems or other AV sources using the AV IN interface.
7. Maintenance
- Lens Cleaning: Use the provided lens cleaning cloth or a soft, lint-free cloth specifically designed for optics to gently clean the goggle lenses. Avoid abrasive materials or harsh chemicals.
- Exterior Cleaning: Wipe the exterior of the goggles with a soft, damp cloth. Do not submerge the goggles in water or expose them to excessive moisture.
- Storage: Store the goggles in the provided storage box in a cool, dry place away from direct sunlight and extreme temperatures.
- Firmware Updates: Regularly check the CADDXFPV official website for new firmware updates to ensure optimal performance, bug fixes, and new features.
- Battery Care: If using an external battery, follow the battery manufacturer's guidelines for charging, discharging, and storage to prolong battery life and ensure safety.
8. Troubleshooting
| Problem | Possible Cause | Solution |
|---|---|---|
| No image on display |
|
|
| Fuzzy or distorted image |
|
|
| Goggles overheating |
|
|
| DVR recording issues |
|
|
9. Specifications
| Feature | Detail |
|---|---|
| Model Name | FPV Goggles X |
| Brand | CADDXFPV |
| Display Resolution | Dual 1920x1080 HD |
| Field Of View (FOV) | 50 Degrees |
| IPD Adjustment | 57-72mm |
| Diopter Range | +2.0 to -6.0 |
| Connectivity Technology | HDMI/AV |
| Special Feature | Head Tracking |
| Item Weight | 1.85 pounds |
| Package Dimensions | 8.23 x 6.14 x 4.02 inches |
| Manufacturer | CADDXFPV |
| Color | Black |
10. Warranty and Support
For warranty information and technical support, please refer to the official CADDXFPV website or contact their customer service directly. Keep your proof of purchase for any warranty claims.
CADDXFPV Official Website: www.caddxfpv.com (Note: This is a placeholder URL, please refer to the actual manufacturer's website for accurate support information.)


