1. Introduction
This manual provides detailed instructions for the installation and operation of your BrickBling LED Light Kit, designed specifically for the LEGO 42206 Oracle Red Bull Racing RB20 F1 Car model. This kit enhances your model with vibrant lighting effects, bringing it to life. Please read these instructions carefully before beginning installation to ensure proper setup and safe use.
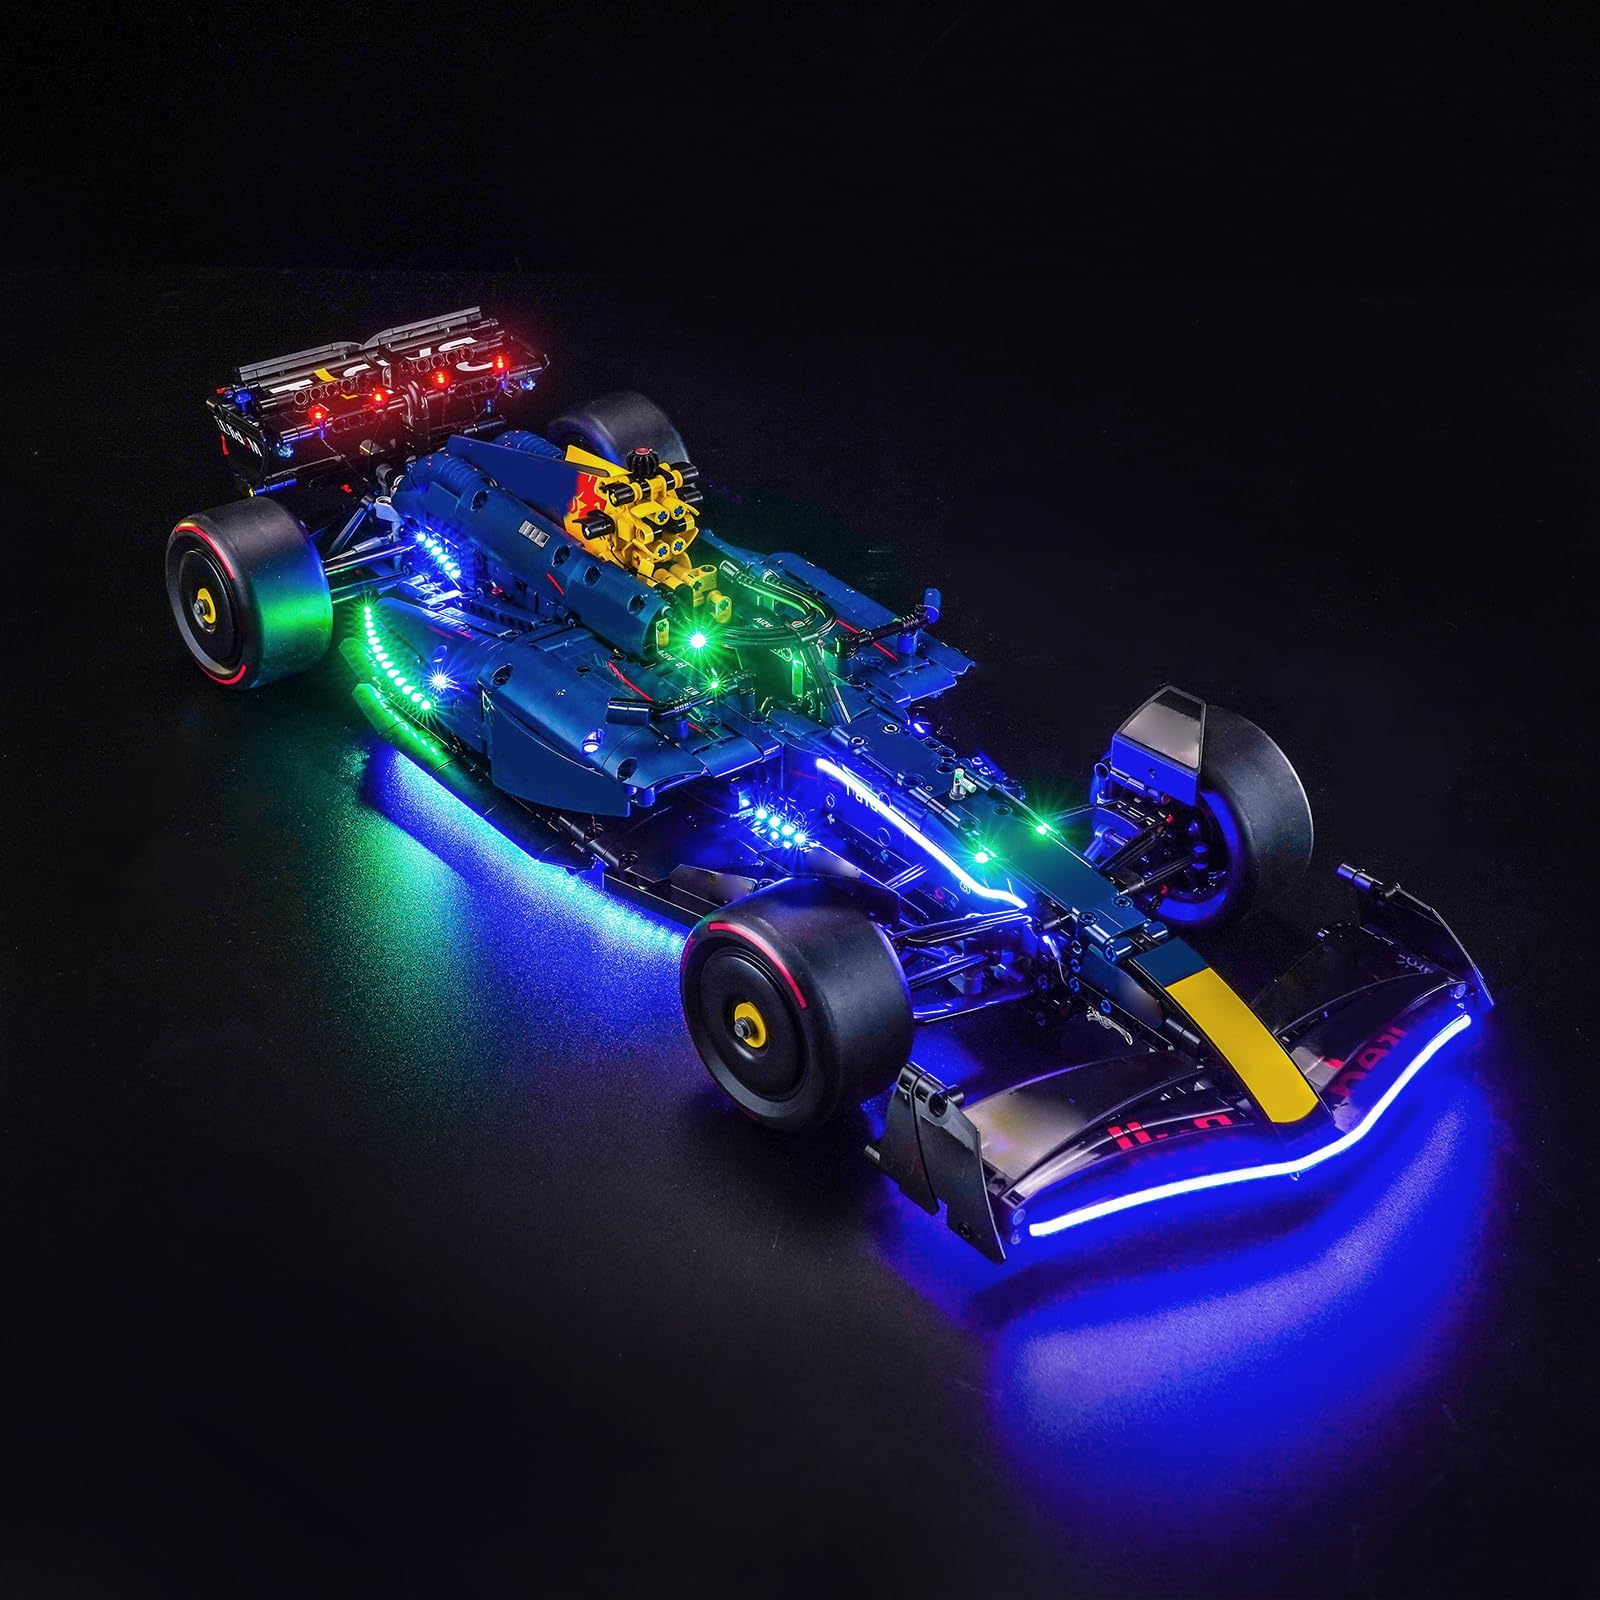
Figure 1: The LEGO 42206 Oracle Red Bull Racing RB20 F1 Car model illuminated with the BrickBling LED Light Kit.
2. Safety Information
WARNING: CHOKING HAZARD - Small parts. Not for children under 3 years.
- Always handle components with care to avoid damage.
- Ensure all connections are secure before powering on the kit.
- Do not expose the kit to water or excessive moisture.
- Keep small parts away from young children to prevent choking.
- The kit uses high-quality copper cables designed for heat and burn resistance, ensuring a safer user experience and extended service life.
3. Package Contents
Verify that all components listed below are present in your package. If any parts are missing or damaged, please contact customer support.

Figure 2: Overview of included accessories and components.
The package typically includes:
- LED Light Kits (various sizes and colors)
- Connecting Cables (various lengths)
- Expansion Boards
- Power Supply Unit (USB cable included)
- Remote Control Unit
- Instruction Manual (English Language)
4. Setup & Installation
The BrickBling LED Light Kit is designed for easy installation. All LED lights feature a uniform light pattern, and cable connections are designed to fit well. For detailed, step-by-step guidance, refer to the provided instructions.
- Prepare your LEGO model: Ensure your LEGO 42206 Oracle Red Bull Racing RB20 F1 Car model is fully assembled and ready for lighting integration.
- Identify light placement: Consult the instruction manual (PDF or video, if available from the manufacturer's website) to determine the specific locations for each LED light.
- Connect LED lights: Carefully attach the LED lights to the designated points on your model. The thin cables are designed to be discreetly routed.
- Route cables: Guide the connecting cables along the structure of your model, ensuring they are not pinched or stressed.
- Connect to expansion boards: Plug the LED light cables into the expansion boards. Ensure correct polarity if applicable.
- Connect power supply: Attach the power supply unit to the expansion boards.
- Test the lights: Before fully securing all components, connect the power source and test all lights using the remote control to ensure they function correctly.
- Finalize installation: Once tested, secure all cables and components neatly within or around the model.

Figure 3: Detailed view of LED light placement and cable routing on the model.

Figure 4: Example of side lighting installation.
5. Operating Instructions
The LED light kit features a remote control for convenient operation. This allows you to turn the lights on/off and control specific lighting effects.

Figure 5: Various lighting effects and placements.
Using the Remote Control:
- Power On/Off: Press the designated power button on the remote to turn all lights on or off.
- Partial Lighting Control: The remote control allows for partial illumination. Refer to the remote's specific buttons for controlling different sections or light groups.
- Brightness Adjustment: Use the brightness control buttons to adjust the intensity of the LED lights.
- Mode Selection: If your kit supports multiple lighting modes (e.g., steady, flashing, pulsing), use the mode selection buttons to cycle through them.
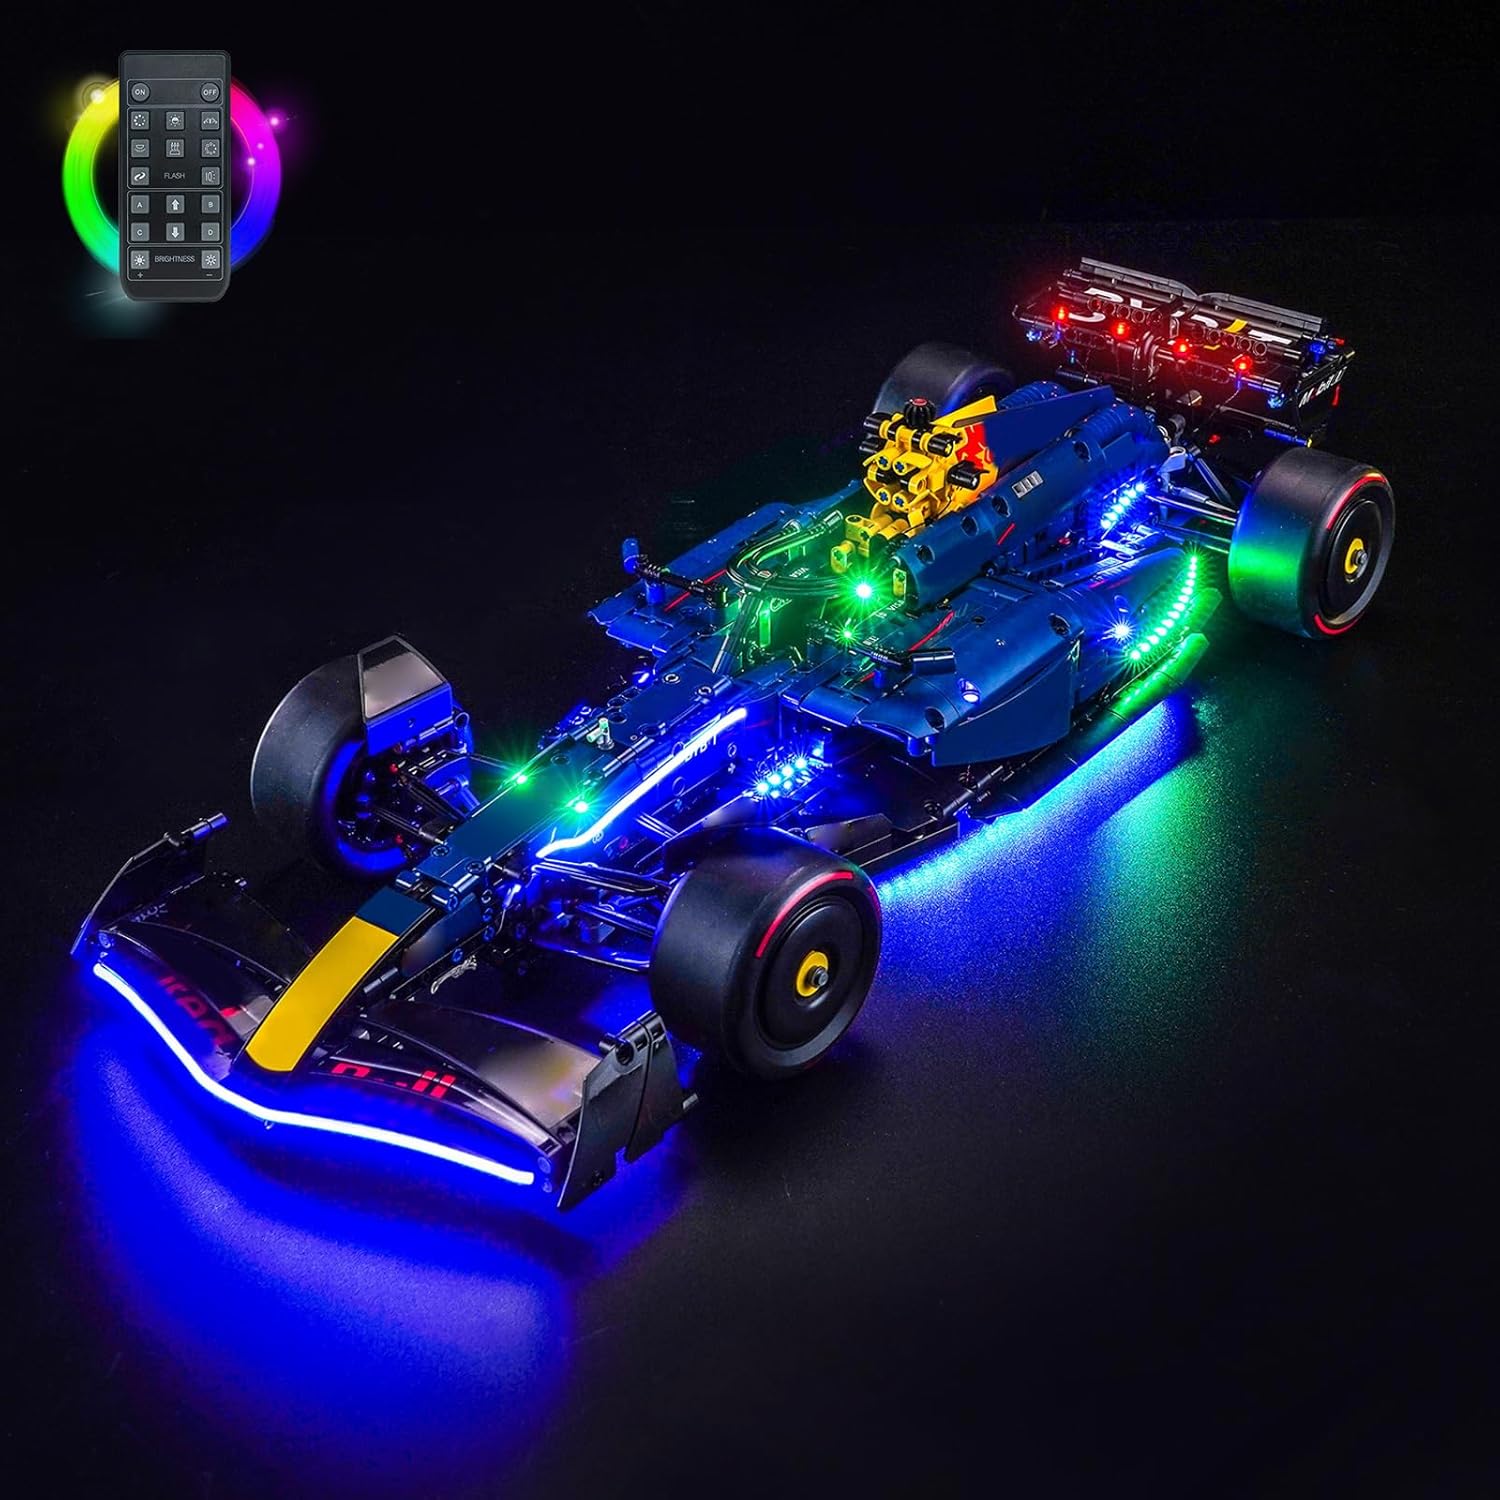
Figure 6: The remote control unit.
6. Powering the Kit
The BrickBling LED Light Kit is powered via a standard USB connection, offering flexible power options.
- USB Cable: The package includes a USB cable for power.
- Compatible Power Sources: You can power the LED lights using various USB-enabled devices, including:
- Power Bank
- Wall Charger with USB port
- USB Socket
- Laptop USB port
- Any other device equipped with a USB output port
Ensure the power source provides stable 5V DC output for optimal performance.
7. Specifications
| Feature | Detail |
|---|---|
| Brand | BrickBling |
| Model Number | DE02-42206-P85902 |
| Compatible Model | LEGO 42206 Oracle Red Bull Racing RB20 F1 Car |
| Materials | Copper Line (cables) |
| Light Source | LED (Light Emitting Diode) |
| Power Source | USB Cable (5V DC) |
| Control Method | Remote Control |
| Special Features | Remote control, partial or full light control |
| Included Components | LED lights, connecting cables, expansion boards, power supply, remote control, English instructions |
8. Troubleshooting
If you encounter any issues with your LED light kit, please refer to the following common solutions:
- Lights not turning on:
- Check if the USB power cable is securely connected to both the kit and the power source.
- Ensure the power source is active and providing power (e.g., wall outlet is working, power bank is charged).
- Verify that the remote control has working batteries and is pointed towards the receiver.
- Inspect all cable connections for looseness or damage.
- Some lights not working:
- Check the individual connections of the non-working lights to the expansion board.
- Ensure the light itself is not damaged.
- If using partial control, ensure the specific light group is enabled via the remote.
- Lights flickering:
- Ensure the power source is stable and providing sufficient current.
- Check for loose connections.
If the problem persists after trying these steps, please contact customer support for further assistance.
9. Maintenance
The BrickBling LED Light Kit requires minimal maintenance to ensure longevity and optimal performance.
- Cleaning: Gently wipe the LED lights and cables with a soft, dry cloth to remove dust. Do not use liquid cleaners directly on the electronic components.
- Storage: When not in use for extended periods, disconnect the power supply. Store the model and kit in a cool, dry place away from direct sunlight and extreme temperatures.
- Cable Care: Avoid bending or pulling the cables excessively, as this can damage the internal wiring.
10. Warranty & Support
For warranty information, technical support, or to report missing/damaged parts, please contact BrickBling customer service through their official website or the retailer where you purchased the product. Please have your model number (DE02-42206-P85902) and purchase details ready when contacting support.
The manufacturer is committed to providing a safe and enjoyable experience with their products.