1. Important Safety Instructions
Read all instructions carefully before operating the furnace. Failure to follow these safety guidelines may result in serious injury or property damage.
- Personal Protective Equipment (PPE): Always wear heat-resistant gloves, eye protection (safety glasses or face shield), and appropriate protective clothing when operating the furnace or handling hot materials.
- Ventilation: Operate the furnace in a well-ventilated area to avoid inhaling fumes from melting metals.
- Stable Surface: Place the furnace on a stable, non-combustible, and heat-resistant surface. Ensure adequate clearance from flammable materials.
- Electrical Safety: Ensure the power supply matches the furnace's requirements. Do not operate with damaged cords or plugs. Keep the power cord away from hot surfaces.
- Hot Surfaces: The furnace and its components become extremely hot during operation. DO NOT TOUCH HOT SURFACES without proper protective gear. Allow the furnace to cool completely before handling or storing.
- Crucible Handling: Use the provided crucible tongs to handle hot crucibles. Ensure a secure grip before lifting.
- Material Compatibility: Only melt materials with a melting point below 1100°C (2102°F). Do not melt unknown materials or those that may produce hazardous fumes.
- Supervision: Never leave the furnace unattended during operation.
- Emergency Procedures: Know how to safely shut off the furnace in an emergency. Have a fire extinguisher suitable for metal fires readily available.
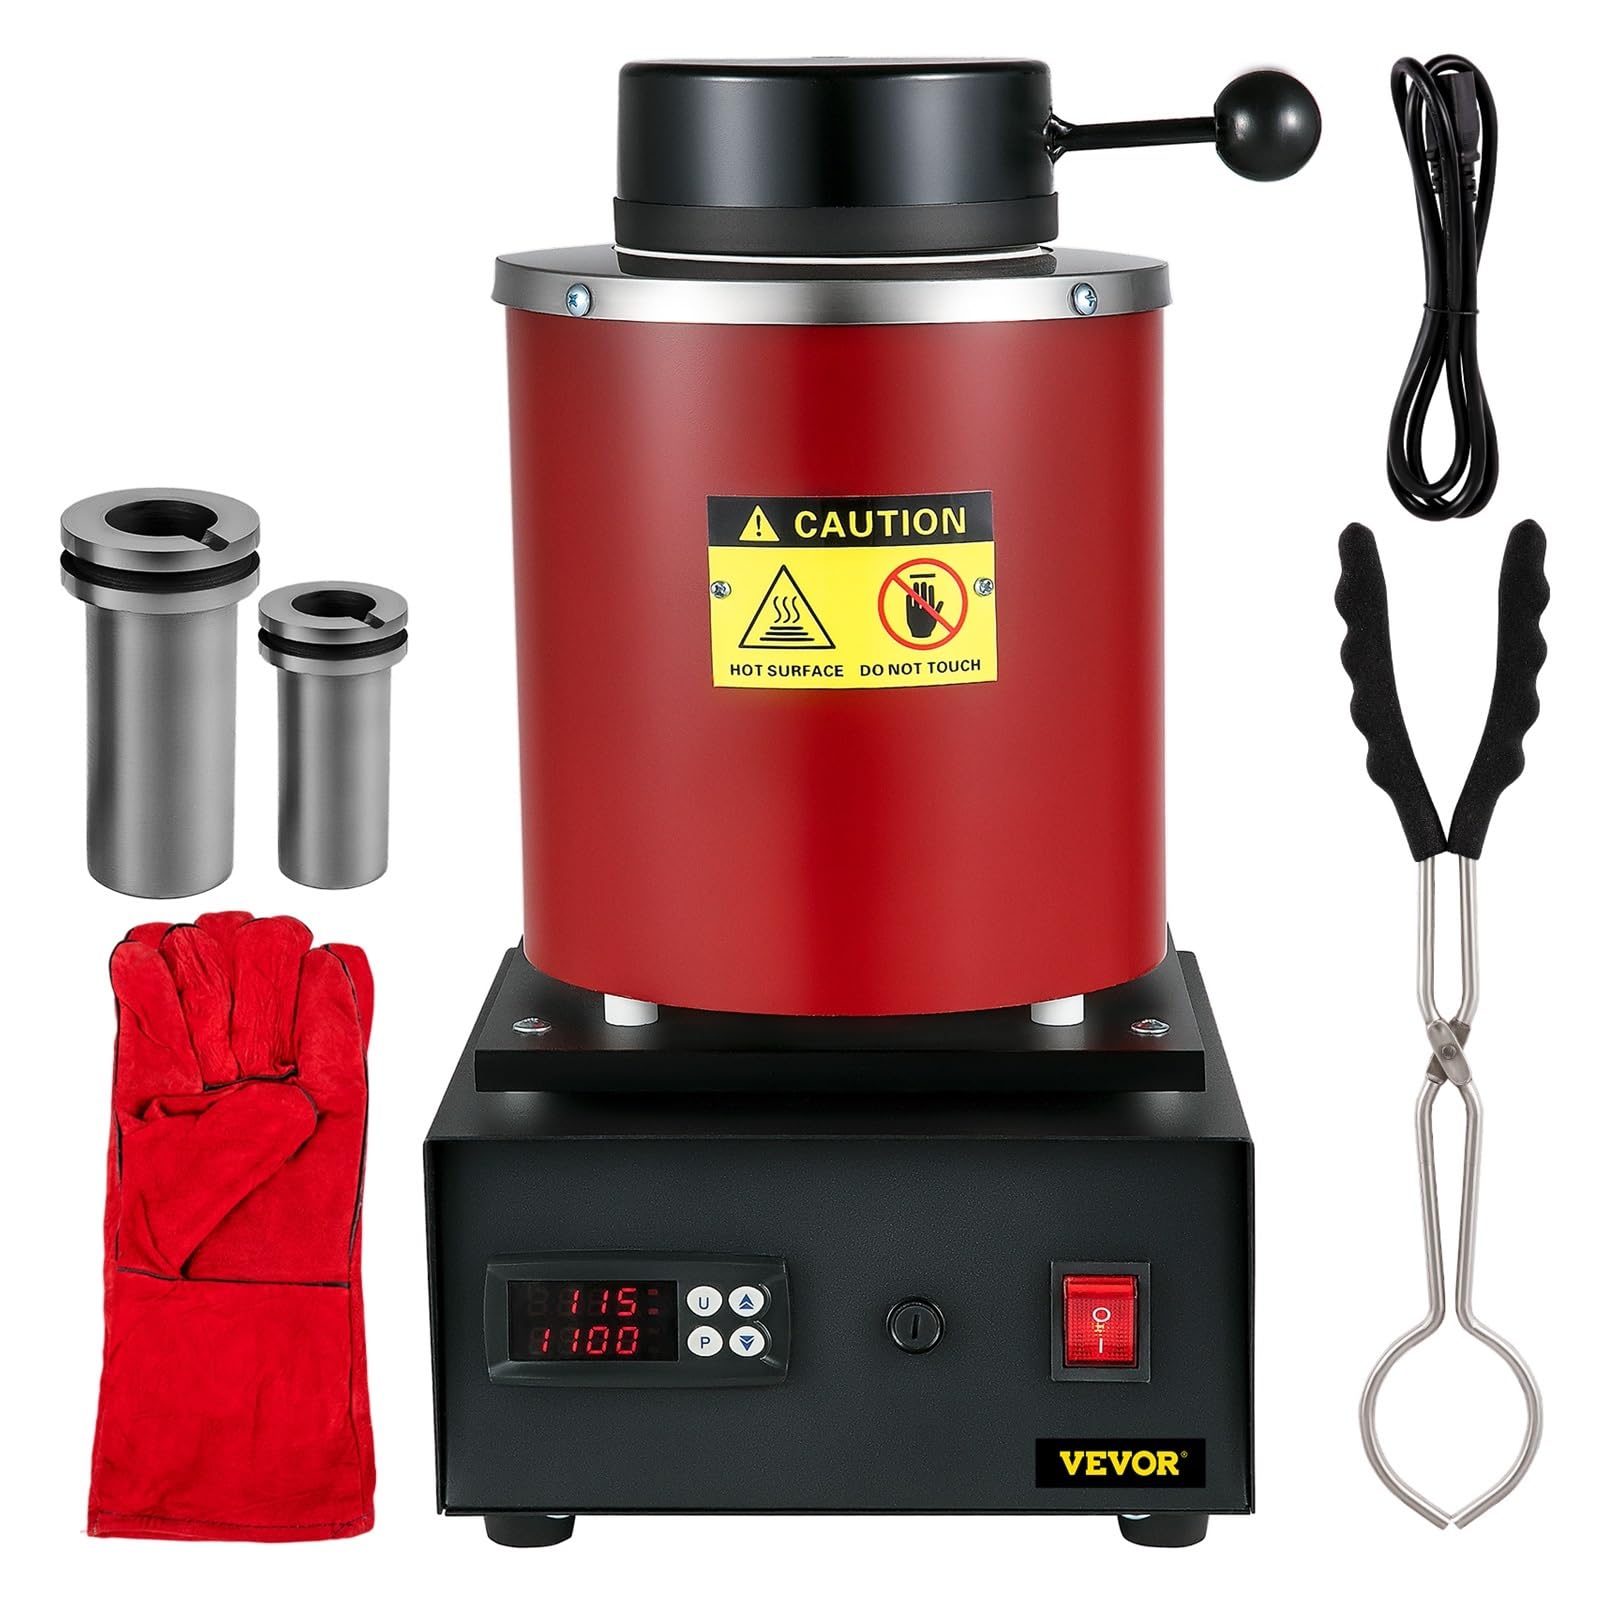
Image 1: Overview of the BUUBO GF1100ND3 Electric Metal Melting Furnace and included accessories, highlighting the main unit, crucibles, power cable, protective gloves, and crucible tongs.
2. Package Contents
Verify that all items listed below are present in your package:
- 1 x Electric Melting Furnace Unit
- 1 x 1 KG Graphite Crucible
- 1 x 3 KG Graphite Crucible
- 1 x Graphite Ingot Die
- 1 x Crucible Tong
- 1 x Pair of Protective Gloves
- 1 x Power Cable
- 1 x Product Manual (this document)
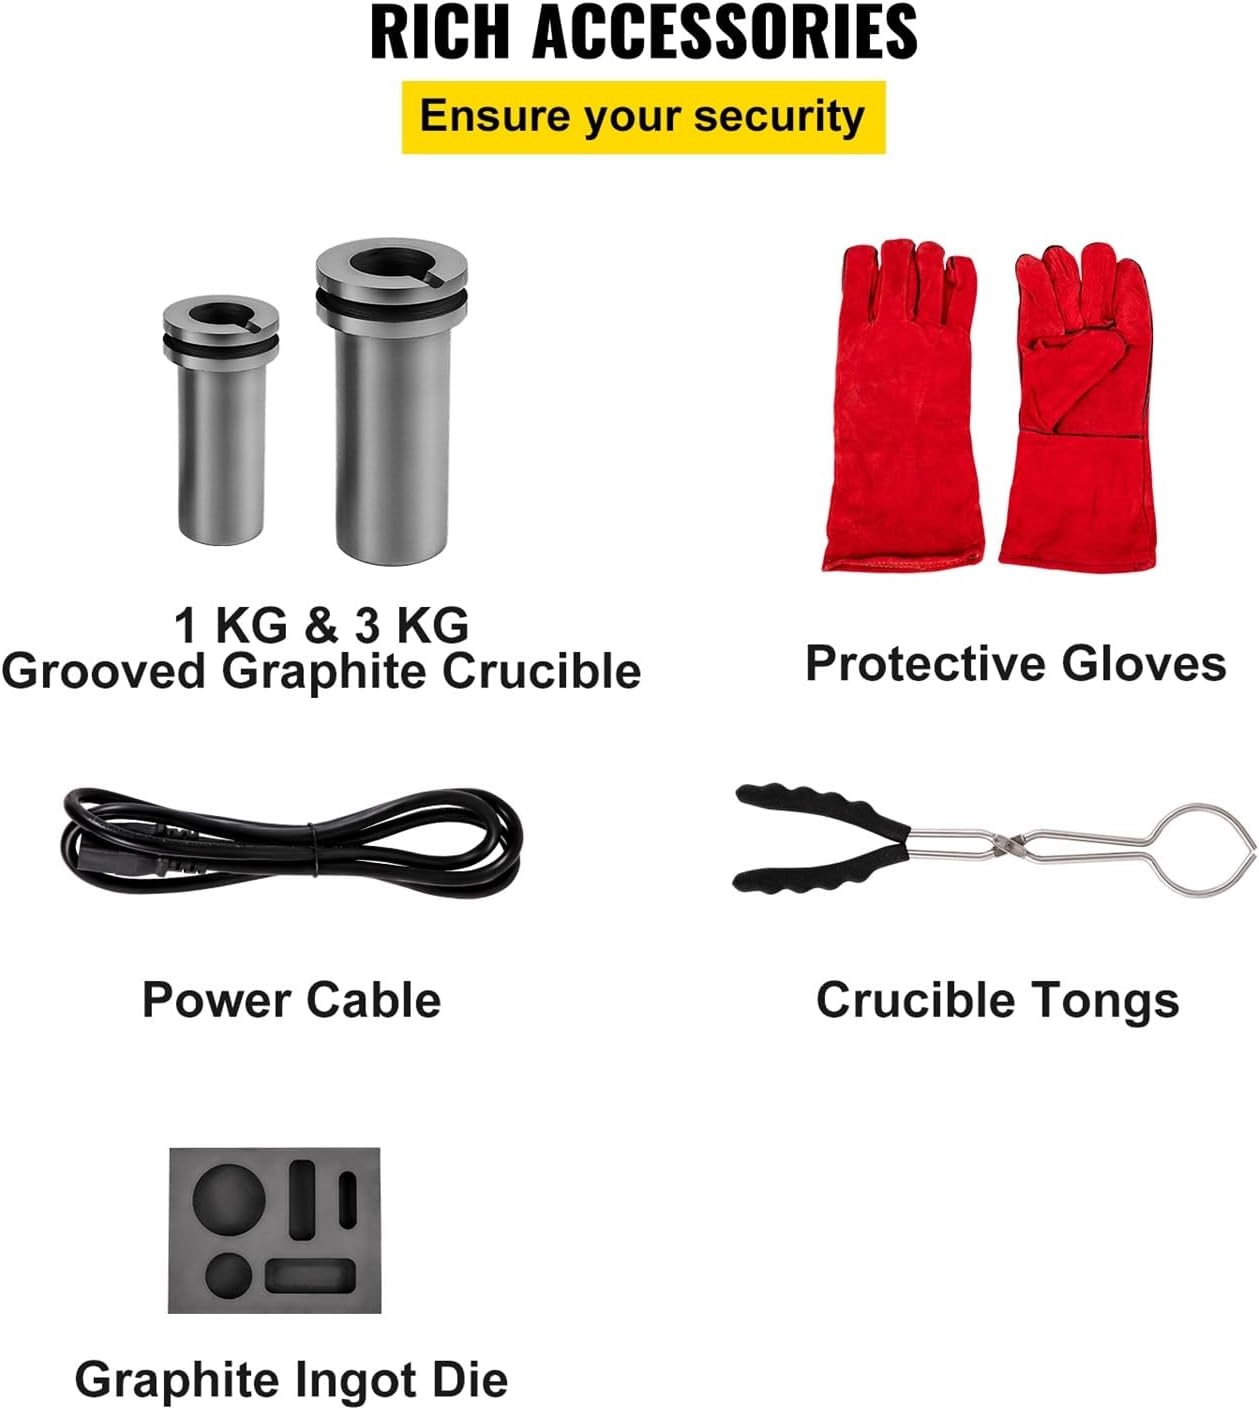
Image 2: A visual representation of the accessories included with the furnace, such as the 1KG and 3KG graphite crucibles, protective gloves, power cable, crucible tongs, and a graphite ingot die.
3. Specifications
Technical specifications for the BUUBO GF1100ND3 Electric Metal Melting Furnace:
| Feature | Specification |
|---|---|
| Model | GF1100ND3 |
| Crucible Capacity (1 KG) | 2.2 lbs (1 kg) |
| Crucible Capacity (3 KG) | 6.6 lbs (3 kg) |
| Max. Heating Temperature | 1150 °C (2102 °F) |
| Power Input | 1750 W |
| Heating Range Accuracy | ±1 °C |
| 1 KG Crucible Internal Dimensions (Dia. x H) | 3.8 x 11.5 cm (1.5" x 4.53") |
| 1 KG Crucible External Dimensions (Dia. x H) | 6.5 x 12.5 cm (2.56" x 4.92") |
| 3 KG Crucible Internal Dimensions (Dia. x H) | 5 x 16 cm (1.97" x 6.3") |
| 3 KG Crucible External Dimensions (Dia. x H) | 7.5 x 17 cm (2.95" x 6.7") |
| Item Dimensions (L x W x H) | 38 x 24 x 21 cm (14.96" x 9.45" x 8.27") |
| Item Weight | 7.1 kg (15.65 lbs) |
| Crucible Material | High-Purity Graphite |
| Lid & Inner Tank Material | High-Quality Quartz |

Image 3: Close-up view illustrating the grooved graphite crucible for good thermal conductivity and the premium quartz insulation for efficient heat retention.
4. Setup
- Unpacking: Carefully remove all components from the packaging. Inspect for any shipping damage.
- Placement: Position the furnace on a flat, stable, non-combustible, and heat-resistant surface. Ensure there is ample space around the furnace for ventilation and safe operation. Keep it away from any flammable materials.
- Crucible Insertion: Place the desired graphite crucible (1KG or 3KG) into the furnace chamber. Ensure it sits securely at the bottom.
- Power Connection: Connect the power cable to the furnace and then plug it into a suitable grounded electrical outlet. Ensure the power switch on the furnace is in the 'OFF' position before plugging in.
5. Operating Instructions
Follow these steps for safe and efficient metal melting:
- Preparation: Ensure you are wearing all necessary Personal Protective Equipment (PPE), including heat-resistant gloves, eye protection, and protective clothing.
- Load Material: Carefully place the metal to be melted into the graphite crucible. Do not overfill the crucible.
- Close Lid: Securely close the furnace lid.
- Power On: Flip the main power switch to the 'ON' position. The LED display will illuminate.
- Set Temperature: Use the control panel buttons (typically 'U' for up, 'D' for down, 'P' for program/set) to set your desired melting temperature. The furnace features a PID module and digital control system for precise temperature management, monitoring the chamber's temperature at 2-second intervals. The K-type thermocouple ensures accurate measurement.
- Start Heating: Once the temperature is set, the furnace will begin heating. The display will show the current temperature. The high-temperature alloy heating wire ensures fast and efficient heating, reaching maximum temperature quickly.
- Melting Process: Monitor the melting process. The furnace can melt metals with a melting point below 1100°C (2102°F) in approximately 45 minutes, depending on the metal and quantity.
- Pouring Molten Metal: Once the metal is fully molten, turn off the furnace. Using the crucible tongs, carefully lift the crucible from the furnace and pour the molten metal into your desired mold (e.g., the graphite ingot die). Exercise extreme caution as molten metal is very hot and can cause severe burns.
- Cool Down: After pouring, place the empty crucible back into the furnace or on a heat-resistant surface to cool. Allow the furnace to cool down completely before attempting any cleaning or maintenance.

Image 4: The LED display with touchpad controls, allowing for easy and precise temperature setting and monitoring during the melting process, utilizing PID technology.

Image 5: Depiction of the furnace's rapid heating capability, reaching up to 1150°C (2102°F), and the efficient smelting process for various metals.

Image 6: The electric melting furnace in operation, demonstrating its ability to melt precious metals such as gold, silver, copper, and aluminum.
6. Maintenance
Proper maintenance ensures the longevity and safe operation of your furnace:
- Cleaning: Always ensure the furnace is completely cool and unplugged before cleaning. Use a soft, dry cloth to wipe down the exterior. Do not use abrasive cleaners or solvents.
- Crucible Care: Graphite crucibles are consumables. Inspect them for cracks or damage before each use. Replace crucibles when they show signs of wear or damage to prevent leaks of molten metal. Store crucibles in a dry place.
- Chamber Inspection: Periodically inspect the quartz chamber for any signs of damage or excessive residue. The quartz chamber with cooling holes facilitates heat dissipation.
- Storage: Store the furnace in a dry, dust-free environment when not in use.
7. Troubleshooting
Refer to this section for common issues and their solutions:
- Furnace Does Not Turn On:
- Check if the power cable is securely plugged into both the furnace and the electrical outlet.
- Ensure the main power switch is in the 'ON' position.
- Verify that the electrical outlet is functional.
- Furnace Not Heating to Set Temperature:
- Ensure the lid is properly closed to prevent heat loss.
- Check if the set temperature is within the furnace's maximum operating range (1150°C / 2102°F).
- Allow sufficient time for the furnace to reach the target temperature. Heating times vary based on ambient temperature and material load.
- If the issue persists, contact customer support.
- Temperature Display Error:
- Ensure the K-type thermocouple is correctly installed and not damaged.
- If an error code appears on the display, refer to the specific error code documentation (if provided separately) or contact customer support.
- Smoke or Unusual Odor:
- Immediately turn off the furnace and unplug it.
- Ensure the area is well-ventilated.
- Inspect the furnace and crucible for any foreign materials or damage.
- Only melt appropriate metals.
8. Warranty and Support
For warranty information, technical support, or service inquiries, please refer to the warranty card included with your product or contact BUUBO customer service directly. Keep your purchase receipt as proof of purchase.
Contact information can typically be found on the manufacturer's official website or on the product packaging.


