Introduction
The Joyroom JR-JH1 Wireless Bluetooth Headphones with Active Noise Cancellation are designed to provide high-quality audio, advanced noise cancellation, and exceptional comfort. With a sleek, foldable design and long-lasting battery, these headphones are suitable for various environments, including home, office, and travel. Enjoy an immersive audio experience with the JR-JH1, featuring intuitive controls and powerful 40mm drivers.
Package Contents
- Joyroom JR-JH1 Wireless Bluetooth Headphones
- User Manual
- Ear Cushions (pre-installed)
- Charging Cable (USB-C, not explicitly listed but implied for charging)
- Travel Case (implied from description)
Product Overview
Familiarize yourself with the components of your Joyroom JR-JH1 headphones.
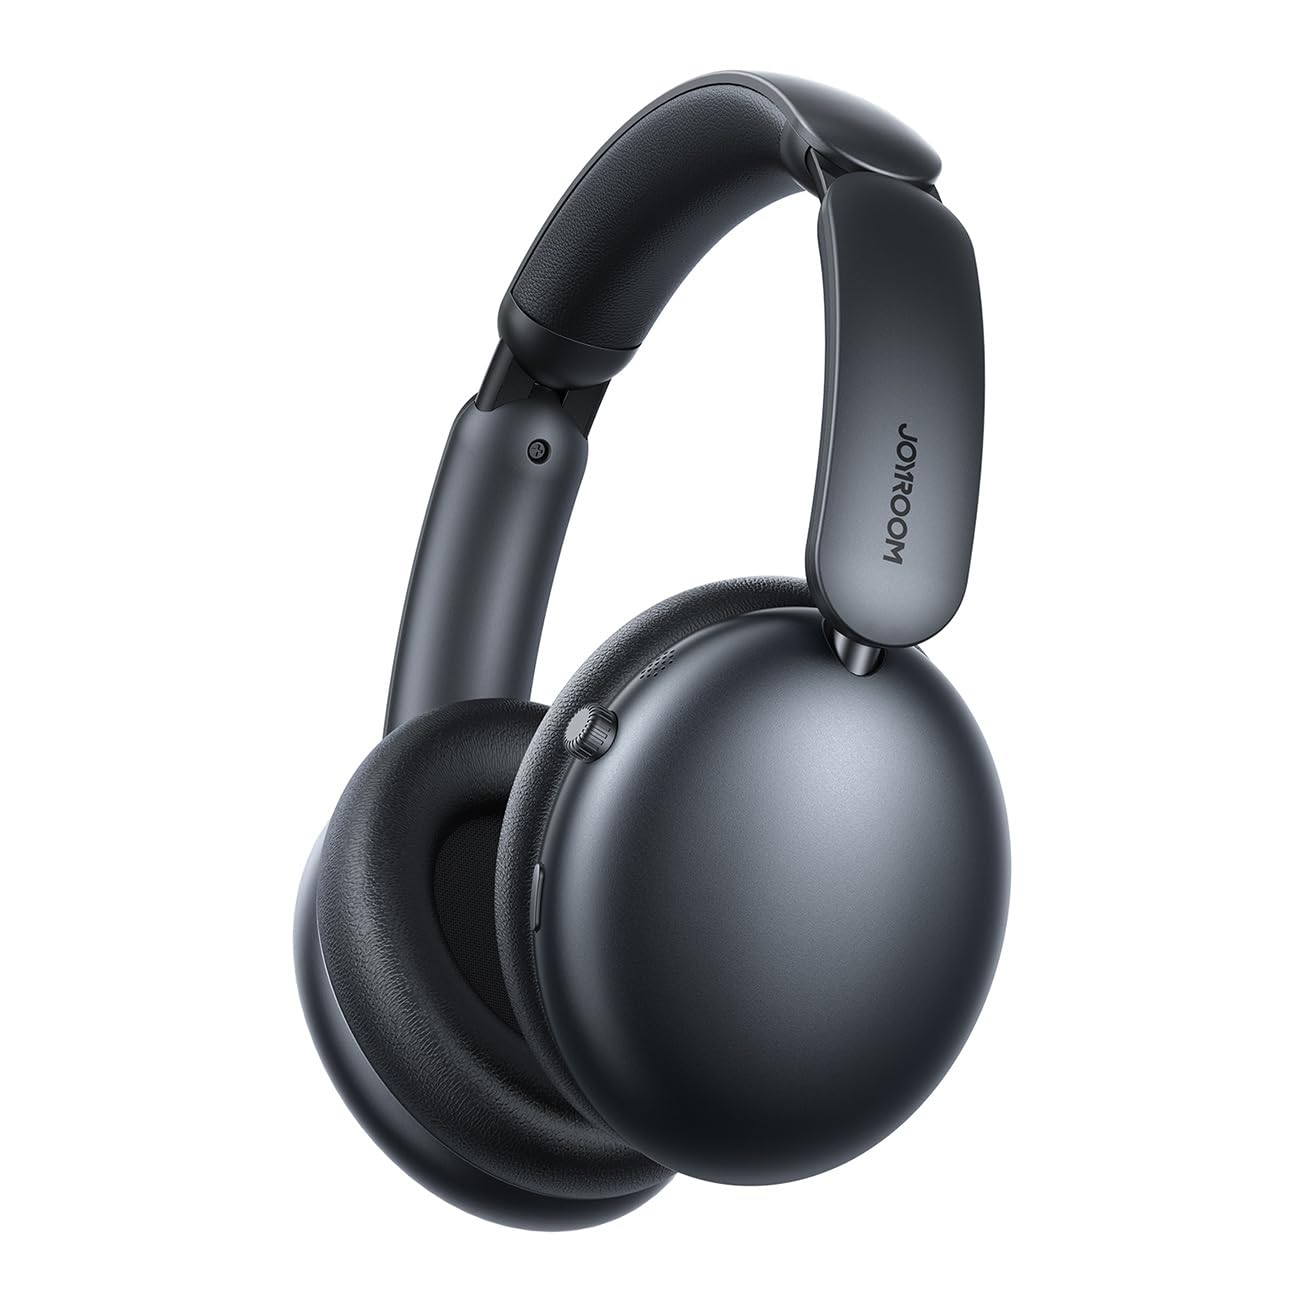
Figure 1: Front view of the Joyroom JR-JH1 headphones, showcasing the earcups and adjustable headband.
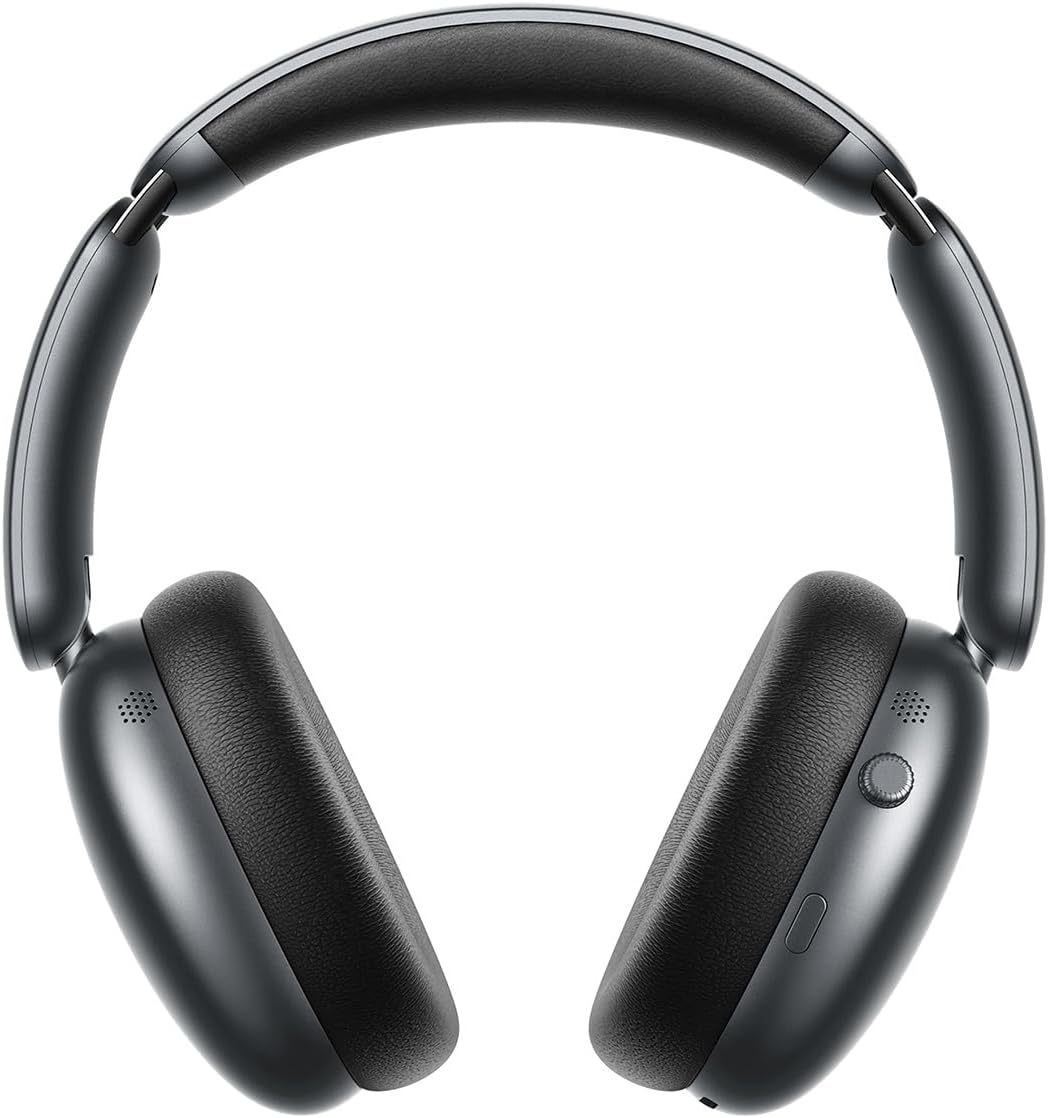
Figure 2: Side view of the Joyroom JR-JH1 headphones, highlighting the digital crown and other control buttons on the earcup.

Figure 3: Bottom view of the Joyroom JR-JH1 headphones, illustrating the charging port and any auxiliary input ports.
The headphones feature soft memory foam ear cushions and an automatically adjustable headband for extended comfort. The foldable design allows for easy portability and storage in the included travel case.
Setup
1. Charging the Headphones
Before first use, fully charge your headphones. A full charge takes approximately 1.5 to 2 hours.
- Connect the charging cable to the charging port on the headphones (refer to Figure 3 for port location).
- Connect the other end of the cable to a USB power source (e.g., wall adapter, computer USB port).
- The LED indicator will show charging status (e.g., red for charging, blue/off for fully charged).
2. Bluetooth Pairing
Pair your headphones with your device to enable wireless audio.
- Ensure the headphones are charged and powered off.
- Press and hold the Power button (usually located on one of the earcups) until the LED indicator flashes rapidly (e.g., blue and red alternately), indicating pairing mode.
- On your device (smartphone, tablet, laptop, etc.), go to Bluetooth settings and turn Bluetooth on.
- Search for available devices. Select "JR-JH1" from the list.
- Once connected, the LED indicator on the headphones will typically show a solid blue light or flash slowly.
The headphones use Bluetooth 5.4 for a stable and efficient connection. They are compatible with desktop computers, tablet computers, laptops, mobile phones, and game controllers.
Operating Instructions
Power On/Off
- Power On: Press and hold the Power button for approximately 3 seconds until the LED indicator lights up.
- Power Off: Press and hold the Power button for approximately 5 seconds until the LED indicator turns off.
Music Playback
- Play/Pause: Press the Multi-function button (often the Power button or a dedicated play/pause button).
- Volume Up/Down: Rotate the digital crown upwards to increase volume, downwards to decrease volume.
- Next Track: Double-press the Multi-function button.
- Previous Track: Triple-press the Multi-function button.
Call Management
- Answer/End Call: Press the Multi-function button once.
- Reject Call: Press and hold the Multi-function button for 2 seconds.
Active Noise Cancellation (ANC)
The JR-JH1 features Hybrid Active Noise Cancellation, reducing ambient noise by up to -40dB.
- Activate/Deactivate ANC: Press the dedicated ANC button (refer to product diagram for location). The LED indicator for ANC will illuminate when active.
- Transparency Mode: Some models may feature a transparency mode. If available, a short press of the ANC button might cycle through ANC On, Transparency Mode, and ANC Off.

Figure 4: Exploded view illustrating the internal components, including the 40mm drivers and ANC technology.
Maintenance
Cleaning
- Use a soft, dry cloth to clean the exterior of the headphones.
- For ear cushions, gently wipe with a slightly damp cloth and allow to air dry completely before use. Do not use harsh chemicals or abrasive materials.
Storage
- When not in use, store the headphones in their travel case to protect them from dust and damage.
- Avoid storing in extreme temperatures or high humidity.
Troubleshooting
| Problem | Possible Cause | Solution |
|---|---|---|
| Headphones do not power on. | Low battery. | Charge the headphones fully. |
| No sound. | Not paired, volume too low, device issue. | Ensure headphones are paired. Increase headphone and device volume. Check device audio output settings. |
| Cannot pair with device. | Headphones not in pairing mode, device Bluetooth off, interference. | Put headphones in pairing mode. Ensure device Bluetooth is on. Move closer to the device. Turn off other Bluetooth devices. |
| ANC not effective. | ANC not activated, improper fit. | Ensure ANC is turned on. Adjust headphones for a snug fit over your ears. |
Specifications
| Feature | Detail |
|---|---|
| Model | JR-JH1 |
| Connectivity Technology | Wireless |
| Wireless Communication | Bluetooth 5.4 |
| Noise Control | Hybrid Active Noise Cancellation (up to -40dB) |
| Drivers | 40mm |
| Impedance | 32 Ohm |
| Sensitivity | 110 dB |
| Frequency Response | 2480 MHz |
| Charging Time | Approx. 1.5 - 2 hours |
| Battery Life (Normal Mode) | Up to 120 hours |
| Battery Life (ANC Mode) | Up to 70 hours |
| Control Type | Button Control, Digital Crown |
| Ear Placement | Over-Ear |
| Material | Acrylonitrile Butadiene Styrene (ABS) |
| Item Weight | 234 grams |
| Water Resistance Level | Not water resistant |
| Product Dimensions | 19.6 x 18.26 x 8 cm |
| Manufacturer | Joyroom |
| Country of Origin | China |
Safety Information
- Do not expose headphones to extreme temperatures, humidity, or liquids.
- Avoid listening at high volumes for extended periods to prevent hearing damage.
- Do not attempt to disassemble or modify the headphones. This may void the warranty and cause damage.
- Keep out of reach of children.
Warranty and Support
For warranty information and customer support, please refer to the warranty card included in your product packaging or visit the official Joyroom website. Keep your purchase receipt as proof of purchase for warranty claims.


