1. Introduction
Thank you for choosing the Tibuta Android 13 Tablet. This manual provides essential information to help you set up, operate, and maintain your device. Please read this manual carefully before using your tablet to ensure optimal performance and longevity.
2. What's in the Box
Upon unpacking, please verify that all the following items are included:
- Tibuta Android 13 Tablet
- Charger
- USB Cable
- User's Manual (this document)
- Warranty Card
3. Product Overview
Familiarize yourself with the physical components of your Tibuta tablet.

Figure 3.1: Tablet Components (Side View)
This image illustrates the location of the power button, Type-C port, volume controls, Micro SD card slot, camera, reset button, headphone jack, and speakers on the tablet's exterior.

Figure 3.2: Tablet Components (Front and Back View)
This image provides a detailed view of the tablet, highlighting the speaker, front camera, reset button, volume controls, power button, 3.5mm headphone jack, rear camera, SD card slot, and Type-C port. It also shows the included power adapter and Type-C cable.
4. Setup
4.1 Initial Charging
Before first use, fully charge your tablet using the provided charger and USB cable. Connect the Type-C cable to the tablet's Type-C port and the charger to a power outlet. The battery indicator on the screen will show charging progress.
4.2 Power On/Off
- To Power On: Press and hold the Power button (refer to Figure 3.1 or 3.2) until the screen lights up.
- To Power Off: Press and hold the Power button until a menu appears. Select 'Power off' and confirm.
- To Restart: From the same menu, select 'Restart'.
4.3 Initial Configuration
Upon first power-on, follow the on-screen prompts to set up your tablet. This includes selecting your language, connecting to a Wi-Fi network, and signing in with your Google account. A Google account is required to download apps from the Google Play Store.
4.4 Inserting a Micro SD Card
To expand storage, insert a Micro SD card (up to 1TB, not included) into the Micro SD card slot (refer to Figure 3.1 or 3.2). Ensure the tablet is powered off before inserting or removing the card.
5. Operating Instructions
5.1 Basic Navigation
The tablet features a sensitive touchscreen. Use standard Android gestures:
- Tap: Select an item or open an app.
- Swipe: Scroll through pages or lists.
- Pinch: Zoom in or out on images and web pages.
- Long Press: Access contextual menus or move icons.
5.2 Connecting to Wi-Fi
Go to Settings > Network & internet > Wi-Fi. Turn on Wi-Fi, select your desired network, and enter the password if prompted. The tablet supports 2.4G and 5G Wi-Fi (802.11ac, 802.11b, 802.11g, 802.11n).
5.3 Bluetooth Pairing
To connect Bluetooth devices (e.g., headphones, keyboard, mouse):
- Go to Settings > Connected devices > Connection preferences > Bluetooth.
- Turn on Bluetooth.
- Ensure your Bluetooth device is in pairing mode.
- Select your device from the list and follow any on-screen instructions to complete pairing.
5.4 Camera Usage
The tablet is equipped with a 5MP front camera and an 8MP rear camera. Open the Camera app to capture photos and videos. The rear camera features PDAF Phase Auto-focus and an LED flash.

Figure 5.1: Camera and Split-Screen Functionality
This image demonstrates the tablet's dual camera capabilities for capturing moments and its split-screen feature for multitasking, such as video calls while viewing documents.
5.5 Split-Screen Function
The Android 13 operating system supports split-screen mode, allowing you to use two applications simultaneously. To activate, open an app, then swipe up from the bottom of the screen to access recent apps. Long-press the app icon at the top of the window and select 'Split screen'. Choose a second app to open alongside it.
5.6 Customization and Personalization
Android 13 offers extensive customization options. You can personalize your tablet by changing wallpapers, adding widgets to your home screen, and organizing app icons to suit your preferences.
Figure 5.2: Customizable Interface
This image highlights the ability to customize widgets and change app icons, allowing users to personalize their tablet experience.
5.7 Eye Protection Mode
To reduce eye strain, especially during prolonged use, activate the eye protection mode. This feature reduces the amount of blue light emitted by the screen. You can usually find this option in the Quick Settings panel or under Settings > Display.
Figure 5.3: Eye Protection Feature
This image demonstrates the tablet's eye protection mode, which reduces blue light to prevent discomfort during extended viewing.
5.8 Wireless Projection
The tablet supports wireless projection, allowing you to cast your screen to compatible larger display devices such as smart TVs or projectors. This is ideal for presentations or sharing media with others.
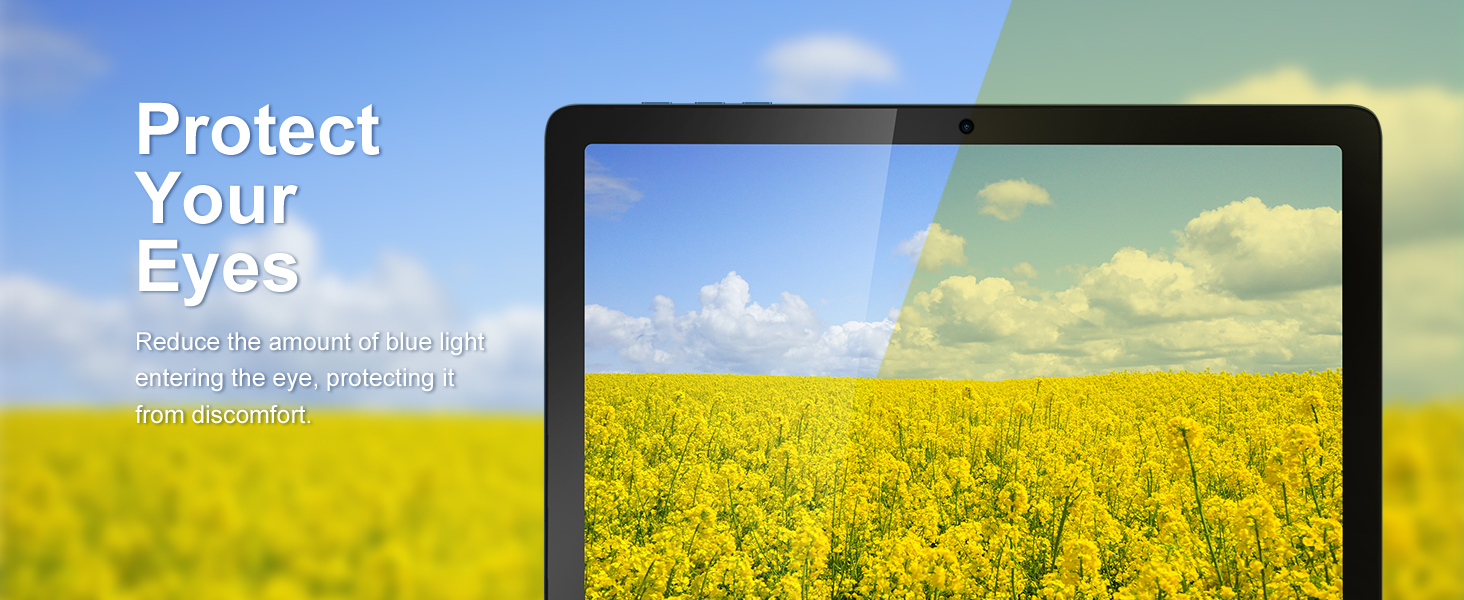
Figure 5.4: Wireless Projection in Use
This image depicts the tablet's wireless projection capability, enabling users to connect to larger screens for shared viewing experiences.
5.9 GPS Functionality
The tablet includes GPS for navigation and location-based services. Ensure location services are enabled in Settings > Location for optimal performance with mapping applications.

Figure 5.5: GPS Navigation
This image shows the tablet utilizing GPS for navigation, displaying a map with a highlighted route.
5.10 Media Consumption and Gaming
The 10.1-inch IPS HD display (1280x800 pixels) and Octa-Core processor provide a smooth experience for watching videos and playing games. The tablet supports Widevine L1 for high-definition streaming content. The Mali-G52 MC2 GPU enhances gaming performance.

Figure 5.6: Enhanced Gaming Experience
This image highlights the tablet's improved gaming performance, featuring gyroscope motion control and a Mali-G72 GPU for a responsive gaming experience.
6. Maintenance
6.1 Cleaning the Device
Use a soft, lint-free cloth to clean the screen and body of the tablet. Avoid using harsh chemicals or abrasive materials that could damage the surfaces.
6.2 Battery Care
The tablet is equipped with a 7000mAh battery, providing approximately 8 hours of average use. To prolong battery life:
- Avoid extreme temperatures.
- Do not let the battery completely drain frequently.
- Use the provided charger.
- Adjust screen brightness to a comfortable level.
6.3 Software Updates
Your tablet runs on Android 13. Periodically check for system updates in Settings > System > System update to ensure you have the latest features and security patches.
6.4 Storage Management
The tablet comes with 64GB of internal storage (ROM) and 4GB of RAM. You can expand storage up to 1TB using a Micro SD card. Regularly manage your files and uninstall unused applications to maintain optimal performance.
7. Troubleshooting
Here are solutions to common issues you might encounter:
- Device not turning on: Ensure the battery is charged. If not, connect the charger and wait a few minutes before attempting to power on again.
- Slow performance: Close unused applications, clear cache, or restart the tablet. Consider freeing up storage space.
- Wi-Fi connectivity issues: Check if Wi-Fi is enabled. Restart your router and the tablet. Ensure you are within range of the Wi-Fi signal.
- Apps crashing: Ensure apps are updated to their latest versions. Clear the app's cache or data in Settings > Apps. If the issue persists, uninstall and reinstall the app.
- Screen unresponsive: Perform a forced restart by holding the Power button for approximately 10-15 seconds.
8. Specifications
Detailed technical specifications for the Tibuta Android 13 Tablet (Model A20 8GB+64GB):
| Feature | Specification |
|---|---|
| Brand | Tibuta |
| Model Name | A20 |
| Model Number | 8GB+64GB |
| Operating System | Android 13 |
| Processor Brand | MediaTek Octa-Core |
| Processor Speed | 1.3 GHz |
| Screen Size | 10.1 Inches |
| Screen Resolution | 1280 x 800 Pixels (IPS HD) |
| RAM | 4 GB |
| Storage Capacity | 64 GB (Expandable up to 1TB via Micro SD) |
| Graphics Chipset Brand | PowerVR |
| GPU | Mali-G52 MC2 |
| Connectivity | Bluetooth, Wi-Fi (802.11ac, 802.11b, 802.11g, 802.11n) |
| Wireless Technology | 2.4GHz + 5GHz Wi-Fi, Bluetooth 4.2 |
| Connector Type | USB Type-C |
| Battery Life (Average) | 8 hours |
| Item Dimensions (L x W x H) | 24.8 x 16.7 x 1.2 centimeters |
| Item Weight | 538.8 Grams |
| Front Camera | 5 MP |
| Rear Camera | 8 MP |
9. Warranty and Support
9.1 Manufacturer's Warranty
The Tibuta Android 13 Tablet comes with a 1-year manufacturer's warranty. Please refer to the included Warranty Card for detailed terms and conditions.
9.2 Customer Support
If you encounter any issues not covered in this manual or require further assistance, please contact Tibuta customer support. Contact information can typically be found on the manufacturer's website or the warranty card.


