
Oregon 55-360
Oregon Universal Fixed Line Trimmer Head
Model: 55-360
User Instruction Manual
Introduction
This manual provides essential information for the safe and effective use of your Oregon Universal Fixed Line Trimmer Head (Model 55-360). This trimmer head is designed to cut low grass, high grass, and weeds, offering a universal fit for most gas trimmers and some battery trimmer models. It features a fixed line design for quick and easy line installation and is built with pro-grade premium parts for durability.
Please read this manual thoroughly before installation and operation to ensure proper use and to maximize the lifespan of your product.
Safety Information
Always prioritize safety when working with power tools. Failure to follow these safety instructions may result in serious injury or property damage.
- Read the Trimmer Manual: Always refer to your string trimmer's instruction manual for specific safety guidelines and operating procedures before installing or using this trimmer head.
- Wear Personal Protective Equipment (PPE): Always wear appropriate eye protection (safety glasses or goggles), hearing protection, heavy-duty gloves, long pants, and sturdy footwear when operating a string trimmer.
- Clear the Work Area: Before starting, inspect the area for debris, rocks, wires, or other objects that could be thrown by the trimmer head. Clear children, pets, and bystanders from the work area.
- Inspect Before Use: Before each use, inspect the trimmer head and line for any damage, cracks, or excessive wear. Replace any damaged components immediately.
- Proper Line Installation: Ensure the trimmer line is correctly installed and secured in the eyelets as per the instructions to prevent it from slipping out during operation.
- Maintain Control: Always maintain a firm grip on the trimmer and operate it with both hands.
- Avoid Contact: Keep hands, feet, and other body parts away from the rotating trimmer head.
- Storage: Store the trimmer head in a dry, safe place away from children and unauthorized users.
Package Contents
Your Oregon Universal Fixed Line Trimmer Head package should contain the following items:
- Oregon Universal Fixed Line Trimmer Head (Model 55-360)
- Assortment of adaptors for universal fit
- Pre-cut trimmer line (may vary by package)
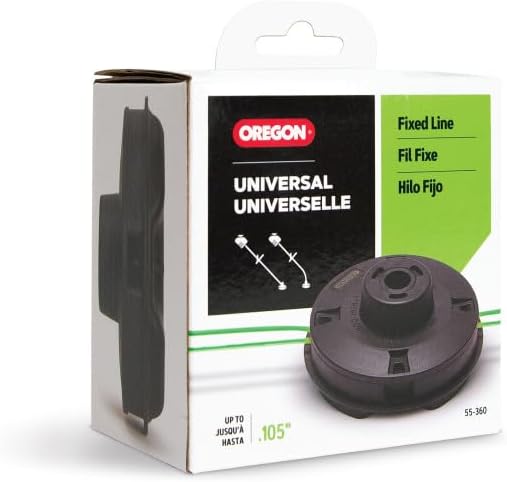
Image: The Oregon Universal Fixed Line Trimmer Head shown in its retail packaging, indicating its model number and line compatibility.
Setup and Installation
1. Attaching the Trimmer Head to Your Trimmer
The Oregon Universal Fixed Line Trimmer Head is designed for universal fit and includes various adaptors to ensure compatibility with most gas trimmers and some battery trimmer models. Refer to your trimmer's manual for specific instructions on removing the existing head and attaching a new one.
- Identify the correct adaptor from the included assortment that matches your trimmer's shaft.
- Securely attach the Oregon trimmer head using the appropriate adaptor and hardware, ensuring it is tightened according to your trimmer's specifications.
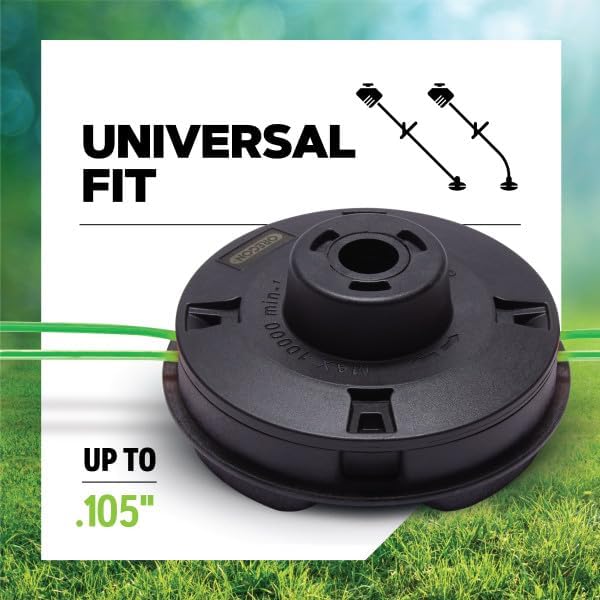
Image: The Oregon Universal Fixed Line Trimmer Head highlighting its universal fit capability, compatible with various trimmer shaft designs.
2. Loading Trimmer Line
This fixed line trimmer head is designed for quick and easy loading of pre-cut trimmer line. It is compatible with line diameters ranging from .080" to .105".
- Ensure the trimmer is turned off and disconnected from its power source (battery removed or spark plug wire disconnected).
- Cut two pieces of trimmer line, each approximately 10 inches long. The preferred line diameters are .080" - .105".
- Locate the eyelets on the side of the trimmer head.
- For each line, push one end through an eyelet from the outside until it emerges from the opposite side.
- Pull the line through until both ends are of equal length, ensuring the line is securely seated in the head. The fixed line design prevents the line from slipping out during operation.
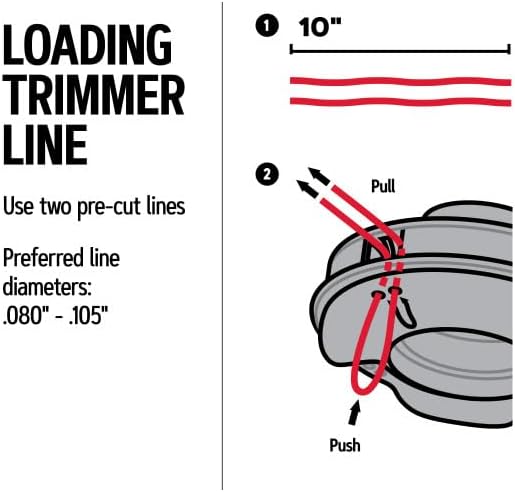
Image: A detailed diagram illustrating the process of loading pre-cut trimmer line into the Oregon Fixed Line Trimmer Head.
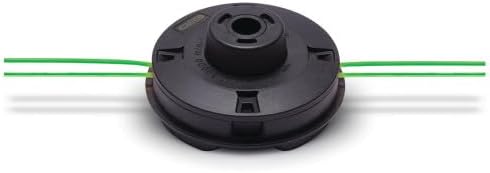
Image: The Oregon Universal Fixed Line Trimmer Head with two lines properly installed and ready for use.
Operation
Once the trimmer head is securely attached and the line is loaded, you can begin operation. Always follow the safety guidelines outlined in this manual and your trimmer's instruction manual.
- Starting the Trimmer: Follow your trimmer's manufacturer instructions for starting the engine or activating the motor.
- Cutting Technique: Use a sweeping motion to cut grass and weeds. Avoid hitting hard surfaces like concrete, rocks, or fences, as this can damage the line and the trimmer head.
- Line Wear: The fixed line design means you will need to manually replace the line segments as they wear down. Monitor the line length and replace it when it becomes too short for effective cutting.
- Optimal Performance: For best results, use Oregon brand trimmer line within the recommended diameter range (.080" - .105").

Image: An individual using a string trimmer, illustrating the product in its intended operational environment.
Maintenance
Regular maintenance ensures the longevity and optimal performance of your Oregon Universal Fixed Line Trimmer Head.
- Cleaning: After each use, clean the trimmer head to remove grass clippings, dirt, and debris. A stiff brush or cloth can be used. Ensure the trimmer is off and cooled down before cleaning.
- Inspection: Periodically inspect the trimmer head for signs of wear, cracks, or damage. Check the eyelets for excessive wear or burrs that could fray the line.
- Line Replacement: Replace worn or broken trimmer line segments as needed. Always use the correct diameter line (.080" - .105") for best results.
- Storage: Store the trimmer head in a clean, dry place when not in use. Avoid exposing it to extreme temperatures or direct sunlight for prolonged periods.
Troubleshooting
Here are some common issues and their potential solutions:
| Problem | Possible Cause | Solution |
|---|---|---|
| Line wears quickly or breaks frequently. |
|
|
| Poor cutting performance. |
|
|
| Trimmer head vibrates excessively. |
|
|
Specifications
- Model: 55-360
- Product Dimensions: 4.47 x 2.9 x 4.55 inches
- Item Weight: 12.8 ounces
- Compatible Line Diameter: .080" - .105"
- Manufacturer: Oregon Tool
- Type: Universal Fixed Line Trimmer Head
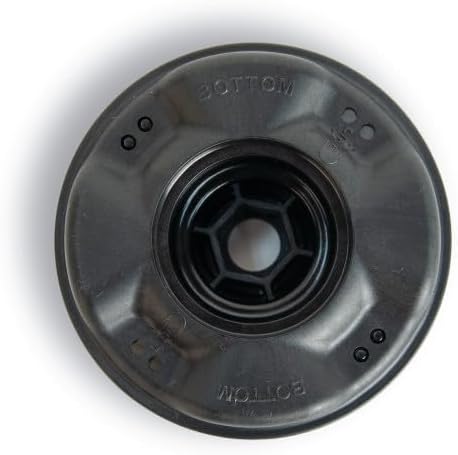
Image: Side profile of the Oregon Universal Fixed Line Trimmer Head, illustrating its compact design.

Image: Bottom view of the Oregon Universal Fixed Line Trimmer Head, showing the attachment mechanism.
Warranty and Support
For information regarding warranty coverage, product support, or to purchase replacement parts, please visit the official Oregon Tool website or contact their customer service directly. Keep your purchase receipt as proof of purchase.
Related documents55-360


Ask a question about this manual
Ask about setup, troubleshooting, compatibility, parts, safety, or missing instructions. Manuals+ will review the question and use this page’s manual context to help answer it.