1. Introduction
This manual provides essential information for setting up, operating, maintaining, and troubleshooting your Acer Nitro V 15.6" Gaming Laptop. Please read this manual thoroughly to ensure proper use and to maximize the performance and longevity of your device.
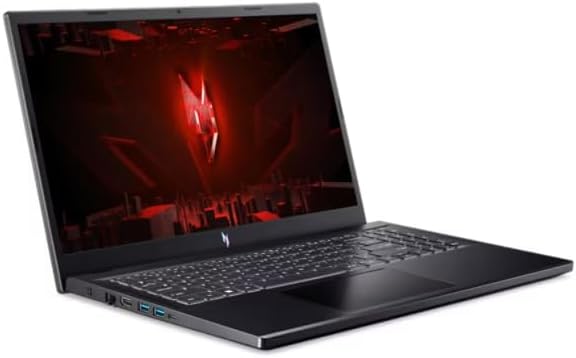
Figure 1.1: Acer Nitro V 15.6" Gaming Laptop
The Acer Nitro V 15.6" Gaming Laptop is designed for high-performance computing, featuring an Intel Core i5-13420H processor, NVIDIA GeForce RTX 4050 graphics, a 15.6" Full HD 144Hz display, 16GB DDR5 memory, and a 512GB SSD. It comes pre-installed with Windows 11 Home.
2. Safety Information
Observe the following safety guidelines to prevent damage to your laptop and ensure personal safety:
- Use only the power adapter supplied with your laptop. Using unauthorized adapters may cause damage or fire.
- Do not expose the laptop to extreme temperatures, direct sunlight, or high humidity.
- Avoid placing heavy objects on the laptop or power adapter.
- Keep liquids away from the laptop. In case of accidental spills, disconnect power immediately and contact support.
- Do not attempt to disassemble or repair the laptop yourself. Refer all servicing to qualified personnel.
- Ensure proper ventilation. Do not block the ventilation openings on the laptop.
3. Package Contents
Verify that all items are present in the package:
- Acer Nitro V 15.6" Gaming Laptop
- AC Power Adapter and Power Cord
- Quick Start Guide (if included)
4. Product Overview
4.1. Laptop Components
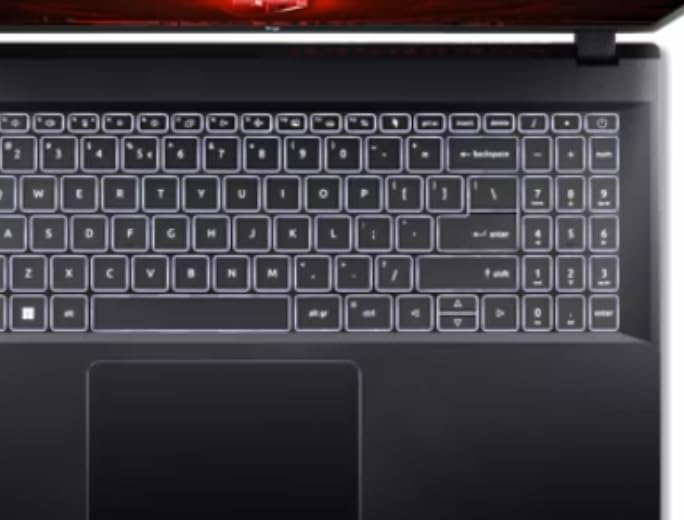
Figure 4.1: Keyboard and Touchpad
The laptop features a full-size keyboard, a precision touchpad, and a 15.6-inch Full HD display with a 144Hz refresh rate for smooth visuals.
4.2. Left Side Ports

Figure 4.2: Left Side Ports
The left side of the laptop includes the following ports:
- Power Input: Connect the AC adapter here.
- Ethernet (RJ-45): For wired network connection.
- HDMI: Connect to external displays or TVs.
- USB 3.0 Ports (x2): For connecting USB devices.
- USB-C Port: For connecting compatible USB-C devices.
4.3. Right Side Ports

Figure 4.3: Right Side Ports
The right side of the laptop includes the following ports:
- USB 3.0 Port: For connecting USB devices.
- Headphone/Microphone Combo Jack: For audio input/output.
- Kensington Lock Slot: For securing your laptop with a compatible lock.
4.4. Exterior Design

Figure 4.4: Laptop Exterior (Top Lid)
The laptop features a sleek black design with distinctive accents on the top lid, reflecting its gaming-oriented aesthetic.
5. Setup
5.1. Connecting the Power Adapter
- Plug the AC adapter into the power input port on the left side of the laptop.
- Connect the power cord to the AC adapter.
- Plug the other end of the power cord into a grounded electrical outlet.
- Allow the battery to charge for at least 30 minutes before initial use, or until the battery indicator shows a full charge.
5.2. Initial Power On and Windows Setup
- Open the laptop lid.
- Press the power button, typically located above the keyboard or on the side.
- Follow the on-screen instructions to complete the Windows 11 Home setup process. This includes selecting your region, language, connecting to a network, and creating a user account.
6. Operating Instructions
6.1. Power On/Off and Sleep Mode
- Power On: Press the power button.
- Shut Down: Click the Windows Start button, then Power > Shut down.
- Sleep Mode: Close the laptop lid or click the Windows Start button, then Power > Sleep.
6.2. Keyboard and Touchpad Usage
- The keyboard features standard QWERTY layout with a numeric keypad.
- The touchpad supports multi-touch gestures for navigation. Refer to Windows settings for customization.
- Function keys (Fn + F1-F12) provide quick access to system functions like volume, brightness, and wireless toggles.
6.3. Connecting to a Network
- Wi-Fi: Click the network icon in the taskbar, select your desired Wi-Fi network, and enter the password if required.
- Ethernet: Connect an Ethernet cable from your router or modem to the Ethernet port on the left side of the laptop.
6.4. External Display Connection
Use the HDMI port on the left side of the laptop to connect an external monitor or TV. You can configure display settings (duplicate, extend, second screen only) through Windows Display Settings.
7. Maintenance
7.1. Cleaning the Laptop
- Screen: Use a soft, lint-free cloth lightly dampened with water or a screen cleaner. Do not spray liquid directly onto the screen.
- Keyboard and Chassis: Use a soft cloth. For stubborn dirt, a slightly damp cloth with mild soap solution can be used, ensuring no liquid enters openings.
- Ventilation Openings: Use compressed air to clear dust from the vents to maintain optimal cooling.
7.2. Battery Care
- Avoid fully discharging the battery frequently.
- Store the laptop in a cool, dry place if not used for extended periods.
- For optimal battery health, avoid continuous charging at 100% for very long durations.
7.3. Software Updates
Regularly update your Windows operating system and device drivers to ensure optimal performance, security, and compatibility. Check for updates via Windows Update and Acer's official support website.
8. Troubleshooting
8.1. Common Issues and Solutions
- Laptop does not power on: Ensure the AC adapter is securely connected and the power outlet is functional. Try a different outlet.
- No display on screen: Check if the laptop is powered on. If an external monitor is connected, ensure it is powered on and correctly configured in Windows Display Settings. Try pressing Fn + F5 (or similar function key) to cycle display outputs.
- Wi-Fi not connecting: Ensure Wi-Fi is enabled (check Fn key or Windows settings). Restart your router and modem.
- Slow performance: Close unnecessary applications. Check for background updates. Ensure sufficient free storage space.
8.2. Restoring to Factory Settings
If you encounter persistent software issues, you may need to restore your laptop to its factory settings. This process will erase all personal data. Back up important files before proceeding.
- Go to Windows Settings > System > Recovery.
- Under "Recovery options," select "Reset this PC."
- Choose whether to keep your personal files or remove everything, then follow the on-screen prompts.
9. Specifications
| Feature | Specification |
|---|---|
| Model Name | Nitro V |
| Processor | Intel Core i5-13420H (Octa-Core) 2.10GHz |
| Graphics | NVIDIA GeForce RTX 4050 6GB GDDR6 |
| Display | 15.6" FHD (1920 x 1080) 144Hz IPS ConfyView (Matte) |
| RAM | 16GB DDR5 SDRAM |
| Storage | 512GB PCIe NVMe M.2 SSD |
| Operating System | Windows 11 Home |
| Wireless Connectivity | IEEE 802.11 a/b/g/n/ac/ax (Wi-Fi 6/6E), Gigabit Ethernet |
| Ports | 4x USB 3.0, 1x USB-C, HDMI, Ethernet, Headphone/Mic Combo Jack, Power Input |
| Battery Life | Up to 6 hours |
| Dimensions (LxWxH) | 14.3 x 1.06 x 9.4 inches |
| Color | Black |
10. Warranty and Support
Your Acer Nitro V laptop comes with a standard manufacturer's warranty. Please refer to the warranty card included with your product or visit the official Acer support website for detailed warranty terms and conditions.
For technical assistance, driver downloads, or further support, please visit the Acer support website or contact Acer customer service. Have your laptop's serial number ready when contacting support.
Acer Support Website: www.acer.com/support


