1. Introduction
This manual provides detailed instructions for the installation, operation, and maintenance of the JDOUNFMO XM-18 Automatic Incubator Controller. This device is designed to precisely control temperature and humidity within an egg incubator, ensuring optimal conditions for hatching. Please read this manual thoroughly before use to ensure correct operation and to prevent damage to the unit.
2. Product Overview
The XM-18 is a full-automatic, multifunction incubator control system. It features a digital display for real-time monitoring of temperature and humidity, along with control outputs for heating, humidification, egg turning, and ventilation. The controller is equipped with dedicated sensors for accurate environmental monitoring.
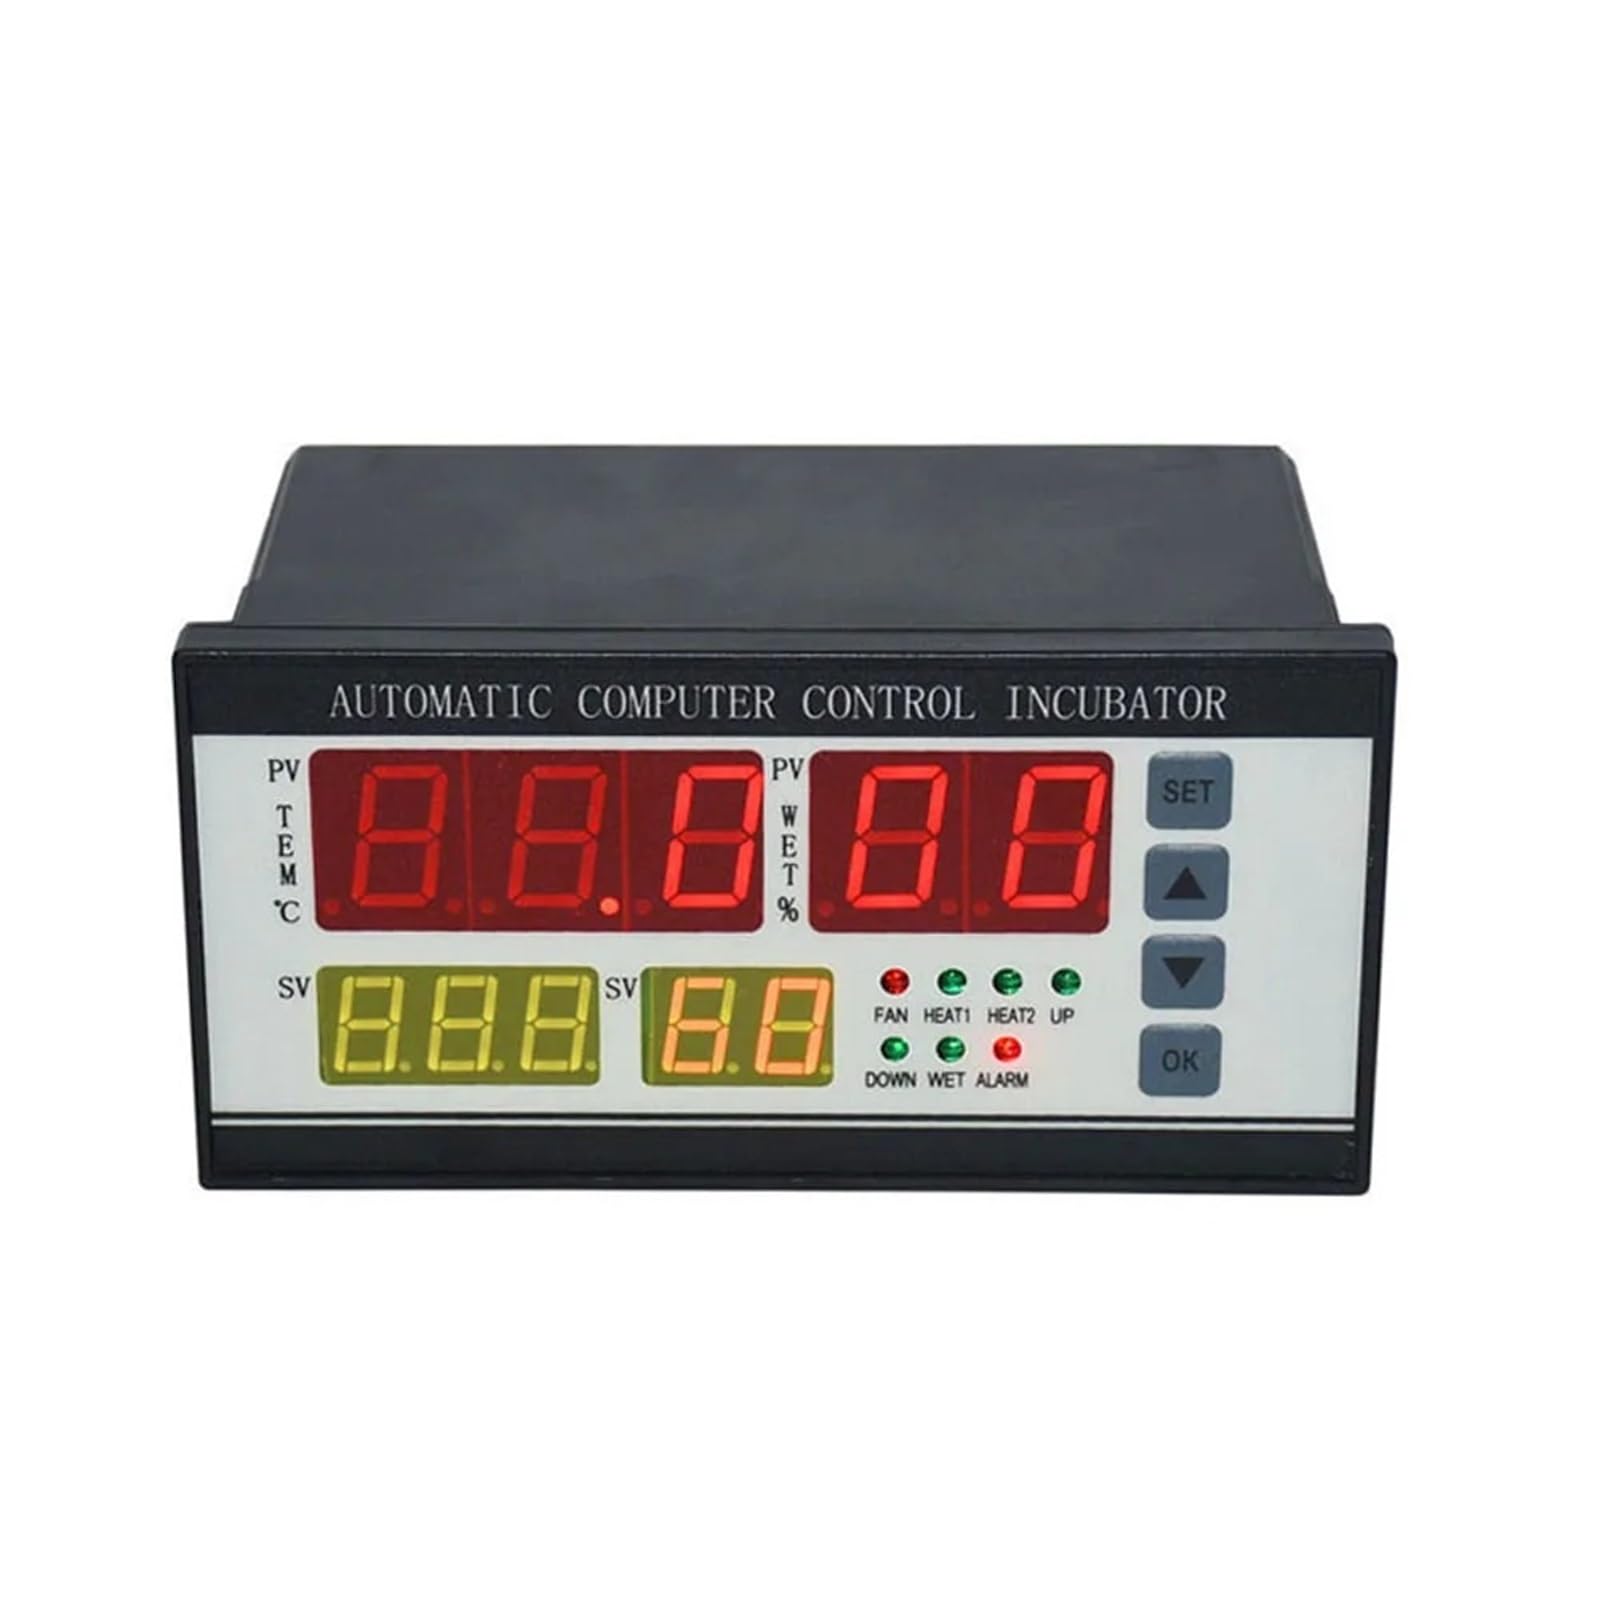
Figure 2.1: Front view of the JDOUNFMO XM-18 Incubator Controller, showing the digital display and control buttons.

Figure 2.2: The XM-18 controller unit accompanied by its temperature and humidity sensors.
Key Features:
- Automatic temperature and humidity control.
- Digital display for current and set values.
- Multiple signal outputs for various incubator functions.
- Adjustable parameters for egg turning, ventilation, and alarm thresholds.
3. Specifications
| Parameter | Value |
|---|---|
| Product Model | XM-18 |
| Working Voltage | AC 160V-240V, 50Hz |
| Ambient Temperature Range | -10°C to 60°C |
| Temperature Control Accuracy | ±0.1°C |
| Humidity Control Accuracy | ±3%RH |
| Relative Humidity | Less than 85% RH |
| Product Dimensions | 160mm x 90mm x 80mm |
| Weight | Approximately 725g |
| Signal Output Channels | 7 (Over Temperature, Temperature Control, Lack of Temperature, Egg Transfer Left, Egg Transfer Right, Humidity Control, Alarm) |
| Max Output Load Current (Temp Control) | 8A / AC220V |
| Max Output Load Current (Other Functions) | 1A / AC220V |
| Max Egg Turning Times Record | 999 times |
| Egg Transfer Period (Adjustable) | 0-999 minutes (Default: 90 minutes) |
| Egg Turning Time (Adjustable) | 0-999 seconds (Default: 180 seconds) |
| Ventilation Cycle (Adjustable) | 0-999 minutes (Default: 120 minutes) |
| Ventilation Time (Adjustable) | 0-999 seconds (Default: 30 seconds) |
| Temperature Measuring Line Length | Approximately 2 meters |

Figure 3.1: Dimensions of the XM-18 controller unit (160mm width, 80mm height).
4. Setup Instructions
Proper wiring is crucial for the safe and effective operation of the XM-18 controller. Ensure all connections are secure and correspond to the correct terminals.
4.1 Wiring Connections

Figure 4.1: Rear panel wiring diagram for the XM-18 controller. Note the 220V power input.
- Power Supply: Connect the AC 220V power supply to the designated terminals (L and N). Ensure the power source matches the controller's voltage rating.
- Temperature Sensor: Connect the temperature sensor to the 'TEMP' terminals.
- Humidity Sensor: Connect the humidity sensor to the 'WET' terminals.
- Heating Elements: Connect your incubator's heating elements to the 'HEAT1' and 'HEAT2' output terminals.
- Fan: Connect the ventilation fan to the 'FAN' output terminals.
- Egg Turning Motor: Connect the egg turning motor to the 'LEFT' and 'RIGHT' output terminals for directional control.
- Alarm: Connect an external alarm device (if used) to the 'ALARM' terminals.
- Light: Connect an internal incubator light (if used) to the 'LIGHT' terminals.
Caution: Ensure all power is disconnected before making any wiring connections. Incorrect wiring can damage the controller or connected devices.
5. Operating Instructions
Once properly wired and powered on, the XM-18 controller will display current temperature (PV TEM) and humidity (PV WET) readings. The set values (SV) for temperature and humidity will also be visible.
5.1 Display and Indicators
- PV TEM: Process Value Temperature (Current Temperature)
- SV TEM: Set Value Temperature (Desired Temperature)
- PV WET: Process Value Humidity (Current Humidity)
- SV WET: Set Value Humidity (Desired Humidity)
- Indicator Lights: FAN, HEAT1, HEAT2, UP, DOWN, WET, ALARM. These lights illuminate to indicate the active status of corresponding functions.
5.2 Button Functions
- SET: Enters parameter setting mode or confirms a setting.
- UP (▲): Increases the value of a parameter.
- DOWN (▼): Decreases the value of a parameter.
- OK: Confirms a setting or exits a menu.
5.3 Setting Parameters
To adjust specific operating parameters:
- Press the SET button to enter the parameter setting mode.
- Use the UP or DOWN buttons to navigate through the different parameters (e.g., desired temperature, desired humidity, egg turning interval, ventilation cycle).
- Once the desired parameter is selected, press SET again to modify its value.
- Use the UP or DOWN buttons to adjust the value.
- Press OK to confirm the new value and save the setting.
- Repeat for all necessary parameters. Press OK multiple times to exit the setting mode and return to the main display.
Refer to the specifications section for default and adjustable ranges of parameters such as egg transfer period, turning time, ventilation cycle, and ventilation time.
6. Maintenance
Regular maintenance ensures the longevity and accuracy of your XM-18 controller.
- Cleaning: Periodically wipe the controller's exterior with a soft, dry cloth. Do not use abrasive cleaners or allow liquids to enter the unit.
- Sensor Care: Keep the temperature and humidity sensors clean and free from dust or debris. Avoid submerging sensors in water.
- Connections: Periodically check all wiring connections to ensure they remain secure.
- Environment: Operate the controller within the specified ambient temperature and humidity ranges to prevent damage.
7. Troubleshooting
If you encounter issues with your XM-18 controller, refer to the following common problems and solutions:
| Problem | Possible Cause | Solution |
|---|---|---|
| Controller does not power on | No power supply; incorrect wiring; faulty power cable. | Check power connection and source. Verify wiring according to Section 4. |
| Inaccurate temperature/humidity readings | Sensor dirty or damaged; sensor not properly connected; sensor placed in an unsuitable location. | Clean sensors. Check sensor connections. Relocate sensors to a central area within the incubator. |
| Heating/Humidification not activating | Set value too high/low; faulty heating/humidification element; incorrect wiring. | Adjust set temperature/humidity. Test heating/humidification elements independently. Verify wiring. |
| Egg turning not working | Egg turning interval/duration set incorrectly; faulty motor; incorrect wiring. | Check egg turning parameters. Test motor. Verify wiring. |
| Alarm constantly active | Temperature/humidity outside set limits; alarm threshold set too narrow. | Check incubator conditions. Adjust alarm thresholds if necessary. |
If the problem persists after attempting these solutions, please contact customer support.
8. Warranty and Support
For warranty information or technical support, please refer to the documentation provided with your purchase or contact the seller directly. Ensure you have your product model number (XM-18) and purchase details available when seeking support.


