1. Introduction
This manual provides essential information for the safe and efficient installation, operation, and maintenance of the Mechanivis RT Series Pressure Switches. Please read this manual thoroughly before installation or operation to ensure proper function and to prevent damage or injury.
Key Features:
- Cost-effective: Designed for efficiency and low maintenance requirements.
- Compact design: Small size facilitates easy installation in confined spaces.
- Sturdy material: Constructed from durable materials such as stainless steel and copper alloy for longevity.
- Instant Response: Provides rapid response to pressure changes, enabling timely equipment activation or shutdown.
- Wide range of applications: Suitable for use in diverse fields including HVAC, petrochemical, water treatment, and manufacturing.
2. Safety Information
Always observe local regulations and safety standards during installation, operation, and maintenance. Failure to follow these instructions may result in serious injury or equipment damage.
- Ensure power is disconnected before any installation or maintenance work.
- Only qualified personnel should install and service this device.
- Verify that the pressure range of the switch matches the application requirements.
- Protect the device from extreme temperatures, vibrations, and corrosive environments.
- Do not exceed the maximum rated pressure or electrical load.
3. Product Components
The Mechanivis RT Series Pressure Switch consists of a robust housing, pressure sensing element, and electrical contacts. Below are typical views of the pressure switch.

Figure 3.1: Top and side view of the Mechanivis RT Series Pressure Switch. This image displays the main electrical housing, the pressure connection point, and the overall compact design of the unit, packaged in its original box.
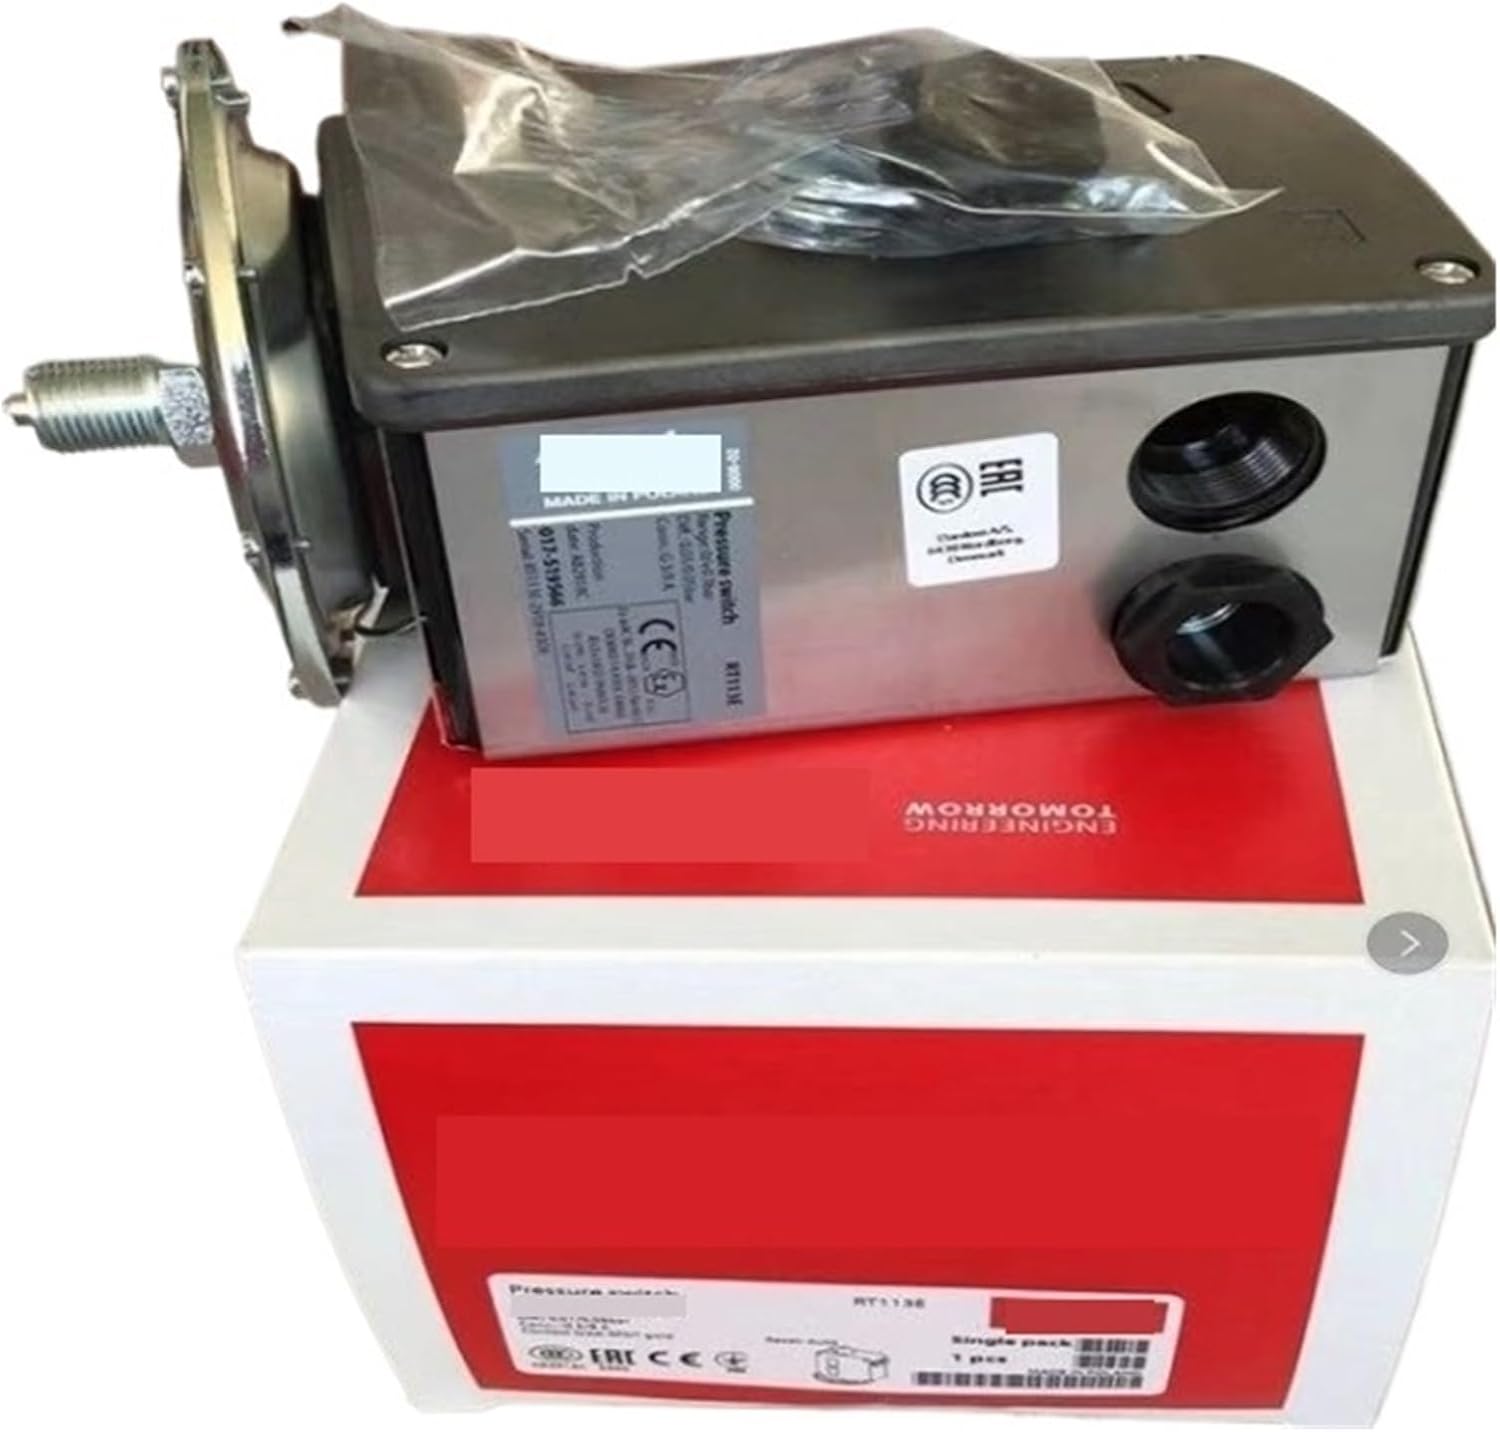
Figure 3.2: Bottom and side view of the Mechanivis RT Series Pressure Switch. This view highlights the mounting points, additional electrical conduit entries, and the product label with model information, also shown in its original packaging.
4. Setup and Installation
Proper installation is crucial for the reliable operation of the pressure switch. Follow these general steps:
- Mounting: Securely mount the pressure switch in a location free from excessive vibration and within the specified ambient temperature range. Use appropriate fasteners for the mounting holes provided.
- Pressure Connection: Connect the pressure port of the switch to the system's pressure line. Ensure all connections are leak-free and use appropriate sealing compounds if necessary. Avoid overtightening.
- Electrical Wiring:
- Disconnect all power to the circuit before wiring.
- Open the electrical housing cover.
- Route electrical cables through the designated conduit entries.
- Connect the power supply and load wires to the appropriate terminals as indicated on the internal wiring diagram (typically found inside the cover or on a label).
- Ensure all connections are tight and secure.
- Close the electrical housing cover securely to maintain environmental protection.
- Setting the Pressure:
- Refer to the specific model's adjustment mechanism (e.g., adjustment screw, dial) for setting the desired cut-in and cut-out pressure points.
- Apply system pressure and observe the switch's operation. Adjust as needed.
5. Operating Instructions
Once installed and configured, the Mechanivis RT Series Pressure Switch operates automatically based on the set pressure points. No manual intervention is typically required during normal operation.
- The switch will activate or deactivate connected equipment when the system pressure reaches the pre-set cut-in or cut-out values.
- Monitor system pressure and equipment response to ensure correct operation.
- Avoid tampering with the internal components or settings once the switch is operational, unless recalibration is required by a qualified technician.
6. Maintenance
Regular maintenance helps ensure the longevity and accuracy of your pressure switch.
- Periodic Inspection: Visually inspect the switch and its connections for any signs of damage, corrosion, or leaks.
- Cleaning: Keep the exterior of the switch clean and free from dust, dirt, and debris. Use a soft, dry cloth. Do not use abrasive cleaners or solvents.
- Connection Integrity: Periodically check electrical and pressure connections for tightness.
- Recalibration: If accuracy is critical and deviations are suspected, the switch may require recalibration by a qualified technician.
7. Troubleshooting
If you encounter issues with your Mechanivis RT Series Pressure Switch, refer to the following common problems and solutions:
| Problem | Possible Cause | Solution |
|---|---|---|
| Switch does not actuate at set pressure. | Incorrect pressure setting, clogged pressure port, faulty wiring, internal component failure. | Verify pressure setting. Check for obstructions in the pressure line/port. Inspect wiring for loose connections. If issues persist, contact support. |
| Erratic operation or inconsistent switching. | Pressure fluctuations in the system, vibration, worn internal components. | Stabilize system pressure. Relocate switch if vibration is excessive. Consider recalibration or replacement if wear is suspected. |
| No power to the switch. | Blown fuse, tripped breaker, loose electrical connections. | Check power supply, fuses, and circuit breakers. Ensure all electrical connections are secure. |
For problems not listed here or if solutions do not resolve the issue, please contact Mechanivis customer support.
8. Specifications
The following specifications apply to the Mechanivis RT Series Pressure Switches. Specific values may vary by model.
- Brand: Mechanivis
- Item Model Number: Mechanivis (refer to specific RT series model for detailed number)
- ASIN: B0F23RH46R
- Package Dimensions: 1.18 x 0.79 x 0.39 inches
- Item Weight: 6.61 pounds
- Assembly Required: No
- Number of Pieces: 1
- Unit Count: 1.0 Count
- Manufacturer: Mechanivis
- Material: Typically stainless steel, copper alloy
- Application: HVAC, petrochemical, water treatment, manufacturing, etc.
9. Warranty and Support
Mechanivis products are manufactured to high standards and are designed for reliable performance. For specific warranty terms and conditions, please refer to the documentation included with your purchase or visit the official Mechanivis website.
For technical assistance, troubleshooting, or to inquire about replacement parts, please contact Mechanivis customer support through their official channels. When contacting support, please have your product model number and purchase information readily available.
