
1. Important Safety Instructions
Read all safety warnings, instructions, illustrations, and specifications provided with this power tool. Failure to follow all instructions listed below may result in electric shock, fire, and/or serious injury.
- Wear appropriate personal protective equipment (PPE): Always wear safety glasses, hearing protection, gloves, and sturdy footwear when operating the chainsaw.
- Keep work area clear: Ensure the area is free from obstructions and bystanders.
- Secure workpiece: Always ensure the material being cut is stable and cannot shift during operation.
- Avoid kickback: Be aware of the chain tip and avoid contact with hard objects or the ground.
- Maintain a firm grip: Hold the chainsaw with both hands firmly.
- Battery safety: Use only the specified battery and charger. Do not expose batteries to heat or fire.
2. Product Overview
The POWERPLUS POWXG1040 Mini Chainsaw is a compact and versatile tool designed for light pruning and cutting tasks. It features a 12V motor, an adjustable chain, and a battery indicator for convenient use.
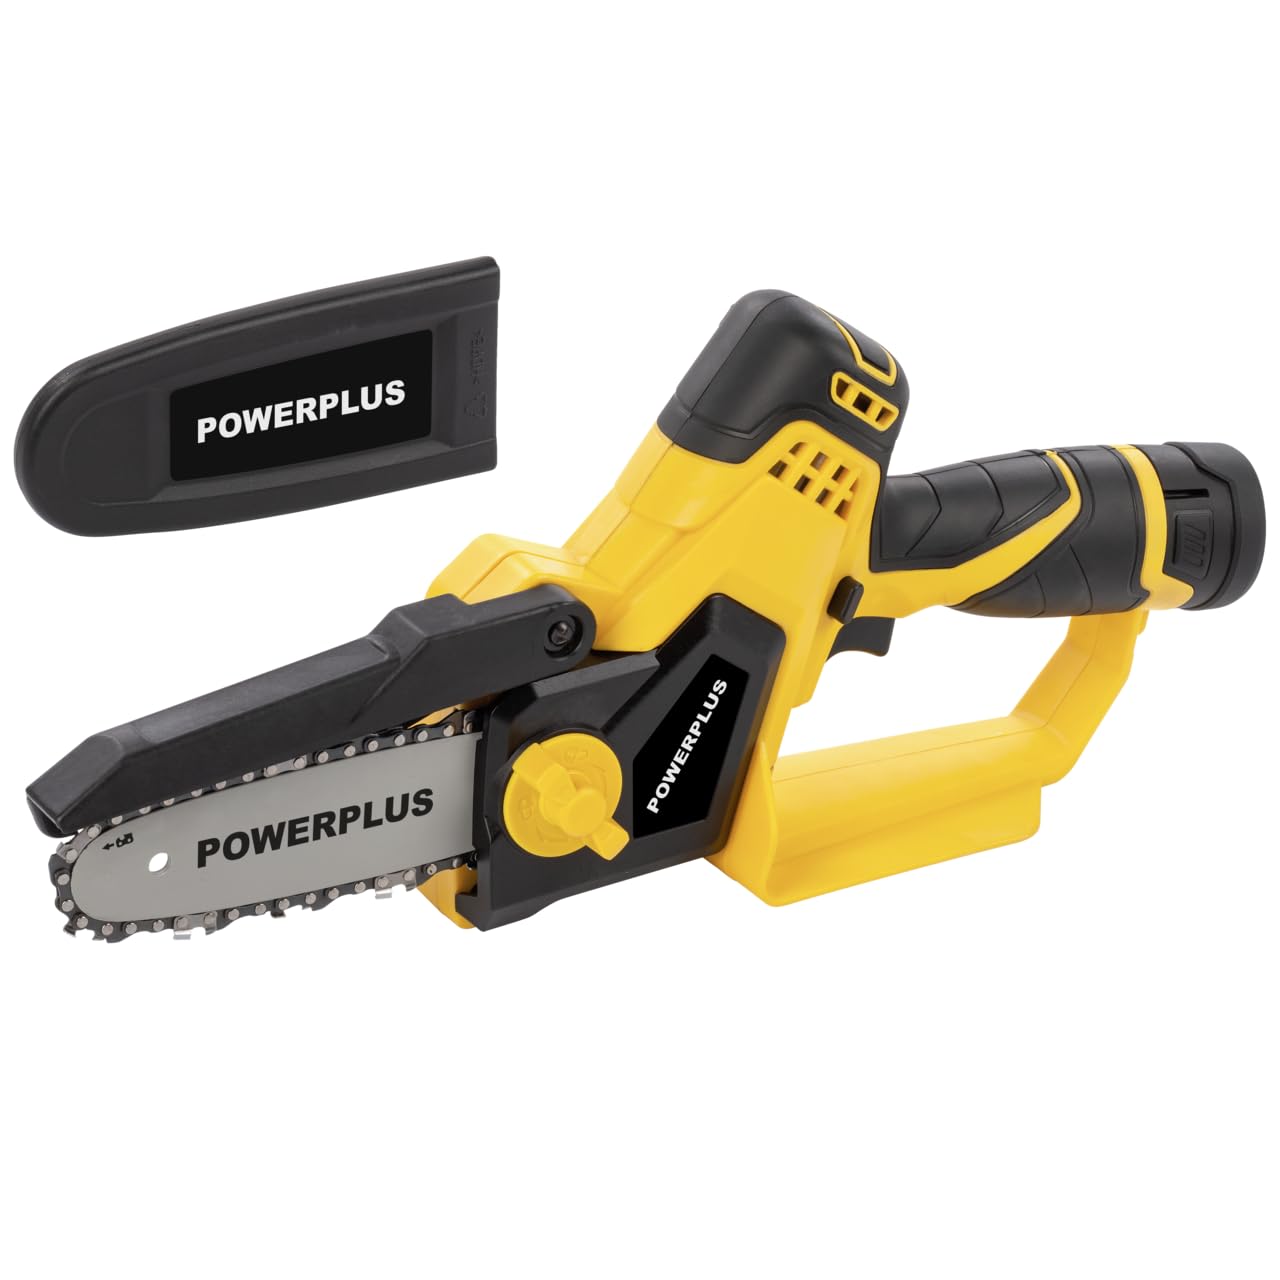
Image 1: Overview of the POWERPLUS POWXG1040 Mini Chainsaw with its protective bar cover.
3. Setup and Assembly
3.1 Unpacking
- Carefully remove all components from the packaging.
- Check for any damage during transit. Do not operate if damaged.
- Verify all parts are present: chainsaw body, guide bar, saw chain, battery, charger, and protective cover.
3.2 Battery Charging and Installation
- Before first use, fully charge the battery using the provided charger. Refer to the charger's instructions for charging time.
- Align the charged battery with the battery slot on the chainsaw handle.
- Push the battery firmly until it clicks into place. Ensure it is securely seated.
- To remove, press the battery release button and slide the battery out.
3.3 Guide Bar and Chain Installation

Image 2: Side view of the mini chainsaw, showing the chain and guide bar area.
- Ensure the battery is removed before installation.
- Loosen the chain cover knob (if present) and remove the chain cover.
- Place the saw chain around the sprocket and guide bar, ensuring the cutting edges face the correct direction (refer to markings on the chain or bar).
- Fit the guide bar onto the mounting studs, ensuring the chain is properly seated in the guide bar groove.
- Replace the chain cover and lightly tighten the knob.
- Adjust chain tension: Turn the chain tensioning screw (usually located on the side) until the chain is snug against the guide bar but can still be pulled freely by hand. There should be no slack on the underside of the bar.
- Fully tighten the chain cover knob.
4. Operating Instructions
4.1 Pre-Operation Checks
- Check chain tension.
- Inspect the chain for sharpness and damage.
- Ensure the battery is fully charged. The battery indicator will show the charge level.
- Confirm all fasteners are tight.
4.2 Starting and Stopping
- To Start: Press and hold the safety lock-off button (if present), then squeeze the trigger switch. The chain will begin to move.
- To Stop: Release the trigger switch. The chain will stop rotating.
4.3 Cutting Techniques

Image 3: The mini chainsaw in use, demonstrating a cutting application on a tree branch.
- Always hold the chainsaw firmly with both hands.
- Start the cut with the bottom edge of the guide bar, allowing the chain to pull into the wood.
- Apply light, consistent pressure. Do not force the saw.
- Be aware of potential kickback, especially when cutting with the tip of the guide bar.
- For larger branches, make an undercut first to prevent pinching.
5. Maintenance
Regular maintenance ensures optimal performance and extends the life of your chainsaw.
5.1 Cleaning
- After each use, remove the battery.
- Use a brush or compressed air to remove sawdust and debris from the motor housing, guide bar, and chain.
- Wipe down the exterior with a damp cloth. Do not use solvents.
5.2 Chain Tensioning
Check chain tension frequently. A loose chain can derail, and a too-tight chain can cause excessive wear and reduce cutting efficiency. Adjust as described in Section 3.3.
5.3 Chain Lubrication
This mini chainsaw may require manual chain lubrication. Apply a small amount of appropriate chain oil to the guide bar groove and chain links before and during extended use. Consult the product packaging or manufacturer for specific oil recommendations.
5.4 Chain Sharpening
A dull chain will reduce cutting performance and increase strain on the motor. Sharpen the chain regularly using a suitable round file or have it professionally sharpened. Refer to the chain manufacturer's specifications for the correct file size and sharpening angles.
5.5 Storage
- Ensure the chainsaw is clean and dry before storage.
- Remove the battery and store it separately in a cool, dry place.
- Always install the protective bar cover before storing.
- Store the chainsaw in a secure location, out of reach of children and away from moisture.
6. Troubleshooting
| Problem | Possible Cause | Solution |
|---|---|---|
| Chainsaw does not start | Battery not charged or improperly installed; Safety lock-off not engaged. | Charge battery fully and ensure proper installation; Engage safety lock-off before pressing trigger. |
| Chain does not move | Chain too tight; Obstruction in guide bar; Damaged chain/sprocket. | Adjust chain tension; Clear any obstructions; Inspect and replace damaged parts. |
| Poor cutting performance | Dull chain; Incorrect chain tension; Insufficient lubrication. | Sharpen or replace chain; Adjust chain tension; Apply chain oil. |
| Excessive vibration | Loose components; Damaged chain or guide bar. | Check and tighten all fasteners; Inspect and replace damaged parts. |
7. Specifications
| Feature | Specification |
|---|---|
| Model | POWXG1040 |
| Brand | POWERPLUS |
| Voltage | 12 V (DC) |
| Cutting Speed | 5 m/s |
| Guide Bar Length | 100 mm |
| Max. Cutting Diameter | 75 mm |
| Item Weight | 1.88 kg |
| Battery Indicator | Yes |
| Adjustable Chain | Yes |
8. Warranty and Support
For warranty information, technical support, or service inquiries, please refer to the warranty card included with your product or contact your retailer or the POWERPLUS customer service directly. Keep your proof of purchase for warranty claims.


