
1. Introduction
This manual provides detailed instructions for the safe and efficient use of your mohomo Nova V5 Cordless Vacuum Cleaner. Please read this manual thoroughly before operating the appliance and retain it for future reference.

Figure 1: mohomo Nova V5 Cordless Vacuum Cleaner and included accessories.
2. Safety Instructions
Always follow basic safety precautions when using electrical appliances to reduce the risk of fire, electric shock, or injury.
- Do not operate the vacuum cleaner with a damaged cord or plug.
- Do not use the vacuum cleaner to pick up flammable or combustible liquids, or anything that is burning or smoking.
- Keep hair, loose clothing, fingers, and all parts of the body away from openings and moving parts.
- Use only as described in this manual. Use only manufacturer's recommended attachments.
- Turn off all controls before unplugging.
- Do not handle plug or vacuum cleaner with wet hands.
- This appliance is not intended for use by persons (including children) with reduced physical, sensory or mental capabilities, or lack of experience and knowledge, unless they have been given supervision or instruction concerning use of the appliance by a person responsible for their safety.
3. Packing List
Verify that all components are present upon unboxing:
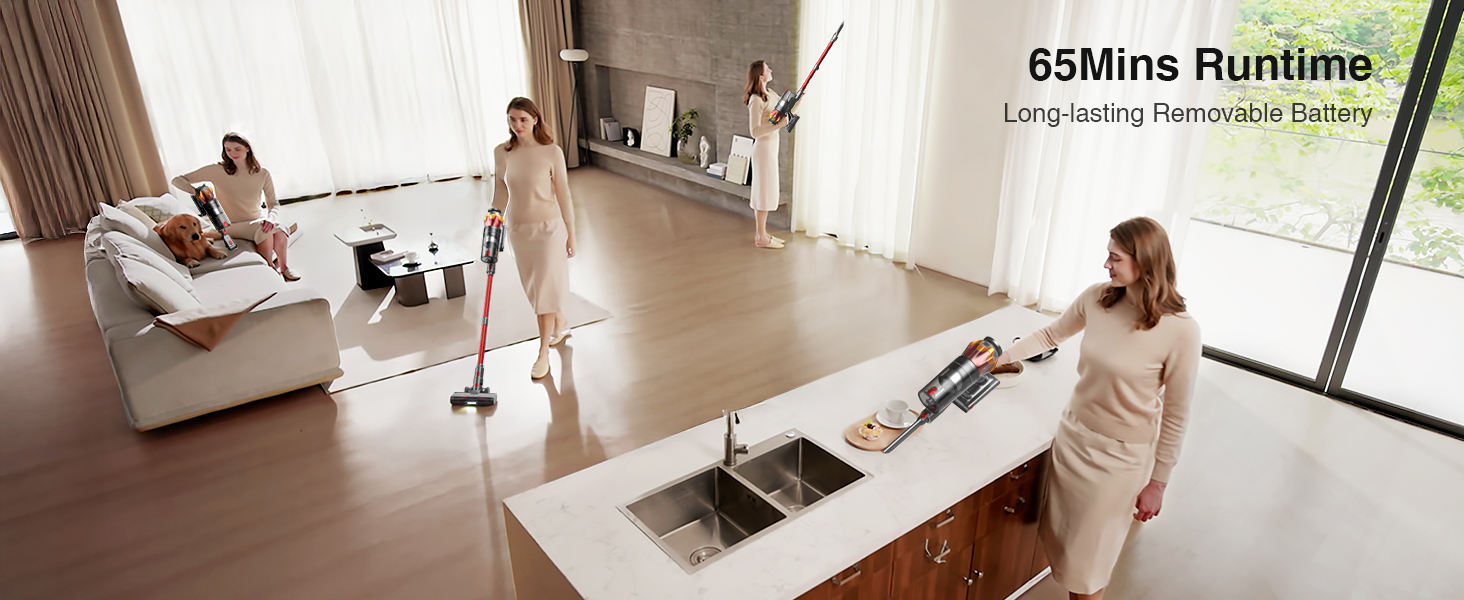
Figure 2: Included components of the mohomo Nova V5 Cordless Vacuum Cleaner.
- Main Body
- Battery Pack
- Telescopic Rod
- Power Brush (Motorized Floor Brush)
- Power Adapter
- Wall Mounting Bracket
- Long Crevice Nozzle
- 2-in-1 Brush
- HEPA Filter
- Sponge Filter
- Mini Cleaning Brush
- Quick Start Guide
- User Manual
4. Setup and Assembly
4.1 Assembling the Vacuum Cleaner
- Insert the telescopic rod into the main body until it clicks securely.
- Attach the power brush to the other end of the telescopic rod until it locks into place.
- Ensure the dust cup is correctly installed on the main body.
- For handheld use, attach desired accessories (Long Crevice Nozzle or 2-in-1 Brush) directly to the main body.
4.2 Charging the Battery
The vacuum cleaner is powered by a high-capacity lithium-ion battery. Before first use, fully charge the battery.
- Connect the power adapter to the charging port on the main body or directly to the battery pack if removed.
- Plug the power adapter into a wall outlet.
- The LED touch screen will display charging status. A full charge takes approximately 4 hours.
- Important: Use only the mohomo power adapter provided with the unit.
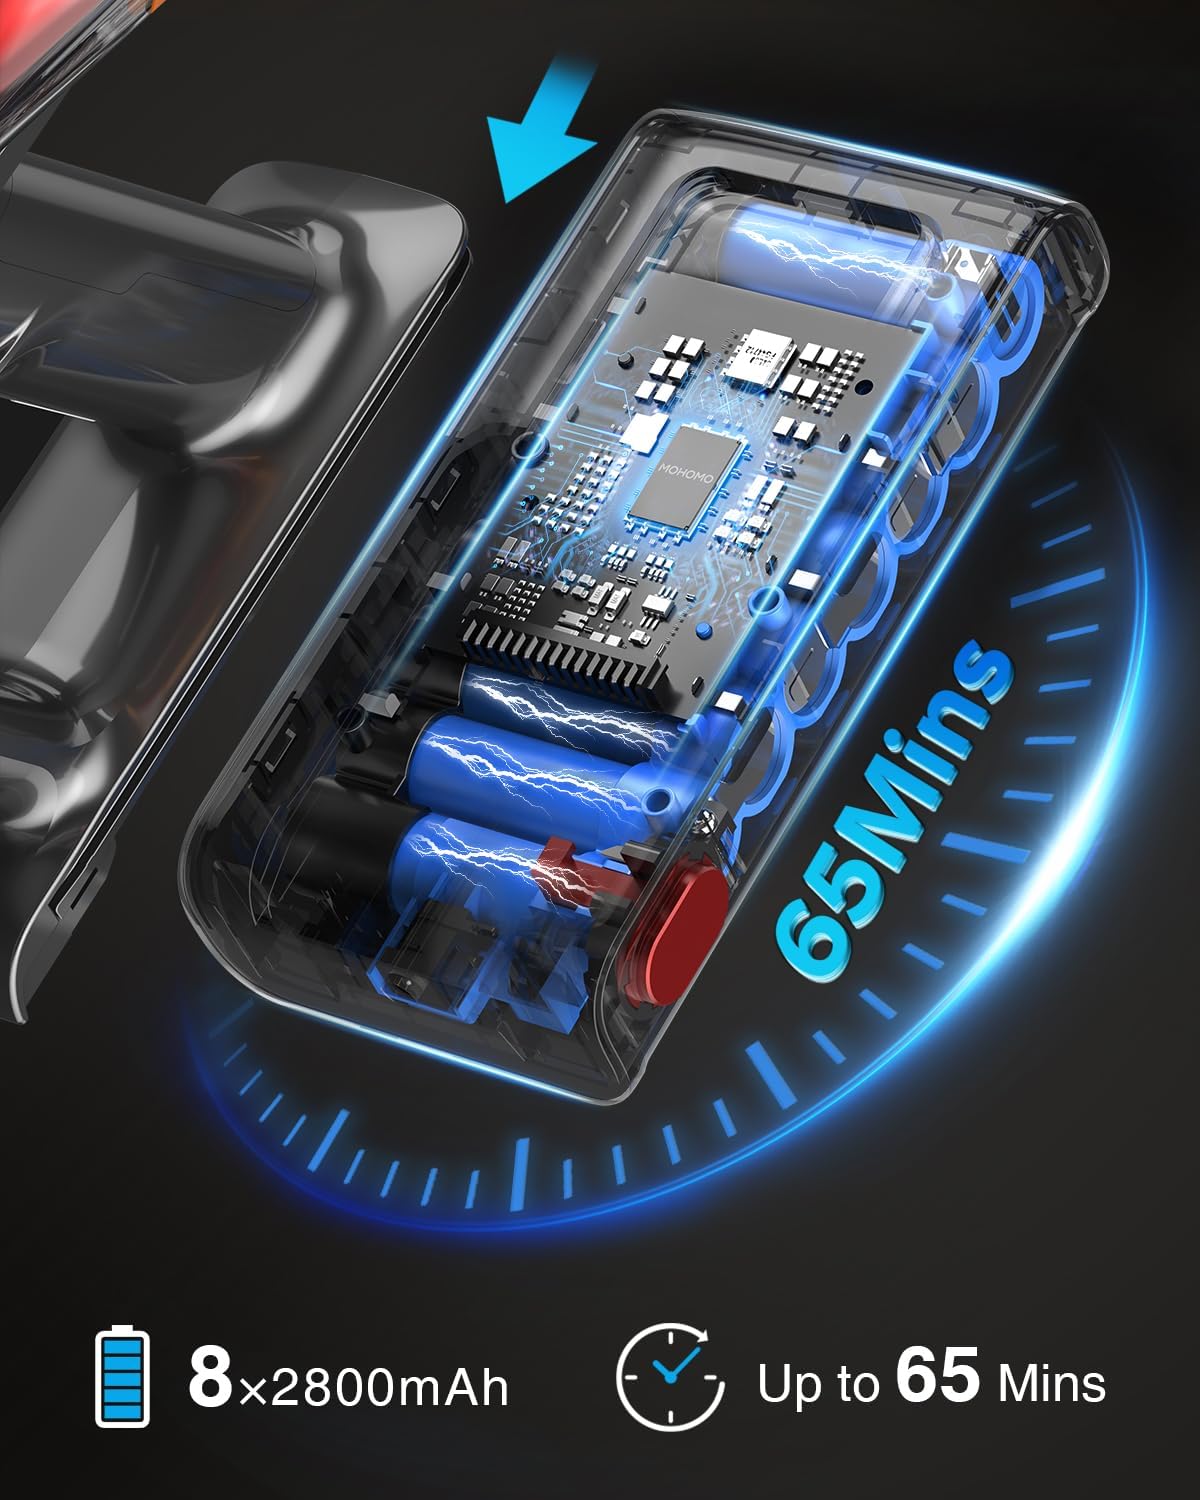
Figure 3: Battery pack and its extended runtime.
4.3 Wall Mounting (Optional)
The included wall mounting bracket allows for convenient storage and charging.
- Choose a suitable location near a power outlet.
- Secure the wall mounting bracket to the wall using appropriate screws and anchors (not included).
- Hang the vacuum cleaner on the bracket. The charging port on the main body can align with the charging cable if routed through the bracket.
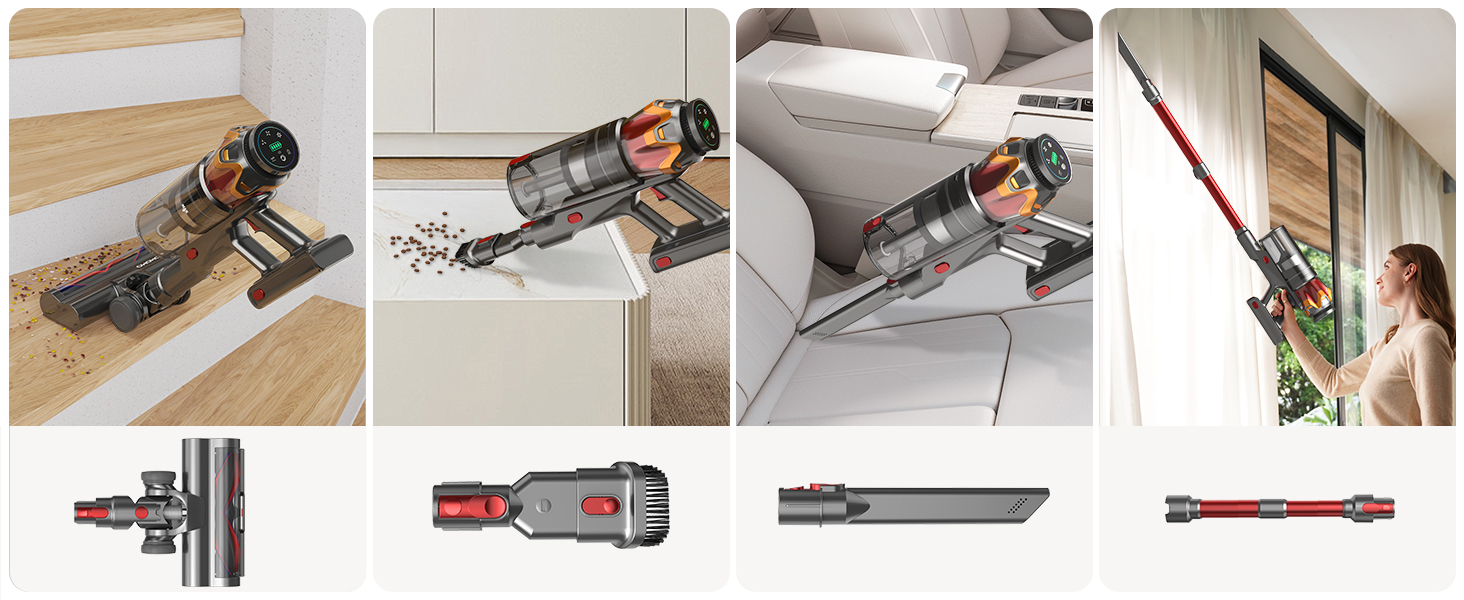
Figure 4: Wall-mounted charging setup.
5. Operating Instructions
5.1 Power On/Off and Suction Modes
The vacuum cleaner features an LED smart touch screen for easy control.
- Press the power button on the handle to turn the vacuum cleaner on or off.
- Use the touch screen to switch between suction modes (Min, Medium, Max). The display shows real-time working status and remaining power.

Figure 5: LED Intelligent Touch Screen interface.
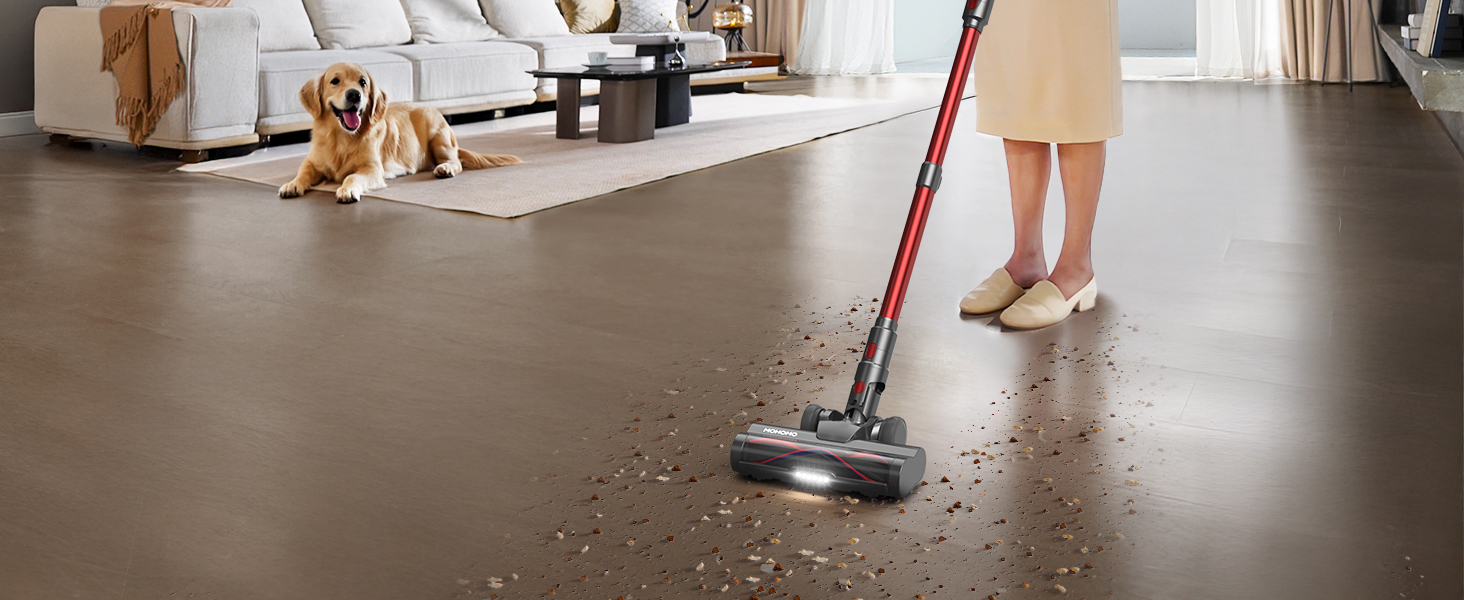
Figure 6: Touch screen indicators and functions.
5.2 Using the Power Brush
The V-shaped anti-tangle brush is designed for effective cleaning on various floor types.
- The combination of soft and firm bristles allows for cleaning hardwood floors and carpets.
- The flexible brush head with LED light illuminates dark areas, making dust and debris more visible.

Figure 7: Anti-tangle V-roller brush in action.
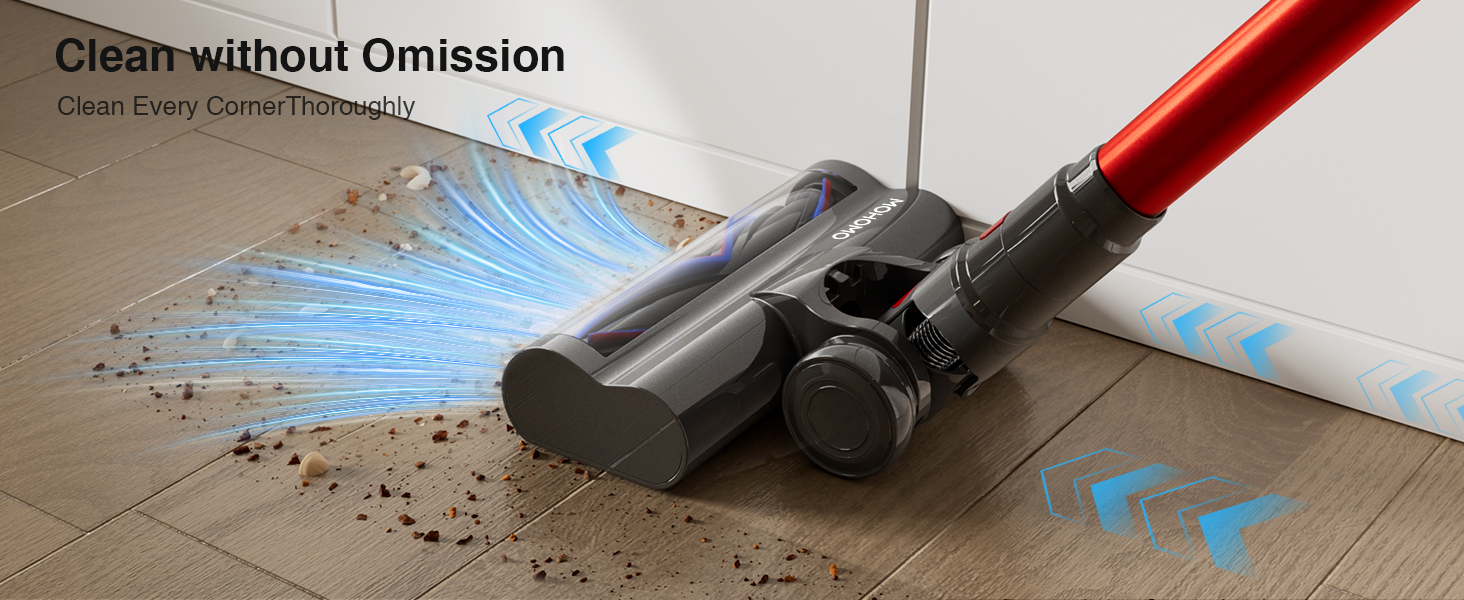
Figure 8: LED light for enhanced visibility during cleaning.
5.3 Using Attachments
The vacuum comes with various attachments for specialized cleaning tasks:
- Long Crevice Nozzle: Ideal for narrow gaps, corners, and hard-to-reach areas like between sofa cushions or car seats.
- 2-in-1 Brush: Combines a brush and a wide nozzle for cleaning upholstery, curtains, keyboards, and delicate surfaces.

Figure 9: Versatile cleaning with various attachments.
5.4 Self-Standing Design
The vacuum cleaner features a self-standing design for convenient storage and temporary pauses during cleaning.

Figure 10: Self-standing feature for easy storage.
6. Maintenance
Regular maintenance ensures optimal performance and extends the lifespan of your vacuum cleaner.
6.1 Emptying the Dust Cup
The 1.8-liter dust cup should be emptied regularly, especially when the "Dust-filled Tips" indicator appears on the LED screen.
- Hold the vacuum cleaner over a trash bin.
- Press the dust cup release button to open the bottom flap and empty the contents.
- Close the flap securely after emptying.

Figure 11: Emptying the 1.8-liter dust cup.
6.2 Cleaning the Filters
The vacuum cleaner uses a HEPA filter and a sponge filter for 99.99% high-efficiency filtration. Clean these filters regularly to maintain suction power.
- Twist and remove the dust cup from the main body.
- Remove the HEPA filter and sponge filter.
- Tap the filters gently to remove loose dust. For a deeper clean, rinse them under cold running water.
- Allow filters to air dry completely for at least 24 hours before reassembling. Do not use a dryer or direct heat.
- Reinstall the dry filters and reattach the dust cup.

Figure 12: High-efficiency filtration system components.

Figure 13: HEPA and Sponge Filters.
6.3 Cleaning the Roller Brush
The V-shaped anti-tangle brush minimizes hair entanglement, but occasional cleaning may be necessary.
- Turn off the vacuum cleaner and detach the power brush.
- Locate the brush release mechanism (usually a latch or button) on the side of the brush head.
- Remove the roller brush.
- Use scissors or the included mini cleaning brush to cut and remove any tangled hair or fibers.
- Reinsert the roller brush and secure the release mechanism.
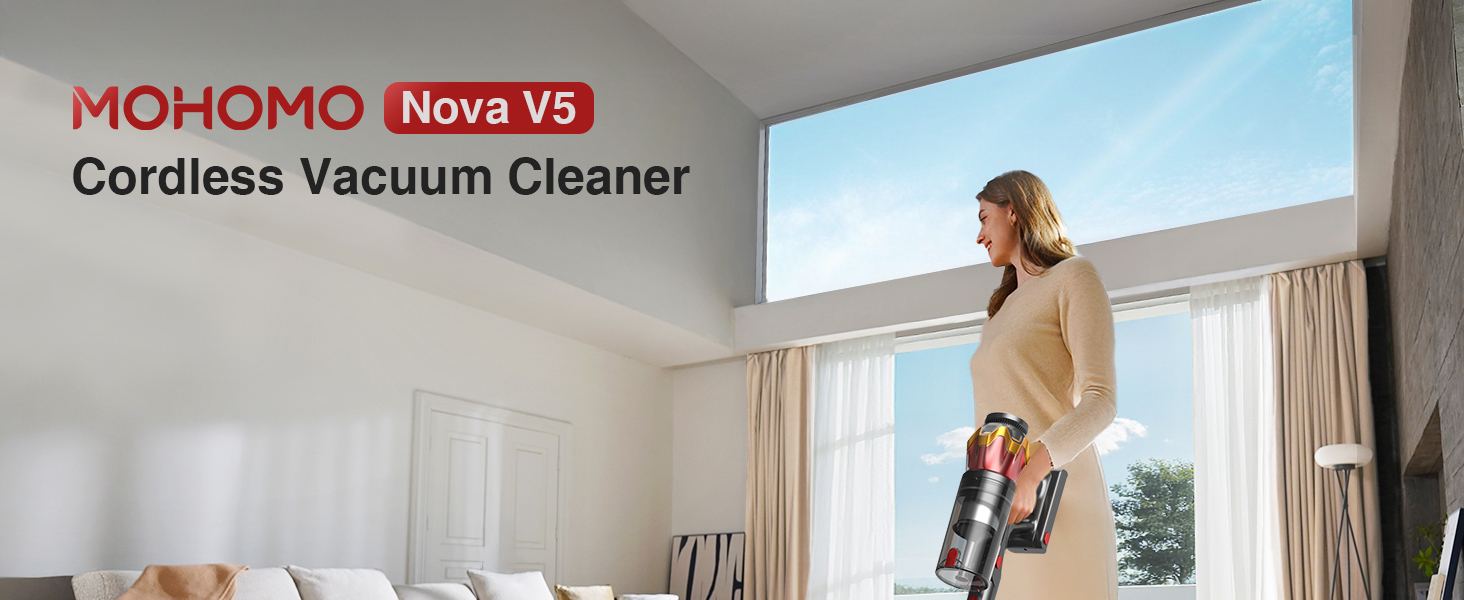
Figure 14: Anti-tangle roller brush design.
7. Troubleshooting
Refer to this section for solutions to common issues.
| Problem | Possible Cause | Solution |
|---|---|---|
| Vacuum does not turn on. | Battery is depleted or not properly installed. | Charge the battery fully. Ensure the battery pack is securely clicked into place. |
| Reduced suction power. | Dust cup is full, filters are clogged, or brush roll is obstructed. | Empty the dust cup. Clean or replace the HEPA and sponge filters. Remove any obstructions from the brush roll. |
| Brush roll not spinning. | Obstruction in the brush roll or brush head. | Turn off the vacuum and remove any tangled hair or debris from the brush roll. Check for blockages in the brush head. |
| Vacuum stops unexpectedly. | Battery is low or motor is overheating. | Recharge the battery. Allow the vacuum to cool down if it has been running for an extended period. |
| Air blowing from top of filter. | This is normal operation for the exhaust system. | No action required. This is part of the vacuum's design to expel filtered air. |
8. Specifications
| Brand | mohomo |
| Model Name | Nova V5 |
| Motor Wattage | 580W Brushless Motor |
| Suction Power | Up to 48,000 Pa |
| Battery Life | Max 65 minutes (in Min suction mode) |
| Charging Time | Approximately 4 hours |
| Dust Cup Capacity | 1.8 Liters |
| Filtration System | 99.99% High Efficiency HEPA Filtration |
| Noise Level | ≤ 62 dB |
| Product Dimensions | 8"L x 4"W x 45"H |
| Item Weight | 8 pounds |
| Special Features | Self-standing design, LED Touch Screen, V-shaped Anti-Tangle Brush, Wall-mounted charging |
9. Warranty and Support
mohomo is committed to providing quality products and customer service.
- 3-Year Support: Your mohomo Nova V5 Cordless Vacuum Cleaner is covered by a 3-year support period.
- 30-Day Return and Exchange: Refer to your purchase platform's return policy for details on the 30-day return and exchange service.
- Customer Service: For any issues or inquiries, please contact mohomo customer service. Contact details can typically be found on the product packaging or the official mohomo website.

Figure 15: mohomo Customer Service commitment.
