1. Introduction
Thank you for purchasing the Karlsson Vogue Alarm Clock. This versatile device combines a digital alarm clock, a wireless induction charger, and a Bluetooth speaker, designed to enhance your daily routine. Please read this manual carefully before using the product to ensure proper operation and to maximize its lifespan. Keep this manual for future reference.
Safety Precautions
- Do not expose the device to water or excessive humidity.
- Avoid extreme temperatures.
- Do not disassemble or attempt to repair the device yourself.
- Use only the provided or recommended USB adapter for power.
- Ensure proper ventilation around the device during operation.
2. Product Overview
The Karlsson Vogue Alarm Clock features a sleek design with a fabric-covered front and intuitive controls. Below is an overview of its main components and controls.

Figure 2.1: Front view of the Karlsson Vogue Alarm Clock, displaying the digital time and temperature.

Figure 2.2: Rear view of the alarm clock, highlighting the control buttons and USB-C power input.
Control Buttons (from left to right on rear panel):
- Alarm 1 Button: Press to activate/deactivate Alarm 1. Long press to set Alarm 1 time.
- Alarm 2 Button: Press to activate/deactivate Alarm 2. Long press to set Alarm 2 time.
- Brightness/Snooze Button: Press to adjust display brightness. When alarm sounds, press to snooze.
- Time Setting Button: Long press to enter time setting mode.
- Down Button: Decrease values during setting, navigate menus.
- Up Button: Increase values during setting, navigate menus.
- Bluetooth/Play/Pause Button: Long press to enter Bluetooth pairing mode. Press to play/pause music.
- USB-C Power Input: Connect the power adapter here.
Top Panel:
- Wireless Charging Pad: Place compatible devices here for wireless charging.
3. Setup
3.1 Power Connection
- Connect the provided USB adapter to the USB-C Power Input port on the rear of the alarm clock.
- Plug the USB adapter into a standard wall outlet.
- The display will light up, indicating the device is powered on.
3.2 Initial Time Setting
- Long press the Time Setting Button (clock icon) on the rear panel. The hour digits will start flashing.
- Use the Up and Down Buttons to adjust the hour.
- Press the Time Setting Button again to confirm the hour and move to minute setting. The minute digits will flash.
- Use the Up and Down Buttons to adjust the minute.
- Press the Time Setting Button one more time to confirm the minute and exit time setting mode.
4. Operating Instructions
4.1 Setting Alarms
The device supports two independent alarms (Alarm 1 and Alarm 2).
- To set Alarm 1: Long press the Alarm 1 Button (bell icon with '1'). The hour digits for Alarm 1 will flash.
- Use the Up and Down Buttons to adjust the alarm hour.
- Press the Alarm 1 Button again to confirm the hour and move to minute setting.
- Use the Up and Down Buttons to adjust the alarm minute.
- Press the Alarm 1 Button one more time to confirm and exit alarm setting. The alarm icon will appear on the display.
- To set Alarm 2: Follow the same steps using the Alarm 2 Button (bell icon with '2').
4.2 Activating/Deactivating Alarms
- Press the respective Alarm 1 Button or Alarm 2 Button briefly to toggle the alarm on or off. The alarm icon on the display will indicate its status.
4.3 Snooze Function
- When an alarm sounds, press the Brightness/Snooze Button (light bulb icon) to activate snooze. The alarm will temporarily stop and sound again after approximately 9 minutes.
- To turn off the alarm completely, press any other button on the rear panel.
4.4 Bluetooth Speaker Operation
- Pairing: Long press the Bluetooth/Play/Pause Button (music note icon) until the display shows "BT" and starts flashing, indicating pairing mode.
- On your mobile device, enable Bluetooth and search for "Karlsson Vogue". Select it to connect.
- Once connected, the "BT" indicator will stop flashing. You can now play audio through the alarm clock's speaker.
- Playback: Press the Bluetooth/Play/Pause Button briefly to play or pause music.
- Volume control is managed via your connected mobile device.
4.5 Wireless Induction Charging
The top surface of the alarm clock features a wireless charging pad compatible with Qi-enabled devices.
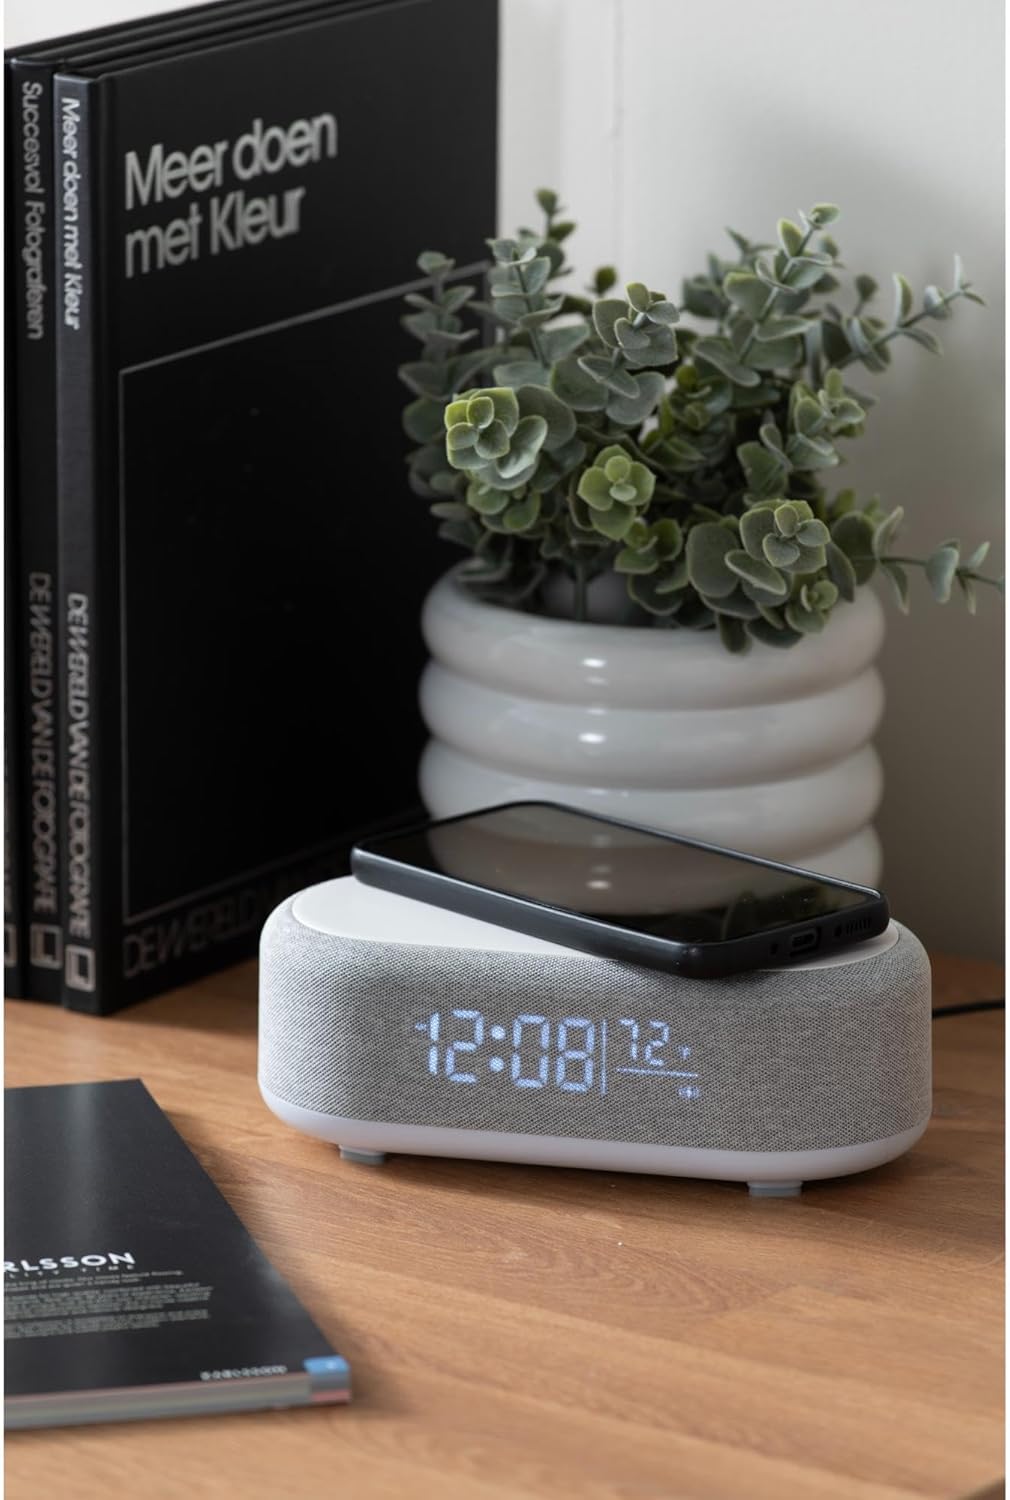
Figure 4.1: A smartphone placed on the wireless charging pad of the alarm clock.
- Place your Qi-compatible smartphone or other device directly onto the center of the top charging pad.
- Ensure the device is properly aligned. A charging indicator (usually on your phone screen) will confirm charging has begun.
- Remove your device once fully charged.
4.6 Display Brightness Adjustment
- Press the Brightness/Snooze Button (light bulb icon) repeatedly to cycle through different brightness levels for the display.
5. Maintenance
5.1 Cleaning
- Before cleaning, disconnect the power adapter.
- Wipe the surface of the alarm clock with a soft, dry, or slightly damp cloth.
- Do not use abrasive cleaners, solvents, or strong chemicals, as they may damage the surface.
5.2 Storage
- If storing the device for an extended period, disconnect it from power.
- Store in a cool, dry place away from direct sunlight and extreme temperatures.
6. Troubleshooting
| Problem | Possible Cause | Solution |
|---|---|---|
| Device not powering on. | No power connection or faulty adapter. | Ensure the USB-C cable is securely connected and the adapter is plugged into a working outlet. Try a different outlet. |
| Bluetooth not connecting. | Device not in pairing mode; already connected to another device; mobile device Bluetooth off. | Long press the Bluetooth button to enter pairing mode. Ensure no other device is connected. Turn off and on Bluetooth on your mobile device. |
| Wireless charging not working. | Phone not Qi-compatible; phone not aligned; phone case too thick. | Ensure your device supports Qi wireless charging. Re-position the device on the center of the pad. Remove thick phone cases. |
| Alarm not sounding. | Alarm deactivated; volume too low (for Bluetooth alarm). | Check if the alarm icon is displayed. Ensure the alarm time is set correctly. If using Bluetooth audio for alarm, ensure phone volume is adequate. |
7. Specifications
| Feature | Detail |
|---|---|
| Brand | Karlsson |
| Model Number | KA6033GY |
| Color | Grey |
| Material | Plastic (ABS) |
| Dimensions (L x W x H) | 19.8 x 9.8 x 7 cm (7.8 x 3.86 x 2.76 inches) |
| Weight | 0.46 kg (1.01 lbs) |
| Power Input | USB (Adapter included) |
| Wireless Charging | Induction (Qi-compatible) |
| Connectivity | Bluetooth |
8. Warranty and Support
For warranty information and customer support, please refer to the documentation provided with your purchase or contact your retailer. You may also visit the official Karlsson website for further assistance.
Website: Karlsson Official Store


