
1. Introduction
Thank you for choosing the KADAX Rainwater Collector. This manual provides essential information for the safe and efficient installation, operation, and maintenance of your new rainwater collection system. Please read these instructions carefully before use and retain them for future reference.
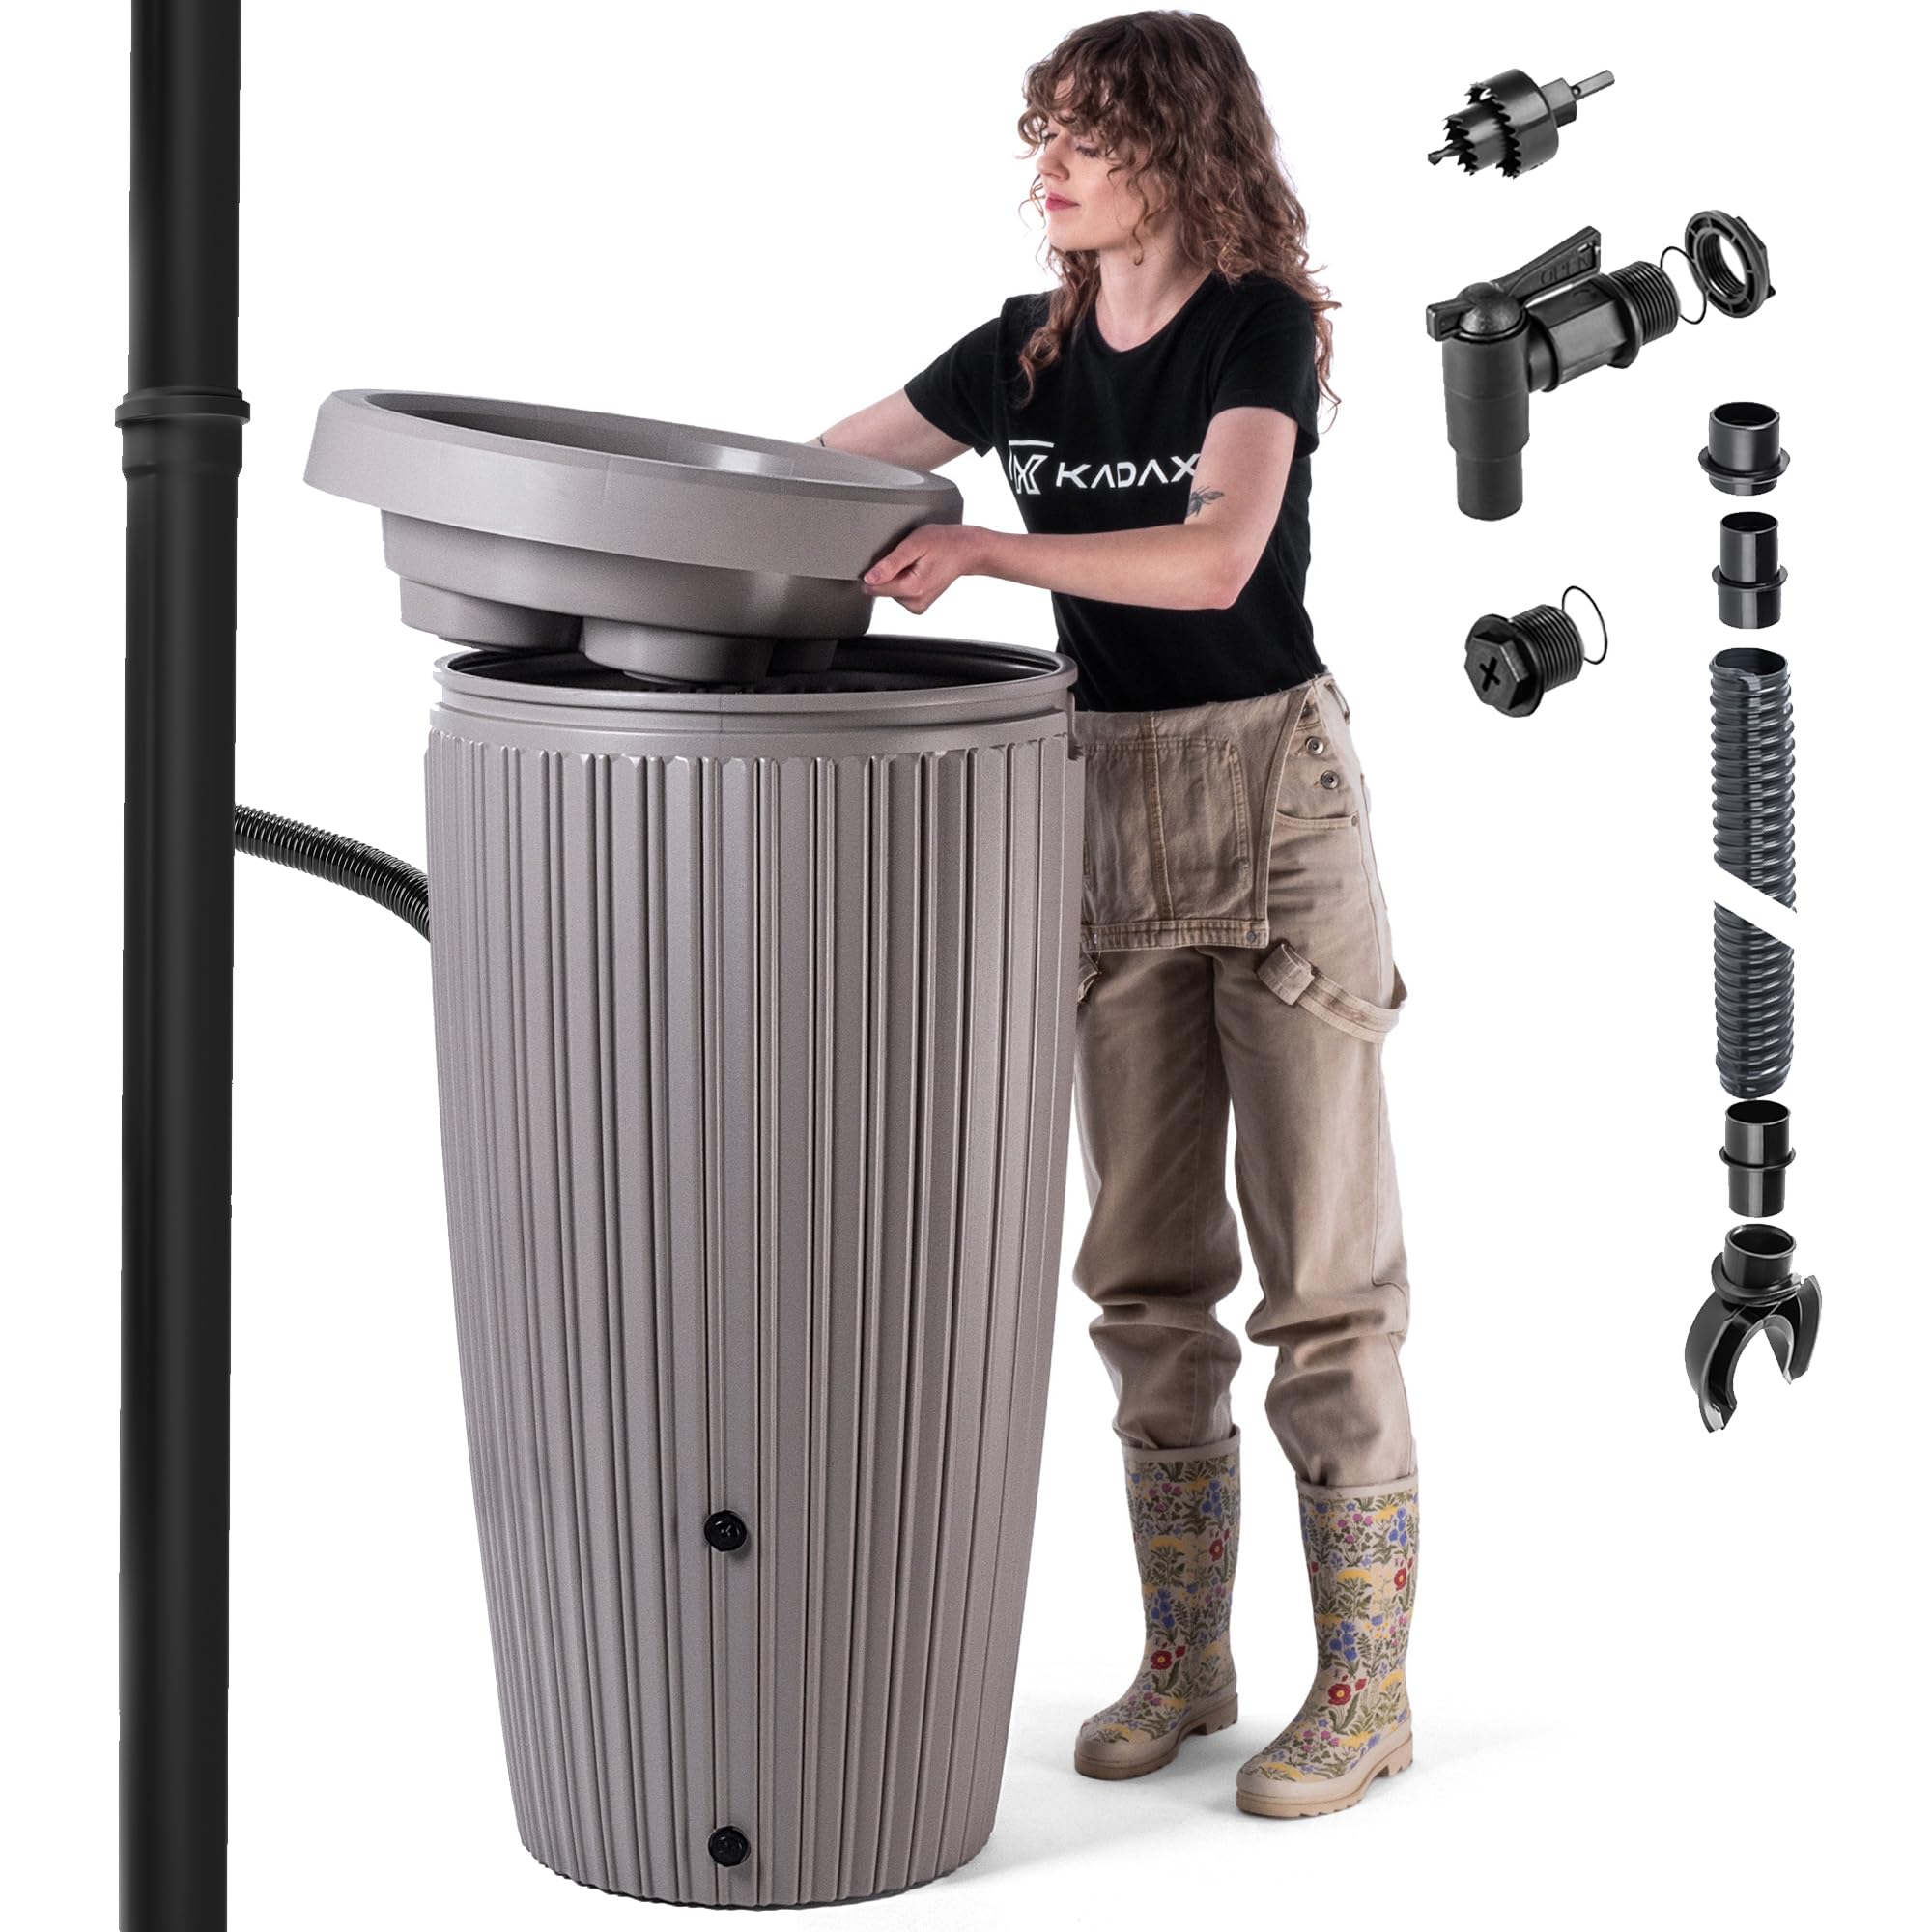
Figure 1: KADAX 240L Rainwater Collector with integrated plant pot lid.
2. Safety Information
- Ensure the collector is placed on a stable, level surface to prevent tipping, especially when full.
- Keep children and pets away from the collector during installation and ensure the lid is securely in place to prevent accidental falls into the tank.
- Do not use the collected water for drinking unless properly treated. It is intended for gardening and non-potable uses.
- In freezing conditions, ensure the tap is open or the tank is partially drained to prevent damage from ice expansion. Although frost-resistant, extreme conditions require precautions.
3. Package Contents
Verify that all components are present before beginning installation:
- Rainwater Collector Tank (240L)
- Integrated Plant Pot Lid
- Drain Tap
- Bottom Drain Plug
- Optional: Downpipe connection kit (may be sold separately)
4. Setup and Installation
- Choose Location: Select a stable, level surface near a downpipe. Ensure there is enough space around the collector for maintenance and access to the tap.
- Install Tap: Screw the provided drain tap into the threaded opening located on the lower front side of the tank. Ensure it is hand-tightened to prevent leaks.

Figure 2: Installation of the drain tap.
- Install Bottom Drain Plug: Securely insert the bottom drain plug into the lowest opening on the tank. This plug can be removed for complete drainage or connecting multiple tanks.
- Connect to Downpipe (if applicable): If using a downpipe connection kit (sold separately), follow the kit's instructions to connect the downpipe to the designated inlet on the collector. This typically involves drilling a hole in the downpipe and the collector, then connecting them with a flexible hose.

Figure 3: Example of downpipe connection. Ensure the downpipe diameter is compatible (e.g., 75-120mm).
- Place Lid: Position the integrated plant pot lid on top of the collector. Ensure it sits flush and securely.

Figure 4: Placing the integrated plant pot lid.
- Prepare Plant Pot: The lid features an integrated plant pot. If you wish to use it, fill it with appropriate potting soil and plant your desired flowers or herbs. Ensure the drainage hole in the plant pot section is clear. There is a marked "Drill Here" spot on the lid's underside for an overflow or additional drainage if needed.

Figure 5: "Drill Here" marking on the lid for optional drainage/overflow.
5. Operating Instructions
- Water Collection: Rainwater will flow from your downpipe (if connected) or directly into the tank through the lid opening.
- Water Dispensing: To dispense water, simply turn the handle of the drain tap. Close it securely after use to prevent leaks.
- Plant Pot Usage: The integrated plant pot allows you to beautify your rainwater collector. Ensure plants are suitable for the conditions and that the pot has adequate drainage.
- Overflow: The collector is designed with an internal overflow system. When the tank is full, excess water will typically exit through the downpipe connection point or an integrated overflow channel. Ensure this path is clear.
6. Maintenance
- Regular Cleaning: Periodically inspect the inside of the tank for sediment buildup or debris. Clean with water and a mild detergent if necessary. Rinse thoroughly.
- Lid Maintenance: Keep the plant pot area free of excessive debris. Ensure drainage holes in the plant pot are not blocked.
- Tap Inspection: Check the tap periodically for leaks or blockages.
- Winterization: Before the first frost, it is recommended to drain the tank partially or completely. Leave the tap open to prevent water from freezing inside and potentially damaging the tap or tank. Although the material is frost-resistant, preventing water from freezing solid inside is best practice.
7. Troubleshooting
| Problem | Possible Cause | Solution |
|---|---|---|
| Water leaking from tap | Tap not fully closed; loose tap connection; damaged tap. | Ensure tap is fully closed. Hand-tighten tap connection. If damaged, replace tap. |
| Water leaking from bottom plug | Plug not securely inserted. | Ensure plug is firmly seated. |
| Tank not filling | Downpipe connection blocked or improperly installed; no rain. | Check downpipe connection for blockages. Ensure proper installation. Wait for rain. |
| Slow water flow from tap | Sediment buildup near tap; partial blockage. | Drain tank and clean the area around the tap from the inside. |
8. Specifications

Figure 6: Product dimensions and key specifications.
| Feature | Detail |
|---|---|
| Brand | KADAX |
| Model Number | K10168 |
| Capacity | 240 Liters |
| Material | Polyethylene (PE) |
| Color | Grey/Beige |
| Dimensions (Height x Top Diameter x Base Diameter) | 113 cm x 60 cm x 44 cm (approx.) |
| Item Weight | 8 Kilograms |
| Shape | Round |
| Frost Resistant | Yes |
9. Contact and Support
For further assistance or inquiries, please visit the official KADAX website or contact your retailer.
Thank you for choosing KADAX.