
1. Introduction
This manual provides detailed instructions for the installation, operation, and maintenance of your 9imod AM32 80A Brushless ESC and 3542 Brushless Motor Kit. Please read this manual thoroughly before use to ensure proper function and longevity of your product. This kit is designed for 1/8 and 1/10 scale RC crawler cars, including models like Axial SCX10, TRX-4, and TRX-6.
2. Product Overview
The 9imod AM32 80A Brushless ESC Motor Kit offers an efficient power solution for your RC crawler. It features an AM32 80A Electronic Speed Controller and a 3542 Brushless Motor, engineered for intelligent torque output and precise control. The motor is IP67 rated for waterproof and dustproof operation, ensuring reliable performance in various environments.
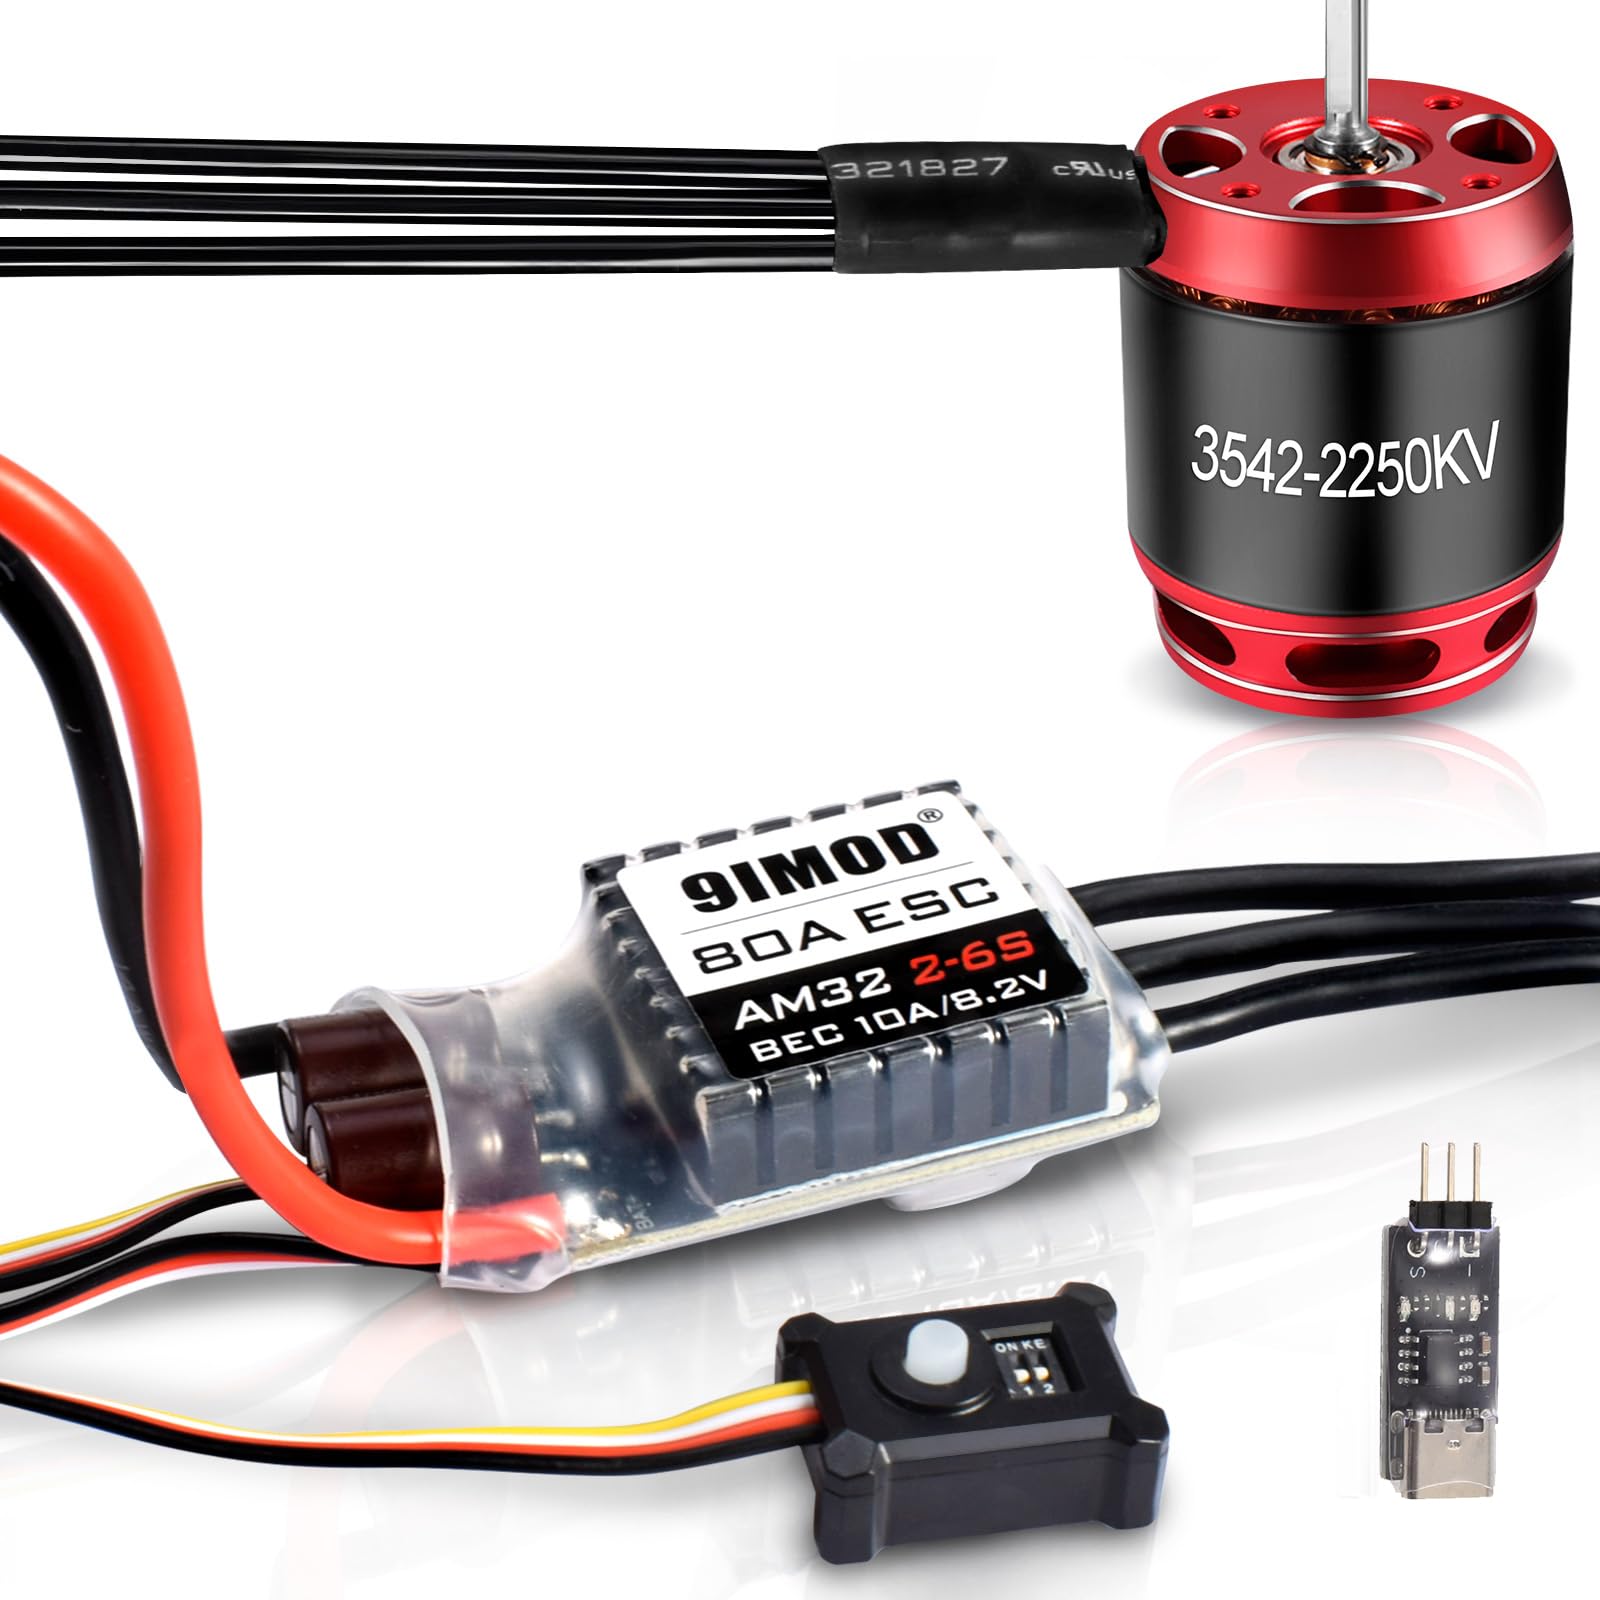
Image 2.1: Overview of the 9imod Outrunner Brushless Power Kit components installed in an RC vehicle.
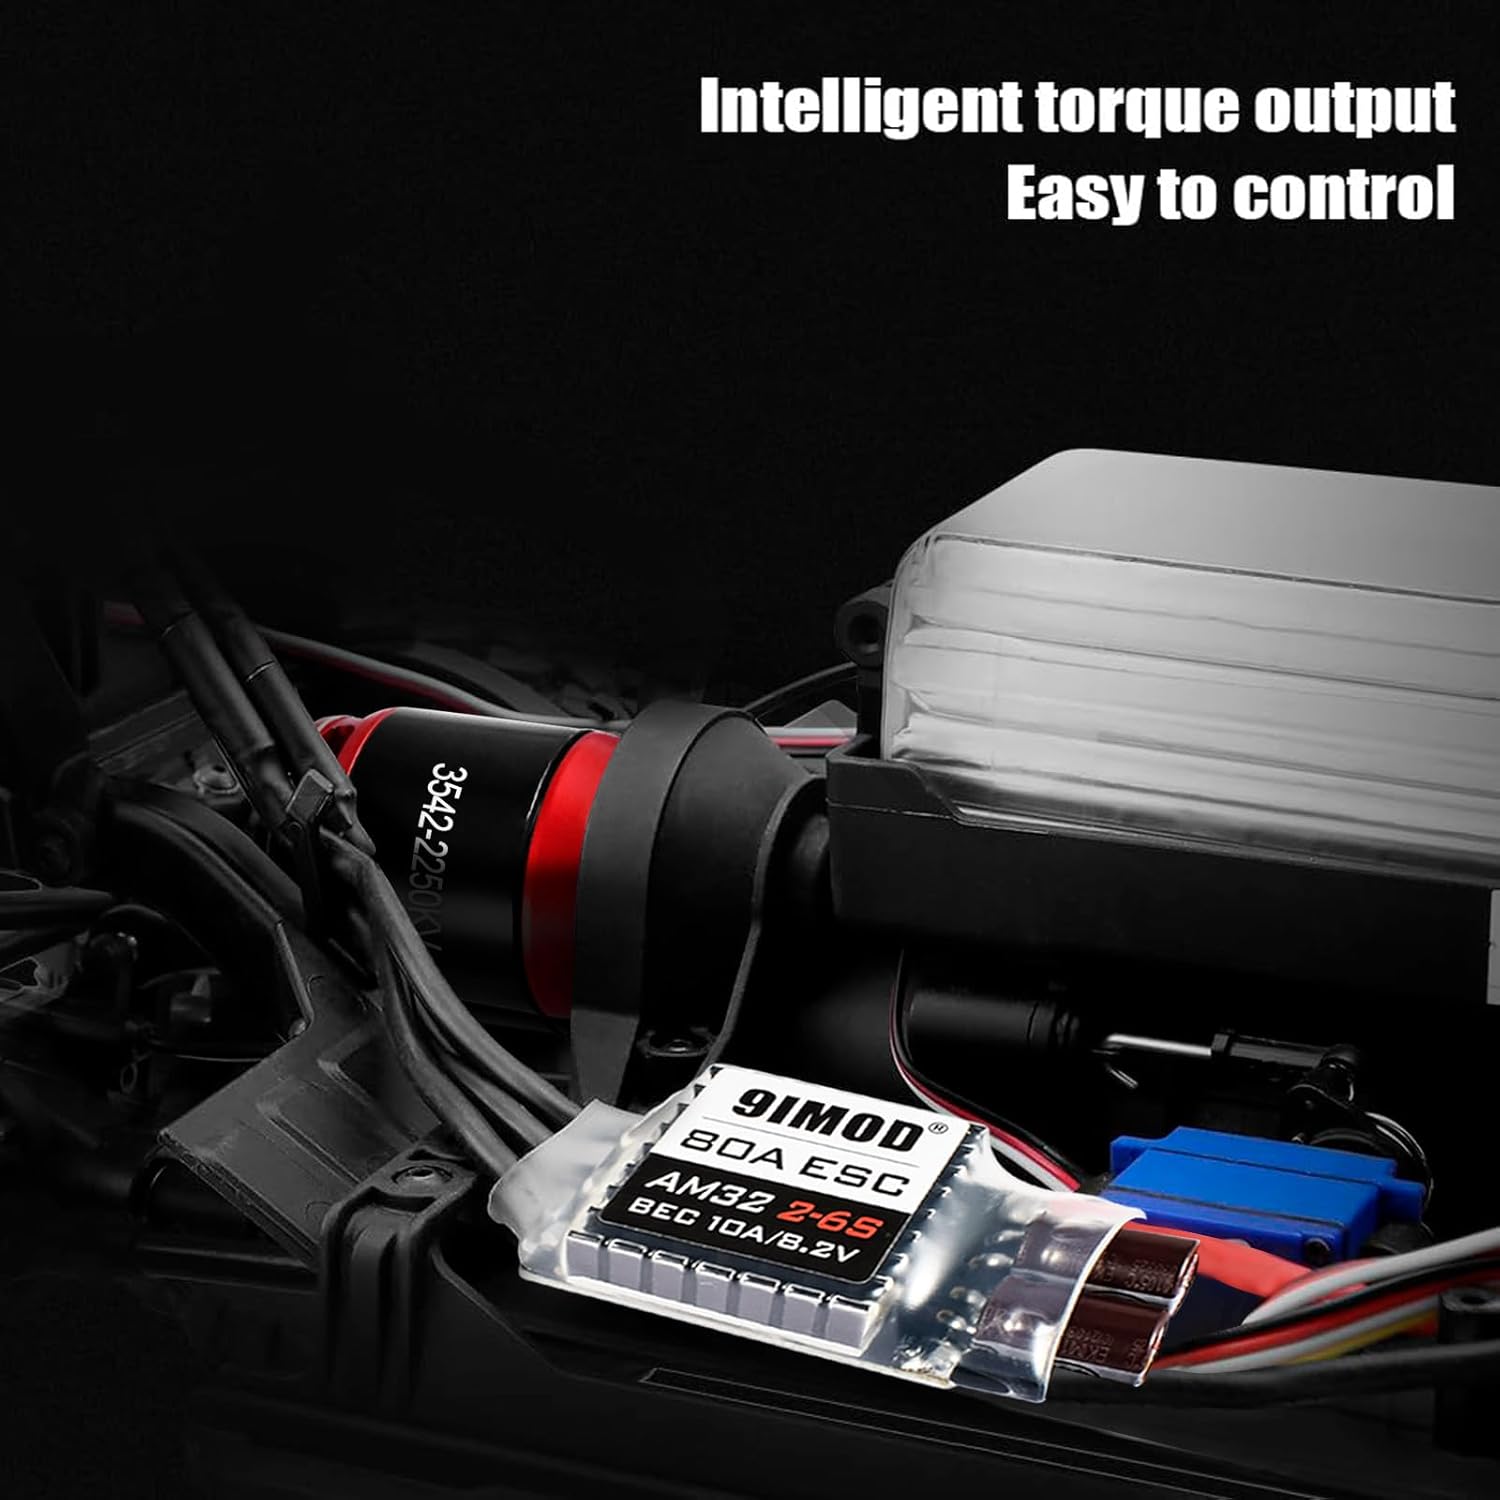
Image 2.2: The AM32 80A ESC and 3542 motor, designed for intelligent torque output and easy control.
2.1. Components
- AM32 80A Brushless Electronic Speed Controller (ESC)
- 3542 Brushless Motor
- Associated wiring and connectors (Receiver Plug, Power Switch, Motor Plugs, Battery Plug)

Image 2.3: The AM32 80A ESC showing its various connection points.

Image 2.4: The 3542 Brushless Motor with its key features and dimensions.
3. Specifications
3.1. AM32 80A ESC Specifications
| Feature | Specification | Feature | Specification |
|---|---|---|---|
| Battery | 2-6S Lipo | MCU | 32-bit |
| BEC Output | 5.2V / 6.0V / 7.4V / 8.2V | Motor | Not included (in ESC unit) |
| Max BEC Current | 10A | Signal Wire Length | 200mm |
| BEC Fan | Included | Power Wire Gauge/Length | 14AWGx150mm |
| Electronic Switch | Yes | Motor End Wire Gauge/Length | 14AWGx100mm |
3.2. 3542 Brushless Motor Specifications
| Item | Specification | Item | Specification |
|---|---|---|---|
| Item Number | 3542 | Max Power | 2000 Watts |
| Stator Diameter | 28 mm | Internal Resistance | 0.007 Ohms |
| Stator Thickness | 20 mm | Weight | 149 Grams |
| Stator Quantity | 12 | Outer Diameter | 35 mm |
| Stator Pole | 14 | Shaft Diameter | 3.17 mm |
| Motor Winding | 2+3 Delta | Length | 41.8 mm |
| Wire Diameter | 0.29 mm | Overall Length (with shaft) | 56.8 mm |
| Motor KV | 2250KV RPM/Volt | Battery Cells | 3S |
| No-load Current (Io/11.1V) | 4.5 Amps | Approach Angle | 5-14 deg |
| Max Current | 90 Amps | Drive Frequency | 7 kHz |
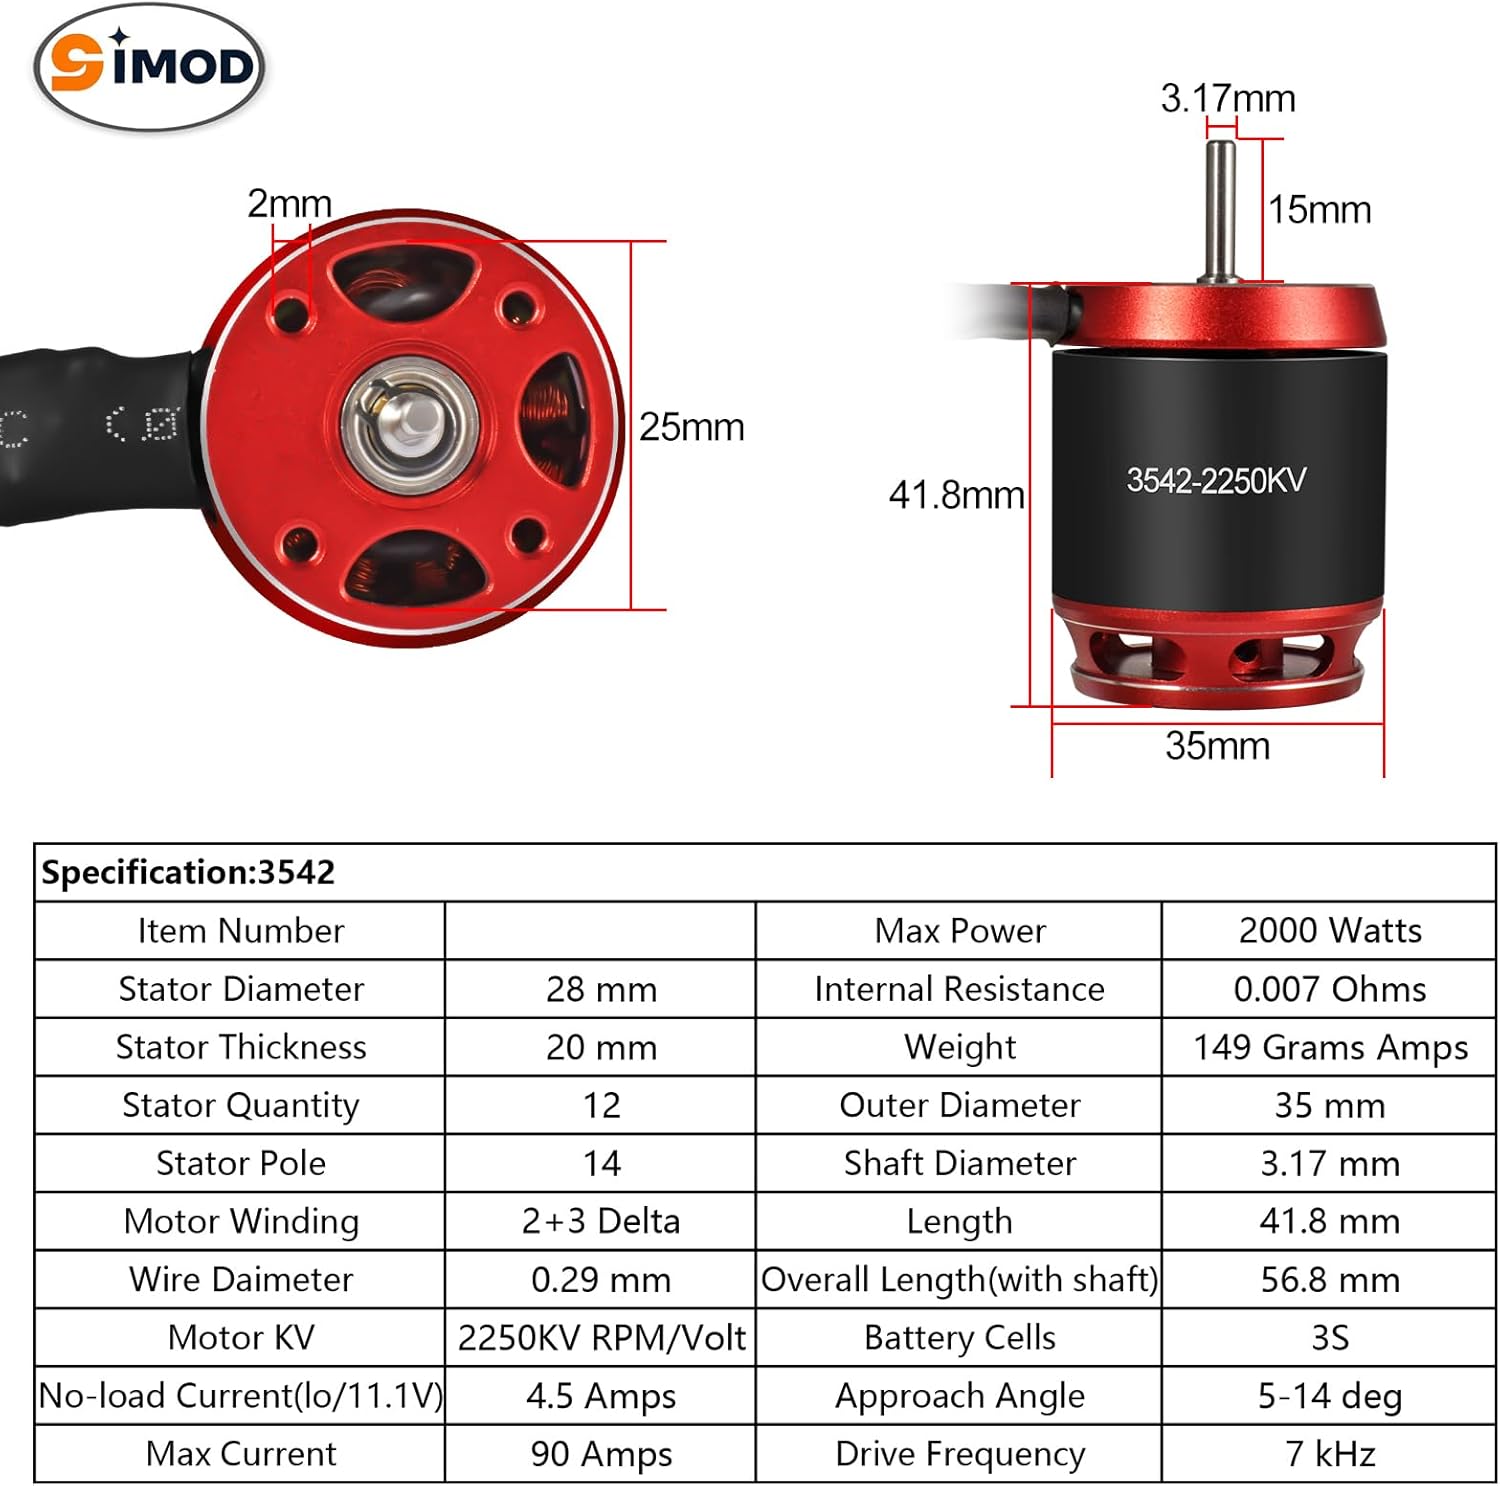
Image 3.1: Specifications and dimensions of the 3542 Brushless Motor.

Image 3.2: Specifications and dimensions of the AM32 80A ESC.
4. Setup & Installation
4.1. Connection Diagram
Follow the diagram below to correctly connect the ESC, motor, battery, receiver, and servo. Ensure all connections are secure before powering on the system.

Image 4.1: Main connection diagram and BEC voltage adjustment.

Image 4.2: Detailed connection schematic. To reverse motor rotation, swap any two of the three motor wires.
4.2. BEC Output Voltage Regulation
The AM32 80A ESC features an adjustable BEC output voltage. Use the switches on the BEC unit to select the desired voltage (5.2V, 6.0V, 7.4V, or 8.2V) for your receiver and servo. Refer to the diagram in Image 4.1 for switch settings.
4.3. Initial Setup Note
Important: The remote control's throttle trim must be adjusted to the neutral position before connecting the ESC to ensure proper calibration and safe operation.
5. Operating Instructions
5.1. General Operation
Once all connections are made and the remote control is set to neutral, power on your RC vehicle. The ESC will initialize. You can then control the motor via your remote control's throttle. Always ensure your battery is adequately charged for optimal performance.
5.2. Firmware Upgrade and Programming
The AM32 ESC firmware is designed for AT32 ARM processors, offering smooth and rapid start with linear throttle. It is suitable for various vehicle types and flight controllers. The ESC supports firmware upgrades and configuration via a USB link.
- For AM32/BL32, connect the ESC to a computer for configuration or firmware upgrade.
- To connect, simply plug the ESC signal plug into the USB Type-C cable, connect the cable to a computer, and install the VCP driver.
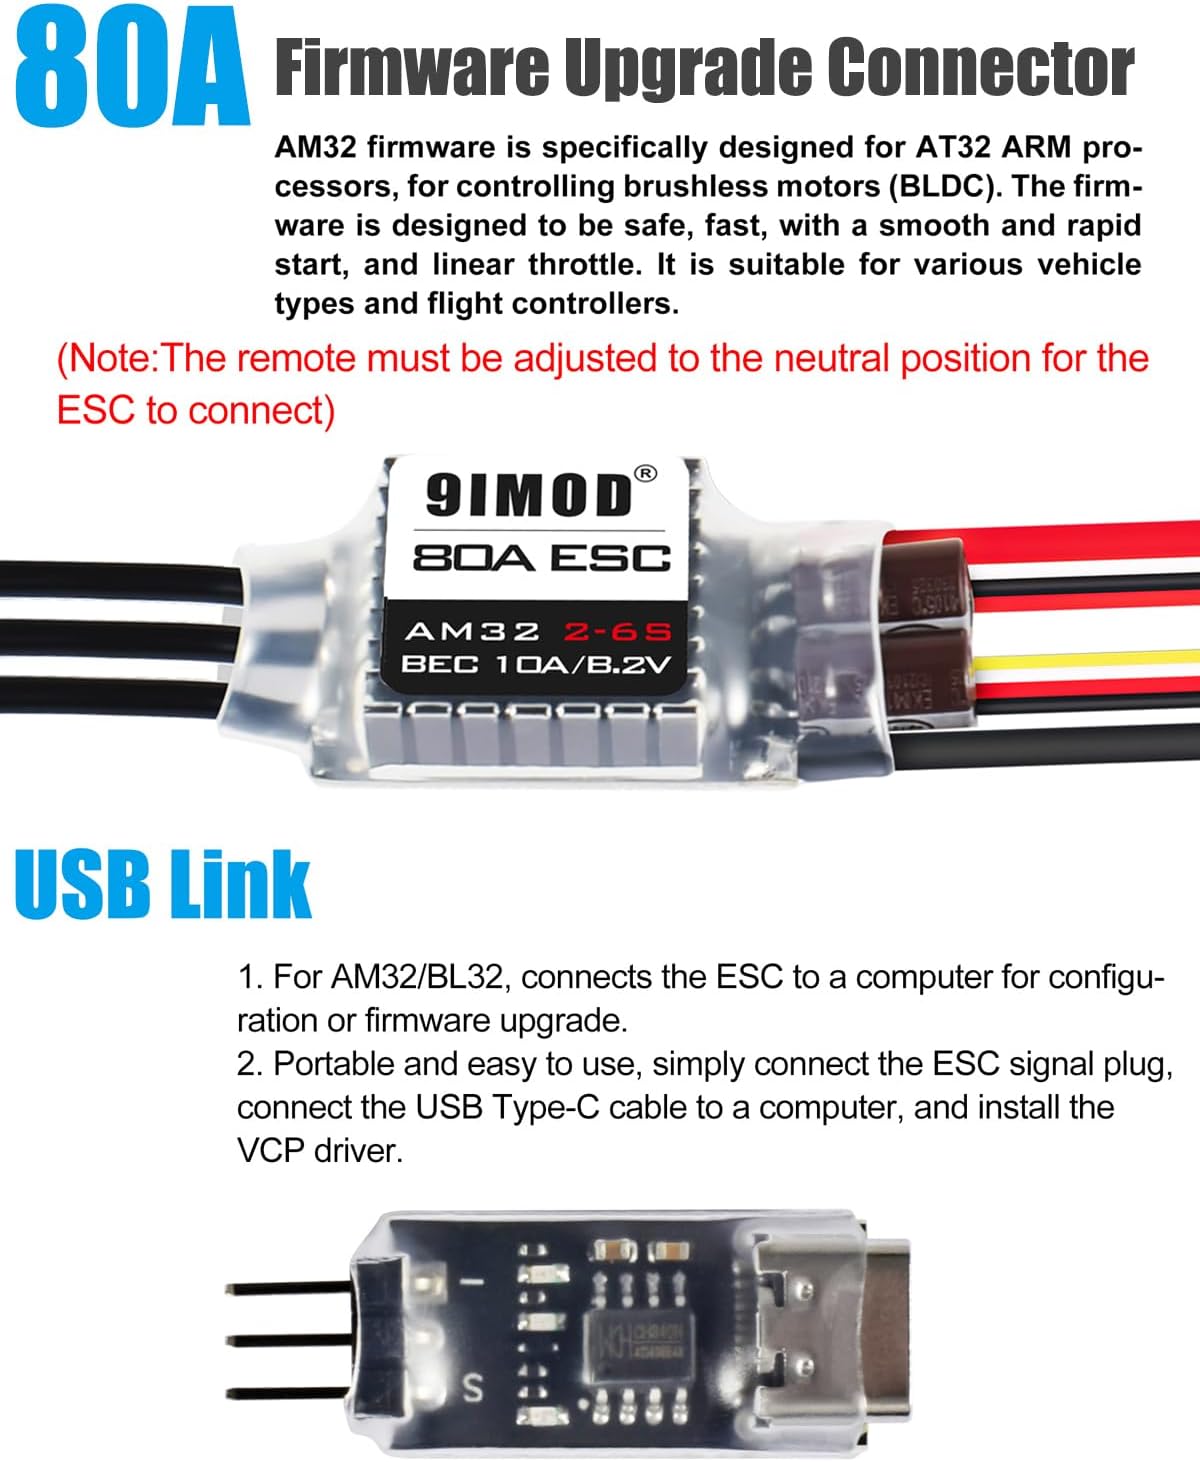
Image 5.1: AM32 80A ESC Firmware Upgrade Connector and USB Link.
5.3. Programmable Parameters
The AM32 ESC offers several programmable parameters to fine-tune its performance. These can be adjusted via the USB link and software.

Image 5.2: Programmable parameters for the AM32 ESC.
6. Maintenance
- Keep Clean: Regularly clean the ESC and motor to prevent dirt and debris buildup, which can affect performance and cooling.
- Check Connections: Periodically inspect all wiring and connectors for signs of wear, corrosion, or loose connections. Secure any loose connections.
- Motor Inspection: Check the motor shaft and bearings for smooth operation. The 3542 motor is IP67 rated, providing protection against water and dust, but avoid prolonged submersion.
- Storage: Store the kit in a dry, cool place away from direct sunlight and extreme temperatures.

Image 6.1: The 3542 Motor features IP67 waterproof and dustproof protection.
7. Troubleshooting
- No Power: Ensure the battery is charged and correctly connected. Check all power connections for continuity.
- Motor Not Responding: Verify the receiver is powered and correctly bound to the remote. Check the signal wire connection between the ESC and receiver. Ensure the remote's throttle trim is at neutral.
- Motor Runs in Wrong Direction: If the motor spins in the opposite direction, swap any two of the three motor wires connecting the ESC to the motor.
- Erratic Operation: Check for loose connections, interference, or a low battery. Recalibrate the ESC if necessary.
- Overheating: Ensure adequate airflow around the ESC and motor. Reduce load or adjust motor timing if consistent overheating occurs.
8. Warranty and Support
For warranty claims, technical support, or further assistance, please contact the manufacturer directly through their official channels. Keep your proof of purchase for any warranty-related inquiries.