
Important Safety Information
Please read and understand all safety warnings before assembly and use of the storage shed. Failure to follow these instructions may result in injury or property damage.
- Always follow the assembly instructions carefully.
- This shed is heavy and requires proper handling and assembly. It may not be safe for everyone to assemble or use without assistance.
- Keep the shed locked when not in use to prevent unauthorized access.
- Do not exceed the weight limit of the shed.
- Wear appropriate personal protective equipment, such as gloves, during assembly.
- Ensure the assembly area is clear of obstructions and hazards.
Product Overview
The COMHOMA 10'x8' Metal Outdoor Storage Shed is designed for durable outdoor storage, offering protection for various items from weather elements.
Dimensions and Capacity
- Product Dimensions: 78.78"D x 48.03"W x 73.62"H
- Storage Capacity: 518 CU.FT
- Roof Weight Capacity: 880 LBS
- Door Width: 45 Inches
- Door Height: 64 Inches
- Item Weight: 99 Pounds

Image: The COMHOMA 10'x8' Metal Outdoor Storage Shed, showcasing its spacious interior and double doors, situated in a well-maintained backyard.
Key Features
- Durable Construction: Made of high-quality galvanized steel with a powder-coated finish for weather resistance.
- Spacious Interior: Optimal solution for various outdoor storage needs, accommodating snow blowers, shovels, bicycles, and more.
- Waterproof Design: Sloping roof effectively directs rainwater away, preventing leakage and keeping contents dry.
- Security and Ventilation: Features lockable doors for security and two top vents for improved airflow, reducing odors and heat buildup.
- Easy Assembly: Equipped with part number labels, a comprehensive step-by-step manual, and includes installation gloves.
Package Contents
Before beginning assembly, ensure all parts listed in the manual are present and undamaged. Components are typically labeled for easy identification.
- Galvanized Steel Panels (Walls, Roof)
- Metal Frame Components (Base, Roof Supports, Door Frames)
- Double Hinged Doors
- Lockable Latch Mechanism
- Air Vents
- Fasteners (Screws, Washers, Nuts)
- Corner Protection Caps
- Installation Gloves
- Instruction Manual
Setup and Assembly
Assembly typically requires 2-3 individuals. Follow the numbered steps in the provided manual for best results. Wear gloves to protect your hands during assembly.
Site Preparation
- Choose a flat, level surface for installation to ensure stability and proper alignment of panels.
- Clear the area of any debris, rocks, or vegetation.
- Consider a concrete slab or a treated wood foundation for optimal stability and longevity.
Assembly Steps
Step 1: Base Frame Assembly
Assemble the bottom frame components according to the part numbers. Ensure all connections are secure but do not fully tighten screws until the frame is square and level.
Video: Detailed instructions for assembling the base frame of the storage shed, including connecting the bottom frame pieces and ensuring squareness.
After assembling the base, verify that the diagonal measurements are equal to ensure the frame is square. The floor frame must be both square and level for proper alignment of subsequent parts.

Image: An illustrative diagram outlining the sequential assembly steps for the storage shed, from base construction to final door installation.
Step 2: Wall Panel Installation
Attach the wall panels to the base frame. It is recommended to place all wall panels first, installing the screws at the bottom, confirming their positions, and then proceeding to install the screws on top. Ensure the door frames (ULA, UR1) cover the raised part of the wall panel, do not insert them.
Video: Demonstrates the installation of wall panels, including securing them to the base frame and connecting them with horizontal supports.
Step 3: Roof Assembly
Assemble the roof panels and attach them to the top of the wall structure. Ensure all panels are correctly oriented and securely fastened. Note that some screw holes are reserved for optional solar lights (not included, order separately).
Video: Shows the process of assembling and installing the roof panels, highlighting the correct placement and fastening techniques.
Step 4: Door Installation
Assemble the doors by attaching the hinges and latch mechanisms. Then, install the assembled doors onto the shed frame. Ensure smooth operation and secure closure.
Video: Illustrates the assembly of the shed doors, including hinge and latch installation, and finally attaching them to the main shed structure.
Finally, screw on the plastic protective caps to cover the screws and prevent scratches.
Operating Instructions
Locking Mechanism
The shed is equipped with lockable doors for enhanced security. To secure the shed, close both doors and engage the sliding bolt latch. A padlock (not included) can be added for additional protection against unauthorized access.
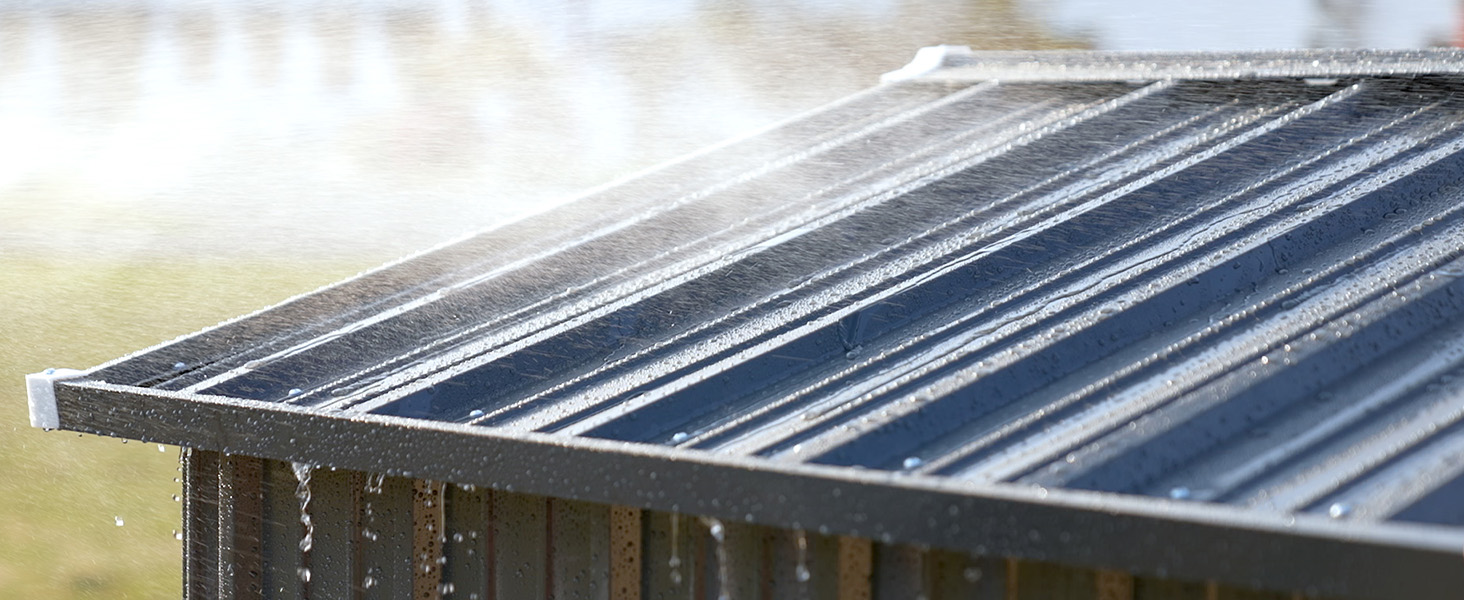
Image: A detailed view of the lockable door mechanism, showing the sliding bolt and the provision for a padlock to secure the shed's contents.
Ventilation
The shed features two top vents designed to promote airflow. This helps to keep the interior cool and reduce moisture buildup, preventing odors and protecting stored items.

Image: A close-up of the shed's roof showing the integrated air vents, designed to facilitate air circulation and maintain internal conditions.
Maintenance
- Cleaning: Regularly clean the shed exterior with mild soap and water. Avoid abrasive cleaners that could damage the finish.
- Fasteners: Periodically check all screws and bolts to ensure they remain tight. Tighten any loose fasteners to maintain structural integrity.
- Rust Prevention: Although made of galvanized steel, inspect for any signs of rust, especially in areas where the coating might be scratched. Touch up with rust-inhibiting paint if necessary.
- Door Operation: Keep door tracks and hinges clean and lubricated for smooth opening and closing.
Troubleshooting
- Difficulty Aligning Panels: Ensure the base frame is perfectly square and level. Slight adjustments to the base can resolve alignment issues.
- Leaking: Check all roof and wall panel overlaps for proper sealing. Ensure all screws are tightened. The sloping roof design is intended to prevent leaks, but extreme weather may require additional sealant application if issues persist.
- Doors Sticking/Not Closing Properly: Verify that the shed is on a level surface. Check door hinges and tracks for debris or damage. Lubricate moving parts if needed.
- Loose Components: Regularly inspect and tighten all fasteners. Over time, vibrations or weather changes can cause screws to loosen.
Specifications
| Attribute | Detail |
|---|---|
| Brand | COMHOMA |
| Model Number | B106-GY-10-8ft |
| Color | Gray |
| Material | Metal (Galvanized Steel, Alloy Steel) |
| Product Dimensions | 78.78"D x 48.03"W x 73.62"H |
| Item Weight | 99 Pounds |
| Door Style | Double Hinged, Lockable |
| Water Resistance Level | Waterproof |
| Assembly Required | Yes |
Warranty Information
For specific warranty details regarding your COMHOMA storage shed, please refer to the warranty card included in your product packaging or contact COMHOMA customer support directly. Keep your proof of purchase for warranty claims.
Customer Support
If you encounter any issues or have questions regarding the assembly, operation, or maintenance of your COMHOMA storage shed, please contact our customer support team. Refer to the contact information provided in your product documentation or visit the official COMHOMA website for assistance.
You can also visit the COMHOMA Store on Amazon for more product information and support resources.