
Proster PST199-P
Proster Pinless Wood Moisture Meter Instruction Manual
Model: PST199-P | Brand: Proster
Introduction
Thank you for choosing the Proster Pinless Wood Moisture Meter. This non-destructive moisture tester is designed for quick and accurate detection of moisture content in various materials such as wood, wallboard, and masonry. Its pinless design ensures no damage to surfaces, making it ideal for carpentry, water leakage repair, building construction, and home decoration.
Key Features:
- Pinless & Non-Invasive Measurement: Protects work surfaces by detecting moisture without pins.
- Visual & Audible Alarms: Features a 3-color LED bar graph and high-pitch audible tones for immediate moisture indication.
- Easy-to-Read Backlit LCD: Large, bright display for clear readings in any light condition.
- Multiple Material Modes: Easily switch between modes for wall/masonry, soft wood, and hard wood.
- Deep Detection: Measures moisture up to 3/4 inch (19 mm) below the surface.
- Convenient Functions: Includes HOLD button, auto power-off, and built-in flashlight.
- Complete Kit: Comes with a storage bag and 9V battery.
1. Setup
1.1 Unpacking and Components
Carefully unpack your Proster Pinless Wood Moisture Meter and verify all components are present:
- Proster Pinless Wood Moisture Meter (Model: PST199-P)
- 9V Battery
- Storage Bag
- User Manual (this document)

Image: The Proster Pinless Wood Moisture Meter, its storage bag, 9V battery, and packaging.
1.2 Battery Installation
The device requires one 9V alkaline battery (included). To install:
- Locate the battery compartment cover on the back of the meter.
- Open the cover by sliding or lifting it.
- Connect the 9V battery to the battery clip, ensuring correct polarity (+ to + and - to -).
- Place the battery inside the compartment and close the cover securely.

Image: Rear view of the moisture meter, indicating the battery compartment.
2. Operating Instructions
2.1 Powering On/Off
To power on the meter, press the red power button (⑂). The backlit LCD will illuminate. The meter will automatically power off after a period of inactivity to conserve battery life.
2.2 Selecting Measurement Mode
Press the "MODE" button to cycle through the available material modes:
- WALL / MASONRY: For drywall, plaster, brick, and other masonry materials (measurement range: 5% - 70%).
- SOFT WOOD: For softer wood types (measurement range: 5% - 75%).
- HARD WOOD: For harder wood types (measurement range: 5% - 75%).

Image: The meter's display showing different measurement modes for various materials.
2.3 Taking a Measurement
- Select the appropriate material mode using the "MODE" button.
- Place the sensor panel (located on the back of the meter) flat against the surface you wish to test. Ensure full contact.
- For accurate measurements, place your finger on the rubber grip areas on the side of the meter.
- The moisture percentage will be displayed on the LCD screen.
- The 3-color LED bar graph will provide a quick visual indication:
- Green: Dry
- Yellow: Mid (Moderate Moisture)
- Red: Wet

Image: The sensor panel on the back of the meter and examples of materials it can measure.

Image: Visual representation of the 3-color LED humidity alerts (Green for Dry, Yellow for Mid, Red for Wet).
2.4 HOLD Function
Press the "HOLD" button to freeze the current reading on the display. Press it again to release the hold and resume live readings.
2.5 Audible Alarm
The meter features an audible alarm for out-of-range moisture levels:
- A high-pitch tone will sound if wood is tested above 16% moisture content.
- A high-pitch tone will sound if drywall/masonry is found to be more than 53% wet.

Image: The meter displaying an out-of-range moisture reading with an audible alarm indicator.
2.6 Flashlight Function
Press the flashlight button (looks like a lightbulb icon) to turn on the built-in flashlight. This is useful for taking measurements in low-light conditions. Press the button again to turn it off.
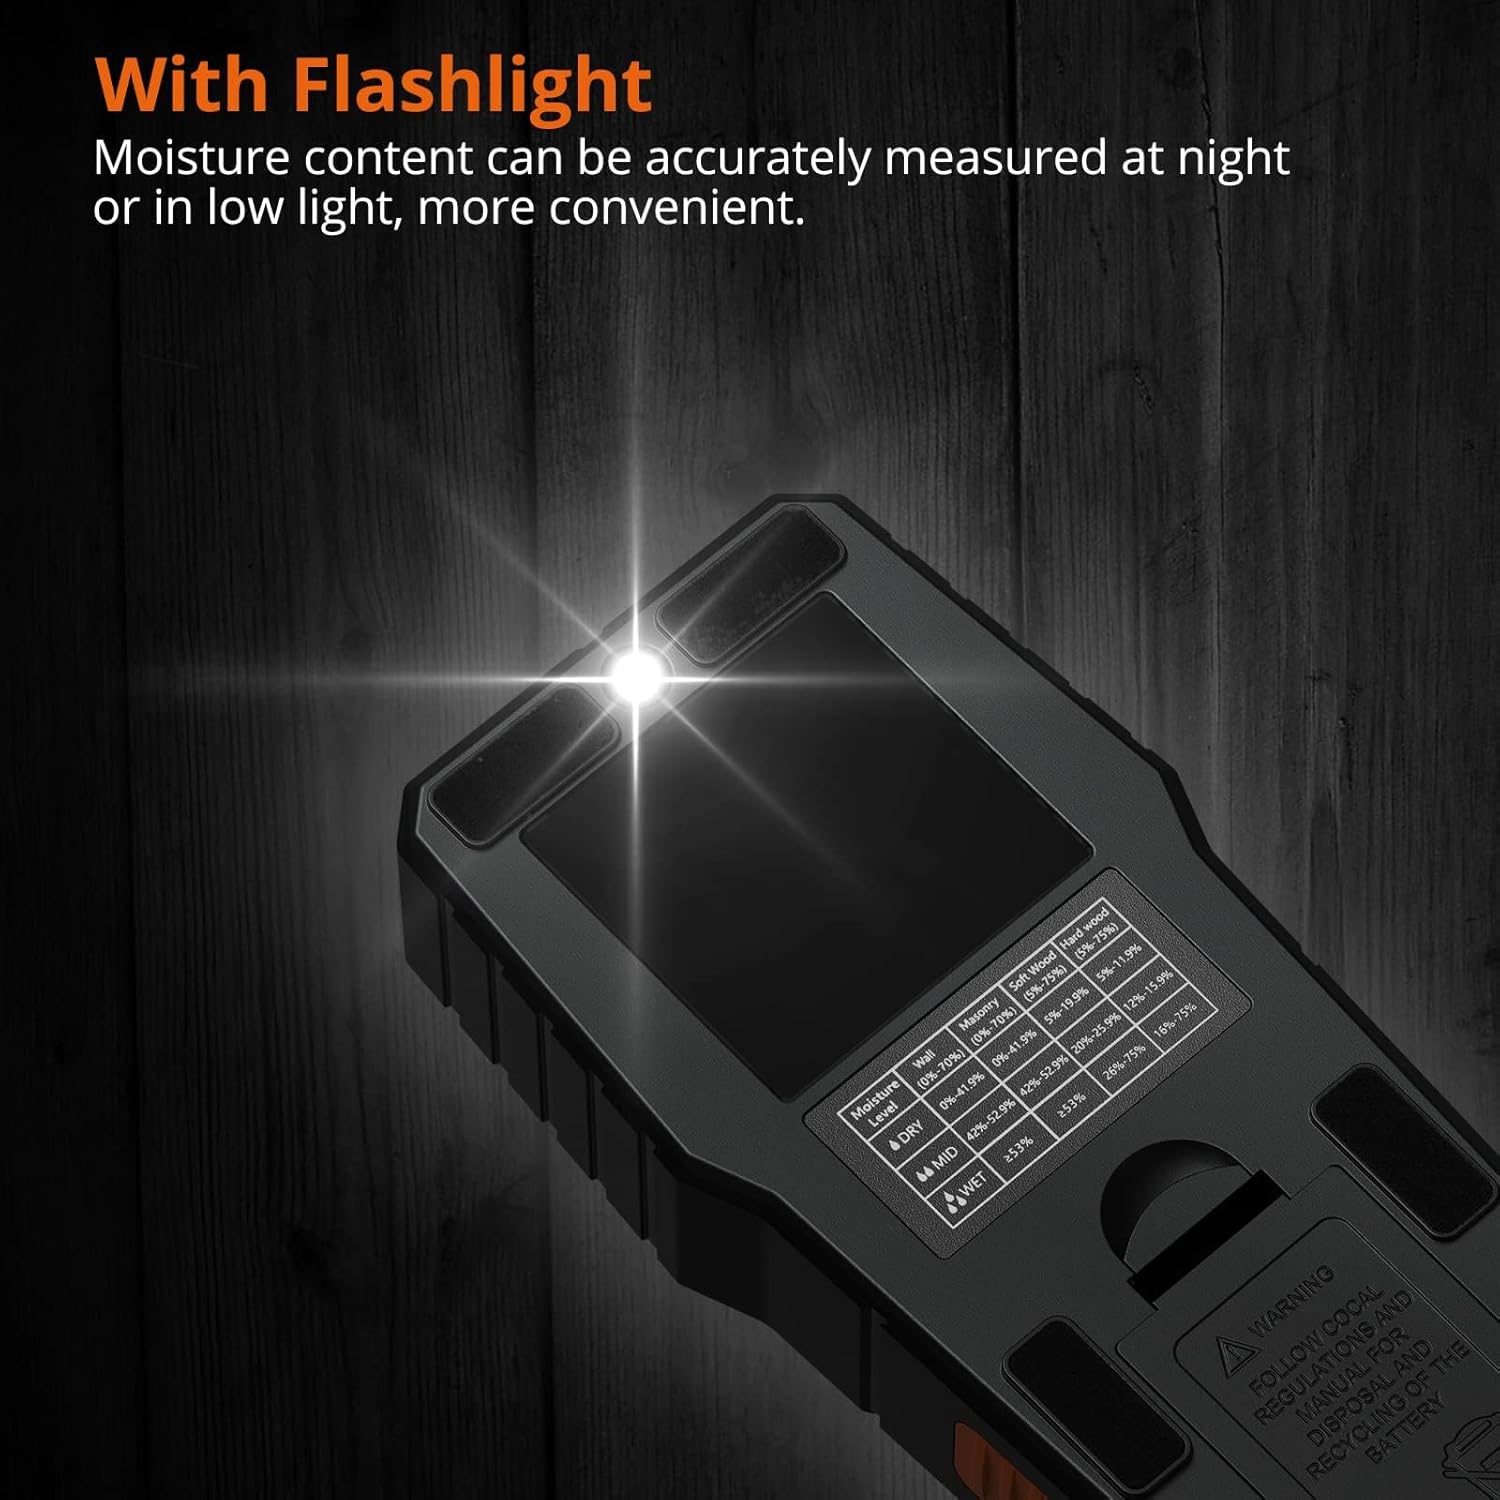
Image: The moisture meter with its built-in flashlight illuminated, useful for dark areas.
3. Maintenance
3.1 Cleaning
Wipe the meter with a soft, dry cloth. Do not use abrasive cleaners or solvents. Keep the sensor panel clean and free of debris for accurate readings.
3.2 Battery Replacement
When the low battery indicator appears on the display, replace the 9V battery as described in the "Battery Installation" section (1.2).
3.3 Storage
When not in use, store the meter in its provided storage bag in a cool, dry place, away from direct sunlight and extreme temperatures. Remove the battery if the device will not be used for an extended period.
4. Troubleshooting
Common Issues and Solutions:
| Problem | Possible Cause | Solution |
|---|---|---|
| Meter does not power on. | Dead or incorrectly installed battery. | Check battery polarity, replace battery if necessary. |
| Inaccurate readings. | Sensor panel not fully in contact with surface; incorrect mode selected; presence of metal objects. | Ensure full contact; select correct material mode; avoid testing near metal (screws, nails, pipes). |
| Audible alarm constantly on. | High moisture content detected. | This indicates high moisture. If unexpected, re-test or investigate the area. |
| Display is dim or flickering. | Low battery. | Replace the 9V battery. |

Image: Illustration showing how metal objects can affect measurement accuracy.
5. Specifications
| Parameter | Value |
|---|---|
| Model Number | PST199-P |
| Brand | Proster |
| Measurement Principle | Electromagnetic Sensor (Pinless) |
| Detection Depth | Up to 3/4 inch (19 mm) |
| Wall/Masonry Range | 5% - 70% |
| Soft Wood Range | 5% - 75% |
| Hard Wood Range | 5% - 75% |
| Display | Backlit Color LCD with 3-color LED bar graph |
| Power Source | 1 x 9V Alkaline Battery (included) |
| Auto Power-Off | Yes |
| Operating Temperature | Up to 104°F (40°C) |
| Item Weight | 270 Grams (9.5 ounces) |
6. Warranty and Support
Proster products are designed for reliability and performance. For warranty information, technical support, or service inquiries, please refer to the contact details provided on the product packaging or visit the official Proster website.
Please retain your purchase receipt as proof of purchase for any warranty claims.
Ask a question about this manual
Ask about setup, troubleshooting, compatibility, parts, safety, or missing instructions. Manuals+ will review the question and use this page’s manual context to help answer it.