
LANDERPOW LANDERPOW-3000W-PSW
LANDERPOW 3000W Pure Sine Wave Inverter User Manual
Model: LANDERPOW-3000W-PSW | Brand: LANDERPOW
Introduction
This manual provides detailed instructions for the safe and efficient use of your LANDERPOW 3000W Pure Sine Wave Inverter. This inverter converts 12V DC power to 120V AC power, suitable for various applications including RVs, trucks, solar systems, homes, and off-grid setups. It delivers 3000W of continuous power and a 6000W surge capacity, ensuring reliable operation for sensitive electronics and heavy-duty appliances.
The inverter features multiple output options, including three AC outlets, a hardwired terminal, a 5V/3.1A USB port, and a 30W USB-C port. It also includes a remote control with an LED display for real-time monitoring and various safety protections to ensure long-term durability and user safety.
1. Setup and Installation
1.1 Package Contents
Before installation, verify that all items are present in the package:
- 1x LANDERPOW 3000 Watt Pure Sine Wave Inverter
- 2x 1AWG Battery Cables (2FT length)
- 1x Ground Cable (1.65FT length)
- 1x Remote Controller (15FT cable)
- 1x User Manual

Image: Contents of the LANDERPOW 3000W Inverter package.
1.2 Choosing an Installation Location
Select a location that is:
- Dry and well-ventilated.
- Away from direct sunlight and heat sources.
- Accessible for connections and maintenance.
- Securely mounted to prevent movement.
1.3 Battery Connection
Connect the inverter to a 12V battery system using the provided 1AWG battery cables. Ensure correct polarity:
- Connect the red (positive) cable to the positive (+) terminal of the inverter and the positive (+) terminal of the battery.
- Connect the black (negative) cable to the negative (-) terminal of the inverter and the negative (-) terminal of the battery.
- Connect the green/yellow ground cable to the inverter's ground terminal and a suitable chassis ground point.
- Ensure all connections are tight and secure to prevent arcing and overheating.
The inverter is compatible with various 12V battery types, including Li (Lithium), LiFePO4, GEL, SLA, FLD, and AGM batteries.

Image: Inverter connected to a 12V battery, showing compatibility with various battery types.
1.4 Hardwired AC Output Terminal
For high-current appliances or permanent installations, use the hardwired AC output terminal. Consult a qualified electrician for proper wiring to ensure safety and compliance with local electrical codes.

Image: Detail of the professional AC hardwired output terminal.
1.5 Remote Control Connection
Connect the 15ft wired remote controller to the designated port on the inverter. This allows for convenient monitoring and control from a distance.
2. Operation
2.1 Powering On/Off
After all connections are secure, press the power button on the inverter or the remote control to turn the unit on. The LED display on the remote will illuminate, indicating operational status. Press the button again to power off.
2.2 Connecting AC Devices
The inverter provides three standard AC outlets. Plug your 120V AC appliances directly into these outlets. For high-power devices, consider using the hardwired terminal as described in Section 1.4.
This pure sine wave inverter is designed to safely power sensitive electronics such as microwave ovens, laptops, CPAP machines, and LED lighting, as well as inductive loads like window air conditioners and power tools, without hum or flicker.

Image: Inverter powering devices in an RV and home setup.
2.3 USB and USB-C Charging
Utilize the 5V/3.1A USB port and the 30W USB-C PD port for fast charging of compatible mobile devices, tablets, and other USB-powered electronics.
2.4 Remote Control and LED Display
The remote control features a smart LED screen that displays real-time operational data, including:
- DC Input Voltage
- AC Output Wattage
- Battery Remaining Capacity
- Frequency
- Error indicators (Voltage Too High/Low, Overheating, Overload)
- Fan status
This display allows for convenient monitoring of the inverter's performance and battery status, enabling timely adjustments or battery swaps.
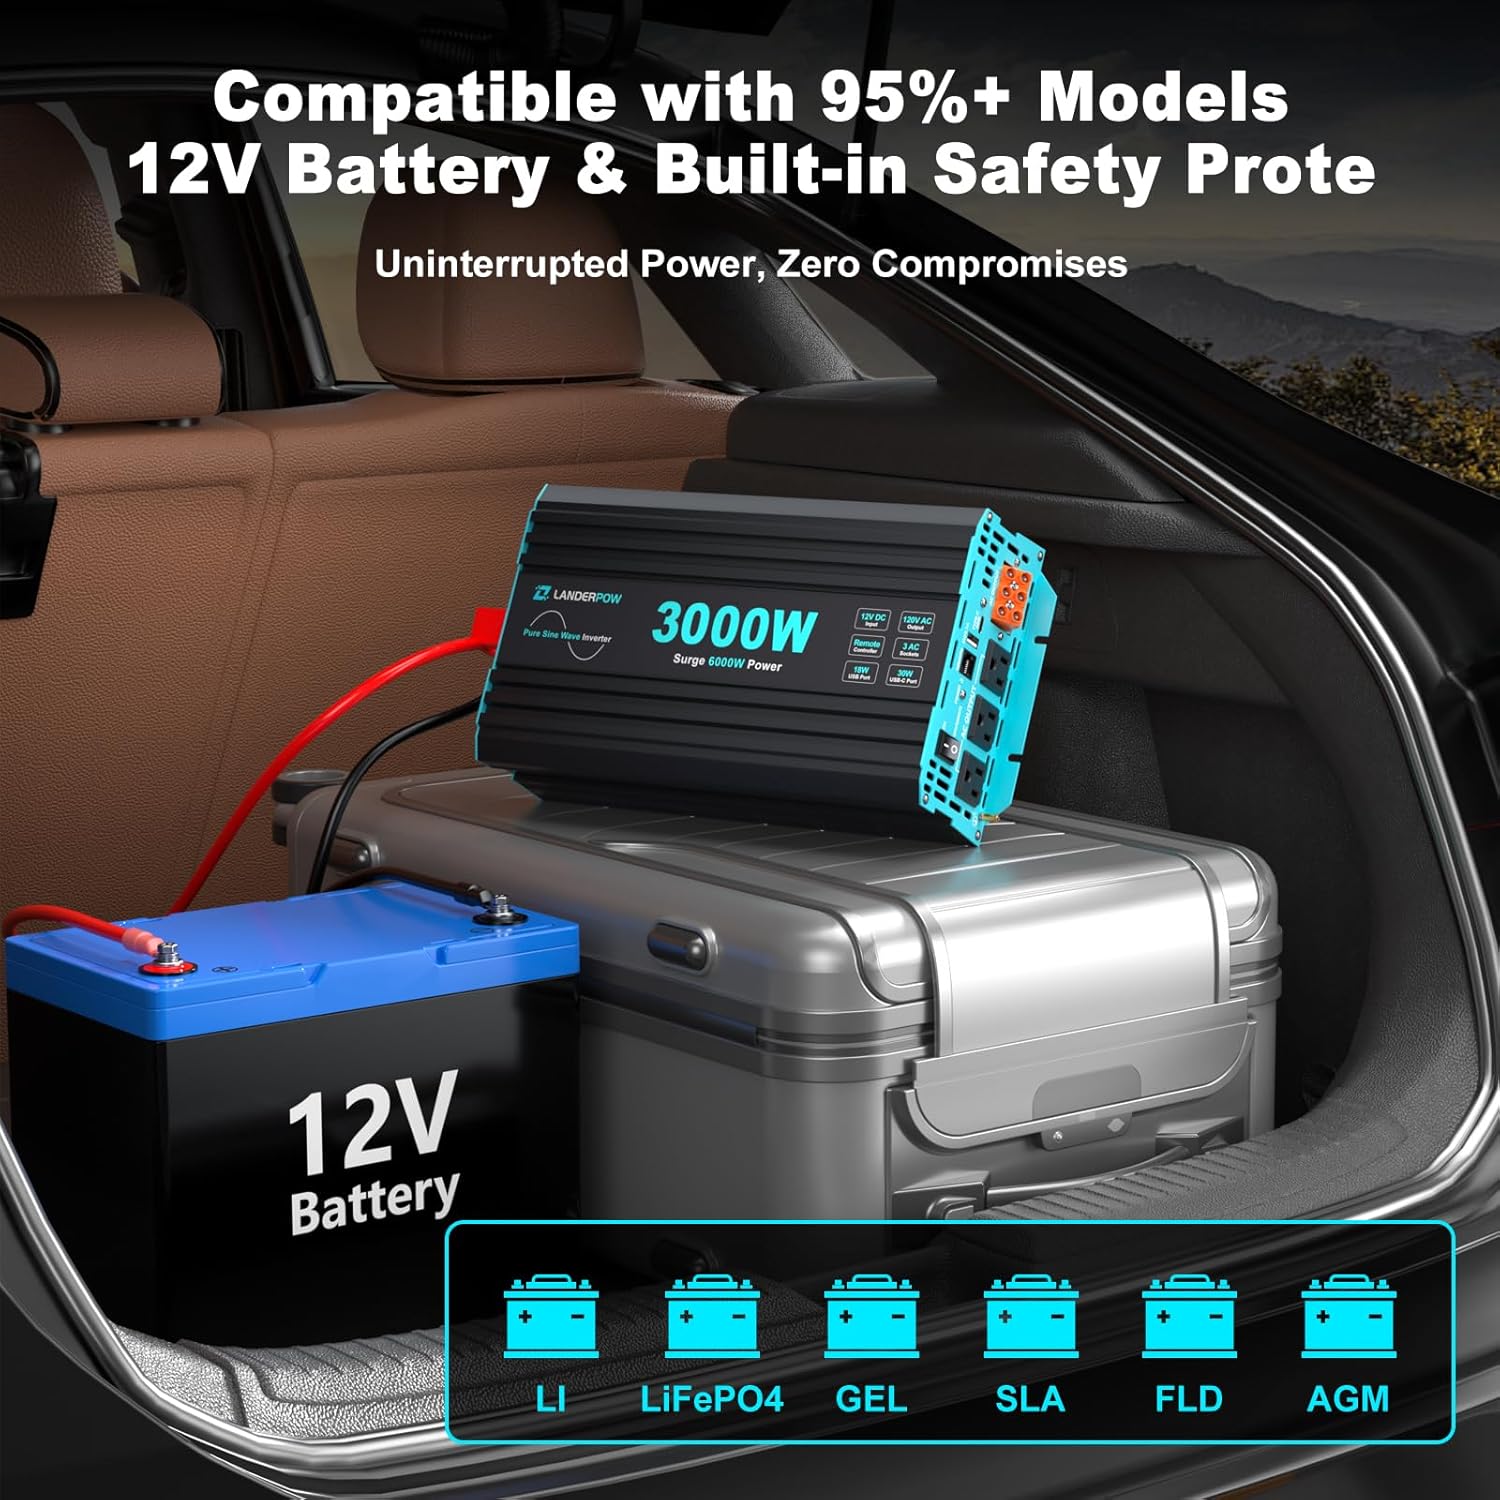
Image: Remote control with LED display showing real-time status.
3. Maintenance
3.1 Cleaning
Periodically clean the exterior of the inverter with a dry, soft cloth. Ensure ventilation openings are free from dust and debris to maintain optimal airflow.
3.2 Cooling System
The inverter is equipped with intelligent cooling fans that activate automatically under load or when internal temperature rises. Ensure adequate clearance around the inverter for proper ventilation. Avoid blocking the air intake and exhaust vents.

Image: Intelligent cooling fans and airflow diagram.
3.3 Connection Checks
Regularly inspect battery and ground connections for tightness and corrosion. Loose connections can lead to power loss or overheating.
4. Troubleshooting
The LANDERPOW inverter includes multiple safety protections. If the inverter stops functioning or displays an error, refer to the remote control's LED screen for specific error codes and consult the table below:
| Problem | Possible Cause | Solution |
|---|---|---|
| No Power Output / Inverter Off |
|
|
| Overheating Indication |
|
|
| Short Circuit Protection |
|
|
| Reverse Connection Protection |
|
|
If issues persist after attempting these solutions, please contact customer support.
5. Specifications
| Feature | Detail |
|---|---|
| Model Name | LANDERPOW-3000W-PSW |
| Continuous Power | 3000 Watts |
| Surge Power | 6000 Watts |
| Input Voltage | 12V DC |
| Output Voltage | 120V AC |
| Output Waveform | Pure Sine Wave |
| Efficiency | >91% |
| AC Outlets | 3 |
| USB Port | 1x 5V/3.1A |
| USB-C Port | 1x 30W PD |
| Hardwire Terminal | Yes |
| Remote Control | 15ft wired with LED display |
| Product Dimensions | 11.89 x 6.97 x 3.35 inches |
| Item Weight | 7.45 pounds |
| Safety Protections | Undervoltage, Overvoltage, Overload, Overheating, Short Circuit, Reverse Connection |
6. Warranty Information
The LANDERPOW 3000W Pure Sine Wave Inverter comes with a 3-Year Total Coverage warranty, which includes:
- 1-Year No-hassle Replacement: For any manufacturing defects or malfunctions within the first year.
- 2-Year Extended Support: Additional support for product-related issues for two years following the replacement period.
Please retain your proof of purchase for warranty claims.
7. Customer Support
For any questions, technical assistance, or warranty inquiries, please contact LANDERPOW customer support. Our team is available to respond to emails within 12 hours.
Contact information can typically be found on the product packaging or the official LANDERPOW website.

Image: LANDERPOW Logo.
Ask a question about this manual
Ask about setup, troubleshooting, compatibility, parts, safety, or missing instructions. Manuals+ will review the question and use this page’s manual context to help answer it.