
1. Introduction
This manual provides detailed instructions for the safe and effective operation, setup, maintenance, and troubleshooting of the DCA Hammer Drill ADJZ2055i. Please read this manual thoroughly before using the tool to ensure proper handling and to prevent injury or damage.
The DCA Hammer Drill ADJZ2055i is a versatile cordless tool designed for various tasks, including driving screws, drilling holes in wood, metal, and plastic, and hammer drilling into masonry. Its brushless motor technology ensures efficient performance and extended tool life.
2. Safety Instructions
Always follow basic safety precautions when using power tools to reduce the risk of fire, electric shock, and personal injury.
- Wear appropriate personal protective equipment: Always wear safety glasses, hearing protection, and gloves.
- Keep work area clean and well-lit: Cluttered or dark areas invite accidents.
- Do not operate power tools in explosive atmospheres: Such as in the presence of flammable liquids, gases, or dust.
- Secure the workpiece: Use clamps or a vise to hold the workpiece stable.
- Avoid accidental starting: Ensure the switch is in the off-position before connecting to a battery pack, picking up or carrying the tool.
- Maintain proper footing and balance: This enables better control of the power tool in unexpected situations.
- Use the correct tool for the job: Do not force a small tool or attachment to do the job of a heavy-duty tool.
- Disconnect battery pack: Before making any adjustments, changing accessories, or storing power tools.
3. Product Components and Features
The DCA Hammer Drill ADJZ2055i is equipped with several features designed for efficiency and durability.

Figure 3.1: Brushless Motor Technology. This image illustrates the internal brushless motor, highlighting its superior efficiency, quieter operation, and spark-free design, contributing to longer tool life and increased power output.
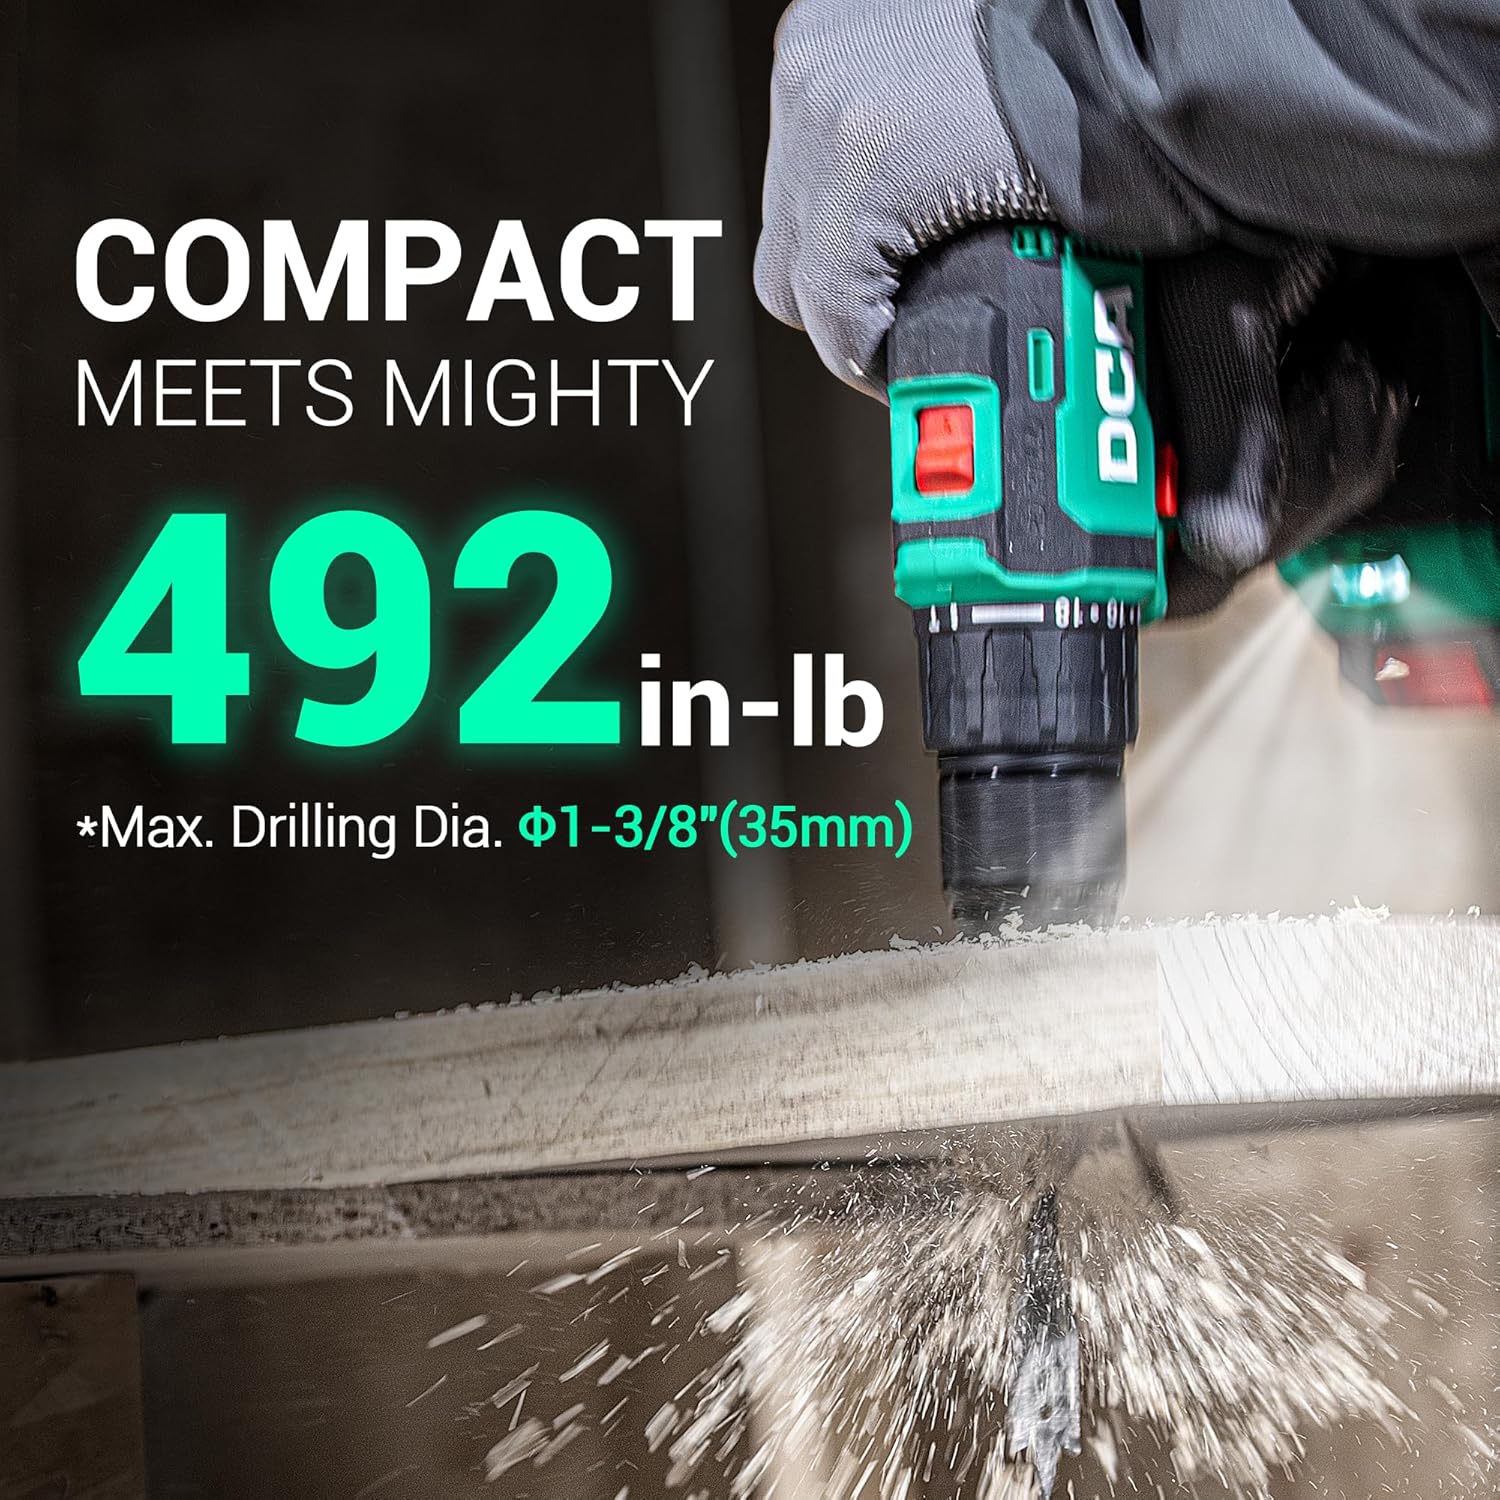
Figure 3.2: Compact and Powerful Design. The drill's compact size is shown in use, demonstrating its ability to deliver up to 492 in-lb of torque. It can handle a maximum drilling diameter of 1-3/8 inches (35mm).

Figure 3.3: Versatile Operating Modes. The drill features an 18+1+T setting, allowing for 18 torque settings for driving, a dedicated drill mode for wood and metal, and a hammer mode for brick walls. This versatility makes it suitable for various applications from furniture assembly to electrical repair.

Figure 3.4: Durable 1/2" Metal Chuck. This image highlights the robust all-metal chuck, designed for precision and durability, in contrast to less durable plastic chucks. It supports a maximum drilling diameter of 1-3/8 inches (35mm).
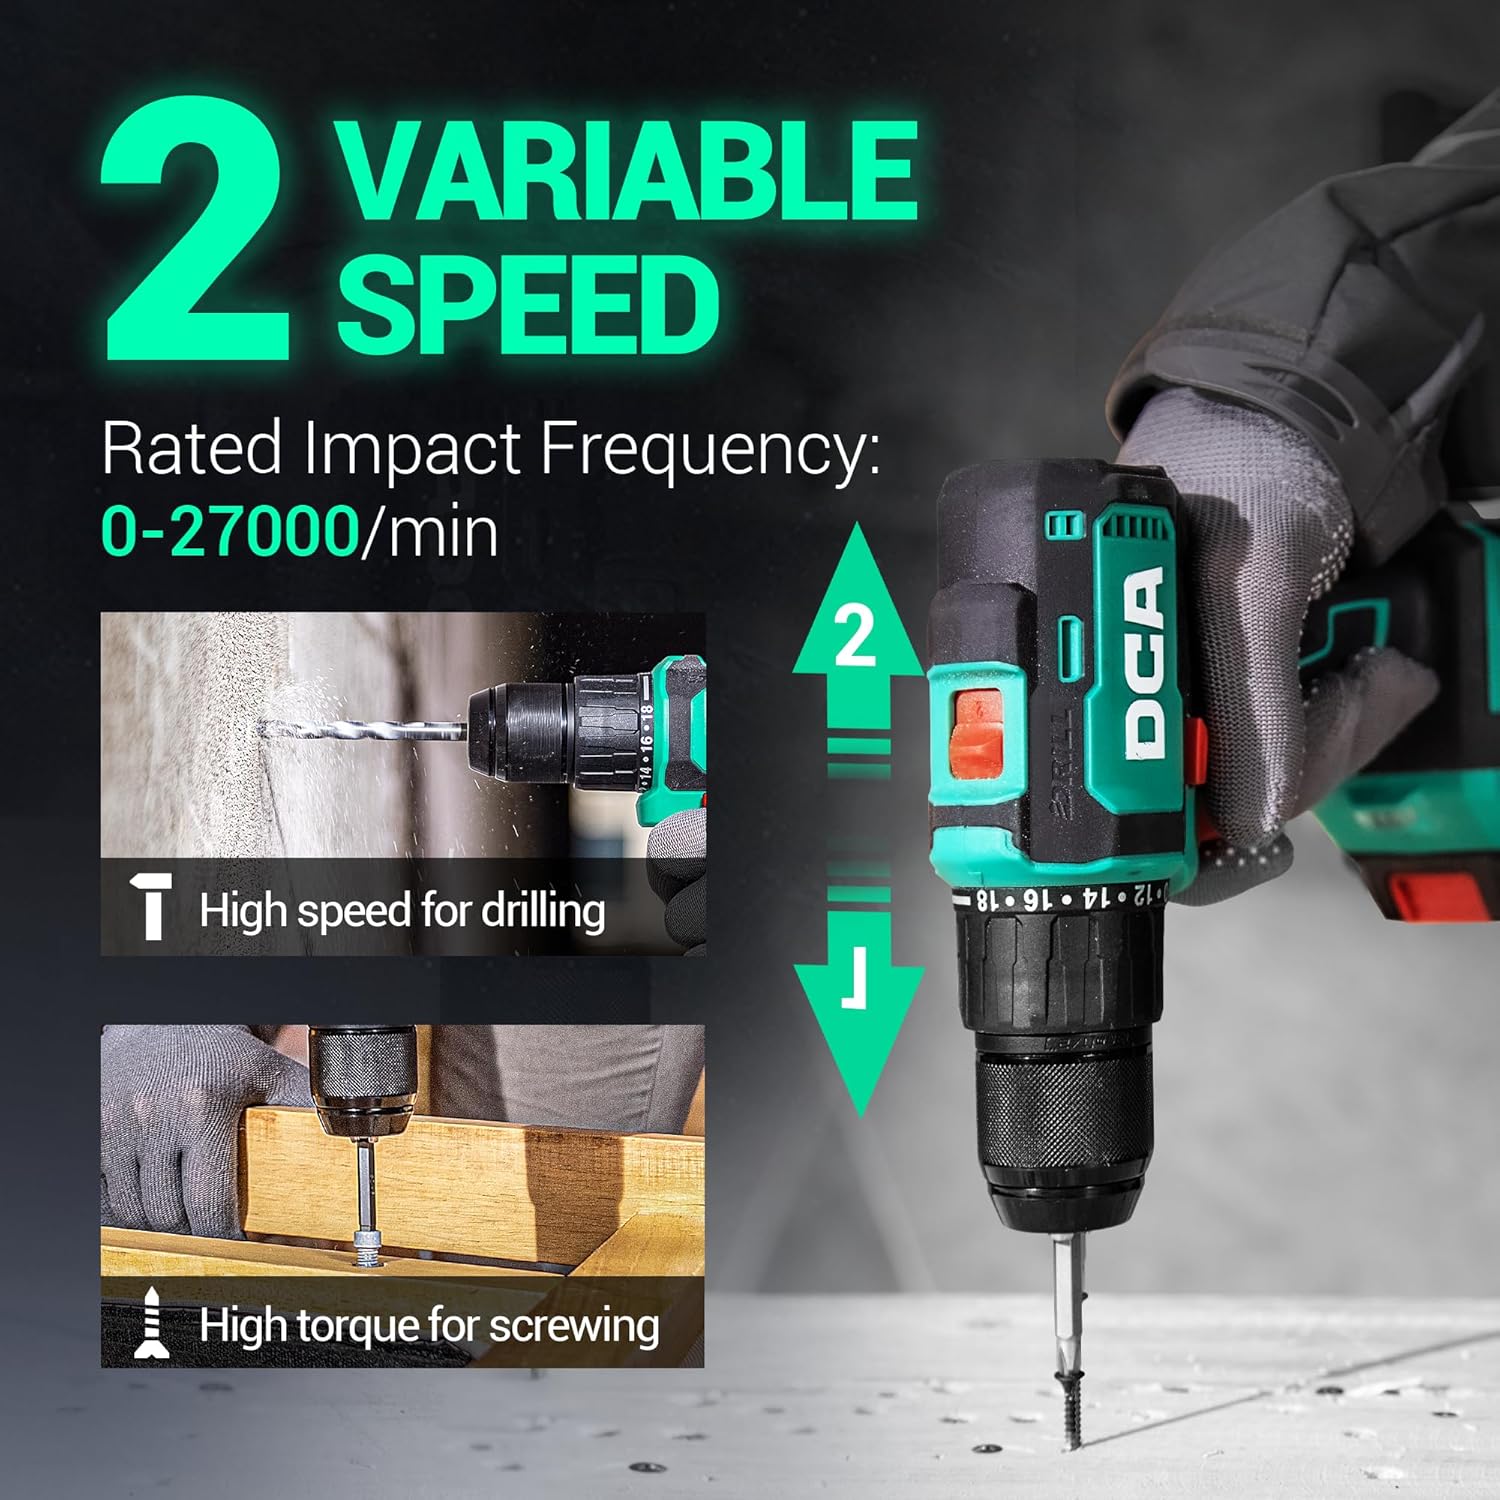
Figure 3.5: Two Variable Speed Settings. The drill offers two speed settings: a high-speed mode (0-1800 RPM) for drilling and a high-torque mode (0-500 RPM) for screwing, indicated by a switch on the tool. The rated impact frequency is 0-27000/min.

Figure 3.6: 2000mAh Li-Ion Battery. The drill is powered by a 20V 2.0Ah Lithium-Ion battery, featuring over-charge and over-heat protection. The image shows the battery charging process with LED indicators for charge level (25%, 50%, 75%, 100%) and charging status (red for charging, green for fully charged).

Figure 3.7: Versatile Applications. This composite image demonstrates the drill's use in various scenarios: driving screws, drilling holes in wood, drilling into brick walls, and utilizing the flexible shaft for drilling in tight corners.
Key Features:
- Durable Brushless Motor: Provides 1.5x more power and robust overload resistance, with a large vent to prevent overheating.
- Versatile 2-Speed Transmission: Adjustable speeds (0-500 RPM and 0-1800 RPM) for screw driving and drilling.
- Extended Run Time: 2.0Ah battery offers longer operation compared to 1.5Ah batteries.
- Flexible Shaft & LED Light: Includes a flexible shaft bit extension and a built-in LED light for working in confined or dark spaces.
- 1/2" Metal Chuck: Built for precision and durability.
4. Setup
4.1. Charging the Battery
- Ensure the battery pack is clean and dry before charging.
- Connect the charger to a standard power outlet.
- Slide the battery pack onto the charger. The charging indicator light on the battery (or charger) will illuminate red to indicate charging is in progress.
- Once fully charged, the indicator light will turn green. Disconnect the battery from the charger and unplug the charger from the outlet.
- Note: The 2.0Ah Li-Ion battery features over-charge and over-heat protection.
4.2. Installing/Removing Drill Bits or Accessories
- Ensure the drill is switched off and the battery pack is removed to prevent accidental startup.
- Grip the rear sleeve of the chuck with one hand and rotate the front sleeve counter-clockwise to open the chuck jaws.
- Insert the drill bit or accessory fully into the chuck.
- Rotate the front sleeve clockwise to tighten the chuck jaws securely around the bit. Ensure the bit is centered and firmly held.
- To remove, reverse the process: grip the rear sleeve and rotate the front sleeve counter-clockwise to loosen the jaws, then pull out the bit.
4.3. Attaching the Flexible Shaft (if applicable)
- Ensure the drill is off and the battery is removed.
- Insert the hexagonal end of the flexible shaft into the drill chuck, similar to installing a drill bit. Tighten the chuck securely.
- Attach the desired bit to the other end of the flexible shaft.
- The flexible shaft allows for drilling or driving in hard-to-reach areas.
5. Operating Instructions
5.1. Selecting Operating Mode
The DCA Hammer Drill ADJZ2055i offers three primary operating modes, selected by rotating the collar behind the chuck:
- Screw Driving Mode (1-18 Torque Settings): Use for driving screws. Adjust the torque ring to the desired setting (1 for small screws, 18 for larger screws or harder materials) to prevent over-tightening or stripping.
- Drill Mode (Drill Icon): Use for drilling holes in wood, metal, plastic, or other non-masonry materials. This mode provides continuous rotation without impact.
- Hammer Drill Mode (Hammer Icon): Use for drilling into masonry, brick, or concrete. This mode combines rotation with a hammering action for faster penetration into hard materials.
5.2. Selecting Speed
The drill features a 2-speed gearbox, controlled by a switch located on top of the drill housing:
- Speed 1 (Low Speed, 0-500 RPM): Provides higher torque, ideal for driving screws, larger diameter drilling, or when more control is needed.
- Speed 2 (High Speed, 0-1800 RPM): Provides faster rotation, ideal for smaller diameter drilling in wood or metal.
The trigger switch allows for variable speed control within the selected range. Pressing the trigger further increases the speed.
5.3. Forward/Reverse Rotation
The forward/reverse selector switch is located above the trigger. Push it to the left for forward (clockwise) rotation and to the right for reverse (counter-clockwise) rotation. Position the switch in the center to lock the trigger and prevent accidental operation.
5.4. LED Work Light
The built-in LED light illuminates the work area when the trigger is pressed, improving visibility in dark or confined spaces.
5.5. General Operation Tips
- Always start drilling at a low speed and gradually increase as needed.
- Apply steady, even pressure. Do not force the drill.
- For hammer drilling, ensure the correct masonry bit is used.
- When driving screws, select a torque setting that prevents stripping the screw head or damaging the workpiece.
6. Maintenance
Regular maintenance ensures the longevity and optimal performance of your DCA Hammer Drill.
- Cleaning: Regularly clean the tool's ventilation openings to prevent dust and debris buildup, which can cause overheating. Use a soft brush or compressed air. Do not use water or chemical cleaners.
- Chuck Maintenance: Keep the chuck jaws clean and free of debris. Periodically apply a small amount of light machine oil to the chuck jaws for smooth operation.
- Battery Care: Store batteries in a cool, dry place away from direct sunlight. Do not store fully discharged batteries for extended periods. Charge them periodically if not in use.
- Inspection: Before each use, inspect the tool for any damaged parts, loose screws, or worn components. Do not use the tool if any damage is found; contact customer support for repairs.
- Storage: When not in use, store the drill and its accessories in a dry, secure location, out of reach of children.
7. Troubleshooting
This section addresses common issues you might encounter with your DCA Hammer Drill.
| Problem | Possible Cause | Solution |
|---|---|---|
| Drill does not start. | Battery not charged or improperly inserted. Forward/reverse switch in center (locked) position. | Charge battery and ensure it is fully inserted. Move forward/reverse switch to either forward or reverse position. |
| Loss of power during operation. | Battery charge is low. Overload protection activated. | Recharge the battery. Reduce pressure on the tool or use a lower speed setting. Allow the tool to cool down. |
| Bit slips in chuck. | Chuck not tightened sufficiently. Bit shank is dirty or damaged. | Ensure the chuck is tightened firmly. Clean or replace the bit. |
| Excessive vibration or noise. | Damaged or bent drill bit. Loose components. | Replace the drill bit. Stop using the tool and contact customer support. |
If you encounter problems not listed here or if the suggested solutions do not resolve the issue, please contact DCA customer support.
8. Specifications
| Specification | Value |
|---|---|
| Brand | DCA |
| Model Number | ADJZ22055iADW |
| Power Source | Battery Powered |
| Voltage | 20 volts |
| Amperage | 2000 milliamps (2.0Ah Battery) |
| Included Components | Drill Attachment |
| Product Dimensions (L x W x H) | 33.8L x 23.4W x 27.5H centimetres |
| Item Weight | 2.22 kg |
| Max. Drilling Diameter | 1-3/8 inches (35mm) |
| Chuck Size | 1/2 inch (Metal) |
| No-Load Speed (Low) | 0-500 RPM |
| No-Load Speed (High) | 0-1800 RPM |
| Rated Impact Frequency | 0-27000/min |
9. Warranty and Support
9.1. Warranty Information
The DCA Hammer Drill ADJZ2055i comes with a 2-year limited warranty for general use and a 1-year professional warranty. This warranty covers defects in materials and workmanship under normal use. Please retain your proof of purchase for warranty claims.
The warranty does not cover damage caused by misuse, abuse, neglect, unauthorized repairs, or normal wear and tear.
9.2. Customer Support
For technical assistance, warranty claims, or to order replacement parts, please contact DCA customer support through the following channels:
- Website: www.dcatools.com (Note: This is a placeholder URL, please refer to official DCA documentation for actual support contact.)
- Email: support@dcatools.com (Placeholder)
- Phone: 1-800-XXX-XXXX (Placeholder)
When contacting support, please have your product model number (ADJZ22055iADW) and purchase date available.