1. Introduction
This manual provides essential instructions for the safe operation, setup, maintenance, and troubleshooting of your VEVOR Electric Pipe Threader Machine, Model Z1T-B2-50. This versatile machine is designed for threading, reaming, and cutting pipes ranging from 1/2 inch to 2 inches in diameter. Please read this manual thoroughly before operating the machine to ensure proper function and safety.
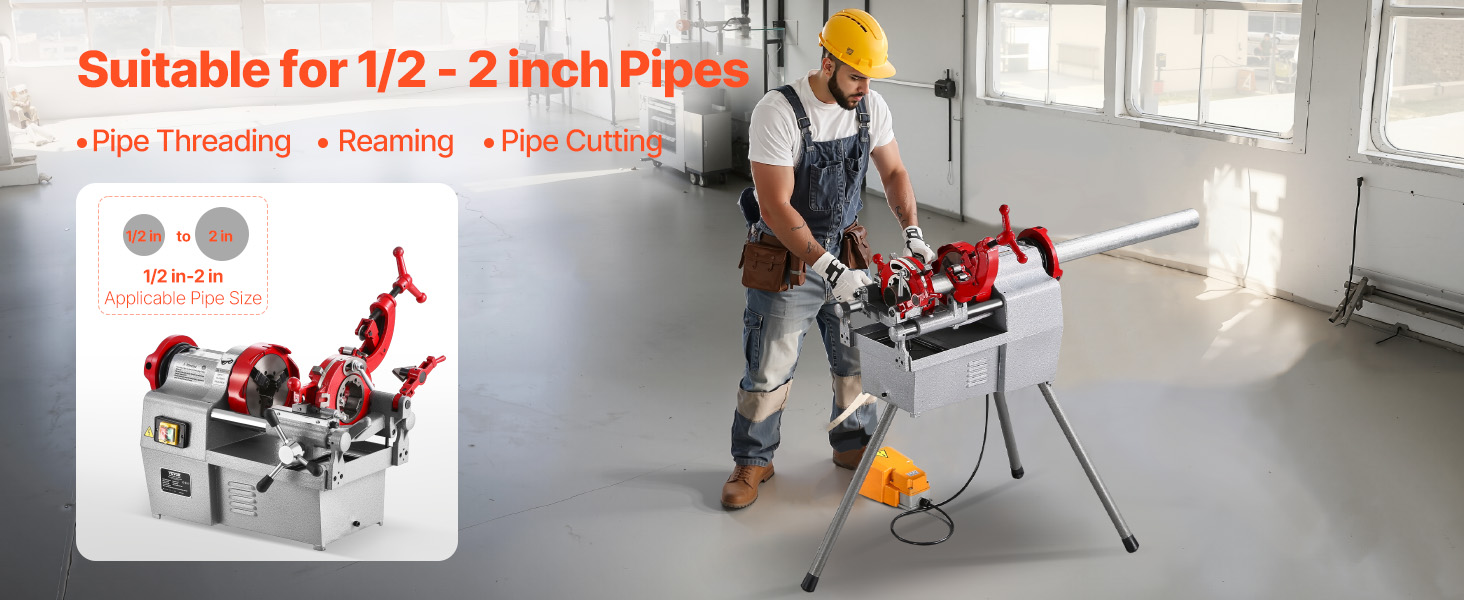
Image 1.1: The VEVOR Electric Pipe Threader Machine, highlighting its capability to handle 1/2 to 2 inch pipes for threading, reaming, and cutting operations.
2. Safety Instructions
Always adhere to the following safety guidelines to prevent injury and damage to the machine.
- Read the Manual: Understand all instructions and warnings before operation.
- Personal Protective Equipment (PPE): Always wear safety glasses, gloves, and appropriate work attire. Avoid loose clothing or jewelry that could get caught in moving parts.
- Work Area: Ensure your work area is clean, well-lit, and free from obstructions. Keep children and bystanders away.
- Electrical Safety: Connect the machine to a properly grounded outlet. Do not operate in wet conditions. Inspect power cords for damage before each use.
- Machine Stability: Ensure the machine is securely placed on a stable, level surface. The three-legged stand must be fully extended and locked.
- Secure Workpiece: Always properly secure the pipe in the chuck before starting any operation.
- Foot Pedal Operation: Use the foot pedal for precise control. Keep your foot on the pedal only when actively operating the machine.
- Maintenance: Disconnect power before performing any maintenance, adjustments, or cleaning.
- Emergency Stop: Familiarize yourself with the location and operation of the emergency stop switch.
3. Package Contents
Verify that all items listed below are included in your package. If any parts are missing or damaged, contact VEVOR customer support.
- VEVOR Electric Pipe Threader Machine (Model Z1T-B2-50)
- 4 x (1/2" to 3/4") Dies (Pre-installed on Machine)
- 4 x (1" to 2") Dies
- 1 x Oil Can
- 4 x Hex Keys (M3/4/5/6)
- 1 x Cross Screwdriver
- 1 x Accessory Storage Bag
- 4 x Support Leg Screws

Image 3.1: Overview of the VEVOR Electric Pipe Threader Machine and its complete set of accessories.
4. Product Overview
The VEVOR Electric Pipe Threader Machine is a robust tool designed for efficient pipe processing. It integrates threading, reaming, and cutting functions. Key features include a powerful 750W motor, a stable 28 RPM speed, and a durable steel construction.
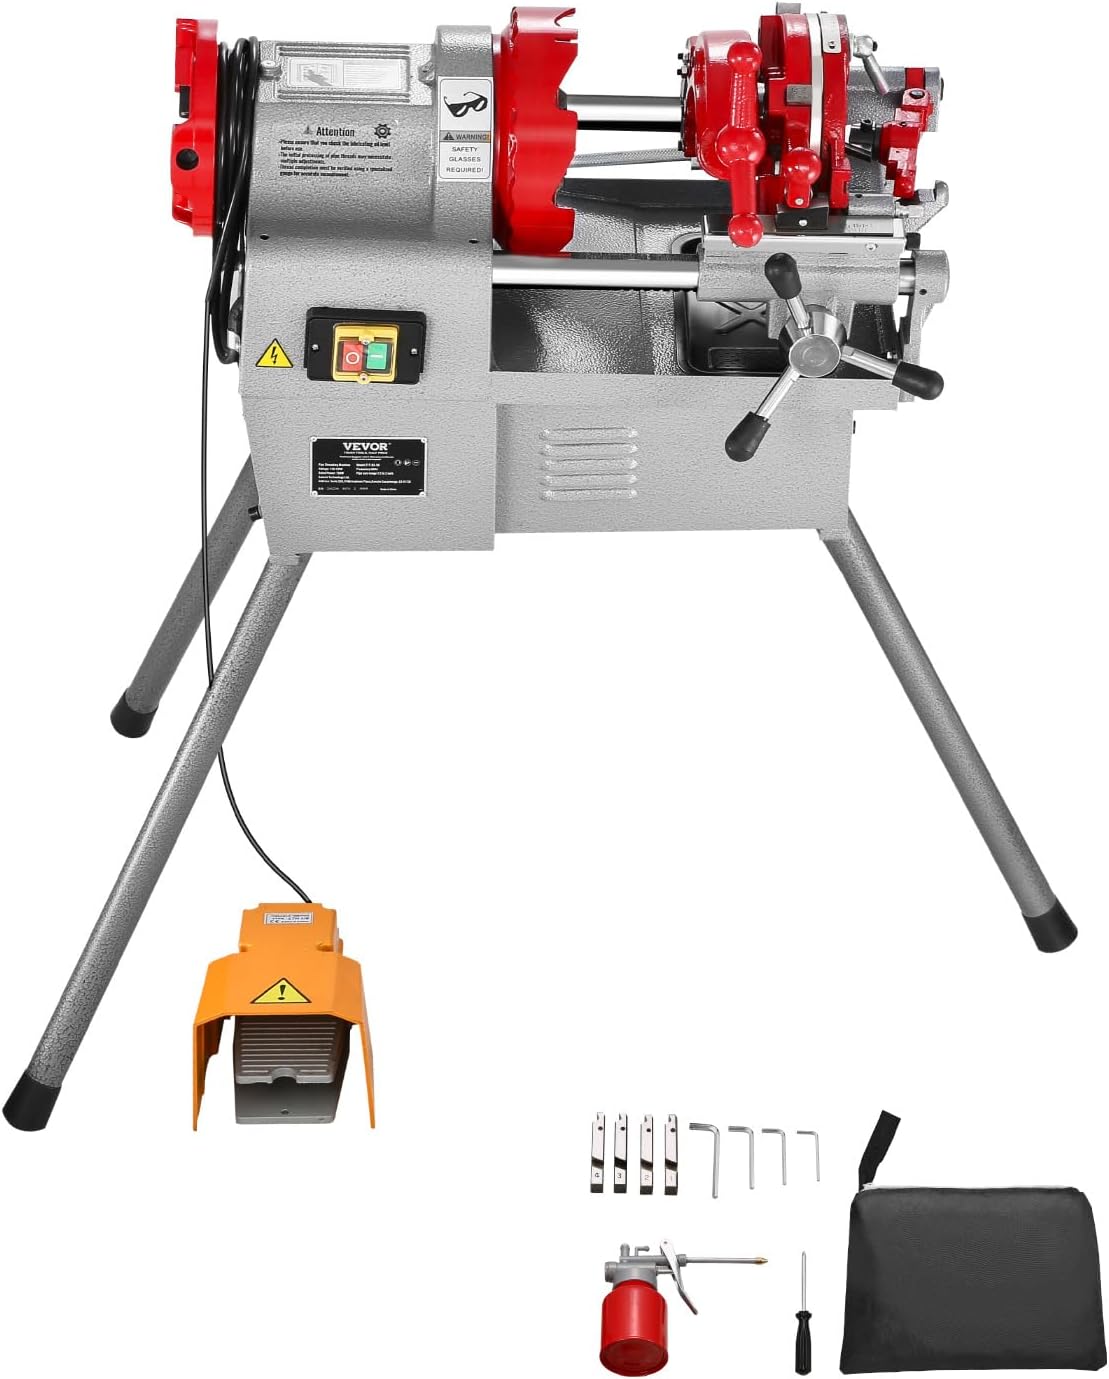
Image 4.1: The VEVOR Electric Pipe Threader Machine with its stand and accessories.
4.1 Key Components
- Motor Housing: Contains the 750W motor.
- Control Panel: Power switch (ON/OFF), emergency stop.
- Chuck: Secures the pipe during operation.
- Die Head: Holds the threading dies.
- Cutter: For precise pipe cutting.
- Reamer: For deburring the inside of the pipe.
- Foot Pedal: Provides hands-free control for starting and stopping the machine.
- Three-Legged Stand: Ensures stability during operation.
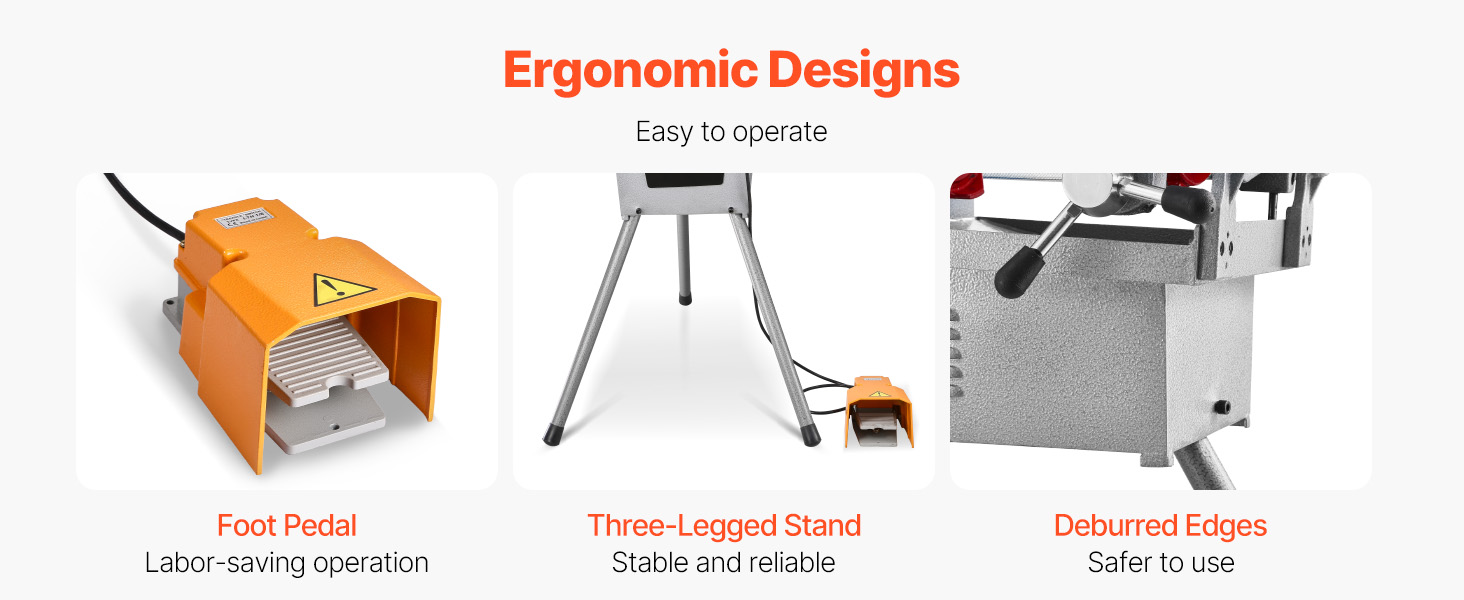
Image 4.2: Ergonomic design features of the machine, including the foot pedal, stable stand, and deburred edges.
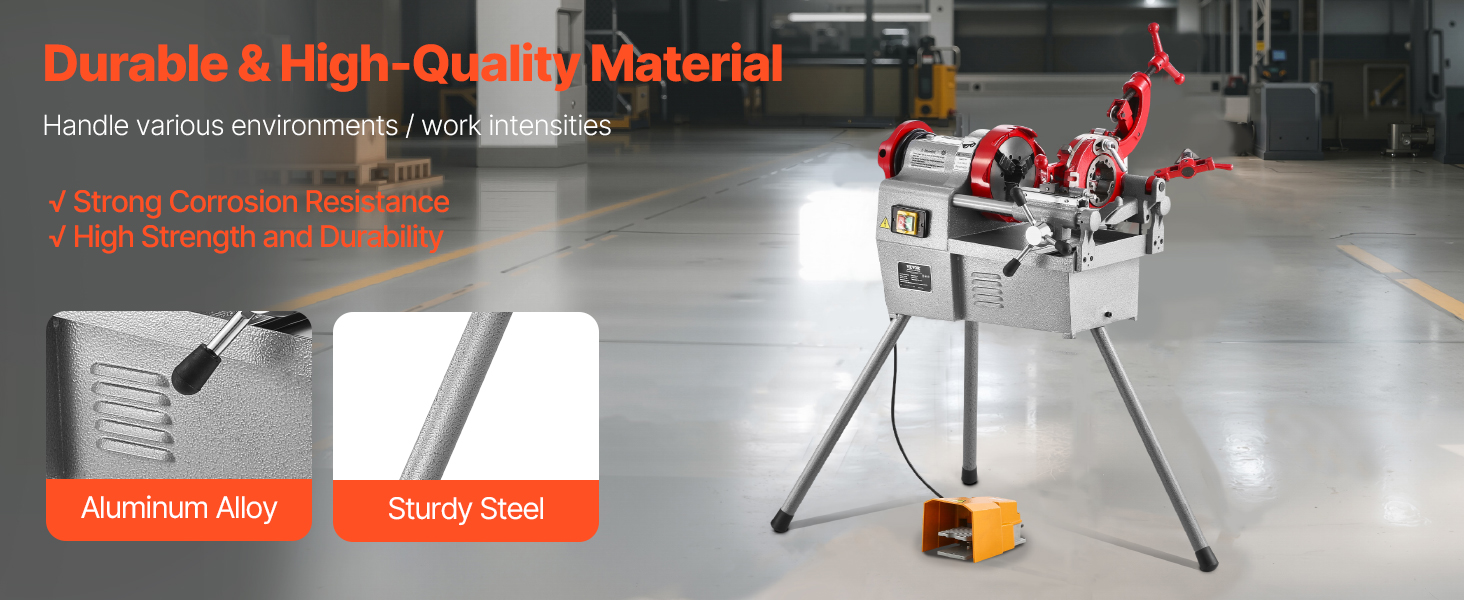
Image 4.3: The machine's durable construction, featuring aluminum alloy and sturdy steel components.
5. Setup
Follow these steps to set up your pipe threader machine before initial use.
- Unpacking: Carefully remove all components from the packaging. Inspect for any shipping damage.
- Assemble the Stand: Attach the three support legs to the main body of the machine using the provided support leg screws. Ensure they are securely tightened for stability.
- Positioning: Place the assembled machine on a firm, level surface in a well-ventilated area.
- Connect Foot Pedal: Plug the foot pedal cable into the designated port on the machine.
- Power Connection: Connect the machine's power cord to a grounded electrical outlet. Ensure the power switch is in the OFF position before plugging in.
- Install Dies: The 1/2" to 3/4" dies are pre-installed. If you need to use 1" to 2" dies, refer to the die head section for replacement instructions.
6. Operating Instructions
This section details the procedures for threading, reaming, and cutting pipes.
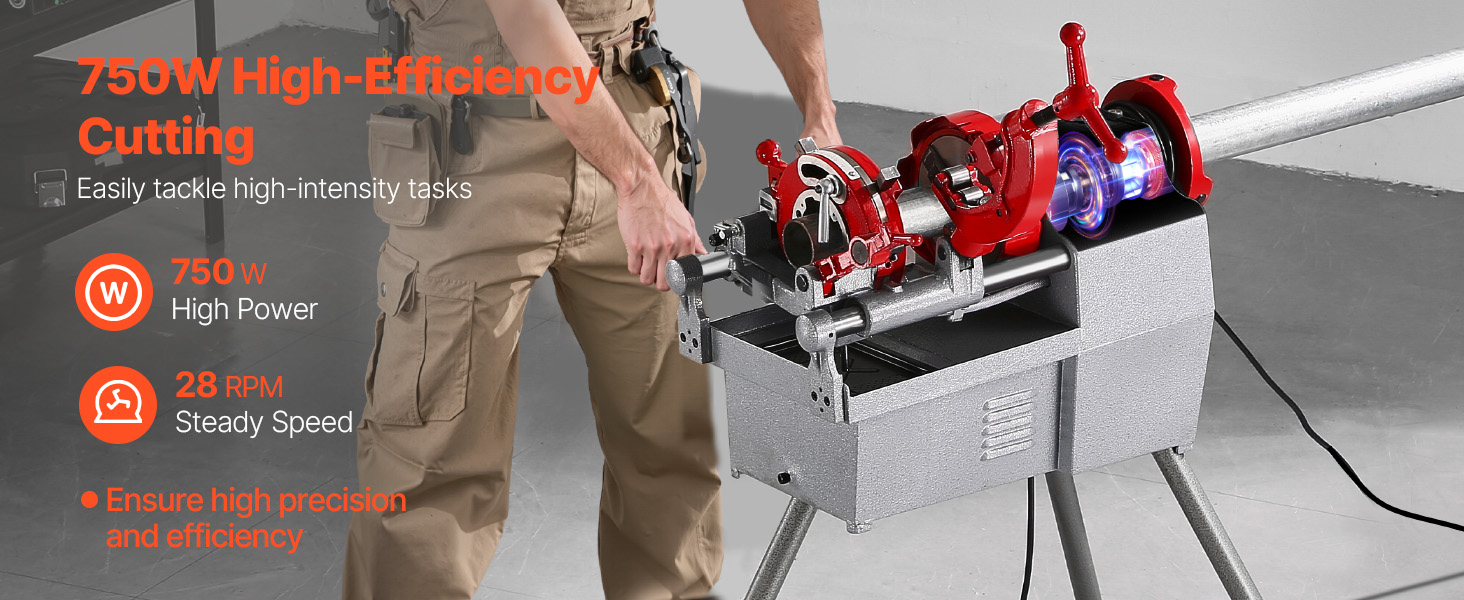
Image 6.1: The machine in operation, demonstrating its high-efficiency cutting capabilities with a 750W motor and 28 RPM speed.
6.1 Threading Pipes
- Select Dies: Choose the correct size dies for your pipe and ensure they are properly installed in the die head.
- Secure Pipe: Insert the pipe into the chuck and tighten it firmly using the chuck handle. Ensure the pipe is straight and extends sufficiently for threading.
- Apply Cutting Oil: Liberally apply cutting oil to the end of the pipe and the dies. This reduces friction, extends die life, and improves thread quality.
- Engage Die Head: Position the die head against the pipe end.
- Start Threading: Press the foot pedal to start the machine. The die head will automatically advance and begin cutting threads. Maintain a steady flow of cutting oil.
- Monitor Progress: Observe the threading process. Once the desired thread length is achieved, release the foot pedal.
- Reverse and Remove: Use the reverse function (if available, or manually rotate the die head) to back the die head off the newly threaded pipe.
- Inspect Threads: Check the quality of the threads.
6.2 Cutting Pipes
- Secure Pipe: Insert the pipe into the chuck and tighten it firmly. Mark the desired cutting length on the pipe.
- Position Cutter: Advance the pipe cutter wheel to the marked cutting line.
- Start Cutting: Press the foot pedal to start the machine. Slowly turn the cutter handle to apply pressure to the pipe.
- Rotate and Cut: Allow the pipe to rotate, gradually increasing pressure on the cutter until the pipe is severed.
- Release and Remove: Release the foot pedal and retract the cutter. Remove the cut pipe.
6.3 Reaming Pipes
- Secure Pipe: After cutting, ensure the pipe is still securely held in the chuck.
- Position Reamer: Bring the reamer into contact with the inside edge of the cut pipe.
- Start Reaming: Press the foot pedal to start the machine. Apply gentle pressure with the reamer to remove burrs from the inside edge of the pipe.
- Inspect: Continue until the pipe edge is smooth and free of burrs. Release the foot pedal and retract the reamer.
7. Maintenance
Regular maintenance ensures the longevity and optimal performance of your machine.
- Clean After Use: After each use, clean the machine, especially the chuck, die head, cutter, and reamer, to remove metal shavings and oil residue.
- Lubrication: Regularly lubricate moving parts as indicated in the machine's design. Ensure the oil reservoir for cutting oil is always adequately filled.
- Die Inspection: Periodically inspect the threading dies for wear or damage. Replace worn dies to maintain thread quality.
- Electrical Check: Inspect the power cord and foot pedal cable for any signs of damage.
- Storage: Store the machine in a dry, clean environment when not in use.
8. Troubleshooting
Refer to this section for common issues and their potential solutions.
- Machine Does Not Start:
- Check power connection and ensure the outlet is functional.
- Verify the power switch is ON.
- Ensure the foot pedal is properly connected and functioning.
- Check for tripped circuit breakers.
- Poor Thread Quality:
- Ensure dies are sharp and not worn. Replace if necessary.
- Verify sufficient cutting oil is being used.
- Check if the pipe is securely clamped in the chuck.
- Ensure the correct dies are used for the pipe size.
- Pipe Slipping in Chuck:
- Tighten the chuck more firmly.
- Clean any oil or debris from the chuck jaws and pipe surface.
- Excessive Noise or Vibration:
- Check for loose components or fasteners.
- Ensure the machine is on a stable surface.
- Inspect for worn bearings or gears (contact service if suspected).
9. Specifications
Detailed technical specifications for the VEVOR Electric Pipe Threader Machine, Model Z1T-B2-50.
| Feature | Specification |
|---|---|
| Model Number | Z1T-B2-50 |
| Power | 750W |
| Voltage | 110-120V 60Hz |
| Motor Speed | 28 RPM |
| Applicable Pipe Size | 1/2 inch to 2 inch |
| Net Weight | 140 lbs / 63.5 kg |
| Product Dimensions | 36.61 x 27.76 x 35.63 inches (870 x 630 x 830 mm) |

Image 9.1: Dimensional diagram and key specifications of the VEVOR Electric Pipe Threader Machine.
10. Support
For technical assistance, warranty information, or to order replacement parts, please contact VEVOR customer support. Refer to your purchase documentation for specific contact details or visit the official VEVOR website.
Website: www.vevor.com


