1. Introduction
The Tilta LP-E6 Portable Charging Station is designed to provide efficient and safe charging for LP-E6 type batteries. This manual outlines the proper procedures for setting up, operating, and maintaining your charging station to ensure optimal performance and longevity. Please read these instructions carefully before use.
2. Product Overview and Features
The Tilta LP-E6 Portable Charging Station offers a robust and convenient solution for managing your camera batteries. Key features include:
- Universal Design: Compatible with Canon and most third-party LP-E6 batteries, supporting reliable charging for common DSLR and mirrorless camera systems.
- Four-Slot Capacity: Charges four LP-E6 batteries simultaneously, providing organized storage while charging. Ideal for extended shooting days.
- USB-C PD Charging: Supports up to 45W input when used with a compatible Power Delivery (PD) charger. Can fully charge four batteries in approximately three hours, maintaining safe and efficient power delivery.
- Status Indicators: Displays real-time charging information for each slot, helping to monitor charging progress at a glance and reducing guesswork during preparation.
- Portable Construction: Lightweight 176g body designed for everyday carry, featuring an EDC-inspired exterior in green. Compact for travel and on-set use.

Figure 2.1: Overview of key features of the Tilta LP-E6 Portable Charging Station.
3. Package Contents
Please verify that all items are present in your package:
- Tilta LP-E6 Portable Charging Station (Green)
- USB-C to USB-C Charging Cable
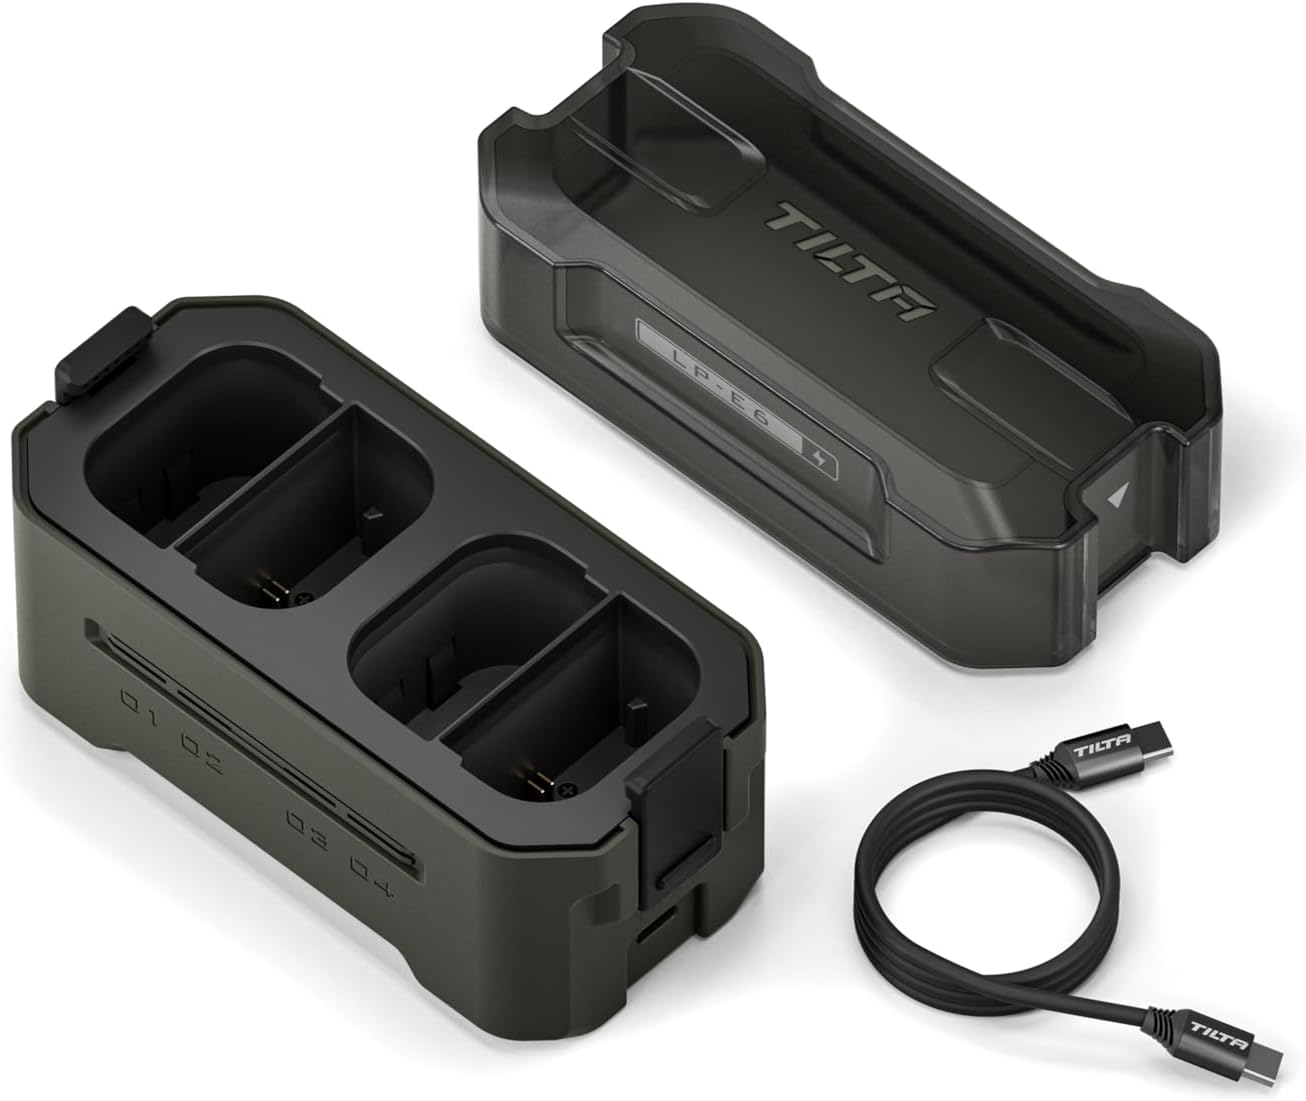
Figure 3.1: Tilta LP-E6 Portable Charging Station and included USB-C cable.
4. Setup
- Connect Power: Connect the provided USB-C cable to the USB-C input port on the charging station. Connect the other end of the cable to a compatible USB-C Power Delivery (PD) charger. For optimal fast charging, a 45W or higher PD charger is recommended.
- Insert Batteries: Open the lid of the charging station. Insert up to four LP-E6 type batteries into the designated slots. Ensure the battery contacts align correctly with the charger pins.

Figure 4.1: Connecting the USB-C cable and inserting batteries for charging.
5. Operating Instructions
5.1 Charging Process
Once batteries are inserted and the charging station is connected to a power source, the charging process will begin automatically. The LED indicators corresponding to each battery slot will illuminate to show the charging status.
5.2 Understanding Indicator Lights
The charging station features real-time indicator lights to display the battery level for each slot. These lights automatically turn off after 5 seconds when not actively charging.
- Green Light: Indicates a high battery level (90%-100%).
- Yellow Light: Indicates a medium battery level (30%-90%).
- Red Light: Indicates a low battery level (0%-30%).

Figure 5.1: Interpretation of the real-time indicator lights.
5.3 Fast Charging
With a 45W or higher USB-C PD power source and a compatible cable, the charging station can fully charge four LP-E6 batteries in approximately 3 hours. This represents a significant increase in charging speed compared to standard single chargers.

Figure 5.2: Fast charging capabilities of the Tilta LP-E6 Charging Station.
6. Maintenance
6.1 Cleaning
To clean the charging station, disconnect it from the power source and remove all batteries. Use a soft, dry cloth to wipe the exterior. Avoid using harsh chemicals or abrasive materials that could damage the finish or internal components.
6.2 Storage and Energy Management
The charging station features an energy management system with extremely low power loss in sleep mode (as low as 0.1mAh natural discharge). This helps to prevent battery drain anxiety. When storing the unit for extended periods, it is recommended not to leave it unused for more than three months without a charge cycle.

Figure 6.1: Energy management features for battery preservation.
7. Troubleshooting
- Batteries not charging to 100%: If batteries consistently charge to 99% but not 100%, try using the original camera manufacturer's charger to verify if the battery itself can reach 100%. If the issue persists only with the Tilta charger, ensure you are using a 45W or higher PD power source and a high-quality USB-C cable.
- Charger errors with high wattage USB-C brick: If the charger exhibits random errors (e.g., all LEDs flashing red) when connected to a high-wattage (e.g., 100W) USB-C power brick, the issue might be with the included USB-C cable. Try using a different, high-quality USB-C cable that is rated for Power Delivery.
- No indicator lights: Ensure the charging station is securely connected to a functional power source and that batteries are correctly inserted. If the issue persists, try a different USB-C cable and power adapter.
8. Specifications
| Feature | Specification |
|---|---|
| Model Number | TBC-E6-GN |
| Product Dimensions | 4.8 x 3.03 x 2.24 inches (12.2 x 7.7 x 5.7 cm) |
| Item Weight | 9 ounces (0.26 kg) |
| Output Voltage | 8.4 Volts |
| Input Power | Up to 45W (USB-C PD) |
| Charging Time (4 batteries) | Approx. 3 hours (with 45W+ PD input) |
| Color | Green |
| Manufacturer | Tilta |
9. Official Product Video
Video 9.1: An official product video from Tilta showcasing the features and compatibility of the Tilta Portable Charging Stations and Batteries, including the LP-E6 model.
10. Warranty and Support
For detailed warranty information, product registration, or technical assistance, please visit the official Tilta website or contact Tilta customer service directly. Keep your purchase receipt as proof of purchase for any warranty claims.


