Product Overview
The darkFlash WD200 is a portable Micro-ATX PC case designed for users seeking a blend of style, functionality, and mobility. It features a natural walnut wood front panel with a full-mesh design for optimal airflow. The case includes a detachable top carry handle for easy transport and supports a compact 26-liter volume while accommodating powerful components like 240mm radiators, 165mm CPU coolers, and GPUs up to 335mm. Connectivity is enhanced with a front I/O panel including USB Type-C.

Image: The darkFlash WD200 PC case displayed on a desk with a monitor and peripherals, showcasing its compact size and aesthetic design.
Setup and Installation
Follow these steps for proper assembly and component installation into your darkFlash WD200 PC case.
1. Prepare the Case
- Remove Side Panels: Unscrew the side panel screws and slide the panels off to access the interior.
- Remove PSU Bracket: Locate and remove the PSU mounting bracket from the case.
- Remove PCIe Slot Covers: Remove any necessary PCIe slot covers depending on your GPU installation.
- Remove Side I/O Panel: Unscrew and slide the side I/O panel to the left to remove it, allowing access for cable management.
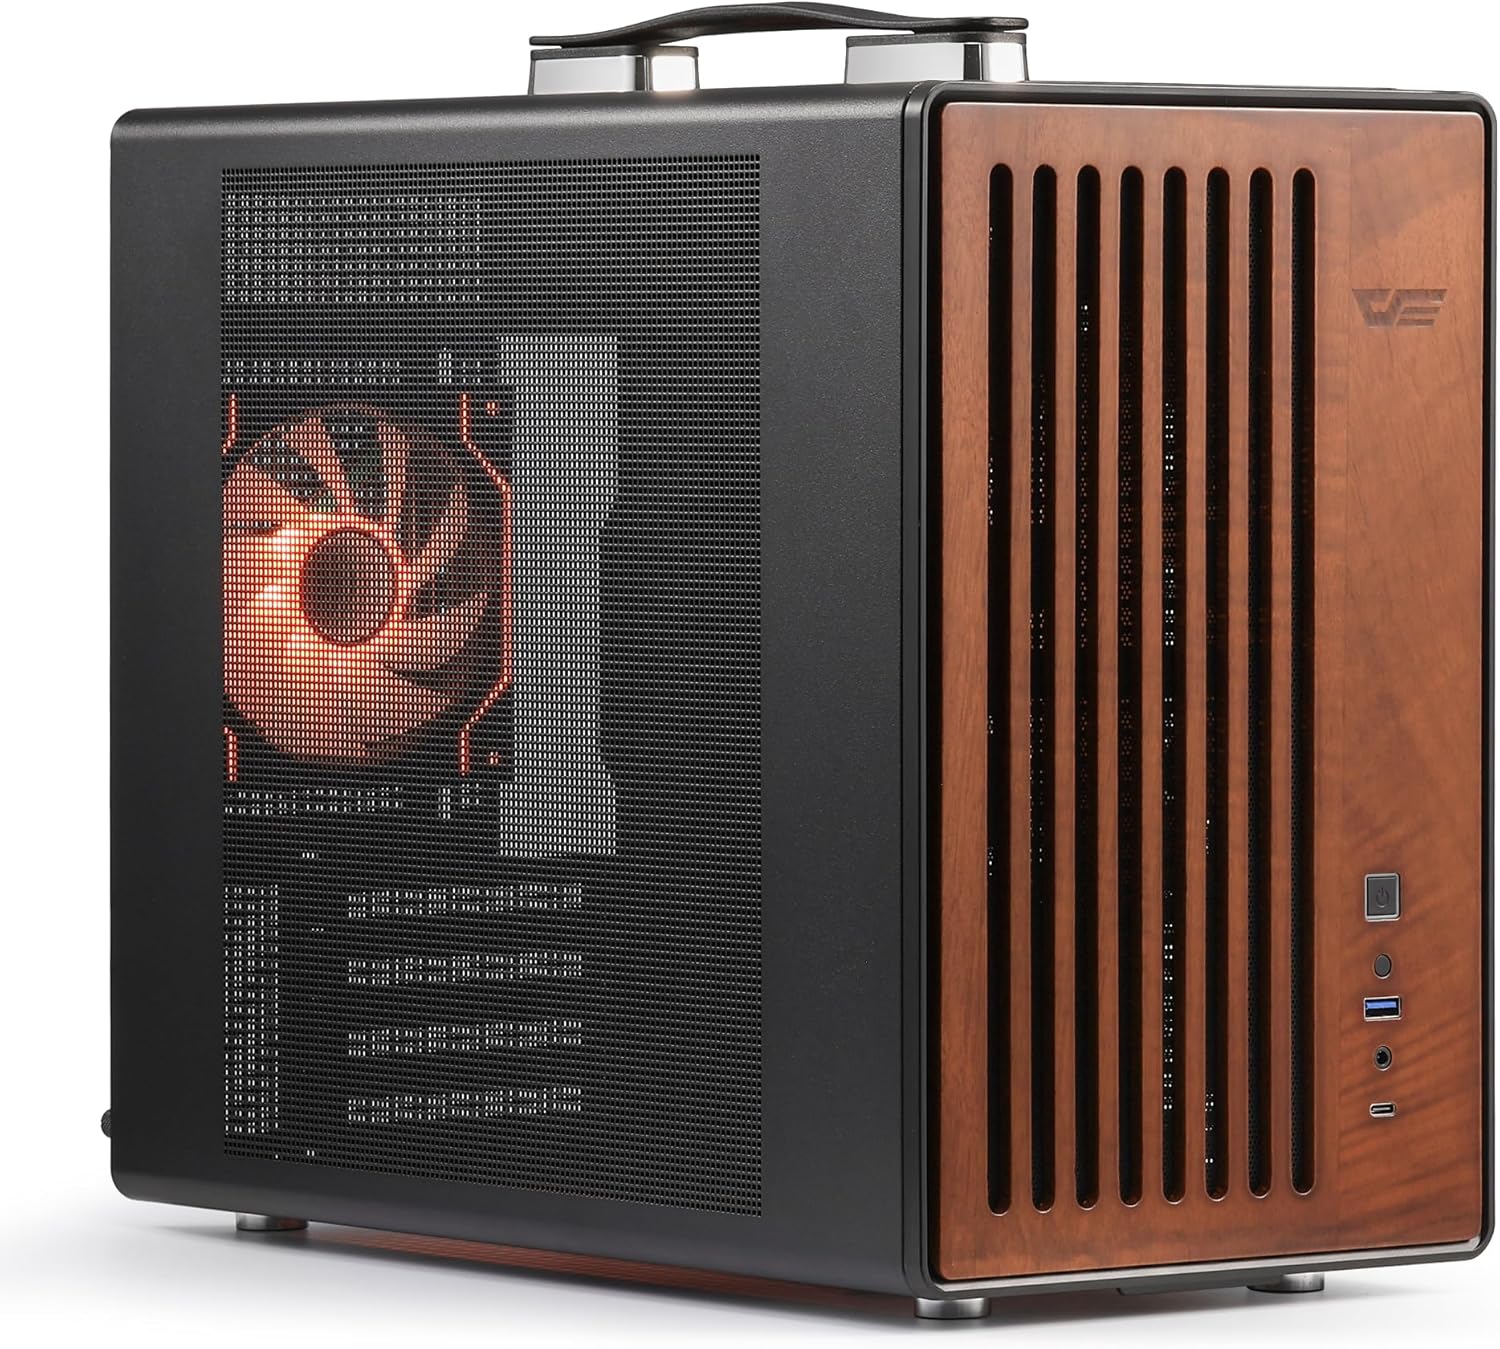
Image: The darkFlash WD200 PC case with its side panel removed, revealing the interior chassis and mounting points.
2. Motherboard Installation
- Install Motherboard Standoffs: Use the attached tool to install the appropriate motherboard standoffs according to your motherboard's screw hole positions.
- Mount Motherboard: Carefully place your Micro-ATX motherboard into the chassis, aligning it with the standoffs. Secure it with the provided screws.
- Connect CPU Power Cable: Route and connect the CPU power cable to the motherboard.
- Connect Front I/O Cables: Connect the front audio port, front USB 2.0, front Type-C, and front USB 3.0 cables to their respective headers on the motherboard.
- Connect Power Switch Jumper: Connect the power switch jumper to the front panel header.
- Secure I/O Cables: Use cable ties to secure the I/O cables for neat management.
3. Cooling System Installation
- Install Rear Cooling Fan: Install a 120x15mm cooling fan on the rear panel and secure it with screws.
- Install Water Cooler Mounting Bracket: If using a water cooler, install its mounting bracket onto the motherboard.
- Mount Water Block: Apply thermal paste to the CPU (if not pre-applied) and mount the water block onto the CPU, ensuring correct orientation of the outlet port.
- Connect Water Pump and ARGB: Connect the water pump to the motherboard's "Pump" header and the water block's ARGB connector.
- Install Radiator Bracket: Install the radiator bracket onto the radiator, orienting the raised side towards the coolant tube end. Position the radiator as far right as possible when installing the rear panel cooling fan.
- Secure Radiator: Secure the radiator with mounting screws.
- Connect Radiator Fan Power Cables: Connect the radiator fan power cables.

Image: The darkFlash WD200 PC case with an overlay illustrating the engineered airflow through its full-mesh design, highlighting efficient cooling.
4. Power Supply Unit (PSU) Installation
- Mount PSU Bracket: Attach the PSU mounting bracket onto your SFX/SFX-L PSU using the provided screws.
- Route Power Cable: Route the main 24-pin ATX power cable to the back of the case.
- Plug Modular Cables: Plug any necessary modular cables into the PSU.
- Turn on PSU Switch: Ensure the PSU switch is in the ON position.
- Connect PSU Extension Cable: Connect the PSU extension cable to the power supply.
- Secure PSU: Secure the PSU to the chassis and tighten the mounting screws.
5. Graphics Card (GPU) Installation
- Install GPU: Carefully insert your GPU into the PCIe slot on the motherboard.
- Secure GPU: Secure the GPU with the attached screws.
- Connect GPU Power Cable: Connect the graphics card power cable. Reserve GPU power cables with sufficient length for proper routing.
6. Final Assembly
- Secure Radiator Mounting Bracket: Ensure the radiator mounting bracket is securely fastened.
- Install Side I/O Panel: Reinstall the side I/O panel and secure it with screws.
- Install PCIe Slot Cover: Reinstall the PCIe slot cover.
- Mount Side Panel: Reattach the side panel and secure it with screws.
Video: An official darkFlash video demonstrating the assembly process for the WD200 MATX PC Case with Handle, showing step-by-step installation of components.
Video: An official darkFlash video showcasing the white variant of the WD200 PC Case, providing a visual overview of its features and design.
Operating Instructions
Once all components are correctly installed and secured, connect your peripherals (monitor, keyboard, mouse, etc.) and the power cable to the PSU. Press the power button on the front I/O panel to start your system. The front I/O panel provides convenient access to USB Type-C, USB 3.0, and audio ports for your daily needs.

Image: The darkFlash WD200 PC case featuring its portable handle, designed for easy transport and a 'grab and go' experience.
Maintenance
- Cleaning: Regularly clean the mesh panels and interior components with compressed air to prevent dust buildup, which can affect cooling performance.
- Cable Management: Periodically check cable routing to ensure no cables are obstructing airflow or fan operation.
- Handle Care: If the handle is frequently used, ensure its attachment points remain secure.
Troubleshooting
- No Power: Ensure all power cables (PSU to wall, PSU to motherboard, CPU power) are securely connected. Check the PSU switch is ON.
- Fans Not Spinning: Verify fan power cables are correctly connected to the motherboard or fan controller. Check BIOS settings for fan control.
- Overheating: Ensure proper airflow by checking fan orientation and cleaning dust filters. Verify CPU cooler and GPU are correctly seated.
- I/O Ports Not Working: Check that all front I/O cables are correctly connected to the motherboard headers.
Specifications
| Feature | Detail |
|---|---|
| Brand | darkFlash |
| Model Name | WD200 PC CASE |
| Motherboard Compatibility | Micro ATX |
| Case Type | Mini-Tower |
| Dimensions (LxWxH) | 7.87 x 15.55 x 13.07 inches |
| Item Weight | 10.8 pounds |
| Material | Metal, Tempered Glass, Walnut Wood |
| Cooling Method | Air, Water (supports 240mm radiators) |
| CPU Cooler Clearance | Up to 165mm |
| GPU Support | Up to 335mm |
| PSU Support | Up to 200mm (SFX/SFX-L) |
| Drive Bays | 1x 3.5" HDD, 2x 2.5" SSDs |
| PCIe Slots | 4 |
| Front I/O | USB Type-C, USB 3.0, HD Audio |
Warranty and Support
darkFlash provides a 1-year assurance for computer cases. We are committed to customer satisfaction and ensuring professional user experience. For any product-related inquiries, technical assistance, or warranty claims, please contact darkFlash customer support through the official website or your retailer.
For additional information and resources, please visit the official darkFlash store: darkFlash Store


