
1. Introduction
Thank you for choosing the Intex IT-2401 21.5-inch HD LED Monitor. This manual provides essential information for setting up, operating, and maintaining your monitor. Please read this manual thoroughly before use to ensure proper installation and functionality. Keep this manual for future reference.
2. Package Contents
Verify that all items listed below are present in your package:
- Intex IT-2401 Monitor (1 unit)
- Base Stand (1 unit)
- HDMI Cable (1 unit)
- Power Cable (1 unit)
- Stud Screw (for base stand assembly)
- User Manual (this document)

Image: The Intex IT-2401 monitor with its base stand, accompanied by the HDMI cable, power cable, and stud screw, representing the typical package contents.
3. Setup Instructions
3.1. Assembling the Base Stand
- Carefully place the monitor face down on a soft, clean surface to prevent scratches.
- Align the base stand with the mounting slot on the back of the monitor.
- Secure the base stand to the monitor using the provided stud screw. Ensure it is tightened firmly.
- Gently lift the monitor and place it upright on a stable, flat surface.
3.2. Connecting to a Computer
The Intex IT-2401 monitor supports both HDMI and VGA connections.
- HDMI Connection: Connect one end of the provided HDMI cable to the HDMI port on your monitor and the other end to the HDMI output port on your computer.
- VGA Connection: Connect a VGA cable (not included) to the VGA port on your monitor and the other end to the VGA output port on your computer.

Image: Rear view of the monitor highlighting the HDMI and VGA input ports for connecting to various devices.
3.3. Power Connection
- Connect the power cable to the power input port on the back of the monitor.
- Plug the other end of the power cable into a grounded electrical outlet.
4. Operating Instructions
4.1. Power On/Off
Press the power button located on the bottom right side of the monitor to turn it on or off. The power indicator light will illuminate when the monitor is on.
4.2. On-Screen Display (OSD) Menu
The OSD menu allows you to adjust various monitor settings. Use the control buttons (usually located on the bottom right or rear of the monitor) to navigate and select options.
- Menu Button: Opens the OSD menu.
- Up/Down Buttons: Navigate through menu options.
- Enter/Select Button: Confirms a selection or enters a sub-menu.
- Exit Button: Exits the current menu or OSD.
4.3. Picture Settings
Within the OSD menu, you can adjust settings such as:
- Brightness: Adjusts the overall luminance of the screen.
- Contrast: Adjusts the difference between light and dark areas.
- Color Temperature: Changes the warmth or coolness of the colors.
- Aspect Ratio: Selects between 16:9 or other available display modes.
4.4. Input Selection
If you have multiple devices connected, use the input selection option in the OSD menu or a dedicated input button (if available) to switch between HDMI and VGA inputs.
5. Key Features
5.1. High-Definition Display
The Intex IT-2401 features a 21.5-inch HD LED display with a resolution of 1920x1080 pixels. This provides clear and sharp visuals for various applications, from office work to multimedia consumption.
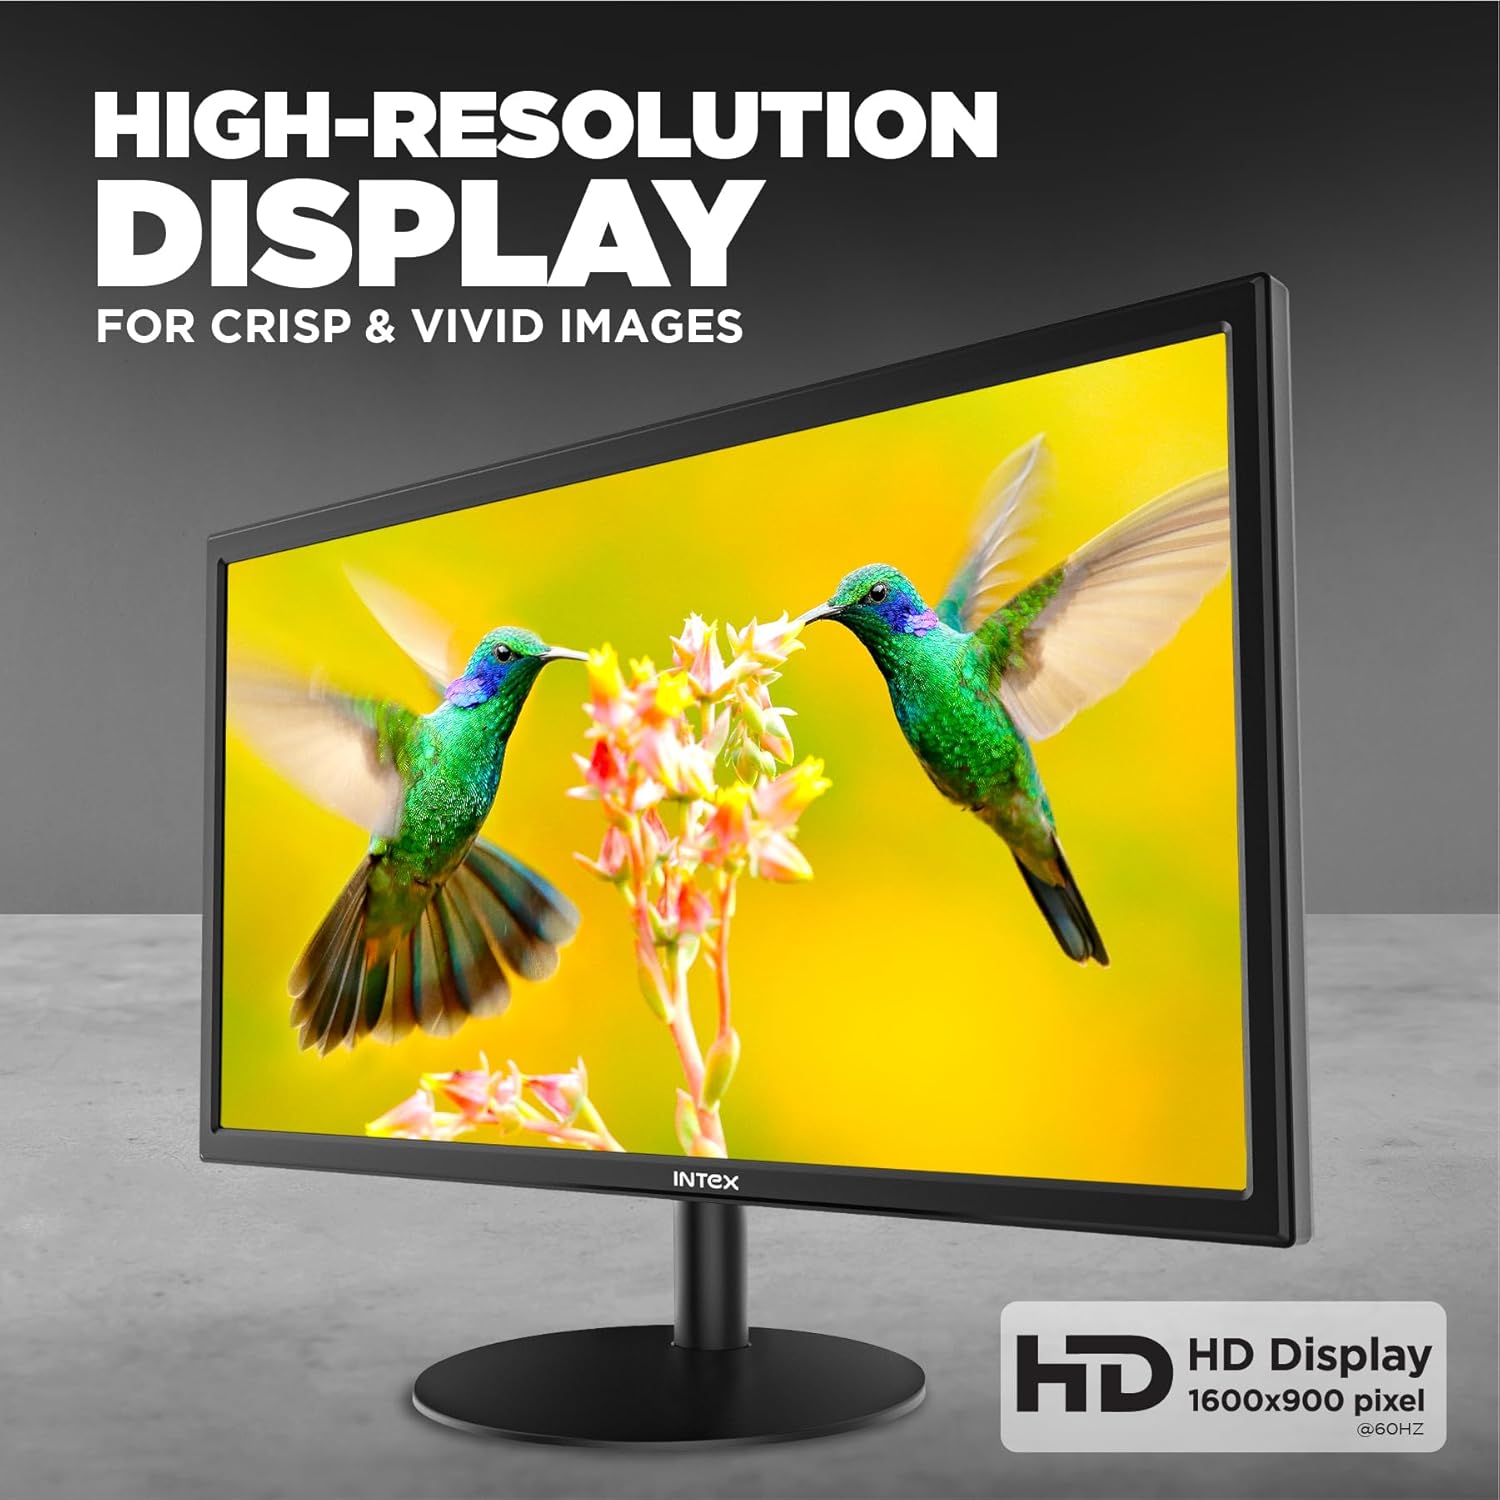
Image: The monitor screen showcasing high-resolution content, emphasizing clarity and vividness.

Image: A close-up of the monitor displaying a colorful image, illustrating the visual quality of the 21.5-inch display.
5.2. VA Panel Technology
Equipped with a VA (Vertical Alignment) panel, the monitor delivers excellent contrast ratios and deep blacks, enhancing the overall visual experience.
5.3. Fast Response Time and Refresh Rate
With a 5ms response time and a 60Hz refresh rate, the monitor provides smooth motion and reduces ghosting, suitable for everyday computing and casual entertainment.

Image: The monitor displaying a dynamic scene, illustrating the smooth motion provided by its response time and refresh rate.
5.4. Anti-Glare Screen
The anti-glare coating on the screen minimizes reflections from ambient light, reducing eye strain and improving visibility, especially in brightly lit environments.
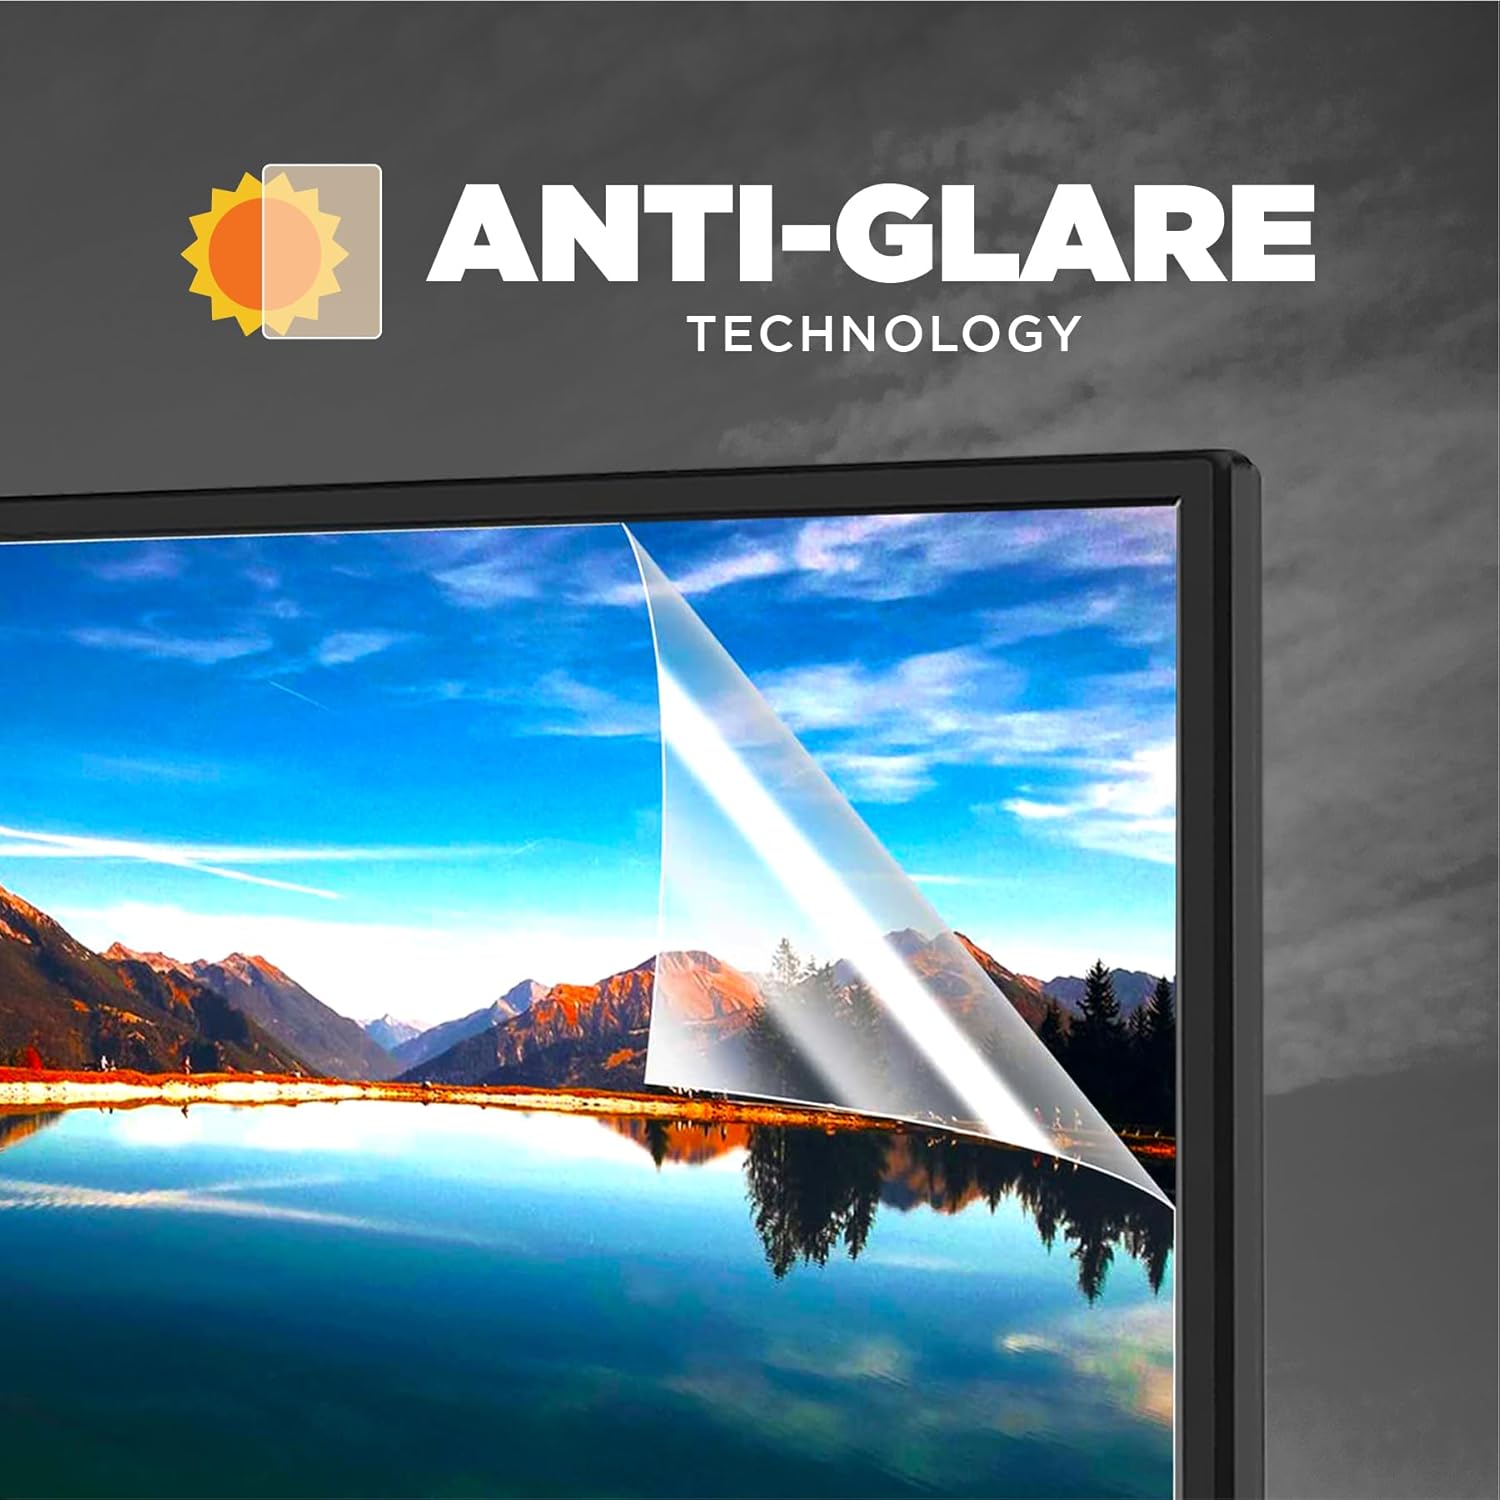
Image: A visual representation of the anti-glare technology, showing how it reduces reflections on the screen surface.

Image: A close-up of the monitor screen demonstrating the anti-glare feature, designed to enhance eye comfort during prolonged use.
5.5. Realistic Color Reproduction
The monitor is designed to reproduce realistic and vibrant colors, offering an enhanced viewing experience for images, videos, and other visual content.

Image: The monitor displaying an image with rich and accurate colors, highlighting its color reproduction capabilities.

Image: A vibrant display on the monitor, illustrating its ability to render a wide spectrum of colors for ultra-real visuals.
5.6. LED Backlight
The LED backlight technology contributes to the monitor's high brightness levels and energy efficiency, ensuring vivid clarity across the screen.

Image: A conceptual diagram illustrating the layers of LED backlighting that contribute to the monitor's vivid clarity and brightness.
6. Troubleshooting
If you encounter issues with your monitor, refer to the following common problems and solutions:
| Problem | Possible Solution |
|---|---|
| No image on screen |
|
| "No Signal" message |
|
| Image is too dark/bright | Adjust the Brightness and Contrast settings in the OSD menu. |
| Flickering or unstable image |
|
7. Specifications
| Brand | Intex |
| Model | IT-2401 |
| Screen Size | 21.5 Inches (54.61 cm) |
| Display Type | LED Backlit VA Panel |
| Resolution | 1920 x 1080 Pixels (HD) |
| Aspect Ratio | 16:9 |
| Response Time | 5 Milliseconds |
| Refresh Rate | 60 Hz |
| Special Features | Anti-Glare Coating |
| Connectivity | HDMI, VGA |
| Power Input | 180 Volts (AC) |
| Product Dimensions (LxWxH) | 44.3 x 50.6 x 9.8 cm |
| Item Weight | 4.1 kg |
| Country of Origin | China |
8. Care and Maintenance
- Cleaning the Screen: Gently wipe the screen with a soft, lint-free cloth. For stubborn marks, dampen the cloth slightly with water or a monitor-specific cleaning solution. Never spray liquid directly onto the screen.
- Cleaning the Casing: Use a soft, dry cloth to clean the monitor casing. Avoid using abrasive cleaners or solvents.
- Storage: When not in use for extended periods, store the monitor in a cool, dry place, away from direct sunlight and extreme temperatures.
- Handling: Always handle the monitor by its edges or base. Avoid pressing on the screen surface.
9. Warranty and Support
For warranty information, technical support, or service inquiries, please refer to the warranty card included with your product or visit the official Intex website. Keep your purchase receipt as proof of purchase for warranty claims.
Manufacturer: DongGuan LeTu Electronic Technology Co Ltd
Importer: DongGuan LeTu Electronic Technology Co Ltd
Date First Available: 13 March 2025


