
1. Product Overview
The GarveeLife 13x13 Pop Up Gazebo Tent is designed to provide a versatile outdoor shelter for various activities. It features a spacious canopy, integrated mosquito netting, and a height-adjustable frame for adaptability. Constructed with a corrosion-resistant metal frame and a heat-insulated, waterproof, and UV-resistant fabric top, this gazebo offers protection from sun, rain, and insects.
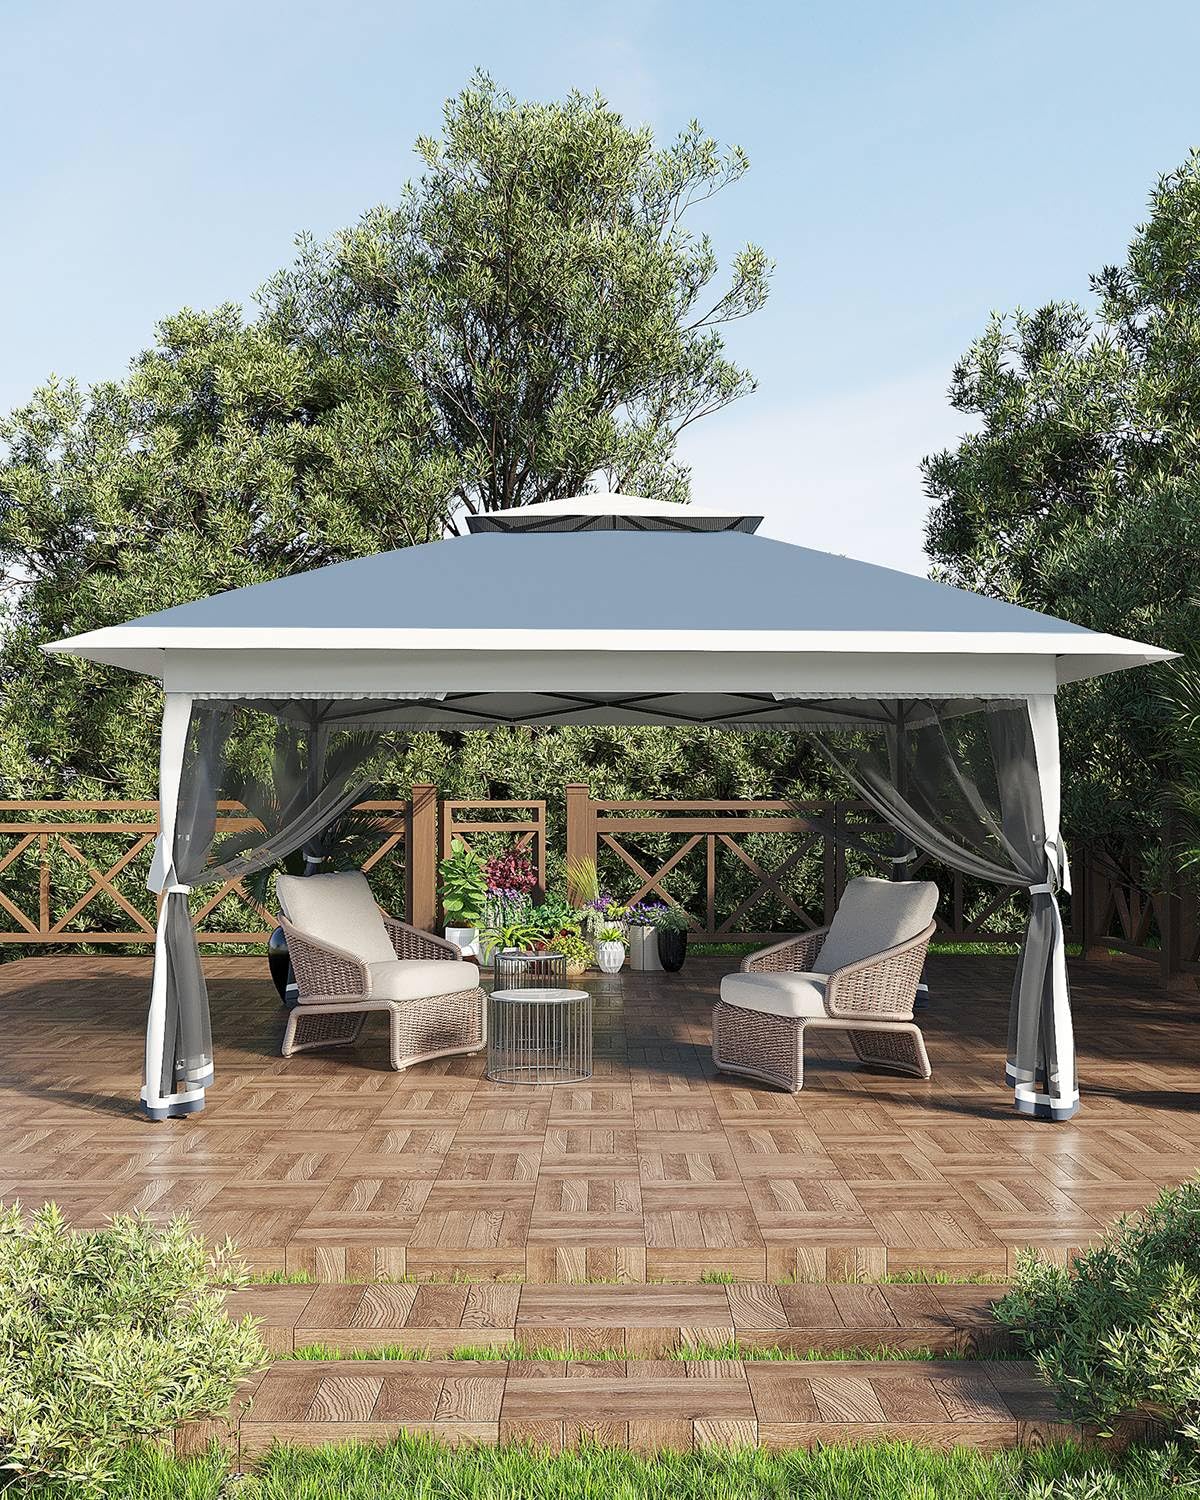
Image 1.1: The GarveeLife 13x13 Pop Up Gazebo Tent providing shade and shelter in an outdoor setting.
2. Safety Information
- Never leave the pop-up gazebo unattended. Sudden gusts of wind can cause damage or injury.
- Always disassemble the outdoor tent before storms, heavy winds, or any severe weather conditions. This prevents structural damage and potential hazards.
- Ensure that all ground stakes and ropes are firmly fixed to the ground during installation. Regularly check stake tightness for long-term stability.
- Keep all flame and heat sources away from the gazebo fabric. The fabric is flame-retardant (CPAI-84 compliant) but not fireproof.
- Do not hang heavy objects from the frame.
3. Package Contents
Verify that all components are present before beginning assembly:
- 1 x Metal Frame
- 1 x Canopy Top
- 4 x Mosquito Netting with Zippered Doors
- 16 x Ground Stakes
- 4 x Ropes
- 1 x 300D Oxford Fabric Wheeled Storage Bag
4. Setup Instructions
The GarveeLife Pop Up Gazebo features a One Push Center Lock technology for quick and easy setup.
- Step 1: Unpack the Gazebo. Remove the metal frame from the wheeled storage bag and place it in the desired setup location.
- Step 2: Partially Expand the Frame. With two people, gently pull the outer legs of the frame outwards, allowing it to partially expand.
- Step 3: Attach the Canopy Top. Drape the canopy top over the partially expanded frame. Secure the corners of the canopy to the frame.
- Step 4: Engage the Center Lock. Go underneath the canopy and locate the central locking mechanism. Push the center button lightly upwards until it clicks into place, fully extending the frame.
- Step 5: Extend the Legs. Extend each leg to the desired height by pressing the release buttons and sliding the inner leg sections down until they lock.
- Step 6: Attach Mosquito Netting. Attach the mosquito netting panels to the frame using the integrated fasteners. Ensure the zippered doors are functional.
- Step 7: Secure with Stakes and Ropes. Use the provided ground stakes to secure each leg to the ground. Attach the ropes to the canopy corners and stake them into the ground at an angle for additional stability.

Image 4.1: Visual guide for the pop-up gazebo installation method.
5. Operating Instructions
5.1 Height Adjustment
The gazebo features a 3-level height adjustment mechanism. To adjust the height:
- Locate the push-pin buttons on each leg.
- Press the button and slide the inner leg section up or down to the desired height setting. Ensure the pin locks securely into one of the three available holes.
- Repeat for all four legs to ensure even height.

Image 5.1: The gazebo offers three adjustable height positions for various needs.
5.2 Using Mosquito Netting
The included mosquito netting provides protection from insects. Each panel has zippered doors for easy entry and exit.
- Ensure all netting panels are securely fastened to the gazebo frame to prevent gaps.
- Use the zippers to open and close the doors as needed.
- When not in use, the netting can be tied back to the legs or removed for storage.

Image 5.2: The fine mesh mosquito netting provides ultimate protection against insects.
6. Maintenance
6.1 Cleaning
- Canopy Fabric: Clean with mild soap and water. Do not use harsh chemicals or abrasive cleaners, as this may damage the waterproof and UV-resistant coating. Rinse thoroughly and allow to air dry completely before storage.
- Metal Frame: Wipe down with a damp cloth. For stubborn dirt, use mild soap and water. Dry thoroughly to prevent rust, especially on exposed metal parts.
- Mosquito Netting: Hand wash with mild soap and water. Air dry.
6.2 Storage
- Ensure all components are clean and completely dry before storing to prevent mold, mildew, and rust.
- Disassemble the gazebo according to the reverse of the setup instructions.
- Store the frame, canopy, netting, and accessories in the provided wheeled storage bag.
- Store the bag in a cool, dry place, away from direct sunlight and extreme temperatures.
7. Troubleshooting
- Gazebo is unstable: Ensure all legs are fully extended and locked. Verify that all ground stakes and ropes are firmly secured. Check for uneven ground.
- Canopy not fitting correctly: Ensure the frame is fully expanded and the center lock is engaged. Adjust the canopy evenly over the frame before fully extending the legs.
- Water pooling on canopy: Ensure the canopy is taut and properly secured to the frame. Adjust leg heights if necessary to create proper tension and allow water runoff.
- Difficulty with center lock: Ensure the frame is partially expanded before attempting to engage the center lock. Apply gentle, even pressure. Do not force the mechanism.
8. Specifications
| Feature | Specification |
|---|---|
| Gazebo Size | 13 ft x 13 ft (3.96L x 3.96W meters) |
| Height | Up to 2.74 meters (3-level adjustable) |
| Weight | Approximately 22.93 kg (47.49 lbs) |
| Frame Material | Alloy Steel (Corrosion-resistant metal) |
| Canopy Material | Premium Fabric (Heat-insulated, Waterproof, UV-resistant) |
| UV Protection | UPF 50+ |
| Water Resistance | Waterproof |
| Occupancy | 8+ Person |
| Model Number | FSPHO_12C3Navy |
| UPC | 199108531285 |
9. Warranty and Support
For warranty information or product support, please refer to the documentation included with your purchase or contact GarveeLife customer service directly. Contact details can typically be found on the manufacturer's website or on the product packaging.
