
1. Introduction
The Mars Gaming MC-VIEW2 is a MicroATX gaming case designed for optimal performance and aesthetics. It features continuous frameless tempered glass, efficient cooling capabilities, and a dual-chamber structure for organized component management. This manual provides essential information for the proper installation, operation, and maintenance of your MC-VIEW2 gaming case.
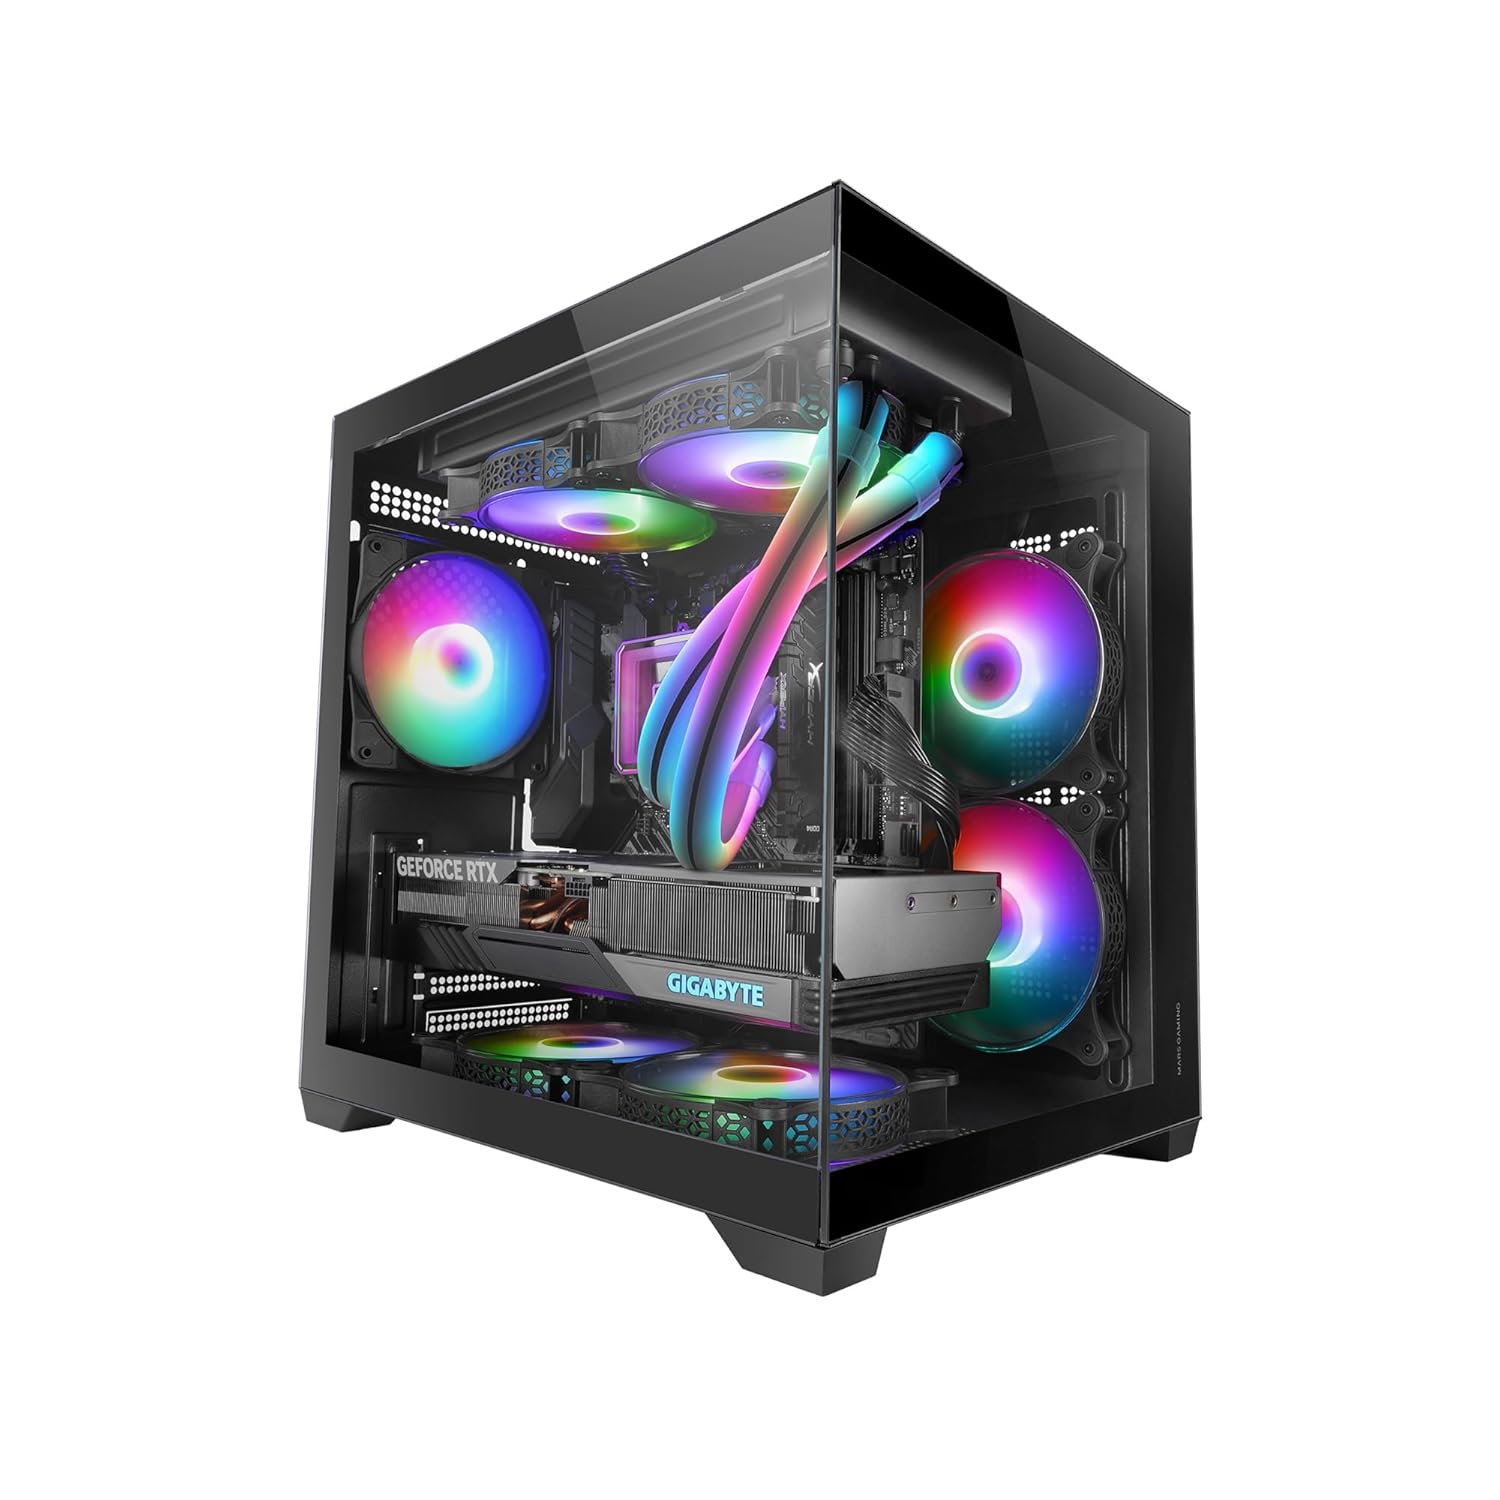
Image 1.1: Overview of the Mars Gaming MC-VIEW2 MicroATX Gaming Case with internal components and RGB lighting.
2. Key Features
- Continuous Double Tempered Glass: The case features frameless tempered glass panels on both the front and side, providing an unobstructed view of the internal components.
- Advanced Cooling System: Includes one pre-installed 120mm FRGB rear fan. The case supports up to seven 120mm fans and liquid cooling radiators up to 240mm for efficient thermal management.
- Dual Chamber Design: Features a dual-chamber structure that isolates the power supply unit (PSU) from other heat-generating components, improving airflow and simplifying cable management.
- Optimized Internal Capacity: Compatible with MicroATX and Mini-ITX motherboards. Supports graphics cards (VGAs) up to 330mm in length and CPU coolers up to 158mm in height. Offers 5 expansion slots.
- Versatile Storage Options: Accommodates 1x 3.5" HDD and 2x 2.5" SSDs, or 3x 2.5" SSDs.
- Advanced Connectivity: The top panel includes 1x USB 3.0 port, 2x USB 2.0 ports, and HD audio/microphone connectors for convenient peripheral access.
- Magnetic Top Dust Filter: A removable magnetic dust filter on the top panel simplifies maintenance and protects internal components from dust accumulation.
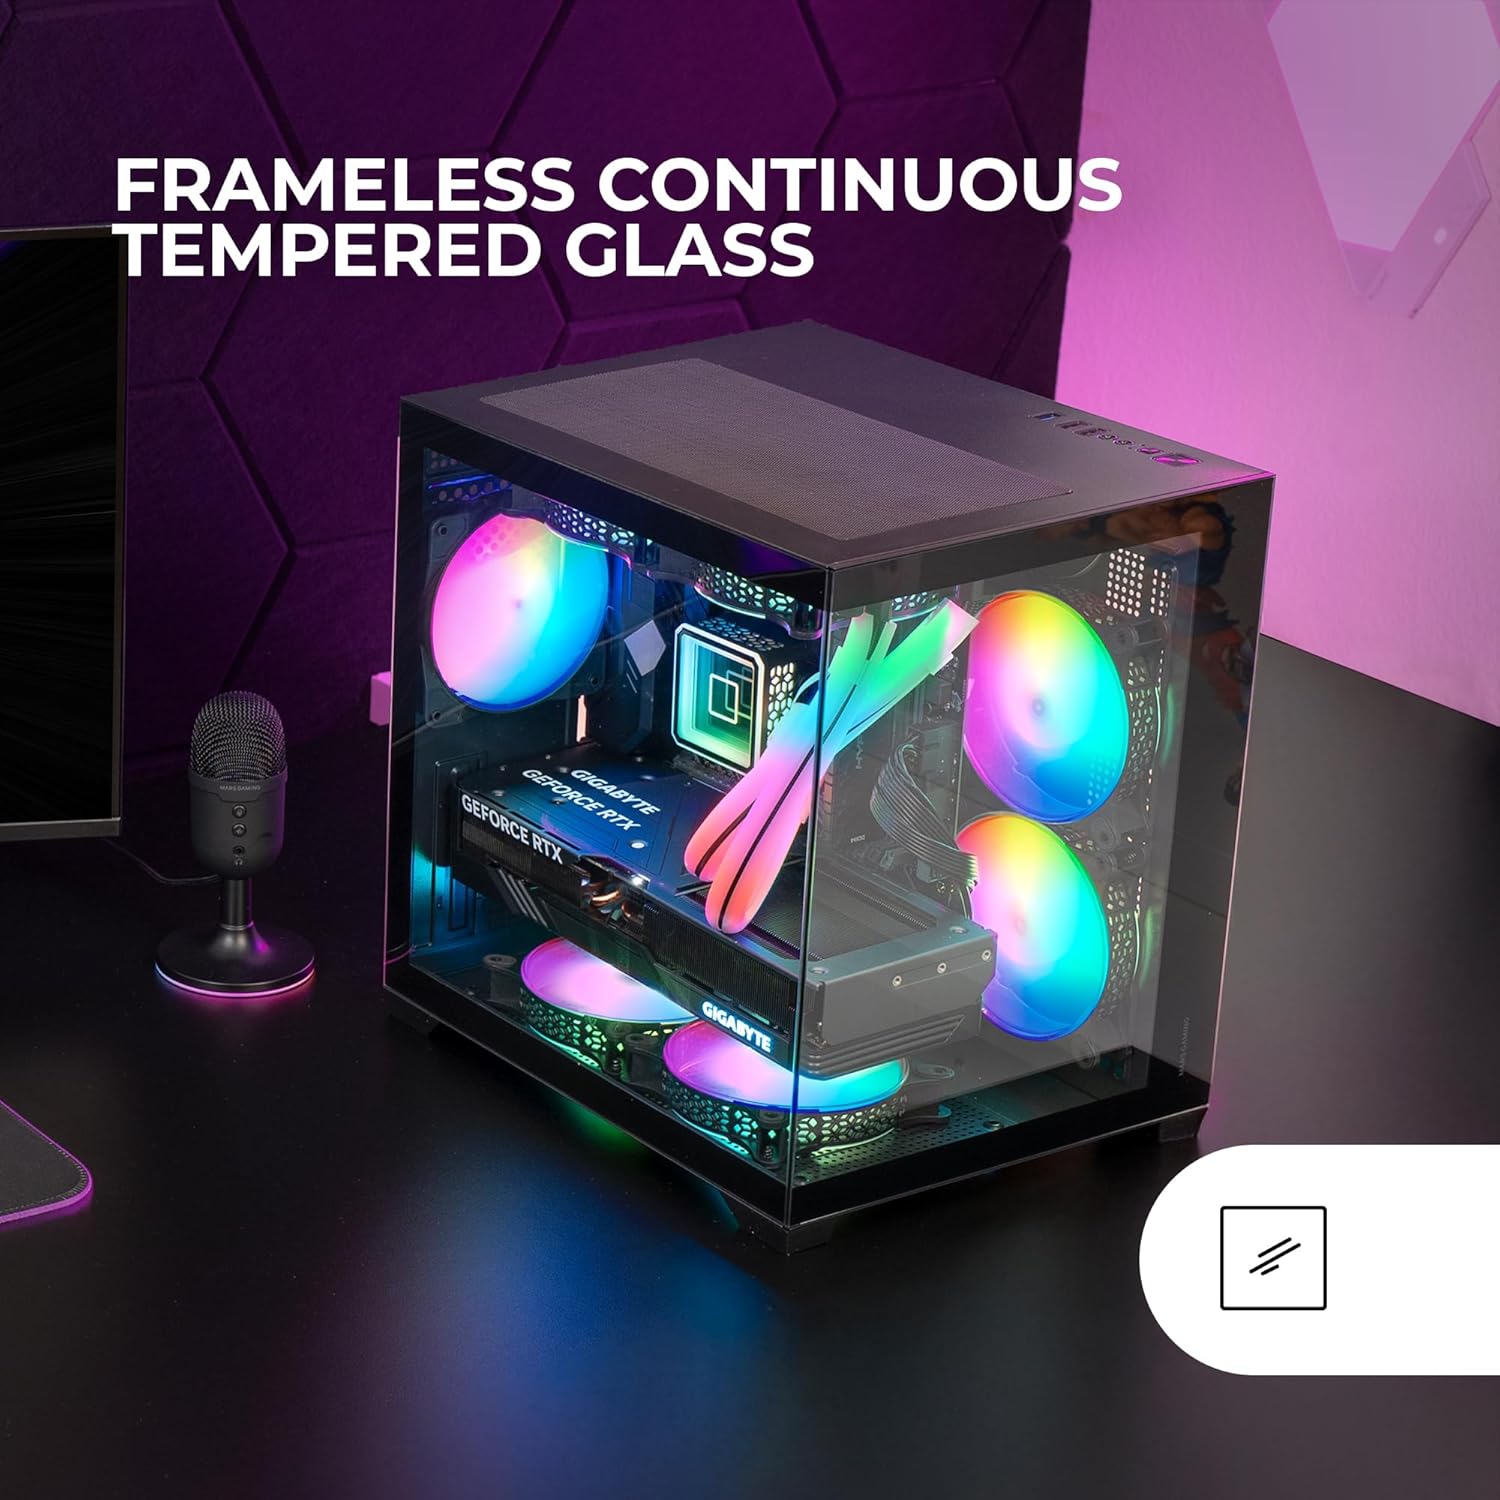
Image 2.1: The frameless tempered glass design of the MC-VIEW2 case, showcasing internal components.
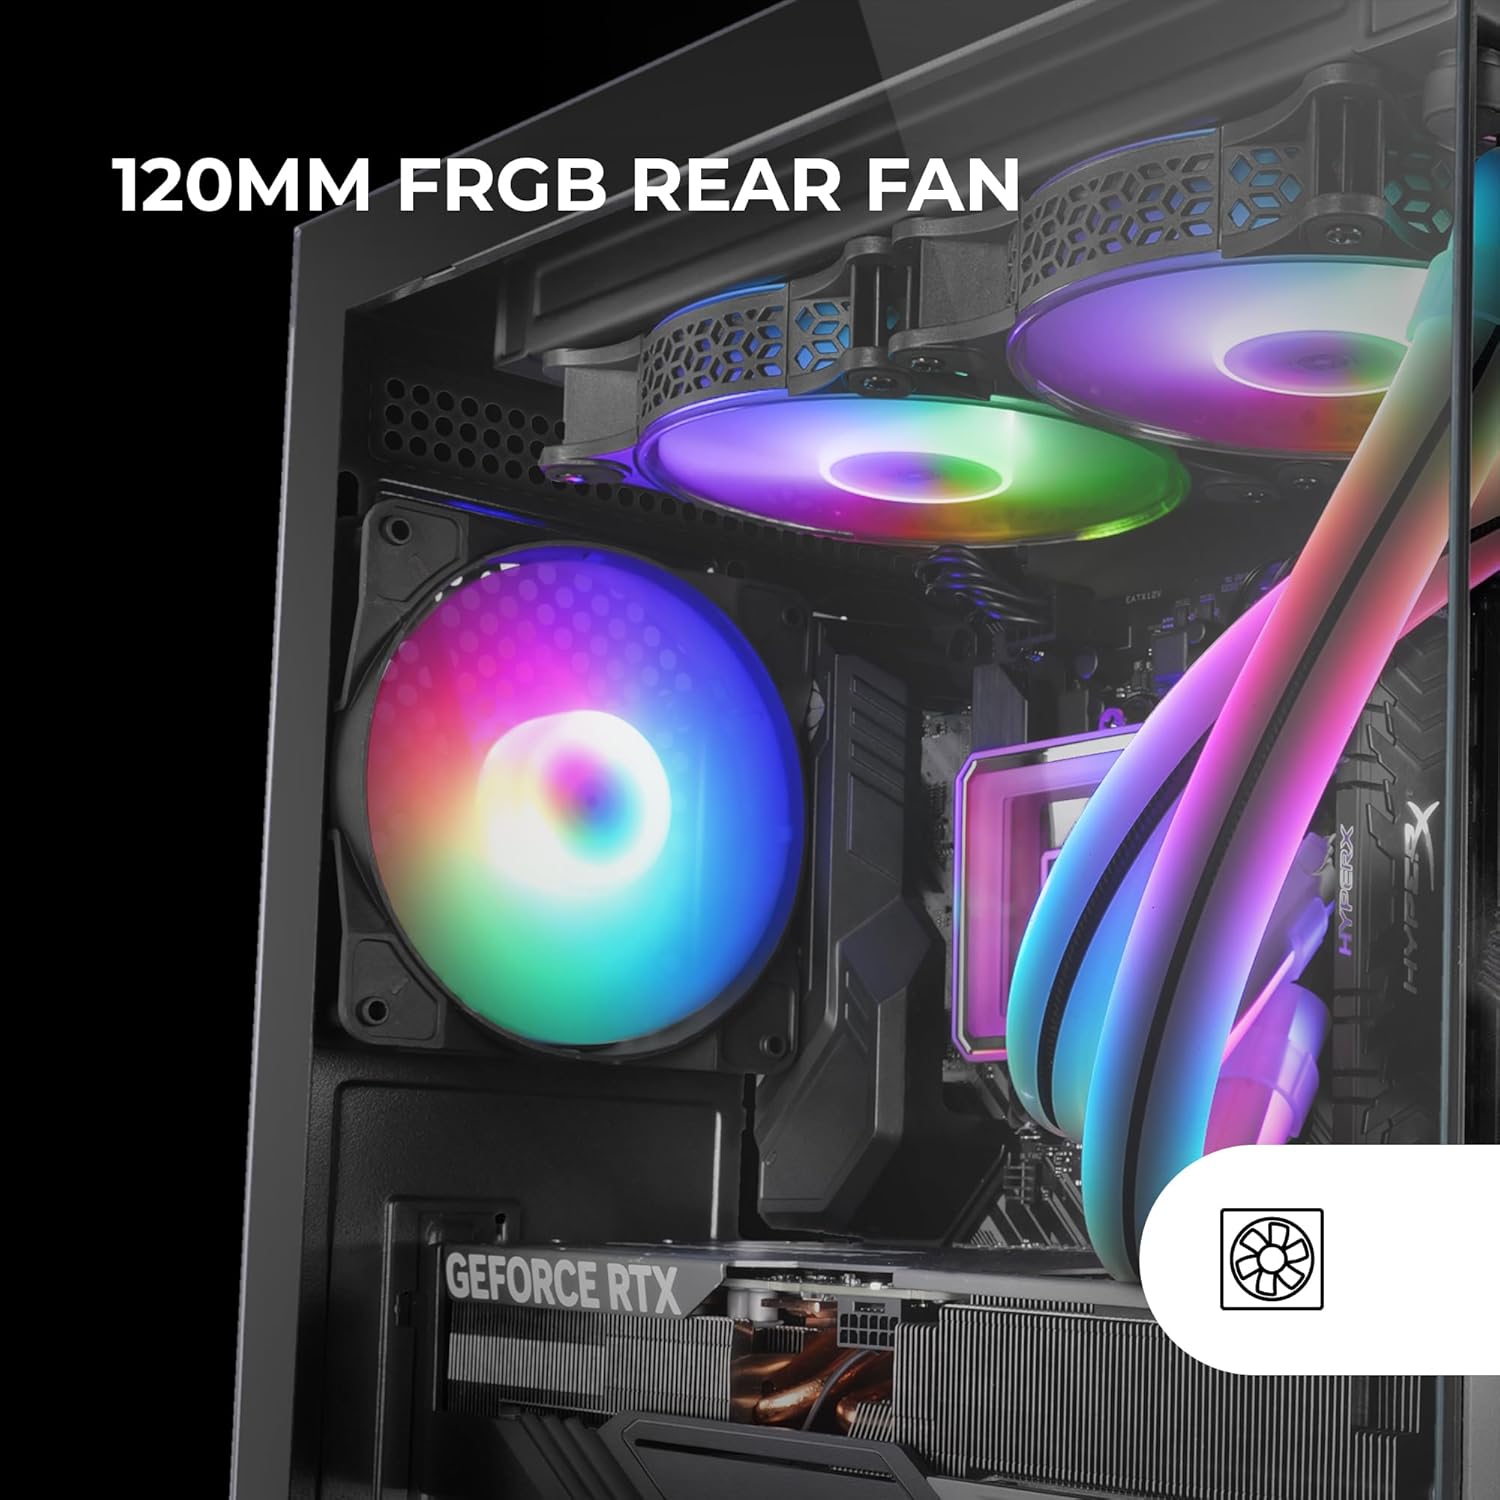
Image 2.2: Close-up view of the pre-installed 120mm FRGB rear fan.
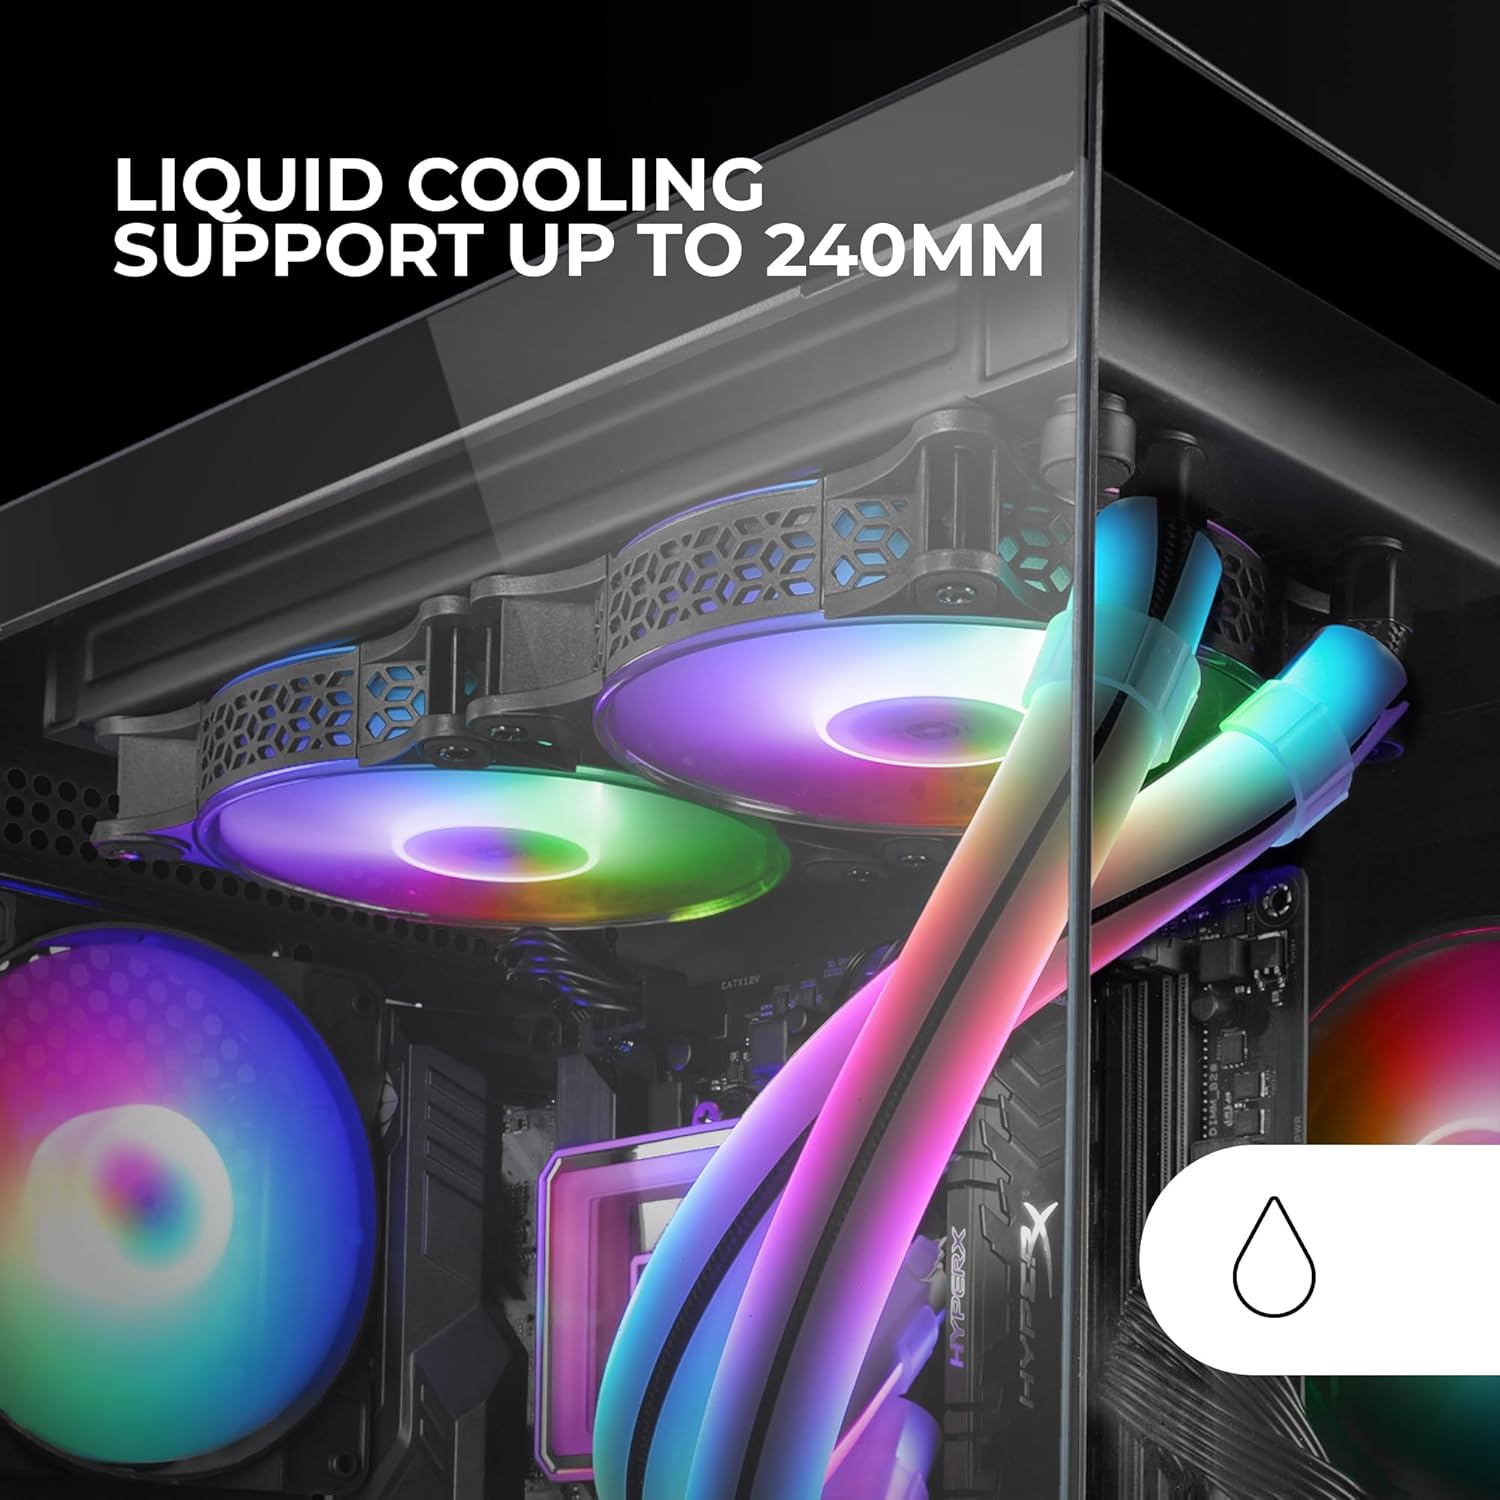
Image 2.3: Illustration of liquid cooling radiator installation, showing support for up to 240mm.

Image 2.4: Internal view highlighting the spacious layout for MicroATX components.
3. Setup and Installation
Follow these steps to set up and install components in your Mars Gaming MC-VIEW2 case.
3.1. Unpacking and Initial Inspection
- Carefully remove the case from its packaging.
- Inspect the case for any signs of damage during transit. Contact your retailer if any damage is found.
3.2. Accessing the Interior
- Locate the screws securing the tempered glass side panel. Carefully remove these screws.
- Gently slide or lift the tempered glass panel away from the chassis. Place it on a soft, flat surface to prevent scratches.
- Repeat the process for the front tempered glass panel if necessary for installation.
3.3. Motherboard Installation
- Install the I/O shield into the rear opening of the case.
- Align your MicroATX or Mini-ITX motherboard with the pre-installed standoffs inside the case.
- Secure the motherboard using the provided screws. Do not overtighten.
3.4. Power Supply Unit (PSU) Installation
- Locate the PSU compartment in the dual-chamber structure, typically at the bottom or rear.
- Slide your ATX power supply into the designated area.
- Secure the PSU to the rear of the case using screws.
3.5. Storage Drive Installation
- 3.5" HDD: Mount the 3.5" hard drive in the designated bay, typically using a tray or direct screw mounting.
- 2.5" SSD: Mount 2.5" solid-state drives in the dedicated SSD mounts, usually located behind the motherboard tray or in the PSU shroud area.
3.6. Graphics Card (VGA) Installation
- Remove the necessary expansion slot covers from the rear of the case.
- Insert your graphics card into the appropriate PCIe slot on the motherboard.
- Secure the graphics card with screws. Ensure it is properly seated.
3.7. Cooling System Installation
- Additional Fans: Install up to six additional 120mm fans in the available mounting positions (top, bottom, side) as desired. Ensure proper airflow direction.
- Liquid Cooling Radiator: If installing a liquid cooling system, mount the radiator (up to 240mm) in the supported location (e.g., top or side).
3.8. Cable Management
Utilize the cable routing cutouts and tie-down points behind the motherboard tray to organize and hide cables. This improves airflow and aesthetics.
3.9. Front Panel Connections
Connect the front panel cables (USB 3.0, USB 2.0, HD Audio, Power Switch, Reset Switch, Power LED, HDD LED) to the corresponding headers on your motherboard. Refer to your motherboard manual for exact header locations.
4. Operating Instructions
Once all components are installed, follow these general operating guidelines.
4.1. Powering On
- Ensure all internal components are securely connected and external peripherals (monitor, keyboard, mouse) are plugged in.
- Connect the power cable to the PSU and a wall outlet.
- Flip the power switch on the PSU to the 'ON' position.
- Press the power button on the top panel of the MC-VIEW2 case to start your system.
4.2. Airflow Optimization
Ensure that your installed fans are oriented to create an effective airflow path, typically drawing cool air in from the front/bottom/side and exhausting warm air out from the rear/top. This helps maintain optimal temperatures for your components.
4.3. FRGB Lighting
The pre-installed FRGB fan will illuminate when powered on. If you have additional RGB components, refer to their respective manuals for synchronization and control options.
5. Maintenance
Regular maintenance helps ensure the longevity and performance of your MC-VIEW2 gaming case and its components.
5.1. Dust Filter Cleaning
- Periodically remove the magnetic top dust filter.
- Clean the filter using compressed air or by rinsing it with water. Ensure it is completely dry before reattaching.
5.2. Interior Cleaning
- With the system powered off and unplugged, carefully remove the side tempered glass panel.
- Use compressed air to remove dust from internal components, especially CPU cooler fins, GPU heatsinks, and fan blades.
- Avoid touching components directly with your hands to prevent static discharge.
5.3. Tempered Glass Care
Clean the tempered glass panels with a soft, lint-free cloth and a non-abrasive glass cleaner. Avoid harsh chemicals that could damage the glass or coatings.
6. Troubleshooting
If you encounter issues with your MC-VIEW2 case or system, consider the following troubleshooting steps.
6.1. System Does Not Power On
- Verify that the PSU is properly connected to the wall outlet and the PSU's power switch is in the 'ON' position.
- Check all power connections from the PSU to the motherboard and components.
- Ensure the front panel power switch cable is correctly connected to the motherboard's power header.
6.2. Fans Are Not Spinning
- Confirm that all fan power cables are securely connected to the motherboard or a fan controller.
- Check BIOS/UEFI settings to ensure fan control is enabled and configured correctly.
6.3. No Display Output
- Ensure your graphics card is fully seated in its PCIe slot and any required auxiliary power cables are connected.
- Verify that your monitor cable is connected to the graphics card, not the motherboard's integrated graphics ports (unless using integrated graphics).
6.4. Front Panel USB/Audio Ports Not Working
- Check that the front panel USB and audio cables are correctly connected to the corresponding headers on your motherboard.
- Refer to your motherboard manual for correct header pinouts.
7. Specifications
| Feature | Specification |
|---|---|
| Brand | Mars Gaming |
| Model | MCVIEW2 |
| Case Type | MicroATX Tower |
| Product Dimensions (LxWxH) | 34.5 x 35.5 x 27.7 cm |
| Item Weight | 3.75 kg |
| Material | Tempered Glass |
| Motherboard Compatibility | Micro ATX, Mini ITX |
| Max VGA Length | 330mm |
| Max CPU Cooler Height | 158mm |
| Expansion Slots | 5 |
| Drive Bays | 1x 3.5" HDD + 2x 2.5" SSD or 3x 2.5" SSD |
| Pre-installed Fans | 1x 120mm FRGB Rear Fan |
| Fan Support | Up to 7x 120mm fans |
| Liquid Cooling Support | Up to 240mm |
| Front I/O Ports | 1x USB 3.0, 2x USB 2.0, HD Audio + Mic |
| Special Features | RGB lighting, Frameless Tempered Glass, Magnetic Top Dust Filter, Dual Chamber Structure |
8. Warranty and Support
For warranty information and technical support, please refer to the official Mars Gaming website or contact your local retailer. Keep your proof of purchase for warranty claims.


