
1. Introduction
This manual provides essential instructions for setting up, operating, and maintaining your Brother DCP-L1632W Wireless Mono Laser Multifunction Printer. Please read this guide thoroughly before using the device to ensure safe and efficient operation.
What's in the Box
- Brother DCP-L1632W Multifunction Printer
- Starter Toner Cartridge (approx. 1500 pages yield)
- Power Cord
- USB Cable
- Quick Setup Guide
2. Safety Information
Always follow basic safety precautions to reduce the risk of fire, electric shock, and injury. Keep the printer away from water and heat sources. Do not attempt to service the printer yourself. Refer all servicing to qualified service personnel.
- Ensure the printer is connected to a grounded power outlet.
- Do not block ventilation openings.
- Keep hands clear of moving parts during operation.
- Use only Brother-approved toner cartridges.
3. Setup
3.1 Unpacking and Placement
Carefully remove the printer from its packaging. Remove all protective tapes and packing materials from the exterior and interior of the printer. Place the printer on a stable, level surface with adequate space for ventilation and paper handling.
3.2 Toner Cartridge Installation
Open the front cover of the printer. Remove the drum unit and toner cartridge assembly from its protective bag. Gently shake the assembly horizontally several times to distribute the toner. Insert the toner cartridge firmly into the drum unit until it locks into place. Install the drum unit and toner cartridge assembly back into the printer and close the front cover.

Figure 3.2.1: Internal view of the printer, illustrating the area for toner cartridge and drum unit installation.
3.3 Loading Paper
Open the paper tray. Adjust the paper guides to fit the size of your paper. Load up to 150 sheets of plain A4 paper into the tray. Ensure the paper is not creased or curled. Close the paper tray.
3.4 Power Connection
Connect the power cord to the printer and then to a wall outlet. Press the power button to turn on the printer.
3.5 Software Installation
Insert the installation CD into your computer's CD-ROM drive, or download the latest drivers and software from the official Brother support website. Follow the on-screen instructions to complete the installation.
3.6 Wireless Network Setup
On the printer's control panel, navigate to the Network settings. Select WLAN and then Setup Wizard. The printer will search for available wireless networks. Select your network from the list and enter the network key (password) if prompted. Confirm the connection.
3.7 USB Connection
Connect one end of the USB cable to the USB port on the printer and the other end to an available USB port on your computer. The computer should automatically detect the printer and install the necessary drivers if they are already installed on your system.
4. Operating the Printer
4.1 Printing Documents
From your computer, open the document you wish to print. Select 'Print' from the application's menu. Choose the Brother DCP-L1632W from the list of available printers. Adjust print settings such as paper size, orientation, and number of copies as needed. Click 'Print'.

Figure 4.1.1: The printer with its paper output tray extended, ready to receive printed documents.
4.2 Copying Documents
Lift the document cover and place the document face-down on the scanner glass, aligning it with the guide marks. Close the document cover. On the printer's control panel, select the 'Copy' function. Use the arrow keys to set the number of copies. Press 'Start' to begin copying.
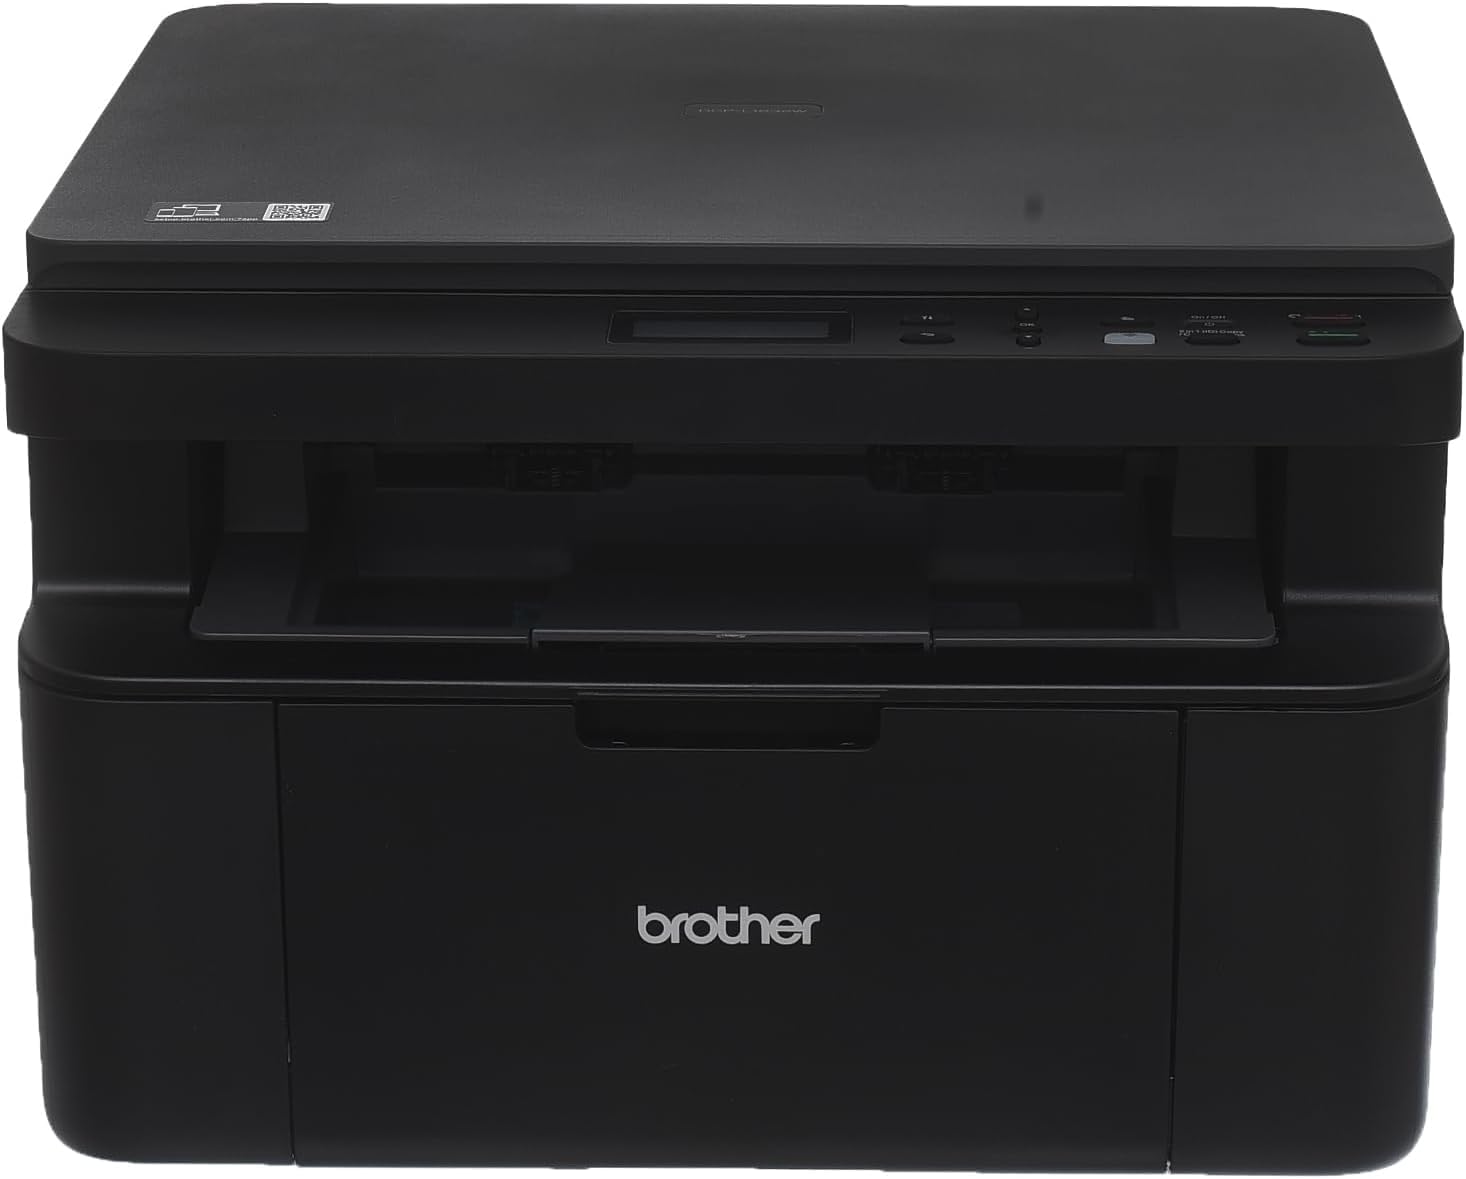
Figure 4.2.1: The printer with its scanner lid open, showing the scanner glass.
4.3 Scanning Documents
Place the document on the scanner glass as described for copying. On your computer, open the Brother ControlCenter software or your preferred scanning application. Select the 'Scan' function and choose your desired settings (e.g., resolution, color mode, destination). Click 'Scan' on your computer to initiate the scan.
4.4 Mobile Printing
Download the Brother iPrint&Scan app from your mobile device's app store. Ensure your mobile device is connected to the same wireless network as your printer. Open the app, select your printer, and choose the document or photo you wish to print. Adjust settings and tap 'Print'.
5. Maintenance
5.1 Replacing the Toner Cartridge
When the 'Toner Low' or 'Replace Toner' message appears, it's time to replace the toner cartridge. Open the front cover, remove the drum unit and old toner cartridge. Unpack a new Brother genuine toner cartridge, shake it gently, and install it into the drum unit. Reinsert the assembly into the printer and close the cover.
5.2 Cleaning the Printer
Regularly clean the exterior of the printer with a soft, lint-free cloth. For the scanner glass, use a soft cloth dampened with a non-abrasive glass cleaner. Do not spray cleaner directly onto the glass. Periodically clean the inside of the printer to remove any toner dust buildup, following the instructions in the full user guide.
5.3 Paper Jam Resolution
If a paper jam occurs, the printer display will indicate the location of the jam. Open the relevant covers (e.g., front cover, back cover) and carefully pull out the jammed paper in the direction of the paper path. Ensure no small pieces of paper remain inside. Close all covers firmly.
6. Troubleshooting
This section addresses common issues you might encounter. For more detailed troubleshooting, refer to the comprehensive user guide available on the Brother support website.
6.1 Printer Not Responding
- Check if the printer is powered on and connected to the computer or network.
- Verify that the correct printer is selected in your application's print dialog.
- Restart both the printer and your computer.
- Ensure drivers are correctly installed and updated.
6.2 Print Quality Issues
- Check the toner cartridge level and replace if low.
- Clean the drum unit and corona wire.
- Ensure you are using appropriate paper for laser printing.
6.3 Wireless Connection Problems
- Confirm the printer is within range of your wireless router.
- Verify the network name (SSID) and password are correct.
- Restart your wireless router and the printer.
- Temporarily disable any firewall software on your computer to test connectivity.
7. Specifications
| Feature | Specification |
|---|---|
| Brand Name | Brother |
| Model Name | DCP-L1632W |
| Printer Technology | Laser |
| Printer Output | Monochrome |
| Functions | Print, Copy, Scan |
| Max Print Speed (Black & White) | 20 pages per minute (A4) / 21 pages per minute (Letter) |
| Connectivity Technology | Wireless (Wi-Fi), USB 2.0 |
| Memory Capacity | 64 MB |
| Paper Input Tray Capacity | Up to 150 sheets |
| Max Media Size | 210 x 297 mm (A4) |
| Duplex Printing | Manual (Simplex) |
| Included Toner Yield | Up to 1500 pages |
| Item Weight | 4 kg |
| Product Dimensions (DxWxH) | 23.8 x 34 x 18.9 cm |
| Color | Black |
8. Warranty and Support
8.1 Warranty Information
According to the product specifications, this product is provided without a warranty. Please check with your retailer for any specific return or exchange policies they may offer.
8.2 Customer Support
For further assistance, technical support, or to download the latest drivers and full user manuals, please visit the official Brother support website. You can also find contact information for Brother customer service in your region on their website.
Brother Support Website: www.brother.com/support