1. Introduction
This user manual provides comprehensive instructions for the installation, operation, and maintenance of your GIGABYTE AORUS WATERFORCE X II 360 ICE LCD display AIO liquid cooler. Designed for superior cooling performance, this AIO cooler features advanced thermal solutions, high-quality components, and a customizable LCD display to ensure optimal temperature regulation for your processor. Please read this manual thoroughly before installation and use to ensure proper functionality and longevity of your product.

Image 1.1: The GIGABYTE AORUS WATERFORCE X II 360 ICE AIO liquid cooler, showcasing its radiator, fans, pump, and the product packaging.
2. Safety Information
Please observe the following safety precautions to prevent damage to the product or injury to yourself:
- Ensure your system is powered off and unplugged from the wall outlet before installation or maintenance.
- Handle components with care to avoid damage. Avoid touching the thermal paste on the cold plate.
- Do not open the liquid cooler's sealed loop. The coolant is not user-serviceable.
- Keep the product away from direct sunlight, high temperatures, and humid environments.
- Use only the provided mounting hardware and accessories.
- If any liquid leakage is observed, immediately power off your system and contact GIGABYTE support.
3. Package Contents
Verify that all components are present in the package before beginning installation:
- AORUS WATERFORCE X II 360 ICE AIO Liquid Cooler (Radiator, Pump/Water Block, Tubing)
- 3 x 120mm ARGB Fans
- Intel Mounting Kit (Backplate, Standoffs, Screws)
- AMD Mounting Kit (Backplate, Standoffs, Screws)
- Fan Screws for Radiator Mounting
- USB Cable for LCD Control
- Fan/ARGB Cables
- User Manual (this document)
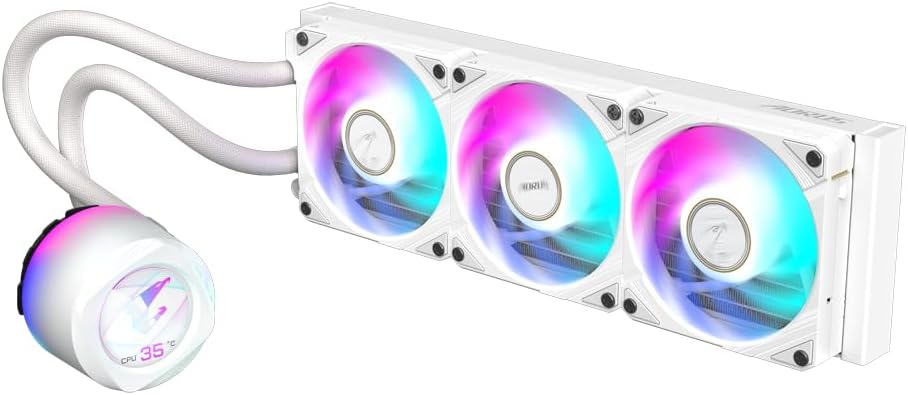
Image 3.1: An overview of the GIGABYTE AORUS WATERFORCE X II 360 ICE AIO liquid cooler and its primary components, including the radiator, fans, and pump assembly.
4. Setup and Installation
Follow these general steps for installing your AORUS WATERFORCE X II 360 ICE liquid cooler. For detailed, step-by-step instructions specific to your CPU socket (Intel 2066, 2011, 1366, 115x, 1700, AMD TR4, AM5, AM4, sTRX4), please refer to the included quick installation guide or the official GIGABYTE support website.
- Prepare the Motherboard: Install the appropriate backplate (for Intel sockets) or retention clips (for AMD sockets) on the rear of your motherboard.
- Install Standoffs: Screw in the correct standoffs for your CPU socket onto the motherboard.
- Mount Fans to Radiator: Attach the three 120mm ARGB fans to the radiator using the provided fan screws. Ensure the fan cables are routed neatly. The fans feature an EZ-Chain Mag magnetic connection system for simplified daisy-chaining.
- Install Radiator: Mount the radiator assembly into your PC case. Typically, this is done at the top or front of the case, depending on available space and airflow preference.
- Apply Thermal Paste (if necessary): The water block usually comes with pre-applied thermal paste. If not, apply a small amount of high-quality thermal paste to the center of your CPU's integrated heat spreader (IHS).
- Mount Water Block: Carefully align the water block over the CPU and secure it to the standoffs using the thumb screws or mounting brackets. Tighten screws in a diagonal pattern until snug.
- Connect Cables:
- Connect the pump's 3-pin or 4-pin power cable to the CPU_FAN or AIO_PUMP header on your motherboard.
- Connect the fan power cables to available fan headers on your motherboard or a fan controller.
- Connect the ARGB cables from the fans and pump to a compatible 3-pin 5V ARGB header on your motherboard or an ARGB controller.
- Connect the USB cable from the pump to an available internal USB 2.0 header on your motherboard. This is essential for LCD display control and customization via GIGABYTE Control Center (GCC).
- Cable Management: Route all cables neatly to ensure proper airflow and a clean build.
- Install GIGABYTE Control Center (GCC): After system boot, download and install the latest version of GIGABYTE Control Center (GCC) from the official GIGABYTE website. This software is required to customize the LCD display, control fan/pump speeds, and synchronize ARGB lighting.

Image 4.1: Side profile of the AORUS WATERFORCE X II 360 ICE, highlighting the radiator's thickness and the fan mounting points.

Image 4.2: Top-down view of the three 120mm ARGB fans mounted on the radiator, showcasing their design and lighting capabilities.

Image 4.3: Bottom view of the AORUS WATERFORCE X II 360 ICE fans, illustrating the fan blade design optimized for airflow and pressure.
5. Operating Instructions
Once installed, the AORUS WATERFORCE X II 360 ICE operates automatically to cool your CPU. However, its full potential is unlocked through the GIGABYTE Control Center (GCC) software.
5.1. GIGABYTE Control Center (GCC)
GCC is your central hub for managing the cooler's features:
- LCD Edge View Customization: The round full-color LCD on the pump head can display various information, including CPU temperature, fan/pump speeds, or custom content. Use GCC to upload and display text, GIFs, JPEGs, or MP4 files.
- Fan and Pump Speed Control: Adjust fan and pump speeds to balance cooling performance and noise levels. You can choose from predefined profiles or create custom fan curves based on CPU temperature.
- ARGB Lighting Synchronization: Synchronize the gradual lighting of the water block and fans with other AORUS devices connected via GCC for a unified lighting effect across your system.
- Monitoring: Monitor real-time CPU temperatures, fan RPMs, and pump RPMs directly within the GCC software.
Ensure GCC is always updated to the latest version for optimal performance and access to new features.
6. Maintenance
Regular maintenance helps ensure the longevity and optimal performance of your AIO liquid cooler.
- Dust Removal: Periodically clean the radiator fins and fan blades to prevent dust buildup, which can impede airflow and reduce cooling efficiency. Use compressed air or a soft brush. Ensure fans are not spinning rapidly during cleaning to avoid damage.
- Cable Check: Occasionally inspect all cables (power, ARGB, USB) to ensure they are securely connected and not obstructing airflow.
- Software Updates: Keep your GIGABYTE Control Center (GCC) software updated. Firmware updates for the cooler may also be released through GCC, which can improve performance or add features.
- Visual Inspection: Perform a visual check for any signs of leakage around the pump, tubing, or radiator. While AIOs are sealed, early detection of any issues is crucial.
7. Troubleshooting
If you encounter issues with your AORUS WATERFORCE X II 360 ICE, try the following troubleshooting steps:
- High CPU Temperatures:
- Ensure the water block is securely mounted to the CPU and making good contact.
- Verify that the pump is running (you might hear a faint hum or feel vibrations in the tubing). Check pump power connection.
- Confirm fans are spinning and correctly oriented for airflow (pushing or pulling air through the radiator).
- Check for dust buildup on the radiator fins.
- Ensure thermal paste application was adequate.
- Fans Not Spinning or ARGB Not Working:
- Check all fan and ARGB cable connections to the motherboard or controller.
- Ensure the ARGB header on your motherboard is 3-pin 5V, not 4-pin 12V (which can damage ARGB components).
- Verify fan and ARGB settings within GIGABYTE Control Center (GCC) or your motherboard's BIOS/UEFI.
- LCD Display Not Working/Blank:
- Ensure the internal USB 2.0 cable from the pump is securely connected to the motherboard.
- Verify that GIGABYTE Control Center (GCC) is installed and running.
- Check for any error messages within GCC related to the LCD.
- Try restarting GCC or your computer.
- Unusual Noises (Gurgling, Grinding):
- AIOs can sometimes have minor gurgling sounds initially as air bubbles settle. This should subside.
- Ensure the pump is not the highest point in the loop, as this can trap air.
- If grinding or loud persistent noises occur, contact GIGABYTE support.
If these steps do not resolve the issue, please contact GIGABYTE customer support for further assistance.
8. Specifications
| Feature | Detail |
|---|---|
| Brand | GIGABYTE |
| Model Number | GP-AORUS WATERFORCE X II 360I |
| Product Dimensions | 4.69"L x 15.51"W x 1.06"H |
| Cooling Method | Water |
| Compatible Devices | Desktop (Intel 2066, 2011, 1366, 115x, 1700; AMD TR4, AM5, AM4, sTRX4) |
| Noise Level | 1 dB (minimum, as per specifications) |
| Material | Kupfer (Copper) |
| Air Flow Capacity | 30 LPM (Liters Per Minute) |
| Item Weight | 6.16 pounds |
| Power Connector Type | 4-Pin |
9. Warranty and Support
GIGABYTE products are manufactured to the highest quality standards. This product is covered by a limited warranty. For detailed warranty terms and conditions, including duration and coverage, please refer to the warranty card included with your product or visit the official GIGABYTE website.
For technical support, troubleshooting assistance, or warranty claims, please contact GIGABYTE customer service through their official website or the contact information provided in your product packaging. When contacting support, please have your product model number (GP-AORUS WATERFORCE X II 360I) and proof of purchase readily available.
GIGABYTE Official Website: www.gigabyte.com