
Introduction
This manual provides detailed instructions for the assembly, operation, and maintenance of your Sylviera 12x20 FT Metal Carport. Designed for durability and all-weather protection, this heavy-duty carport offers a reliable shelter solution for vehicles, boats, tractors, and other outdoor equipment. Please read these instructions carefully before beginning assembly to ensure safe and correct installation.
Key Features:
- Quick & Easy Installation: All parts are labeled and pre-drilled, accompanied by a detailed instruction manual and cut-resistant gloves.
- High-Quality Construction: Features a triple-layer galvanized steel frame and reinforced support posts for excellent weather resistance and long-term stability.
- Exceptional Strength & Stability: Reinforced frame, heavy-duty steel posts, and an anchored base withstand strong winds (up to 100 mph), heavy snow (up to 35 PSF), and intense UV rays.
- Spacious & Versatile Coverage: Ample space to accommodate a full-size truck or SUV, also suitable for RVs, boats, or outdoor storage.
- Secure & User-Friendly Design: Includes 4 side tension rods and ground anchors for enhanced stability. The canopy is made of 1.6KG, 0.24mm color steel tiles with a protective film and high-density weather-resistant sealing tape for leak prevention.
Safety Information
Always prioritize safety during assembly and use. Failure to follow these safety guidelines may result in injury or damage to the product.
- Read Instructions: Thoroughly read and understand all assembly instructions before starting.
- Wear Protective Gear: Always wear cut-resistant gloves provided and other appropriate personal protective equipment (e.g., safety glasses) during assembly.
- Team Assembly: It is recommended that at least three adults participate in the assembly process due to the size and weight of components.
- Level Surface: Install the carport on a flat, stable surface to ensure structural integrity and prevent tipping.
- Secure Anchoring: Ensure the carport is securely anchored to the ground or concrete foundation using the provided hardware to withstand wind and other weather conditions.
- Sharp Edges: Be aware of sharp edges on metal components. Soft rubber protectors are included for safety during assembly.
- Overhead Clearance: Maintain adequate overhead clearance during assembly and when parking vehicles.
- Weather Conditions: Avoid assembly during strong winds, heavy rain, or other adverse weather conditions.
Package Contents
Your Sylviera 12x20 FT Metal Carport is shipped in multiple packages. Verify all components against the packing list provided in your shipment before beginning assembly. The package typically includes:
- Galvanized Steel Frame Components (labeled for easy identification)
- Galvanized Steel Roof Panels
- Reinforcement Support Rods
- Hardware (bolts, nuts, washers, concrete screws)
- Cut-Resistant Gloves
- High-Density Weather-Resistant Sealing Tape
- Soft Rubber Protectors for sharp edges
- Detailed Instruction Manual

Image: Overview of product dimensions and typical package contents, including gloves and multiple cartons.
Setup & Installation
Follow these steps for a quick and easy installation. Ensure you have sufficient space and assistance before starting.
Step 1: Prepare the Site
- Choose a flat, level surface for installation.
- Clear the area of any debris, rocks, or obstructions.
- Unpack all boxes and lay out components, verifying against the packing list.
Step 2: Assemble the Frame
- Connect the labeled frame components according to the detailed instruction manual.
- Utilize the pre-drilled holes and provided hardware (bolts, nuts) to secure connections.
- Install the top triangular support structure and side reinforcing crossbars.
- Attach the bottom support structure and bottom reinforcement parts.

Image: Visual guide for the initial frame assembly, emphasizing UV-resistant, stable, rust-resistant, and water-resistant features.

Image: Detailed view of the carport's quadruple reinforcement, including top triangular support, side reinforcing crossbar, bottom support structure, and bottom reinforcement.
Step 3: Install Roof Panels
- Carefully place the galvanized steel roof panels onto the assembled frame.
- Secure the panels using the appropriate hardware, ensuring proper overlap to prevent leaks.
- Apply the high-density weather-resistant sealing tape along the seams of the roof panels for enhanced leak prevention.
- Attach the soft rubber protectors to any sharp edges on the roof panels.
Step 4: Secure the Carport
- Use the provided ground anchors or concrete screws to firmly secure the carport's base to your chosen surface.
- Install the 4 side tension rods to further enhance the stability of the carport's foundation.
Installation Videos:
Video: A step-by-step guide demonstrating the carport installation process.
Video: Watch the real assembly process and a display of the finished carport.
Operating Instructions
Your Sylviera Metal Carport is designed for versatile use and protection.
- Vehicle Parking: Utilize the spacious interior to park your car, truck, SUV, RV, or boat, protecting it from sun, rain, snow, and debris.
- Outdoor Storage: The carport can also serve as a covered area for storing outdoor equipment, tools, or for hosting outdoor activities.
- All-Weather Protection: The robust design ensures protection against various weather conditions, including strong winds, heavy snow, and intense UV radiation.
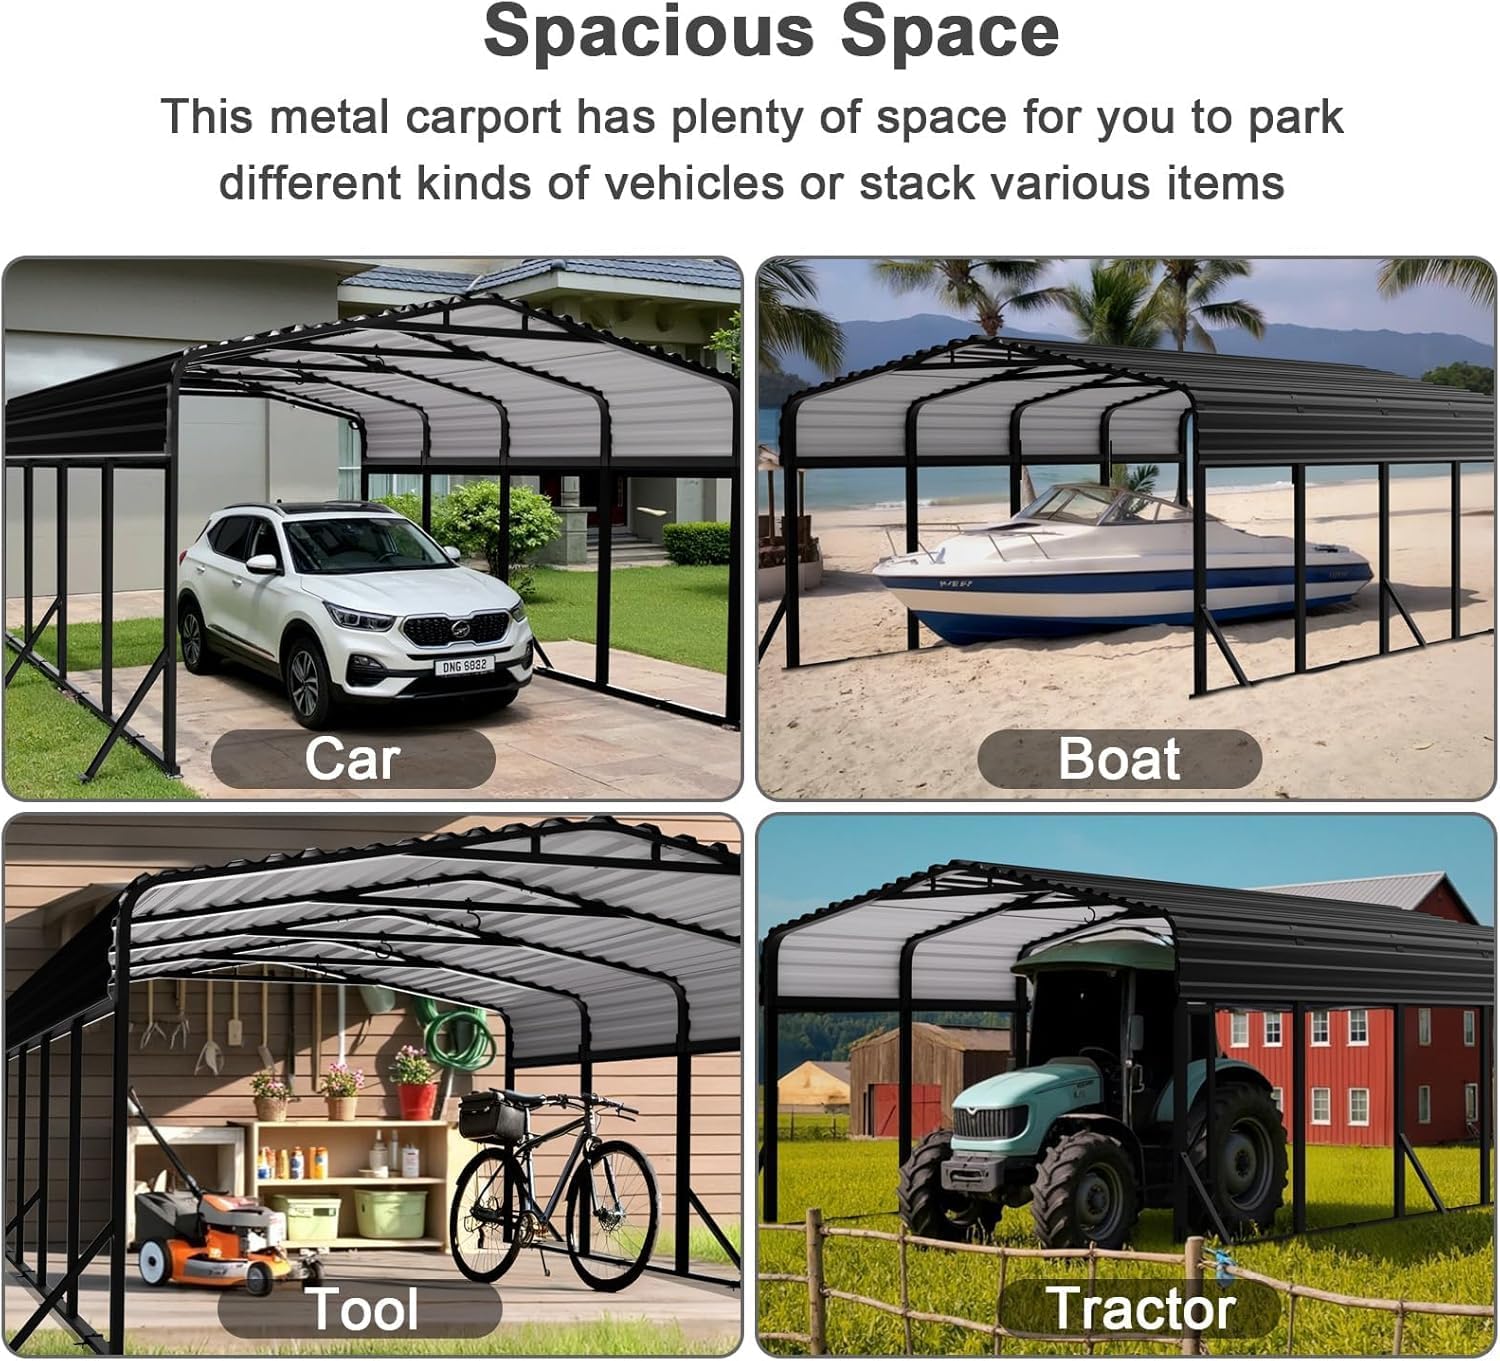
Image: Examples of the carport's spacious capacity for different items like cars, boats, tools, and tractors.

Image: Visual representation of the carport's year-round protection against various weather elements.
Maintenance
Regular maintenance will extend the lifespan and performance of your carport.
- Routine Inspection: Periodically check all bolts, nuts, and connections to ensure they are tight and secure. Tighten as needed.
- Clean Roof Panels: Keep the roof panels free of heavy debris, leaves, and excessive snow accumulation to prevent structural strain.
- Check Sealing Tape: Inspect the weather-resistant sealing tape for any signs of wear or damage and replace if necessary to maintain leak prevention.
- Corrosion Prevention: The galvanized steel frame and powder-coated canopy are designed for corrosion resistance. However, promptly address any scratches or damage to the coating to prevent rust.
- Ground Anchors: Ensure ground anchors remain firmly in place, especially after severe weather.

Image: Close-up of the anti-leak and safety design elements, including rubber strips, powder coating, and waterproof sealing tape.
Troubleshooting
Here are solutions to common issues you might encounter:
- Issue: Water Leakage from Roof.
Solution: Check the overlap of roof panels and ensure the high-density weather-resistant sealing tape is correctly applied and intact. Replace any damaged tape. Verify all roof panel fasteners are tight. - Issue: Carport Instability/Wobbling.
Solution: Ensure the carport is installed on a perfectly flat and level surface. Verify all frame connections are securely tightened. Check that all ground anchors or concrete screws are firmly installed and holding the base. - Issue: Difficulty during Assembly.
Solution: Double-check that all parts are correctly identified using the labels. Refer to the detailed instruction manual for step-by-step visual guidance. Ensure you have adequate assistance (recommended three adults). - Issue: Rust Spots Appearing.
Solution: While the carport is galvanized and powder-coated, prolonged exposure or damage can lead to rust. Clean the affected area, sand lightly, and apply a rust-inhibiting primer and paint to match the original finish.
Specifications
| Feature | Detail |
|---|---|
| Brand | Sylviera |
| Model Number | 12x20 Heavy Duty Carport |
| Product Dimensions | 235.99"L x 233"W x 106"H |
| Material | Metal Carport with Galvanized Steel Roof |
| Frame Material | Reinforced Metal Frame |
| Color | Black |
| Water Resistance Level | Water Resistant |
| Ultraviolet Light Protection | Yes |
| Assembly Required | Yes |
| Wind Load Capacity | 100 mph |
| Snow Load Capacity | 35 PSF |
| Roof Panel Thickness | 0.24mm Color Steel Tiles |
| UPC | 783430958409 |
| ASIN | B0F13HKNR4 |

Image: Visual representation of the carport's all-weather protection, highlighting its resistance to wind, UV, snow, and water.
Warranty & Support
For any questions regarding your Sylviera 12x20 FT Metal Carport, including assembly, parts, or performance, please refer to the contact information provided with your purchase documentation. While specific warranty details are not included in this manual, Sylviera is committed to customer satisfaction. Please retain your proof of purchase for any warranty claims or support inquiries.