
1. Introduction
This manual provides essential information for the proper setup, operation, and maintenance of your Emerson EVP-2503C LCD Projector with Built-In DVD Player. Please read this manual thoroughly before using the product to ensure optimal performance and safety. Keep this manual for future reference.

Figure 1: Front view of the Emerson EVP-2503C Projector.
2. What's in the Box
Verify that all items listed below are included in your package:
- Emerson EVP-2503C LCD Projector
- UL Approved Power Adaptor
- 100” Portable Projector Screen
- Carrying Bag
- User Manual (this document)
- Remote Control

Figure 2: The Emerson EVP-2503C Projector package includes a 100-inch portable screen and a carrying case for convenient transport and setup.
3. Setup
3.1 Power Connection
- Connect the UL Approved Power Adaptor to the projector's power input port.
- Plug the power adaptor into a standard electrical outlet.
- Press the power button on the projector or remote control to turn on the device.
3.2 Placement and Adjustment
Place the projector on a stable, flat surface. For optimal viewing, position the projector directly in front of your desired projection surface (wall or screen).
- Adjustable Foot: The projector features an adjustable foot on the bottom. Rotate this foot to slightly raise or lower the front of the projector to achieve the desired projection height.
- Focus Adjustment: Locate the focus ring around the projector lens. Rotate this ring until the projected image appears sharp and clear on the screen.
- Keystone Correction: If the projected image appears trapezoidal (wider at the top or bottom), use the keystone correction dial (usually located near the focus ring) to adjust the image until it is rectangular.
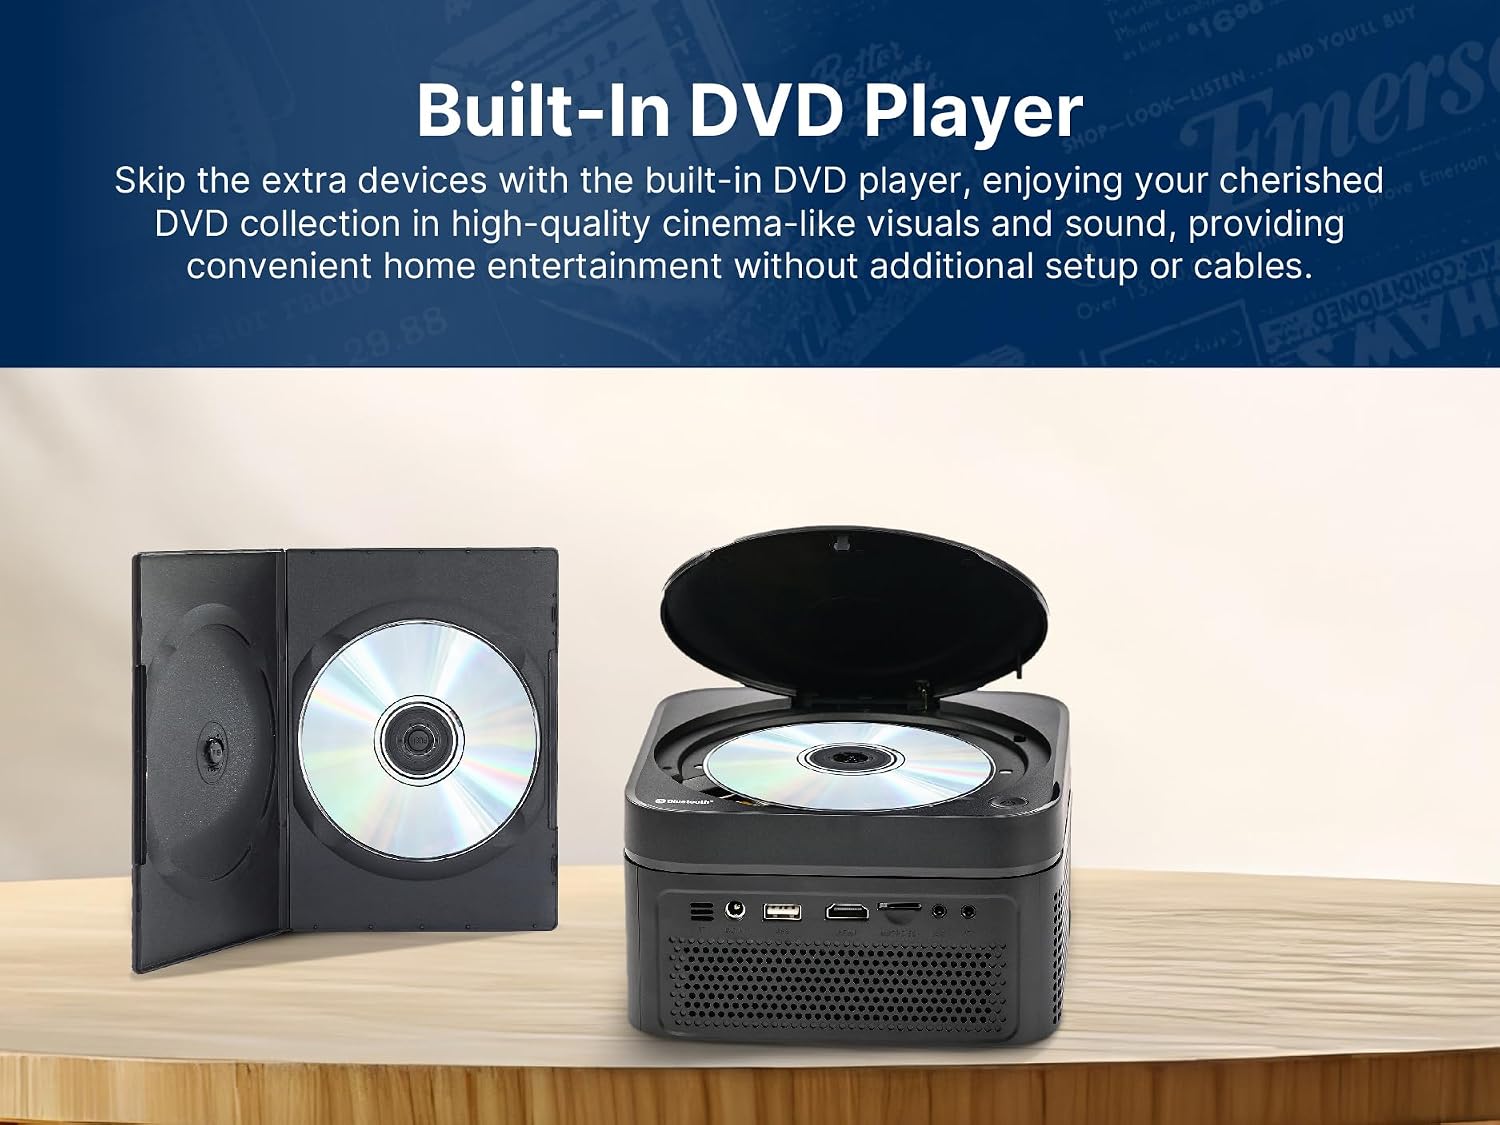
Figure 3: Adjust the focus and keystone dials for a clear and properly shaped image.
4. Operating Instructions
4.1 Built-In DVD Player
The projector features an integrated DVD player for direct playback of your DVD collection.
- Gently open the DVD player lid located on the top of the projector.
- Place a DVD disc onto the spindle, ensuring it is seated correctly with the label facing up.
- Close the DVD player lid. The projector will automatically detect the disc and begin playback.
- Use the remote control to navigate DVD menus, play, pause, skip chapters, and adjust volume.

Figure 4: The built-in DVD player allows for direct playback of your favorite movies.
4.2 Connecting External Devices
The projector supports various input sources for versatile media playback.
- HDMI: Connect a device such as a laptop, gaming console, or streaming stick (e.g., Amazon Fire Stick, Roku Streaming Stick, Google Chromecast) to the HDMI port using an HDMI cable. Select the corresponding HDMI input source using the remote control.
- USB: Insert a USB flash drive into the USB port to play compatible video, audio, or photo files. Navigate the media browser using the remote control.
- AV: Use an AV cable to connect older devices like VCRs or certain gaming consoles. Select the AV input source.

Figure 5: Rear view of the projector highlighting the various input ports for external devices.
4.3 Bluetooth Connectivity
Pair your projector with Bluetooth-enabled audio devices for an enhanced sound experience.
- Ensure your Bluetooth speaker or headphones are in pairing mode.
- On the projector's menu, navigate to the Bluetooth settings.
- Select your device from the list of available Bluetooth devices to pair.

Figure 6: Enjoy wireless audio by connecting Bluetooth headphones or speakers to the projector.
4.4 Remote Control
The included remote control provides full functionality for operating your projector. Insert two AAA batteries (not included) into the remote before use.
- Power: Turn the projector on/off.
- Source: Select input sources (HDMI, USB, AV, DVD).
- Menu/OK/Navigation: Access settings, confirm selections, and navigate menus.
- Volume: Adjust audio output level.
- Playback Controls: Play, pause, fast forward, rewind for media playback.
5. Features
5.1 Immersive Entertainment Experience
Transform any room into a home theater with crisp, vibrant visuals. The projector is ideal for sports, movies, TV shows, and gaming, delivering a large-screen experience.

Figure 7: The projector creates an immersive home theater experience.
5.2 Vivid 1080p HD Visuals
Experience high-definition visuals with native 1280 x 720 resolution. Advanced LCD technology ensures sharp, clear, and vibrant colors for an immersive viewing experience, whether watching movies, sports, or playing video games.

Figure 8: Stunning 1080p HD visuals with sharp clarity and vibrant colors.
5.3 Long-Lasting LED Bulb
The durable LED bulb offers up to 30,000 hours of usage, providing a cost-effective solution for long-term home entertainment without frequent replacements.
5.4 Multiple Input Options
Connect a wide range of devices with various input options, including HDMI, USB, and 3.5mm audio, ensuring compatibility with Blu-ray players, gaming consoles, and streaming sticks for an easy and versatile setup.
6. Specifications
| Feature | Description |
|---|---|
| Brand | Emerson |
| Model Number | EVP-2503C |
| Product Dimensions | 6.3 x 6.3 x 3.78 inches |
| Item Weight | 2.1 pounds |
| Display Resolution | 1280 x 720 |
| Connectivity Technology | Bluetooth |
| Special Feature | Built-In Speaker, Built-In DVD Player |
| Recommended Uses | Business, Education, Gaming, Home Cinema |
| Manufacturer | Naxa Electronics, Inc. |
7. Maintenance
7.1 Cleaning the Lens
To maintain optimal image clarity, regularly clean the projector lens.
- Use a soft, lint-free cloth or a lens cleaning wipe.
- Gently wipe the lens in a circular motion. Avoid using abrasive cleaners or excessive force.
7.2 Cleaning the Projector Body and Vents
Wipe the exterior of the projector with a soft, dry cloth. Ensure ventilation openings are clear of dust and debris to prevent overheating.
8. Troubleshooting
If you encounter issues with your projector, refer to the following common solutions:
- No Image: Check power connections, ensure the projector is turned on, and verify the correct input source is selected.
- Blurry Image: Adjust the focus ring until the image is sharp. Ensure the projection surface is flat and the projector is at an appropriate distance.
- No Sound: Check the volume settings on both the projector and the connected device. If using Bluetooth, ensure the device is properly paired.
- Remote Not Working: Replace the batteries in the remote control. Ensure there are no obstructions between the remote and the projector's IR receiver.
9. Product Video
Watch the official product video for a detailed 360-degree view of the Emerson EVP-2503C Projector.
Video 1: A 360-degree view of the Emerson EVP-2503C Projector, showcasing its design and features from all angles.
10. Warranty and Support
For warranty information, technical support, or service inquiries, please contact the manufacturer, Naxa Electronics, Inc. Refer to the product packaging or the official Emerson website for specific contact details and warranty terms.


