
1. Introduction
Thank you for choosing the Lamomo COB LED Strip Light. This manual provides essential information for the safe and efficient use of your product. Please read it thoroughly before installation and operation, and retain it for future reference.
This 2-meter warm white COB LED strip features high brightness, uniform illumination, and a flexible design. It comes with a remote control for dimming and dynamic lighting modes, making it suitable for various indoor and outdoor decorative applications.
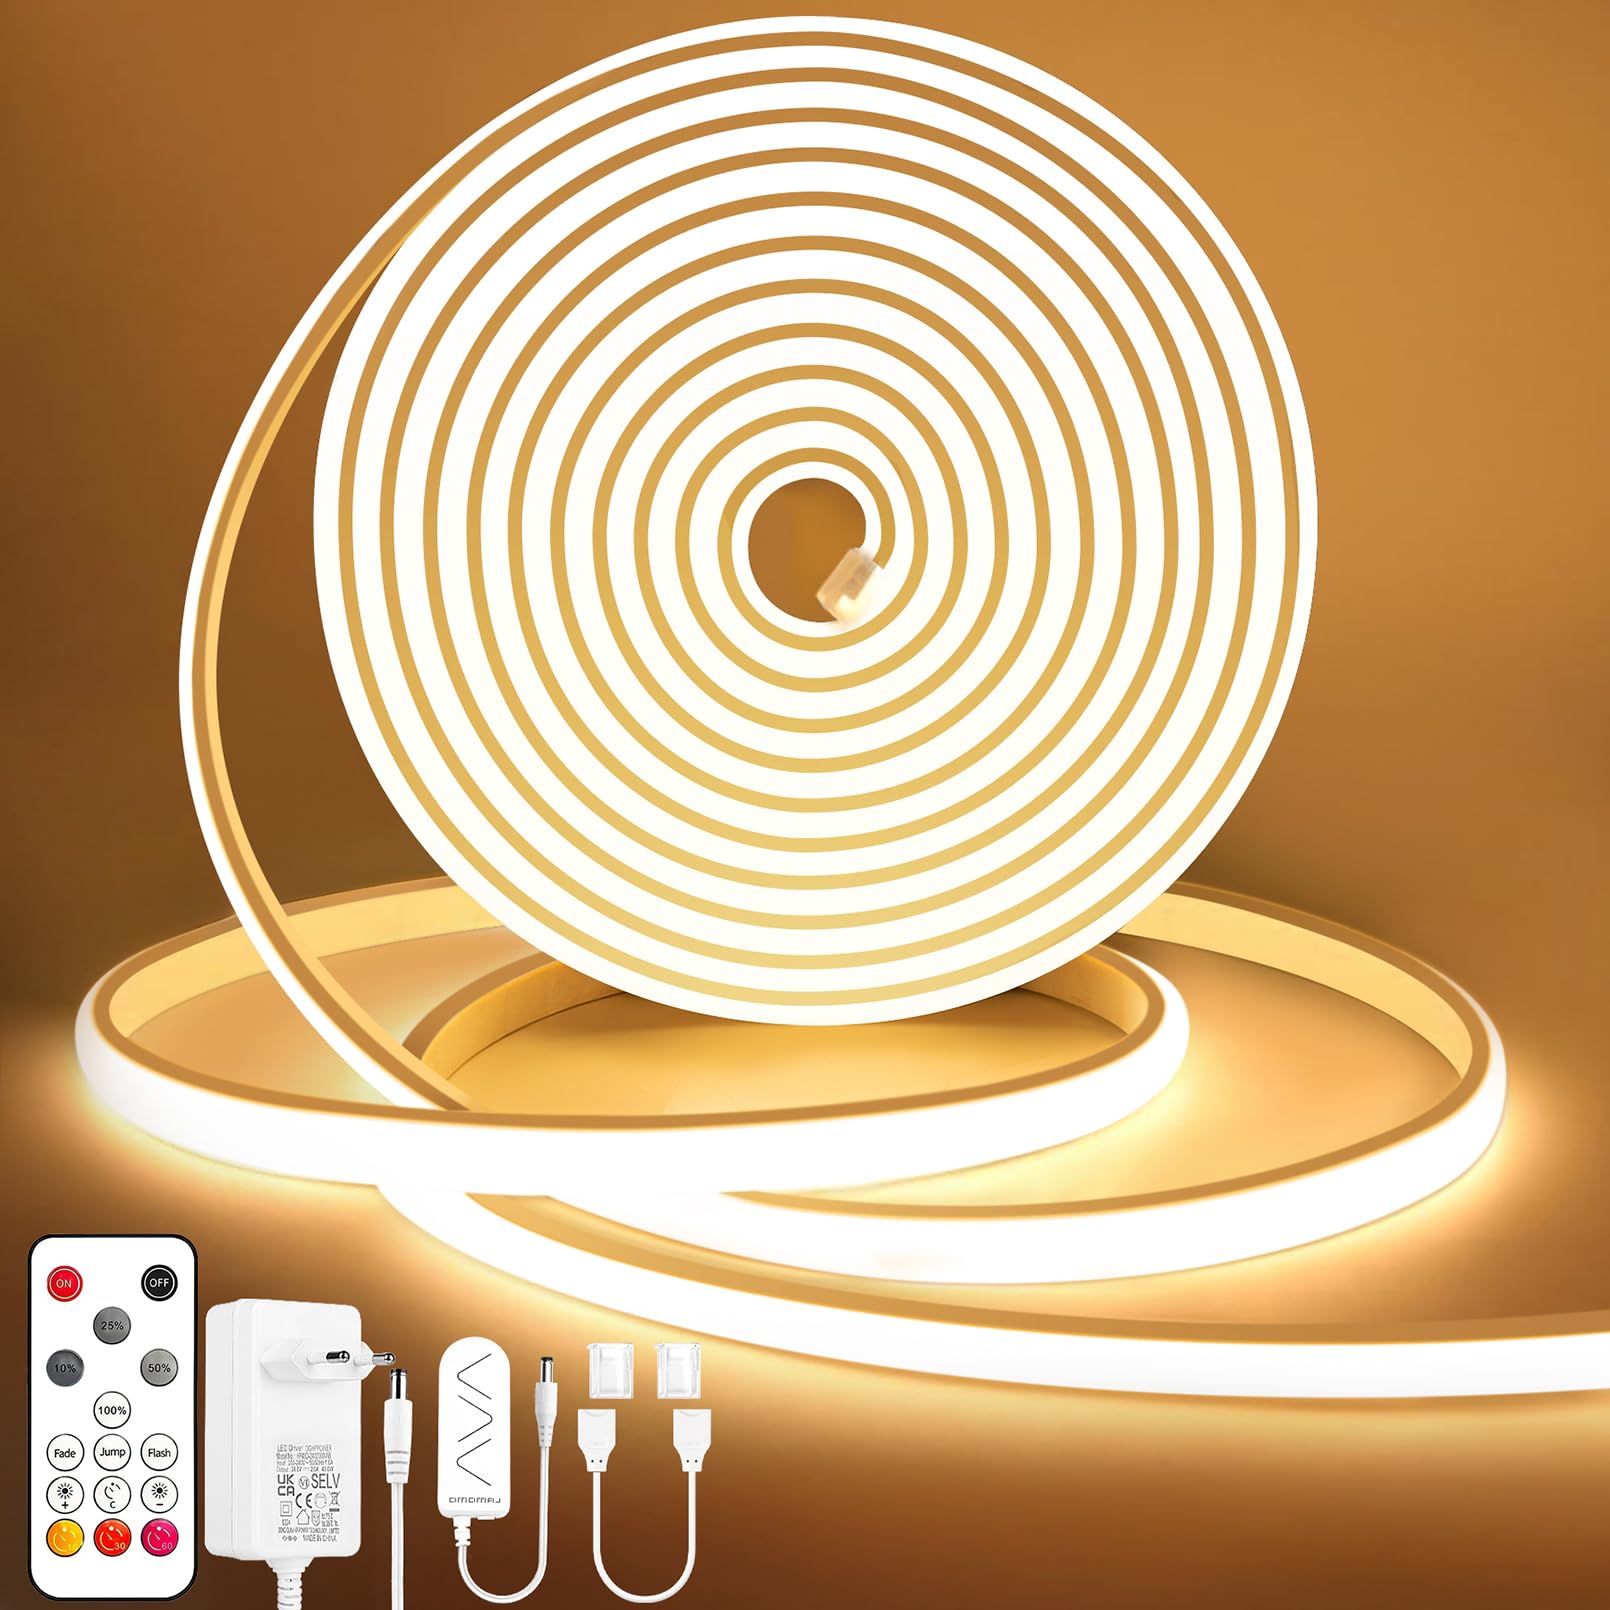
Image 1: Lamomo COB LED Strip Light, showing the strip and remote control.
2. Safety Information
- Ensure the power supply is disconnected before installation or maintenance.
- Only use the provided power adapter. Using an incompatible adapter may damage the product or pose a safety risk.
- The LED strip is IP65 waterproof, suitable for outdoor use in rain or snow. However, the power plug and controller are NOT waterproof and must be protected from moisture.
- Do not immerse the LED strip in water.
- Avoid bending the strip sharply at angles less than 180 degrees to prevent damage to the internal circuitry.
- Do not cover the LED strip with materials that could impede heat dissipation during operation.
- Keep out of reach of children.
3. Package Contents
Verify that all components are present in the package:
- 1 x Lamomo COB LED Strip (2 meters, Warm White)
- 1 x Remote Control
- 1 x Power Adapter (24V)
4. Specifications
| Feature | Specification |
|---|---|
| Model Number | 300D-WW-2M-DE |
| Brand | Lamomo |
| Light Color | Warm White |
| Color Temperature | 3000 Kelvin |
| LEDs per Meter | 320 |
| Total LEDs (2M) | 640 |
| Strip Width | 10 mm |
| Voltage | 24 Volts |
| Wattage | 36 Watts |
| IP Rating | IP65 (Strip only) |
| Material | Silicone |
| Control Method | Remote Control |
| Item Length | 200 Centimeters (2M) |

Image 2: Detail of the COB LED strip highlighting 3000K color temperature and 640 LEDs.
5. Setup and Installation
Follow these steps for proper installation:
- Prepare the Surface: Ensure the installation surface is clean, dry, and smooth. Dust, oil, or moisture can reduce the adhesive's effectiveness.
- Measure and Cut (Optional): If a shorter length is required, the LED strip can be cut at designated marks (usually indicated by a black line or scissor icon) every 5cm (1.96 inches). Only cut at these marks to avoid damaging the circuit.
- Apply the Strip: Peel off the protective backing from the self-adhesive tape on the back of the LED strip. Carefully press the strip onto the desired surface, ensuring firm contact along its entire length. The reinforced silicone casing allows for flexible bending up to 180 degrees to fit corners or curves.
- Connect Power: Connect the LED strip to the controller, then connect the controller to the 24V power adapter. Finally, plug the power adapter into a suitable electrical outlet.

Image 3: Instructions for cutting the LED strip at designated marks and utilizing the self-adhesive backing.
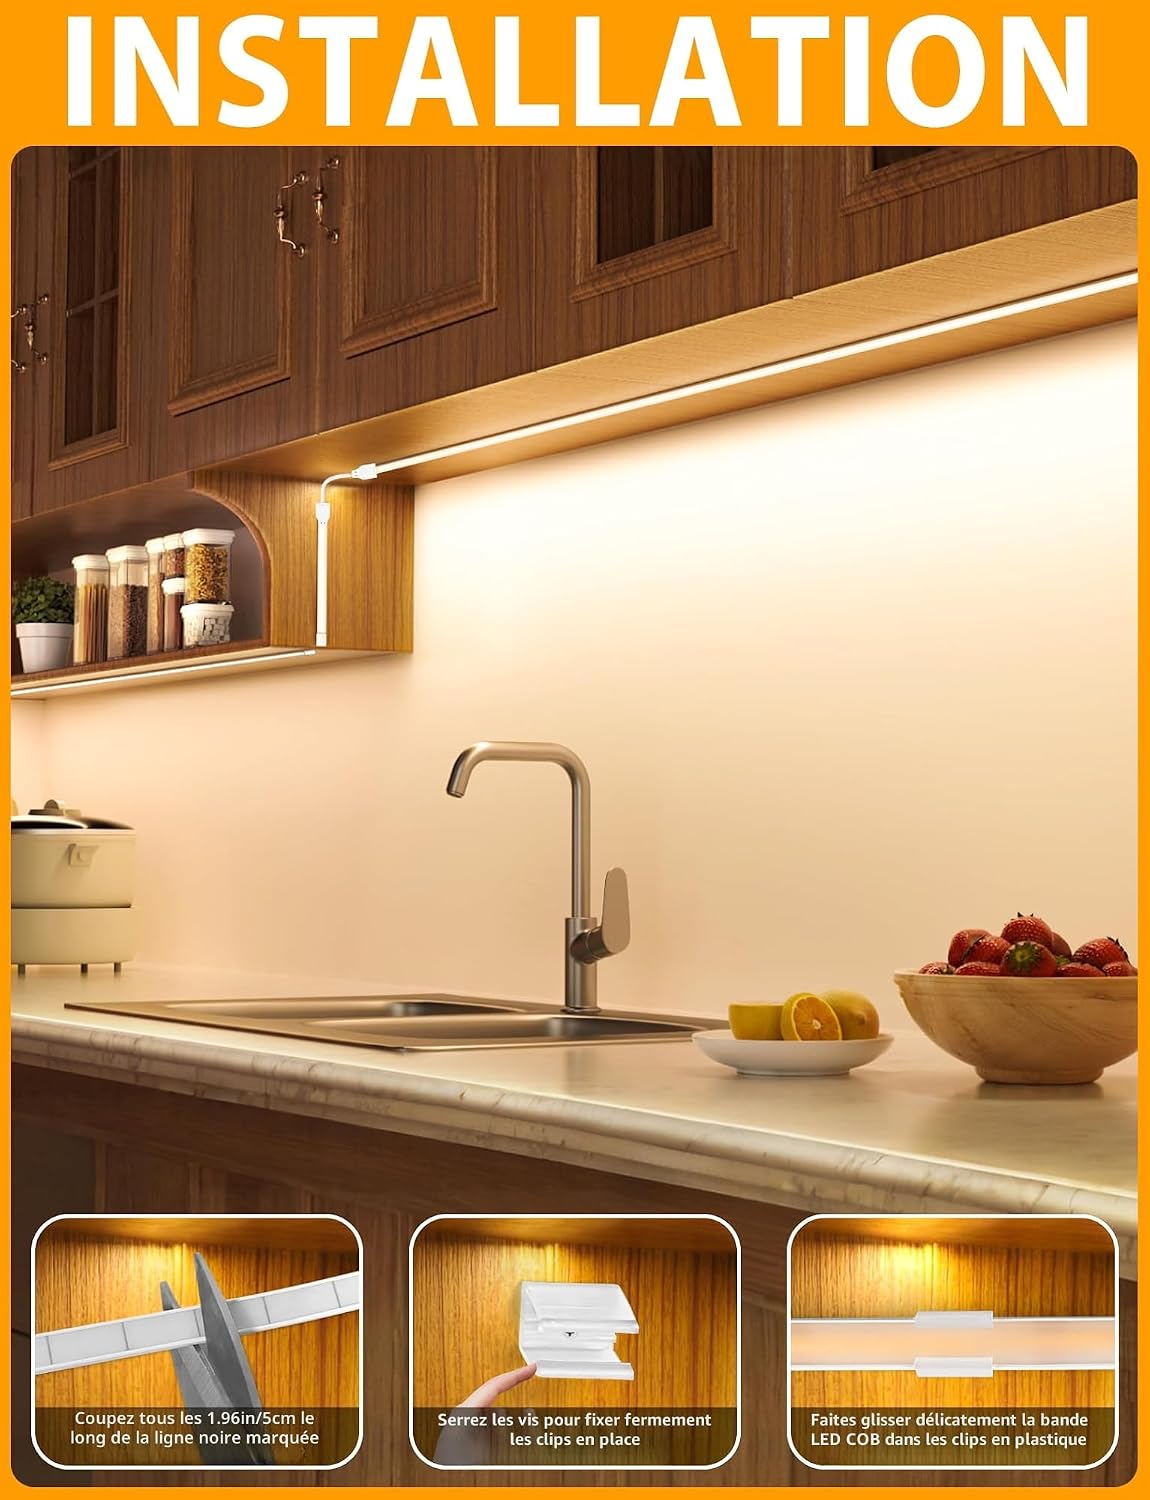
Image 4: Visual guide for installing the LED strip, including cutting and securing with clips (if applicable).
6. Operating Instructions
Use the included remote control to manage your LED strip light:
- Power On/Off: Press the ON or OFF button to turn the lights on or off.
- Brightness Adjustment: Use the +/- buttons or percentage buttons (10%, 25%, 50%, 75%, 100%) to adjust the brightness from 10% to 100%. The memory function will recall the last brightness setting when turned back on.
- Dynamic Modes: Select from three dynamic modes: Fade, Jump, or Flicker to create different lighting effects.
- Timer Function: The remote may include timer options (e.g., 10m, 30m, 60m) to automatically turn off the lights after a set period.

Image 5: Remote control illustrating brightness adjustment from 10% to 100%.

Image 6: The remote control's timer function, useful for setting automatic shut-off times.
7. Maintenance
- Cleaning: Disconnect power before cleaning. Wipe the LED strip with a soft, dry cloth. Do not use abrasive cleaners or solvents.
- Storage: If storing the LED strip for an extended period, ensure it is clean and dry. Store it in a cool, dry place away from direct sunlight.
- Inspection: Periodically check the strip and connections for any signs of damage or wear.
8. Troubleshooting
| Problem | Possible Cause | Solution |
|---|---|---|
| LED strip does not light up | No power, loose connection, faulty adapter. | Check power outlet, ensure all connections are secure. Test with another compatible 24V adapter if available. |
| Remote control not working | Battery depleted, remote out of range, IR sensor blocked. | Replace remote battery. Ensure remote is pointed at the receiver and there are no obstructions. |
| Lights flicker or dim unexpectedly | Unstable power supply, damaged strip section. | Ensure power supply is stable. Inspect the strip for physical damage. |
| Adhesive not holding | Surface not clean/dry, improper application. | Clean and dry the surface thoroughly before re-applying. Use additional mounting clips or stronger adhesive if necessary. |
9. Warranty and Support
Lamomo products are designed for quality and reliability. This product is covered by a standard manufacturer's warranty against defects in materials and workmanship. For specific warranty details, return policies, or technical support, please refer to the product listing on the retailer's website or contact Lamomo customer service directly.
Please have your model number (300D-WW-2M-DE) and purchase information ready when contacting support.
