Introduction
The Zoom H5studio Handy Recorder is a versatile audio recording device designed for filmmakers, musicians, and creators. It features 32-bit float recording for clip-free audio, dedicated gain knobs for precise control, and a large 19.4mm XY stereo microphone capsule for superior sound capture. This manual provides essential information for setting up, operating, maintaining, and troubleshooting your H5studio recorder.

Figure 1: Front view of the Zoom H5studio Handy Recorder with its large XY stereo microphone capsule.
Setup
Follow these steps to prepare your Zoom H5studio for use:
- Install Batteries: Open the battery compartment cover on the rear of the unit. Insert four AA batteries, ensuring correct polarity. Close the cover securely.

Figure 2: Rear view showing the battery compartment of the H5studio.
- Attach Microphone Capsule: Align the XY stereo microphone capsule with the input connector on top of the H5studio and push firmly until it clicks into place.
- Insert SD Card: Locate the SD card slot on the side of the unit. Insert a compatible SD card (up to 512GB) until it locks into place. Ensure the card is formatted by the H5studio before first use.
- Power On: Press and hold the power button until the display illuminates.
Operating Instructions
The H5studio offers advanced features for high-quality audio capture.
Basic Recording with XY Microphone
- Ensure the XY microphone capsule is securely attached.
- Adjust the dedicated gain knobs for the XY input (labeled "MIC") to set appropriate recording levels. The 32-bit float recording minimizes clipping, but optimal levels are still recommended.
- Press the REC button to start recording. The display will show recording time and levels.
- Press the STOP button to end recording.

Figure 3: Adjusting gain knobs for precise control over recording levels.
6-Track Simultaneous Recording
The H5studio supports up to 6 tracks of simultaneous recording, utilizing the XY microphone and two additional XLR/TRS combo inputs.
- Connect external microphones or line-level sources to the XLR/TRS combo jacks (Inputs 1 and 2) at the bottom of the unit.
- Activate the desired input channels by pressing their corresponding buttons (1, 2, MIC) below the display.
- Adjust individual gain knobs for each active input to achieve balanced levels.
- Press REC to begin multi-track recording.
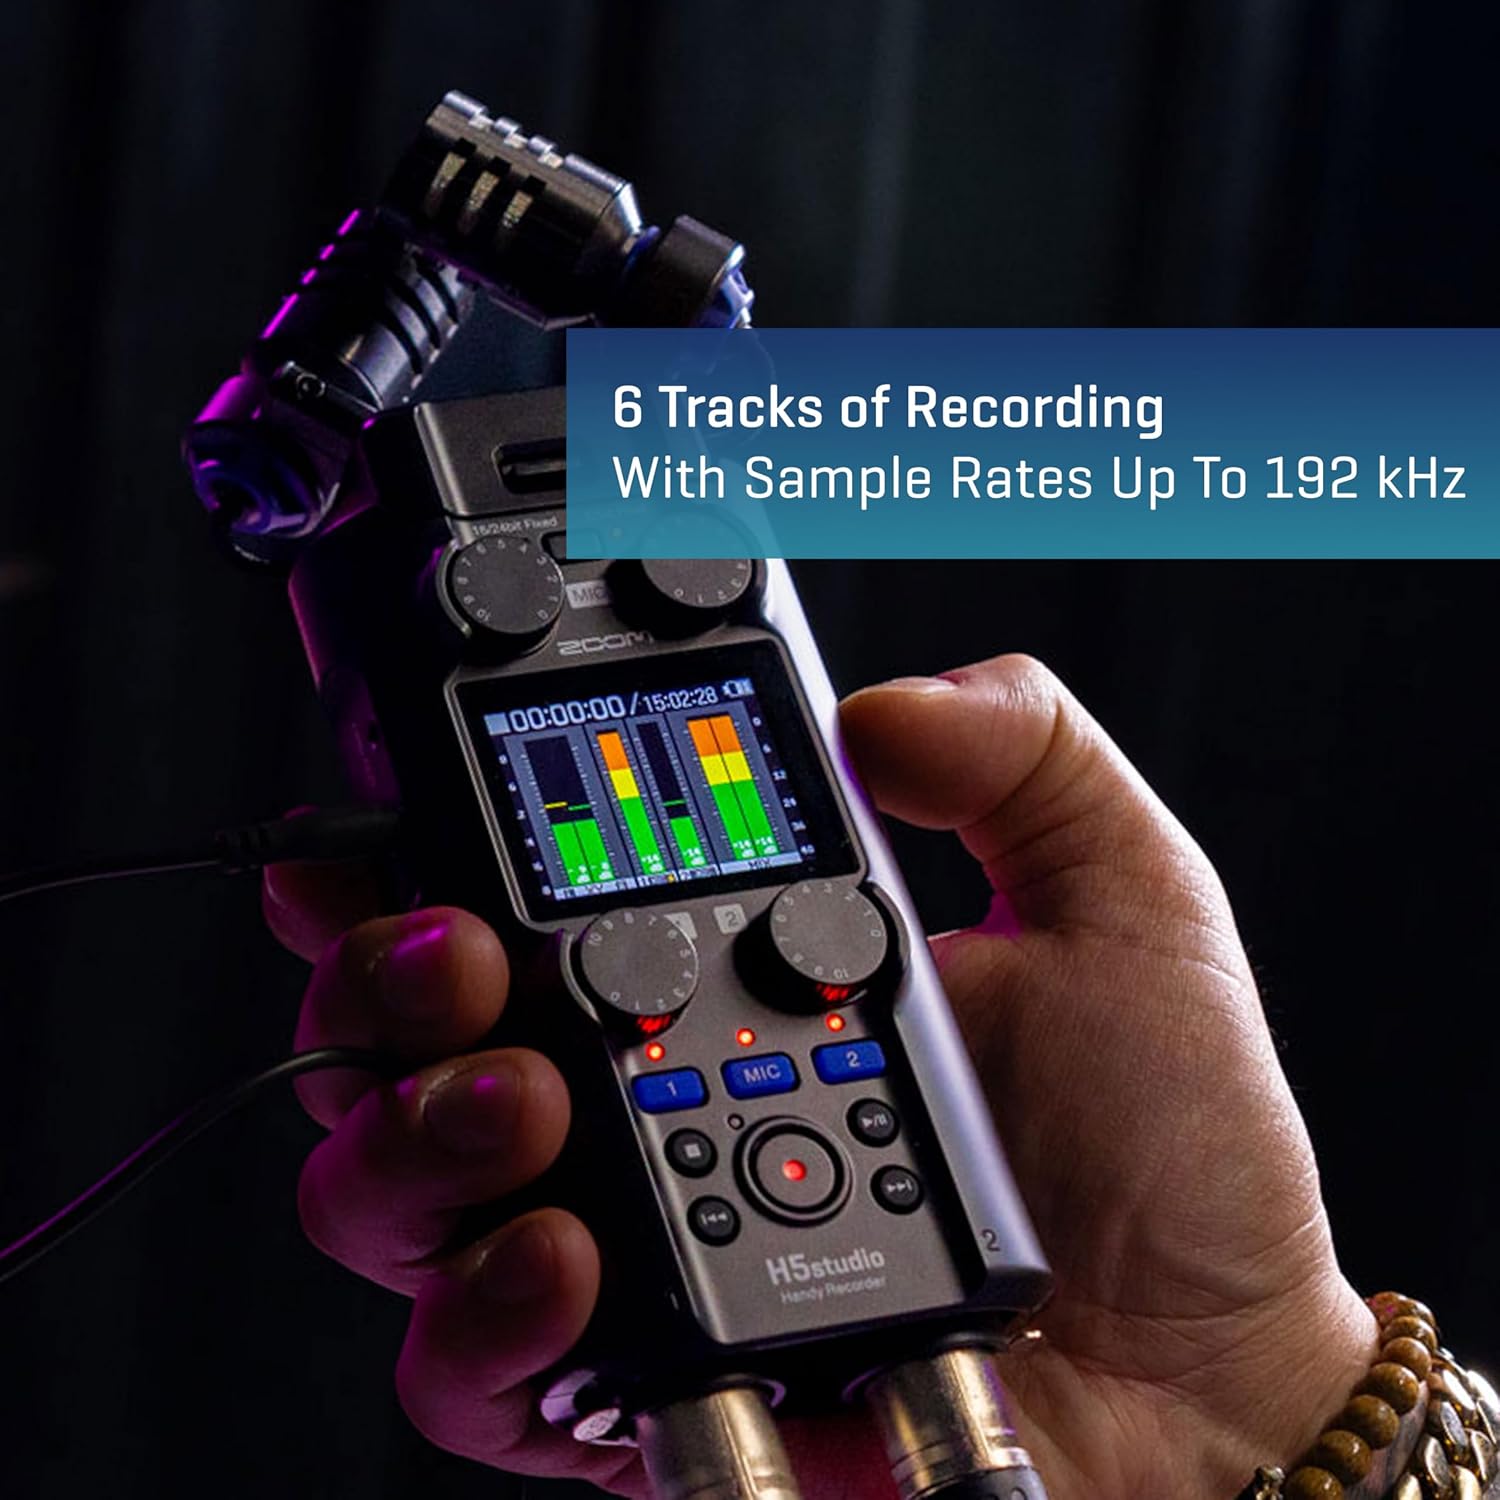
Figure 4: The H5studio is capable of recording up to 6 tracks simultaneously.
Using as a USB Audio Interface
Connect the H5studio to your computer via a USB-C cable to use it as a multi-channel audio interface for recording directly into your DAW or for live streaming.
- Connect the H5studio to your computer using a USB-C cable.
- Select "Audio Interface" mode on the H5studio when prompted.
- Configure your computer's audio settings or DAW to recognize the H5studio as the input/output device.

Figure 5: The H5studio can be integrated into various setups with different cables.
Monitoring and Playback
- Connect headphones to the 3.5mm headphone jack for real-time monitoring during recording or for playback.
- Use the volume control to adjust headphone output level.
- Navigate recorded files using the transport controls (Play, Stop, Fast Forward, Rewind) and the menu system.
Official Product Video: Audio Samples
Video 1: This video provides audio samples recorded with the Zoom H5studio Handy Recorder, demonstrating its sound capture capabilities in various environments. It showcases the quality of the XY microphone and 32-bit float recording.
Maintenance
Proper maintenance ensures the longevity and optimal performance of your H5studio:
- Cleaning: Use a soft, dry cloth to wipe the exterior of the unit. Do not use liquid cleaners or solvents. For the microphone capsule, use a soft brush to gently remove dust.
- Storage: Store the H5studio in a cool, dry place away from direct sunlight and extreme temperatures. If storing for extended periods, remove the batteries to prevent leakage.
- Battery Care: Always use fresh, high-quality AA batteries. If using rechargeable batteries, ensure they are fully charged before critical recording sessions.
Troubleshooting
If you encounter issues with your H5studio, refer to the following common solutions:
| Problem | Possible Cause | Solution |
|---|---|---|
| No power | Dead or incorrectly inserted batteries; power adapter issue. | Replace batteries, check polarity. Ensure power adapter is securely connected and functional. |
| No sound during recording/playback | Microphone not properly connected; input gain too low; headphones not connected or volume too low; incorrect input selection. | Ensure microphone capsule is firmly attached. Increase input gain. Check headphone connection and volume. Verify correct input channels are enabled. |
| Recording distorted or noisy | Input gain too high (though 32-bit float minimizes this, extreme levels can still cause issues); external interference. | Reduce input gain. Move away from sources of electromagnetic interference (e.g., mobile phones, power cables). |
| SD card error | Card not formatted; incompatible card; damaged card. | Format the SD card using the H5studio's menu. Use a compatible SDHC/SDXC card. Try a different SD card. |
For further assistance, please visit the official Zoom support website or consult the full digital manual available online.
Specifications
Key technical specifications for the Zoom H5studio Handy Recorder:
| Feature | Detail |
|---|---|
| Recording Format | WAV (32-bit float, 16/24-bit depth available) |
| Simultaneous Recording Tracks | 4 (up to 6 with optional modules) |
| Max Sampling Rate | 192kHz |
| Microphone Capsule | 19.4mm XY Stereo Microphone Capsule |
| Preamps | F-Series Preamps |
| Audio Interface | USB Audio Interface functionality |
| Power Source | 4 AA Batteries |
| Dimensions (L x W x H) | 9.1 x 9.1 x 9.1 inches |
| Item Weight | 1.06 pounds |
Warranty and Support
The Zoom H5studio Handy Recorder comes with a standard manufacturer's warranty. For detailed warranty information, product registration, and technical support, please visit the official Zoom website or their Amazon store page.


