
VINABTY NCLIUK-65OLED769
VINABTY Replacement Remote Control for Philips TV User Manual
Model: NCLIUK-65OLED769
1. Introduction
Thank you for choosing the VINABTY Replacement Remote Control. This remote is designed to provide seamless control for your compatible Philips TV, offering a direct replacement experience without the need for complex programming. This manual will guide you through the setup, operation, and maintenance of your new remote control.
Compatible Remote Control Models: 398GM10BEPHNE000SY, 398GM10BEPHNE000CR, SRC-3215-01
Compatible Philips TV Models include: PUS8359, PUS8319, PUS8949, OLED769, 48OLED769, 50PUS8319, 50PUS8359/12, 50PUS8949/12, 55OLED769, 55PUS8359/12, 55PUS8959/12, 65OLED769, 65OLED769/12, 65PUS8359/12, 85PUS8309, 996592304675, A136RF543B0001, PUS8919.
2. Product Overview
The VINABTY replacement remote control features an ergonomic design for comfortable handling and intuitive button layout for easy navigation of your Philips TV functions.
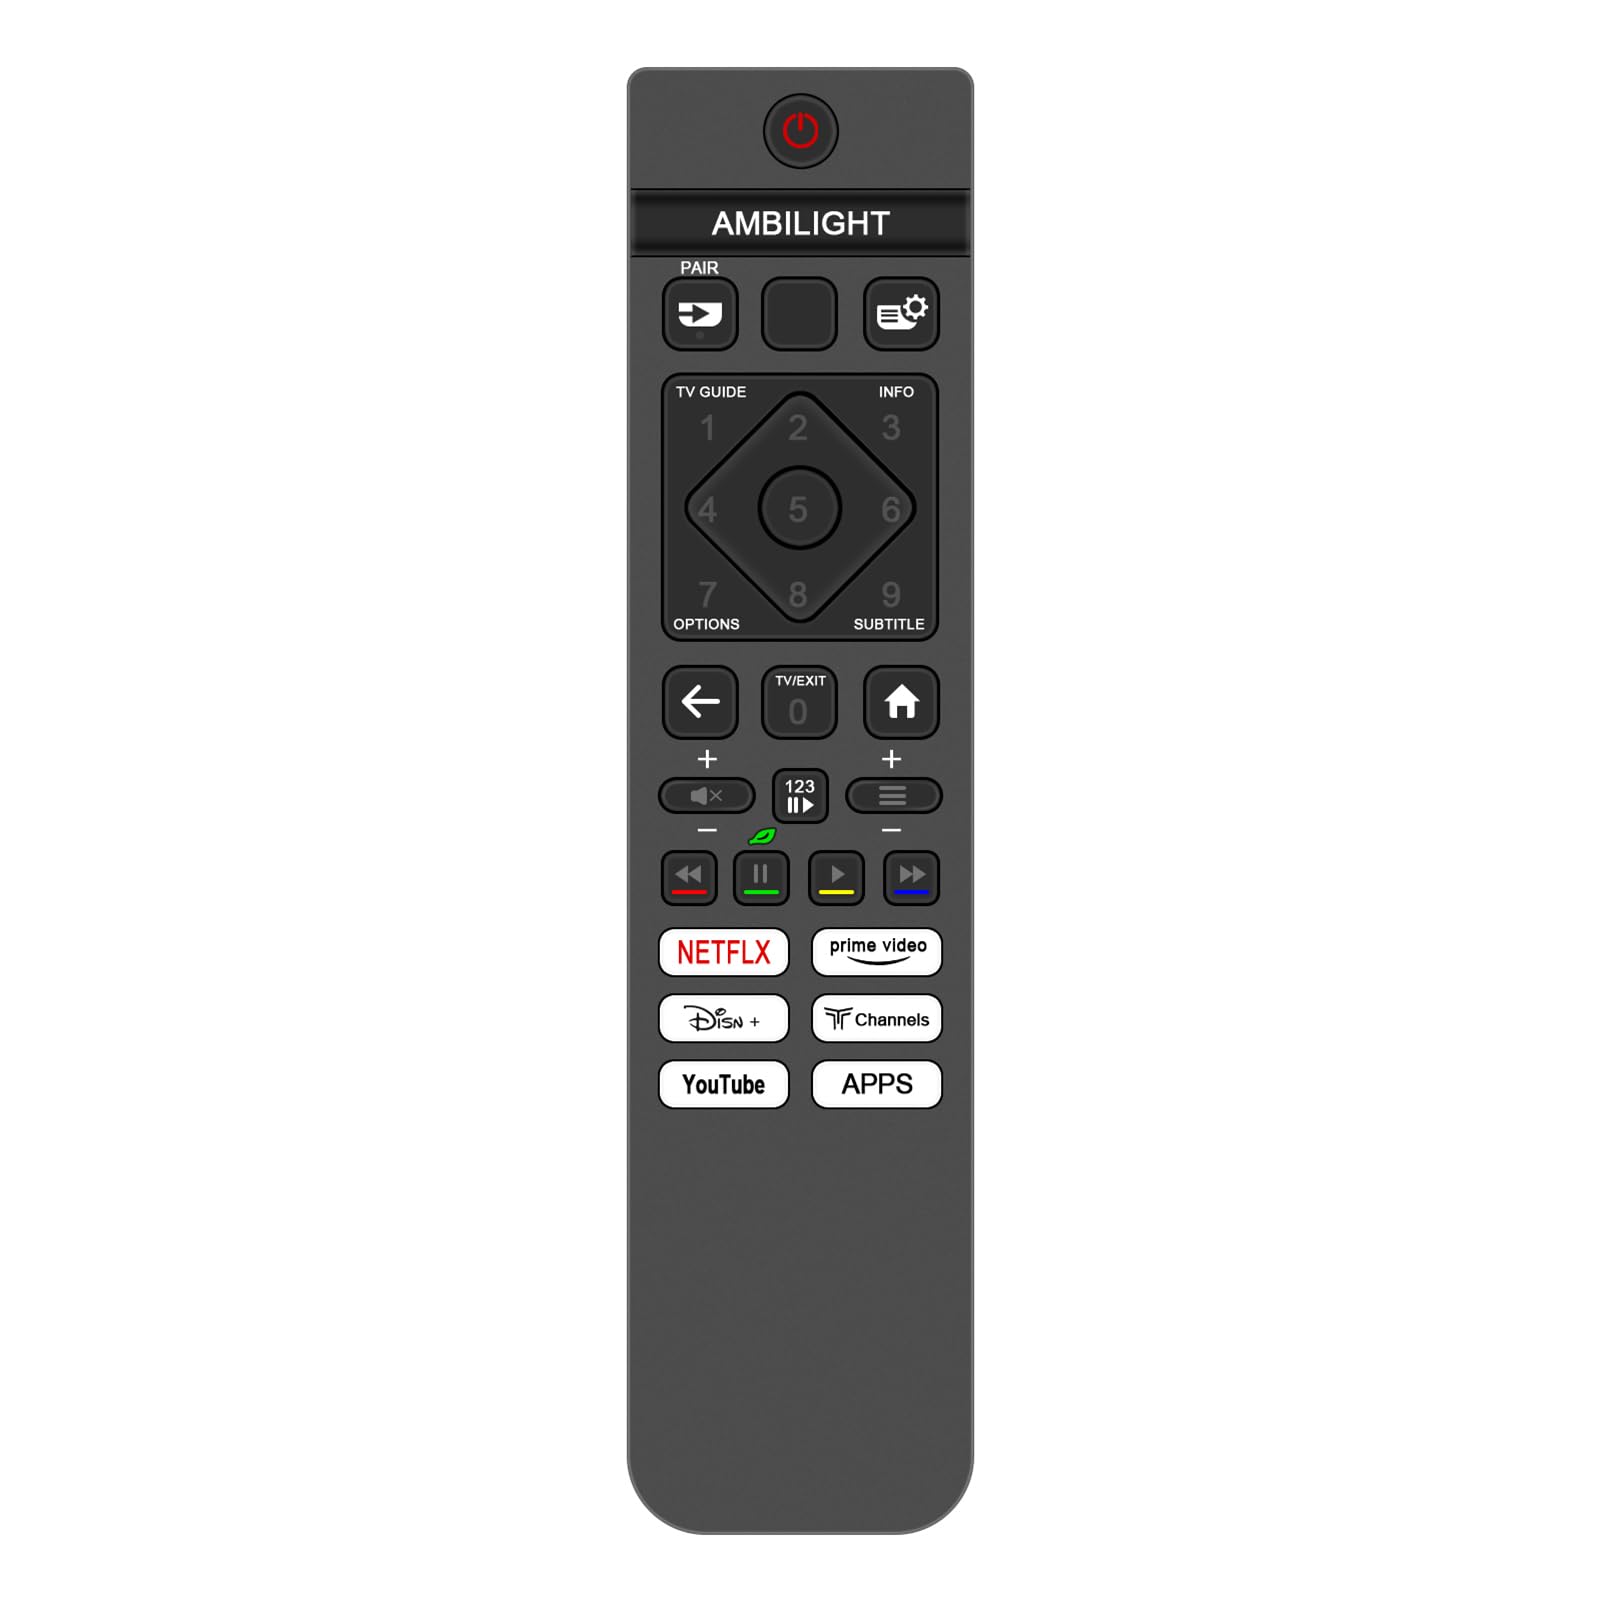
Figure 2.1: Front view of the VINABTY replacement remote control, showcasing its button layout and ergonomic shape.

Figure 2.2: Angled view of the remote control, highlighting the side profile and button arrangement.

Figure 2.3: Back view of the remote control with the battery compartment cover removed, showing the battery slots.

Figure 2.4: Image illustrating the physical dimensions of the remote control: approximately 19.2 cm (7.56 in) in length and 4.5 cm (1.77 in) in width.
3. Setup
This VINABTY replacement remote control requires no programming. Simply insert batteries, and it is ready for use with your compatible Philips TV.
- Open the Battery Compartment: Locate the battery compartment on the back of the remote control. Slide the cover downwards or press the latch to open it.
- Insert Batteries: Insert two AAA batteries (not included) into the compartment, ensuring the positive (+) and negative (-) terminals match the diagrams inside the compartment.
- Close the Battery Compartment: Replace the battery compartment cover, ensuring it clicks securely into place.
- Test the Remote: Point the remote control at your Philips TV and press the Power button. Your TV should respond.
4. Operating Instructions
The remote control operates using infrared technology and has a maximum range of 10 meters (approximately 33 feet). Ensure there are no obstructions between the remote and your TV's infrared receiver for optimal performance.
- Power On/Off: Press the Power button (usually red) to turn your TV on or off.
- Channel Navigation: Use the Channel Up/Down buttons to change channels.
- Volume Control: Use the Volume Up/Down buttons to adjust the sound level.
- Mute: Press the Mute button to silence the TV audio.
- Number Buttons: Use the numeric keypad (0-9) to directly enter channel numbers.
- Navigation Pad: Use the directional arrows (Up, Down, Left, Right) and the OK/Select button in the center to navigate menus and make selections.
- Smart TV/App Buttons: Dedicated buttons for services like Netflix, Prime Video, YouTube, and other Apps provide quick access to these platforms.
- TV Guide/Info: Access program guides and information with the respective buttons.
5. Maintenance
To ensure the longevity and optimal performance of your remote control, follow these maintenance guidelines:
- Cleaning: Wipe the remote control with a soft, dry cloth. For stubborn dirt, lightly dampen the cloth with water or a mild, non-abrasive cleaner. Avoid using harsh chemicals or solvents.
- Battery Replacement: Replace batteries when the remote's response becomes sluggish or stops working. Always replace both batteries at the same time with new ones of the same type.
- Storage: Store the remote in a cool, dry place away from direct sunlight and extreme temperatures. If the remote will not be used for an extended period, remove the batteries to prevent leakage.
- Avoid Drops: Protect the remote from physical impact, as drops can damage internal components.
6. Troubleshooting
If you encounter issues with your remote control, try the following troubleshooting steps:
- Remote Not Responding:
- Check if the batteries are inserted correctly with the correct polarity (+/-).
- Replace old batteries with new ones.
- Ensure there are no obstructions between the remote and the TV's infrared sensor.
- Make sure you are within the 10-meter operating range.
- Buttons Not Working:
- Clean the remote control surface, especially around the buttons, to remove any dirt or debris that might be preventing proper contact.
- If only specific buttons are not working, it might indicate internal damage.
- Intermittent Operation:
- This often indicates low battery power. Replace the batteries.
- Ensure no strong light sources (like direct sunlight or bright fluorescent lights) are interfering with the TV's IR receiver.
7. Specifications
| Brand | VINABTY |
| Model Number | NCLIUK-65OLED769 |
| Compatible Remote Models | 398GM10BEPHNE000SY, 398GM10BEPHNE000CR, SRC-3215-01 |
| Connectivity Technology | Infrared |
| Controller Type | Button Control |
| Maximum Range | 10 Meters (approx. 33 feet) |
| Special Features | Ergonomic design, No programming required |
| Compatible Devices | Philips Televisions (specific models listed in Introduction) |
| Color | Black |
| Item Weight | 0.05 Kilograms |
| Power Source | 2 x AAA Batteries (not included) |
8. Warranty and Support
For any questions, concerns, or support regarding your VINABTY replacement remote control, please refer to your purchase documentation or contact the retailer from whom you purchased the product. Specific warranty details may vary by region and retailer.
Please retain your proof of purchase for any warranty claims.
Ask a question about this manual
Ask about setup, troubleshooting, compatibility, parts, safety, or missing instructions. Manuals+ will review the question and use this page’s manual context to help answer it.