1. Important Safety Instructions
Please read all instructions carefully before operating the machine. Retain this manual for future reference.
- Ensure the machine is connected to a grounded power outlet with the correct voltage (2400W).
- Do not immerse the machine, power cord, or plug in water or other liquids.
- Keep hands and utensils out of the mixing chamber during operation to prevent injury.
- Always unplug the machine before cleaning or performing maintenance.
- Do not operate the machine with a damaged cord or plug. Contact customer support for repairs.
- This appliance is not intended for use by persons with reduced physical, sensory, or mental capabilities, or lack of experience and knowledge, unless they have been given supervision or instruction.
- Use only manufacturer-recommended attachments and accessories.
- Place the machine on a stable, level surface with adequate ventilation.
2. Product Overview
2.1 Machine Components
Familiarize yourself with the main parts of your CooFel Commercial Hard Serve Ice Cream Machine.

Image 2.1: Front view of the CooFel Commercial Hard Serve Ice Cream Machine, showcasing the stainless steel exterior, digital control panel, and dispensing port.

Image 2.2: Detailed view highlighting key components: Drip Tray, Multi-vent Cooling system, Discharge Port, and four Casters for mobility.
2.2 Key Features
- High Productivity: Produces 20-25 liters (5.3-6.6 gallons) of hard-serve ice cream per hour.
- Rapid Production: Equipped with a powerful compressor for quick cooling and pre-cooling, achieving ice cream in approximately 18 minutes.
- Optimal Texture: Features an 8-liter (2.1-gallon) cooling cylinder, advanced puffing technology, and a fast-rotating triple mixer for a creamy, silky texture.
- User-Friendly Digital Control: Intuitive digital panel for setting automatic cooling, one-click cleaning, and adjusting time settings. Monitors production time and quantity.
- Durable Construction: Made from high-quality SUS304 stainless steel for rust resistance, longevity, and food safety.
- Versatile Application: Suitable for various commercial settings such as ice cream shops, cafes, drink bars, and snack stalls.
3. Setup and Installation
3.1 Unpacking
- Carefully remove the machine from its packaging.
- Inspect the machine for any signs of damage during transit. If damage is found, contact your supplier immediately.
- Remove all packing materials, including any protective films or tapes.
3.2 Placement
- Place the ice cream machine on a flat, stable, and sturdy surface capable of supporting its weight.
- Ensure there is adequate space around the machine (at least 15 cm or 6 inches) for proper ventilation, especially around the multi-vent cooling areas.
- Avoid placing the machine near heat sources or in direct sunlight.
- The ambient operating temperature should be between 5°C and 38°C (41°F and 100.4°F).
3.3 Initial Cleaning
Before first use, thoroughly clean all parts that will come into contact with food.
- Refer to the "Maintenance" section for detailed cleaning instructions.
- Perform a full cleaning cycle, including the mixing cylinder and dispensing components.
- Rinse all parts with clean water and ensure they are completely dry before assembly.
4. Operating Instructions
4.1 Preparation
- Ensure the machine is clean and all components are correctly assembled.
- Prepare your ice cream mix according to your recipe. Ensure the mix is chilled to refrigeration temperature (typically 2-4°C or 35-40°F) for optimal results.
- Pour the prepared ice cream mix into the hopper. The 8-liter cylinder can hold a significant volume, but do not overfill.

Image 4.1: Demonstrates pouring liquid ice cream mix into the machine's top hopper, which feeds into the freezing cylinder.
4.2 Making Ice Cream
- Plug the machine into a suitable power outlet.
- Press the START button on the digital control panel to begin the freezing process.
- The machine will automatically mix and freeze the ice cream. The digital display will show the progress or remaining time.
- Production typically takes around 18 minutes for the first batch. Subsequent batches may be faster due to pre-cooling.
- Once the ice cream reaches the desired hardness, the machine will indicate completion.
- To dispense, place a container under the discharge port and operate the dispensing lever.
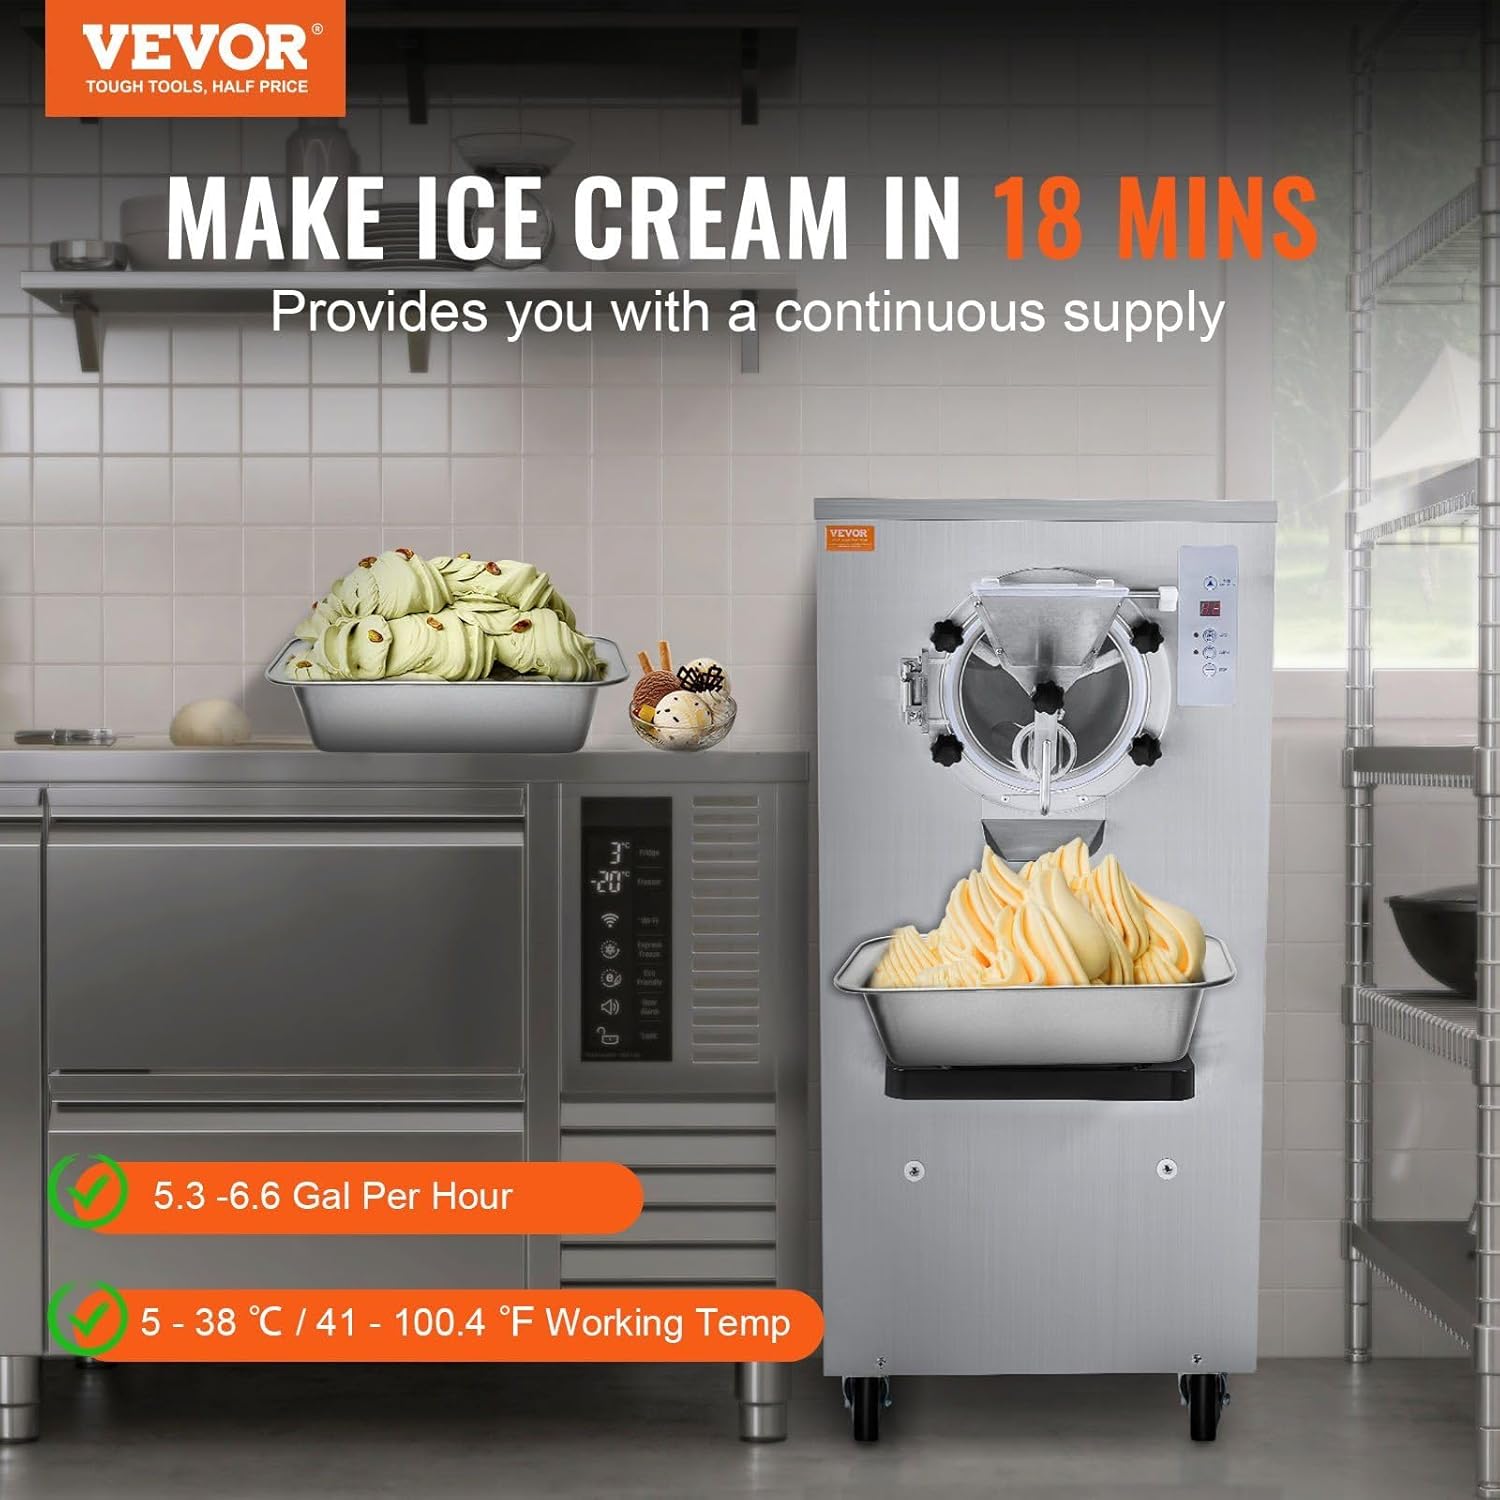
Image 4.2: Illustrates the machine actively producing and dispensing hard-serve ice cream into a tray, highlighting its capacity and output.
4.3 Digital Control Panel
The digital control panel provides intuitive control over the machine's functions.

Image 4.3: Close-up of the digital display screen and control buttons, including Time Enactment, Auto, Clean, and Stop functions.
- Display Screen: Shows production time, remaining quantity, and operational status.
- Time Enactment: Adjusts the operational time settings.
- AUTO: Initiates the automatic freezing cycle.
- CLEAN: Activates the one-click automatic cleaning function.
- STOP: Halts all operations.
5. Maintenance
Regular cleaning and maintenance are crucial for the longevity and hygienic operation of your ice cream machine.
5.1 Daily Cleaning (Auto Clean)
The machine features a convenient one-click auto-clean function.
- After dispensing all ice cream, ensure the mixing cylinder is empty.
- Pour approximately 2-3 liters of warm water (not hot) into the hopper. A small amount of food-grade sanitizer can be added if desired.
- Press the CLEAN button on the digital control panel. The machine will agitate the water inside the cylinder.
- Allow the cleaning cycle to run for 5-10 minutes.
- Dispense the cleaning solution through the discharge port into a suitable waste container.
- Repeat with clean water for rinsing until the dispensed water is clear.

Image 5.1: Diagram illustrating the internal components made of SUS304 stainless steel (hopper and body material) and the one-click cleaning process.
5.2 Thorough Cleaning
Periodically, a more thorough manual cleaning is recommended.
- Unplug the machine from the power outlet.
- Disassemble the front panel, mixing paddle, and any other removable parts that come into contact with food.
- Wash all disassembled parts with warm, soapy water using a soft brush or sponge.
- Rinse thoroughly with clean water and allow to air dry completely.
- Clean the exterior of the machine with a damp cloth. Do not use abrasive cleaners or immerse the main unit in water.
- Reassemble all parts once dry, ensuring they are correctly seated.
5.3 Storage
- If storing the machine for an extended period, ensure it is thoroughly cleaned and dry.
- Store in a cool, dry place, away from direct sunlight and extreme temperatures.
- Cover the machine to protect it from dust.
6. Troubleshooting
Refer to the table below for common issues and their potential solutions.
| Problem | Possible Cause | Solution |
|---|---|---|
| Machine does not turn on | No power supply; Power cord not properly connected; Fuse blown. | Check power outlet; Ensure cord is securely plugged in; Check circuit breaker/fuse. |
| Ice cream is too soft/not freezing | Mix not cold enough; Ambient temperature too high; Insufficient freezing time; Refrigerant leak. | Pre-chill mix thoroughly; Ensure proper ventilation; Increase freezing time; Contact service technician. |
| Ice cream is too hard | Freezing time too long; Hardness setting too high. | Reduce freezing time; Adjust hardness setting on the control panel. |
| Machine is noisy during operation | Loose components; Machine not level; Motor issue. | Check for loose parts and tighten; Ensure machine is on a level surface; Contact service technician if noise persists. |
| Leaking from dispensing port | Seal/gasket worn or improperly installed; Dispensing valve not fully closed. | Inspect and replace seals/gaskets if necessary; Ensure dispensing valve is fully closed after use. |
7. Specifications
| Feature | Detail |
|---|---|
| Brand | CooFel |
| Model Number | CooFel-DAI-11 |
| Power | 2400W |
| Yield | 20-25 L/H (5.3-6.6 gal/H) |
| Cooling Cylinder Capacity | 8 L (2.1 gal) |
| Material | SUS304 Stainless Steel |
| Control Panel | Digital Display |
| Cleaning Feature | One-Click Auto Clean |
| First Available | March 10, 2025 |
8. Warranty and Customer Support
For warranty information, technical support, or service inquiries, please contact your retailer or the manufacturer directly. Keep your purchase receipt as proof of purchase.
Please refer to the contact information provided at the time of purchase or on the manufacturer's official website for the most up-to-date support details.


