
Important Safety Information
Please read all safety warnings and instructions carefully before assembly and use. Failure to follow these instructions may result in injury or damage to the product.
- Always secure the cabinet to the wall using the included anti-tip kit to prevent tipping. This is crucial for safety, especially in households with children or pets.
- Keep the area around the cabinet clear of obstacles to prevent accidents.
- Do not allow children or pets to play near or on the cabinet.
- Do not overload the cabinet. The maximum weight limit is 66 pounds.
- Ensure all screws and fasteners are tightened securely during assembly and periodically check for tightness.

Figure 1: Anti-Tipping Design. This image illustrates the anti-tipping hardware included with the cabinet, designed to secure it to a wall for stability and safety.
Product Overview
The HOMCOM Shoe Storage Cabinet is designed to organize footwear efficiently in entryways or hallways. It features two flip drawers with adjustable dividers and a farmhouse-style aesthetic.
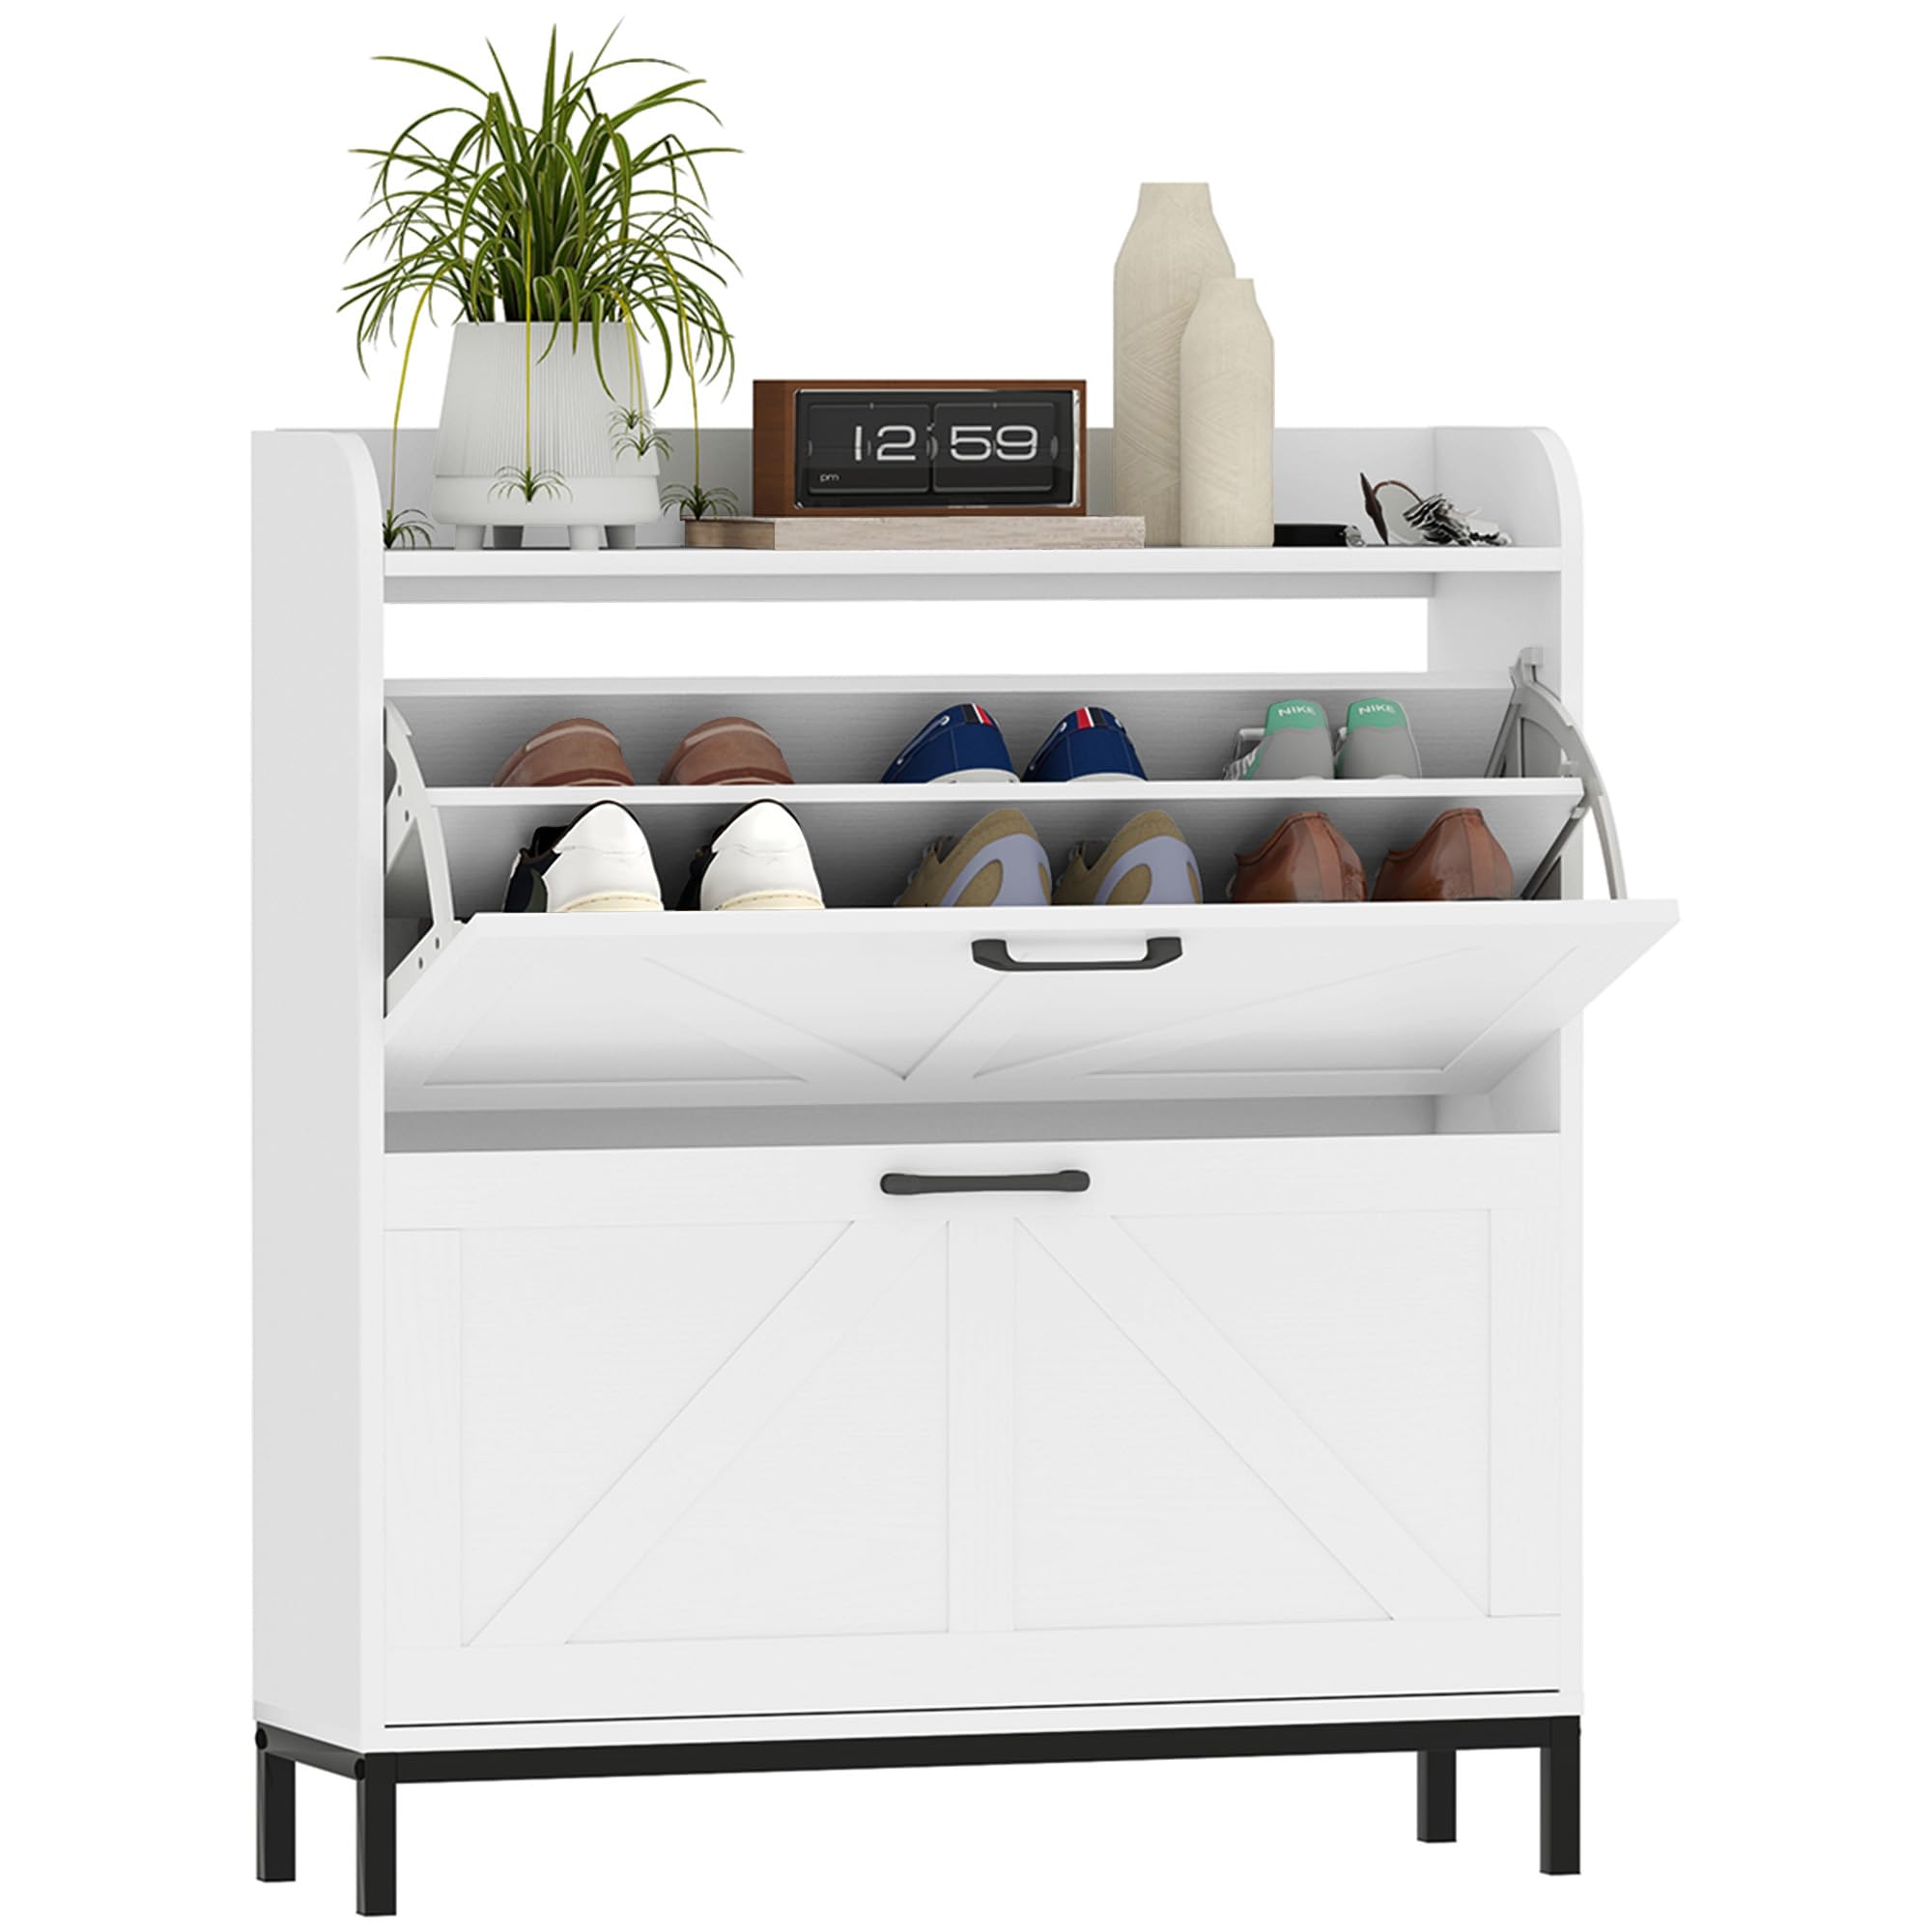
Figure 2: Product Front View. This image displays the overall appearance of the shoe cabinet, highlighting its two flip drawers and elevated design.

Figure 3: Product Dimensions. This diagram provides the width, depth, and height measurements of the shoe cabinet for planning placement.
Assembly Instructions
Assembly is required for this product. Please follow the detailed instructions provided in the included manual. A screwdriver is required for assembly. It is recommended to assemble the unit on a soft, clean surface to prevent scratches.
General Assembly Steps:
- Unpack Components: Carefully unpack all parts and hardware. Verify that all components listed in the parts list are present and undamaged.
- Identify Parts: Refer to the assembly diagram in your manual to identify each part.
- Assemble Frame: Begin by assembling the main frame of the cabinet according to the step-by-step diagrams. Ensure all connections are secure.
- Install Drawers: Assemble the two flip drawers and install them into the cabinet frame. Pay attention to the orientation of the drawer mechanisms.
- Attach Legs: Securely attach the steel legs to the base of the cabinet.
- Install Anti-Tip Kit: Crucially, install the anti-tip kit to a sturdy wall stud or appropriate anchor point as per the instructions. This prevents the cabinet from tipping over.
Note: Some users have found assembly challenging due to diagram-only instructions. Take your time and carefully review each step before proceeding.
Operating Instructions
Using the Flip Drawers:
- To open a drawer, gently pull the handle outwards. The drawer will flip down, revealing the shoe compartments.
- To close, push the drawer upwards until it clicks securely into place.

Figure 4: Open Flip Drawers. This image demonstrates the cabinet with its two flip drawers open, showcasing the internal storage capacity for shoes.
Adjusting Dividers for Shoe Storage:
Each flip drawer features an adjustable and removable divider, allowing for flexible storage of various shoe types and sizes.
- Adjusting Height: The divider can be moved to different slots to accommodate shoes of varying heights, such as flats, sneakers, or low heels.
- Removing Divider: For taller footwear like ankle boots or high heels, the divider can be completely removed to create a larger single compartment.
- The cabinet can hold up to 12 pairs of shoes (maximum size 10) when dividers are optimally used.

Figure 5: Adjustable Dividers. This image highlights the customizable storage feature, showing how dividers can be adjusted or removed to fit different shoe sizes and types.
Top Surface Usage:
The top surface of the cabinet is designed with raised edges to prevent items from accidentally falling off. It can be used to display small decorative items, keys, or other entryway essentials.

Figure 6: Raised Edges on Top Surface. This image details the design of the cabinet's top, featuring a raised lip to secure items placed on it.
Maintenance and Care
- Cleaning: The cabinet is made with a smooth melamine finish, making it easy to clean. Wipe surfaces with a soft, damp cloth. Avoid abrasive cleaners or harsh chemicals that could damage the finish.
- Spills: Wipe up spills immediately to prevent staining or damage to the engineered wood material.
- Hardware Check: Periodically check all screws and fasteners to ensure they remain tight. Re-tighten if necessary to maintain stability.
- Avoid Direct Sunlight: Prolonged exposure to direct sunlight may cause fading or discoloration of the finish.
- Humidity Control: Maintain a stable humidity level in the room to prevent warping or cracking of the wood material.
Troubleshooting
Common Issues and Solutions:
- Difficulty during Assembly:
- Review the assembly diagrams carefully. Ensure parts are oriented correctly before tightening screws.
- Do not overtighten screws, as this can strip the wood or damage components.
- If a piece seems not to fit, double-check the part number and orientation against the manual.
- Cabinet Wobbles:
- Ensure all assembly screws are fully tightened.
- Verify that the cabinet is placed on a level surface.
- Confirm the anti-tip kit is properly installed and secured to the wall.
- Drawers Not Closing Properly:
- Check for any obstructions inside the drawer or along the mechanism.
- Ensure shoes are not overfilling the drawer, preventing it from closing.
- Verify that the drawer slides or hinges were installed correctly during assembly.
Specifications
| Feature | Detail |
|---|---|
| Brand | HOMCOM |
| Model Number | 837-555V80WT |
| Product Dimensions (W x D x H) | 29.5 inches x 9.4 inches x 37 inches |
| Color | White Wood Grain |
| Material | Engineered Wood (Melamine Faced), Alloy Steel (Handles), Steel (Legs) |
| Weight Limit | 66 Pounds |
| Number of Flip Drawers | 2 |
| Storage Capacity | Up to 12 pairs of shoes (max size 10) |
| Special Features | Anti-Tipping, Barn Door Style, Scratch Resistant, Raised Edges on Top |
| Assembly Required | Yes |
Warranty and Support
Warranty Information: For details regarding the product warranty, please refer to the documentation included with your purchase or contact the retailer where the product was purchased. Warranty terms may vary by region and retailer.
Customer Support: If you encounter any issues or have questions not covered in this manual, please contact the retailer or the manufacturer, HOMCOM, directly. Contact information can typically be found on the product packaging or the retailer's website.