
1. Product Overview
The Coleman Beach Shade Canopy Tent provides portable sun protection and privacy for various outdoor activities. Designed for quick setup, it features UVGuard material for UPF 50+ sun protection, an extended floor that zips up for privacy, and a rear window for ventilation. It is suitable for use at the beach, park, yard, or picnics.

Image 1.1: The Coleman Beach Shade Canopy Tent providing shade on a sunny beach.
2. Included Components
Verify that all components are present before assembly:
- Carry Bag
- Coleman Road Trip Beach Shade (Tent Fabric)
- Extra-Long Stakes
- Floor Mat (integrated with tent)
- Handy Dry Line
- Sandbags
- User Manual (this document)
3. Safety Information
Please read and follow these safety guidelines to ensure safe use of your Coleman Beach Shade Canopy Tent:
- Always stake down and secure guy lines when using the tent to prevent it from blowing away in windy conditions.
- Do not use near open flames or heat sources, as the fabric may be flammable.
- Keep away from direct sunlight for extended periods to prevent excessive heat buildup inside the tent.
- Always supervise children when they are using or playing near the tent.
4. Setup Instructions
The Coleman Beach Shade Canopy Tent is designed for quick and easy setup, typically within 5 minutes. Follow these steps:
- Unpack the Tent: Remove the tent and all components from the carry bag. Lay the tent fabric flat on the ground.
- Assemble Poles: The tent uses lightweight, shock-corded fiberglass poles. Connect the pole sections until they are fully assembled.
- Insert Poles: Carefully slide the assembled poles through the fabric sleeves on the tent. Ensure the poles are fully seated in the corner grommets.
- Raise the Tent: Lift the tent structure and secure the poles into their designated attachment points.
- Secure with Stakes and Guy Lines: Use the included extra-long stakes to anchor the tent to the ground. Attach and tension the pre-attached guy lines for additional stability, especially in windy conditions.
- Fill Sandbags (Optional): For stake-free stability on sand, fill the provided sandbags and place them at the base of the tent.
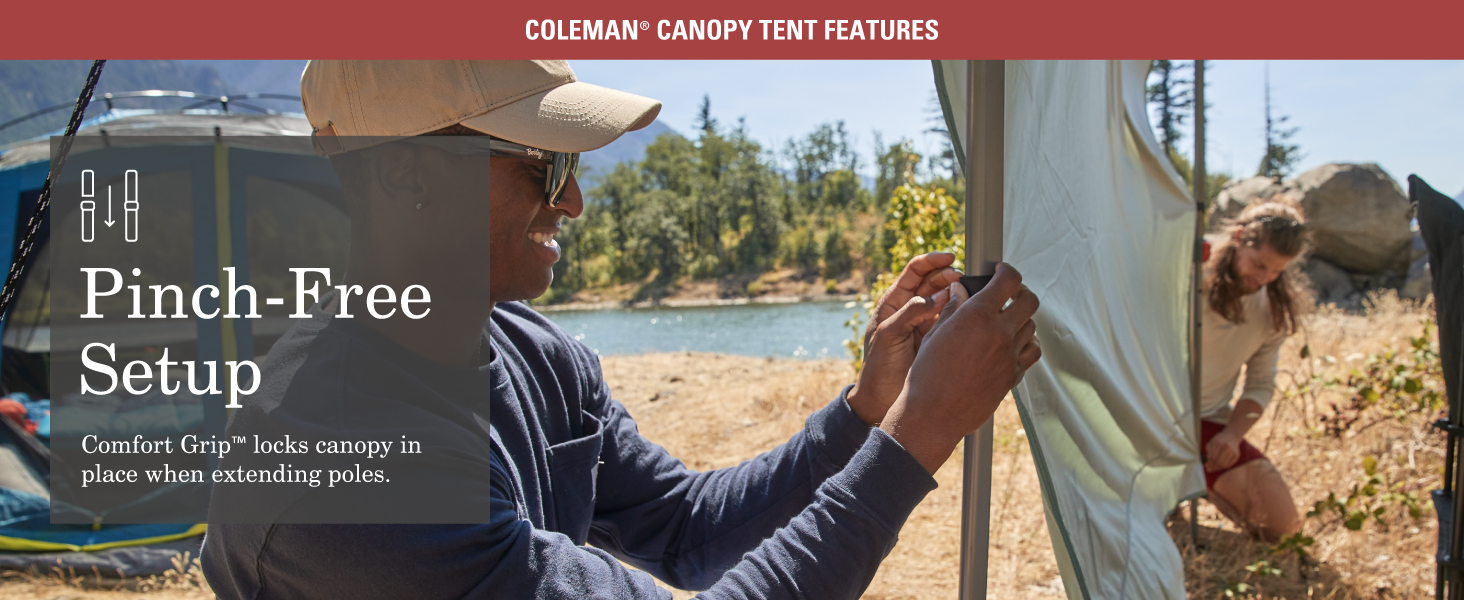
Image 4.1: Illustration of the pinch-free setup mechanism for easy pole extension.
Video 4.2: A demonstration of setting up the Coleman beach shade canopy tent. This video shows the process of unfolding the tent and inserting the poles to erect the structure, highlighting its ease of assembly.
5. Operating Instructions
Maximize your comfort and privacy with the tent's features:
- Privacy Wall: The extended front floor can be zipped up to create a private changing room or additional wind block.
- Ventilation: Unzip the back window for improved airflow and to reduce heat buildup inside the tent.
- Dry Line: Utilize the included dry line to hang wet bathing suits or towels.
- Storage Pockets: Mesh pockets are located inside for storing small gear, water bottles, or personal items.

Image 5.1: The extended front floor zipped up for privacy.

Image 5.2: Interior view highlighting the rear mesh window for ventilation.

Image 5.3: The internal dry line for hanging items.
Video 5.4: This video showcases the versatility of the Coleman Beach Shade Canopy Tent, demonstrating its use for various occasions and highlighting features like the privacy wall and ventilation options.
6. Maintenance
Proper care will extend the life of your beach shade:
- Cleaning: Clean the tent fabric with a mild soap solution and a soft cloth. Do not use harsh detergents or abrasive cleaners. Rinse thoroughly with water.
- Drying: Always ensure the tent is completely dry before packing it away to prevent mildew and odor. Air dry in a shaded area.
- Storage: Store the tent in its carry bag in a cool, dry place, away from direct sunlight and extreme temperatures.
- Pole Care: Inspect poles for damage before and after each use. Clean any dirt or sand from pole sections.
7. Troubleshooting
If you encounter issues with your beach shade, consider the following:
- Tent Instability: Ensure all stakes are firmly in the ground and guy lines are properly tensioned. If on sand, ensure sandbags are filled and positioned correctly.
- Difficulty with Pole Assembly/Disassembly: Check that pole sections are aligned correctly and not bent. Avoid forcing connections.
- Excessive Heat Inside: Ensure the rear window is unzipped for maximum ventilation. Consider repositioning the tent to optimize shade.
8. Specifications
| Feature | Detail |
|---|---|
| Brand | Coleman |
| Model Number | 1453187 |
| Material | Fiberglass (Frame), Heavy-duty Polyester (Canopy) |
| Color | Green |
| Item Weight | 6.17 Pounds |
| Dimensions (L x W x H) | 7 ft. 6 in. x 4 ft. 5 in. x 4 ft. 9 in. (2.3m x 1.3m x 1.4m) |
| Floor Area | 33.75 Square Feet |
| UV Protection | UPF 50+ (UVGuard material) |
| Water Resistance Level | Not Water Resistant (provides shelter from light rain) |
| Required Assembly | Yes |
9. Warranty and Support
This Coleman Beach Shade Canopy Tent comes with a 1-year limited warranty. Products sold by Designed For Outdoors are guaranteed to be free of defects in workmanship and materials for up to one year after the purchase date. Please note that prolonged exposure to weather conditions including snow, rain, and humidity are not covered under this warranty.
For warranty claims or product support, please contact Coleman customer service directly. Refer to the contact information provided on the product packaging or the official Coleman website.