1. Introduction
Thank you for purchasing the CROSSIO 23'' Outdoor Ceiling Fan with Lights. This manual provides essential information for the safe installation, operation, and maintenance of your new fan. Please read these instructions thoroughly before installation and retain them for future reference.
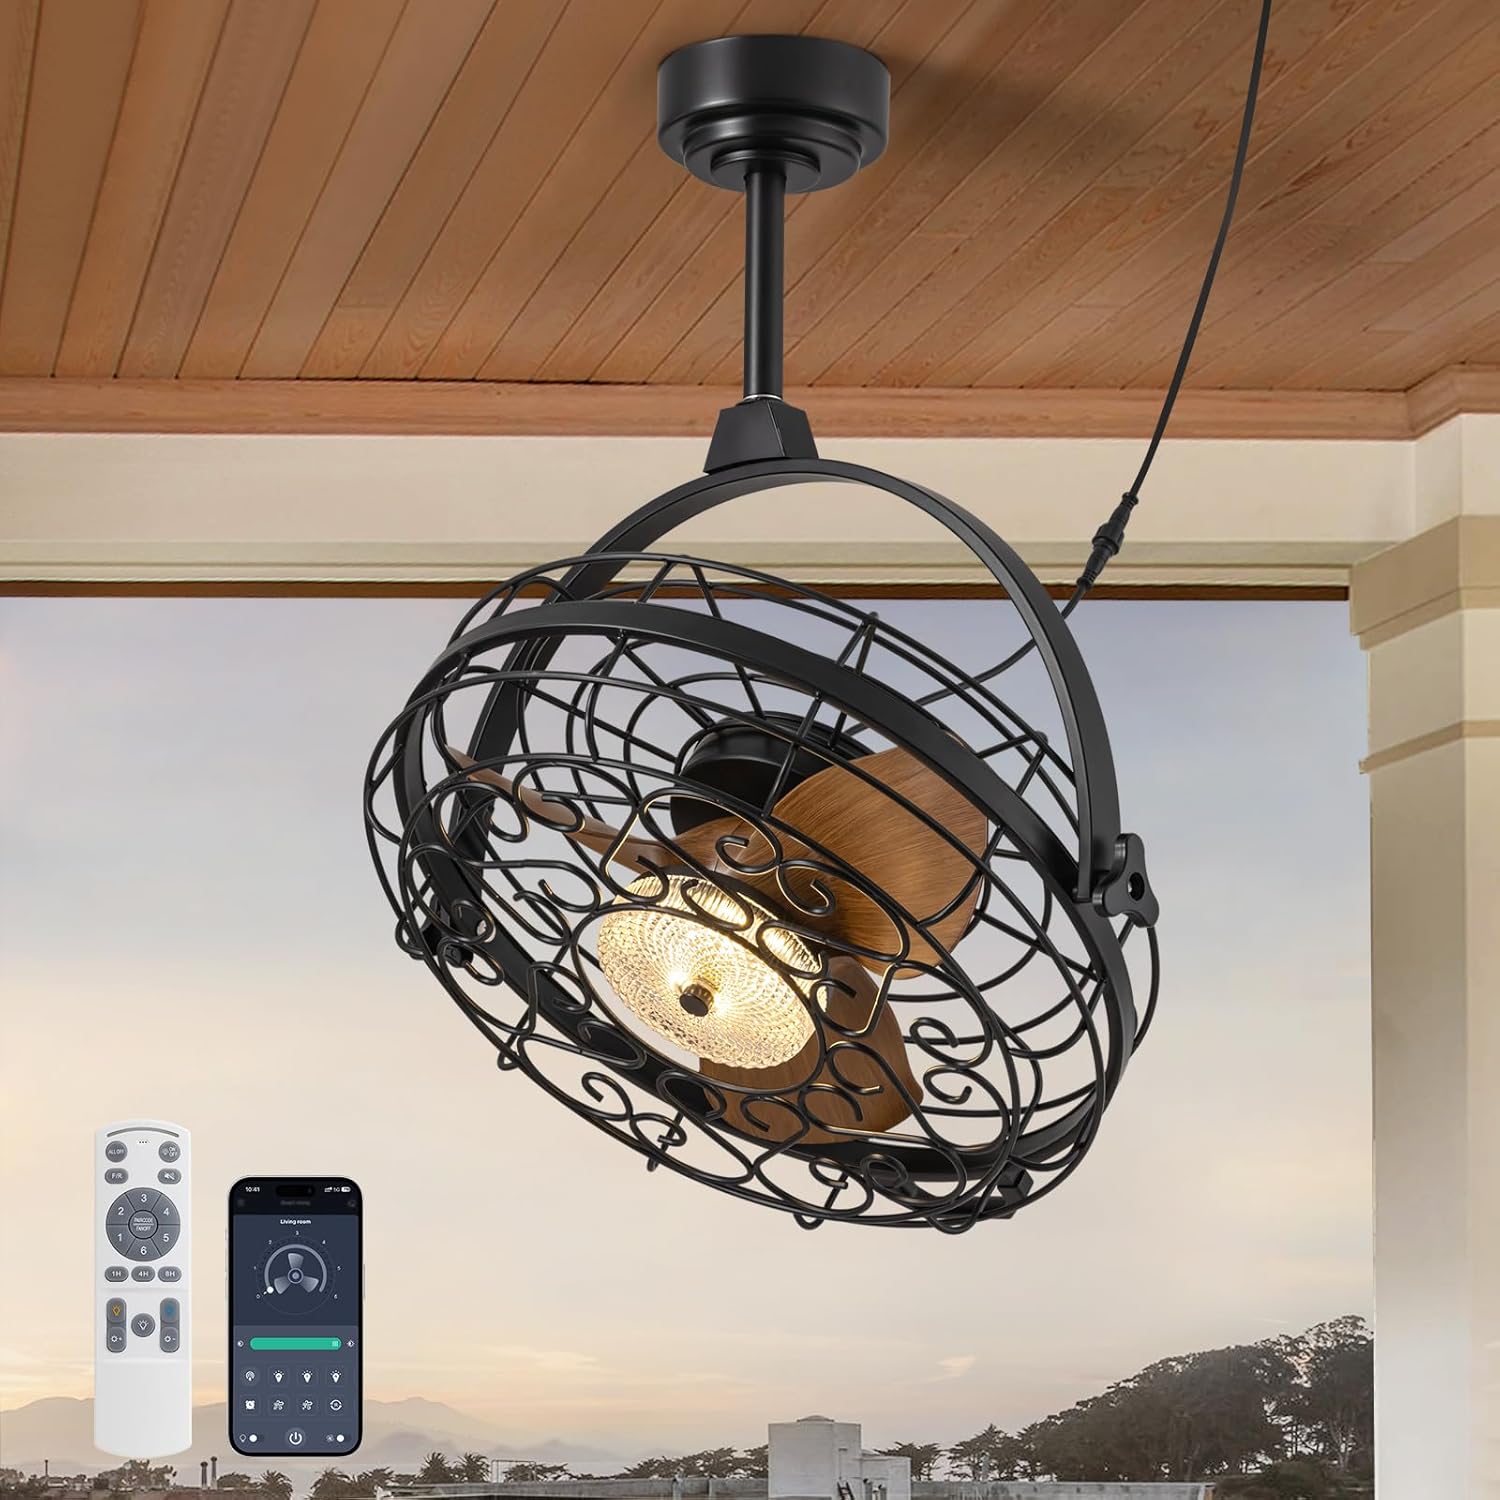
Image 1.1: The CROSSIO 23-inch outdoor ceiling fan, showcasing its design, remote control, and smartphone app interface.
Key Features:
- Outdoor & Indoor Ready: Wet-rated design suitable for patios, gazebos, covered porches, living rooms, and bedrooms. Features a sealed motor and rust-proof materials for safe operation in wet conditions.
- Dimmable Fan Light: Integrated LED light with three adjustable color temperatures (Warm 3000K, Natural 4500K, Cool 6000K) and seamless dimming from 10% to 100%.
- Multiple Ceiling Compatibility: Designed for various mounting options including hanging with hooks, fixing to solid wood ceilings, or mounting to an outlet box. Includes two down rod lengths for flexible installation heights.
- Dual 360° Rotation & Reversible Motor: Manual 360° vertical and horizontal adjustment to direct airflow. Reversible motor function provides downdraft cooling in summer and updraft warm air circulation in winter.
- 6-Speed & Timer Function: Six customizable fan speeds and a convenient timer function (1, 4, or 8 hours) for automatic shut-off.
- Control Methods: Operable via included remote control and a dedicated smartphone application.
2. Safety Information
Please observe the following safety precautions to reduce the risk of fire, electric shock, or personal injury.
- Read all instructions carefully before installation and use.
- Ensure the power supply is disconnected at the circuit breaker before installation or servicing.
- All electrical connections must be in accordance with local codes, ordinances, and the National Electric Code (NEC). If you are unfamiliar with electrical wiring, consult a qualified electrician.
- The fan must be mounted to a structure capable of supporting a minimum of 35 lbs (15.9 kg).
- Do not operate the fan with a damaged cord or plug.
- Avoid placing fingers or objects into the fan blades while the fan is operating.
- This fan is wet-rated for outdoor use in covered areas. Do not expose to direct heavy rain or submerge in water.
- Ensure the fan is installed at a height where blades are at least 7 feet (2.13 meters) from the floor.
- Use only replacement parts specified by the manufacturer.
3. Package Contents
Verify that all components are present and undamaged before beginning installation. If any parts are missing or damaged, contact customer support.
- Ceiling Fan Unit (with integrated light)
- Remote Control
- Mounting Hardware Kit (screws, anchors, brackets)
- Down Rods (2 lengths)
- Instruction Manual (this document)
4. Specifications
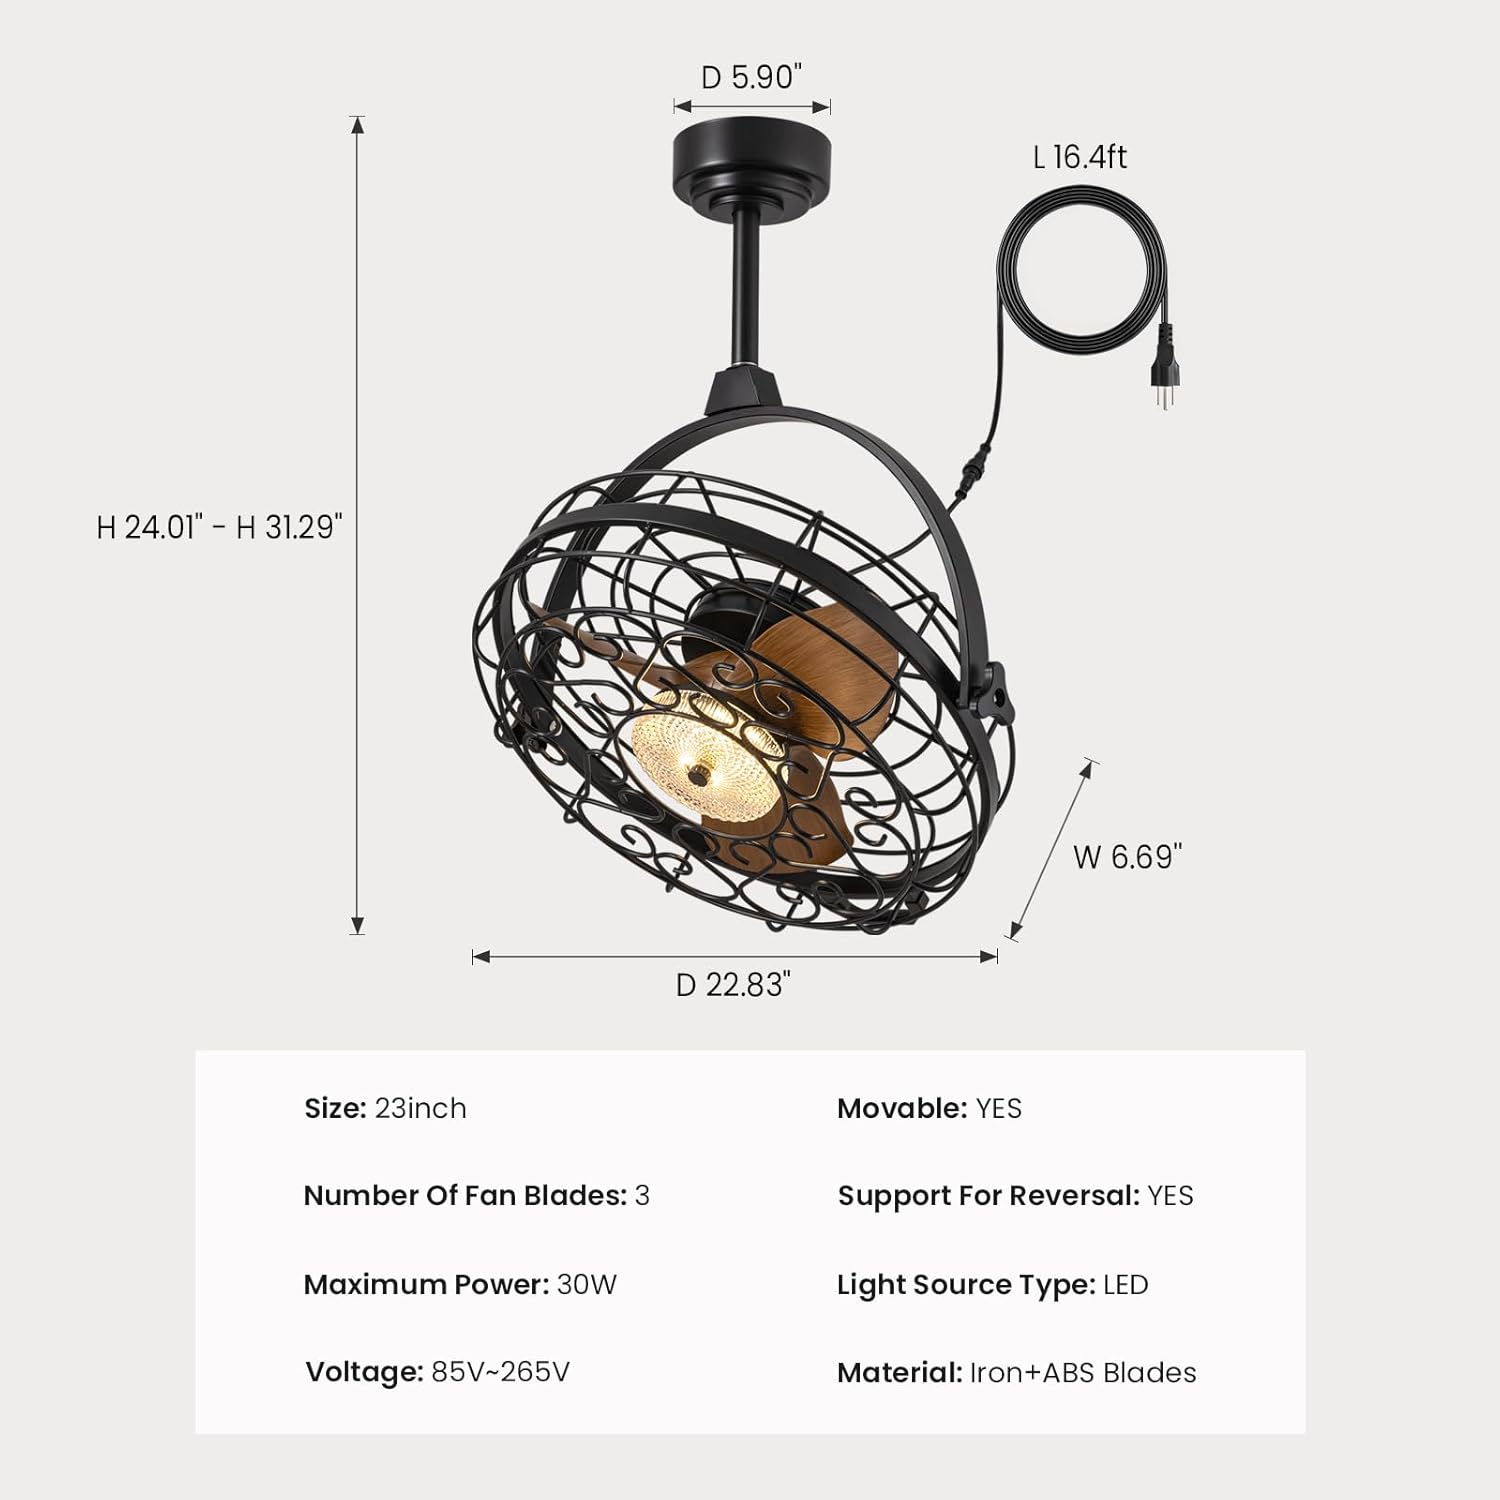
Image 4.1: Detailed dimensions of the fan unit, including height, width, and depth.
| Feature | Specification |
|---|---|
| Model Name | FS8912-01 |
| Brand | CROSSIO |
| Size | 23 inches |
| Product Dimensions | 5"D x 20"W x 20"H |
| Item Weight | 22.5 pounds |
| Number of Fan Blades | 3 |
| Maximum Power | 30W |
| Voltage | 85V-265V |
| Power Source | AC |
| Light Source Type | LED |
| Material | Iron + ABS Blades |
| Control Method | App, Remote |
| Indoor/Outdoor Usage | Indoor, Outdoor (Wet Rated) |
| Special Features | Adjustable Color Temperature, Dimmable, Timer, Waterproof, 360° Rotation, Reversible Motor |
| UPC | 733241251473 |
5. Installation Instructions
Before installation, ensure the power is turned off at the circuit breaker. Follow these steps for your chosen mounting method.

Image 5.1: Three available installation options: mounting to an outlet box, fixing to solid wood, or hanging with a ceiling hook.
General Steps for All Installations:
- Prepare the Mounting Location: Ensure the ceiling structure can support the fan's weight (minimum 35 lbs).
- Assemble Down Rod: Attach the desired length of down rod to the fan motor housing.
- Connect Power Cord: The fan comes with a 16ft flexible cord and a 3-prong plug. Ensure the power outlet is within reach and properly grounded.

Image 5.2: The 16ft flexible power cord with a 3-prong plug for easy connection.
Option 1: Outlet Box Mounting
- Secure the mounting bracket to a UL-listed outlet box (not included) that is rated for fan support.
- Attach the fan's down rod assembly to the mounting bracket.
- Make electrical connections (live, neutral, ground) from the fan to the outlet box wiring.
Option 2: Solid Wood Ceiling Mounting
- Drill pilot holes into the solid wood ceiling beam.
- Secure the mounting bracket directly to the wood using appropriate screws (provided in hardware kit).
- Attach the fan's down rod assembly to the mounting bracket.
Option 3: Ceiling Hook Hanging
- Install a sturdy ceiling hook (provided in hardware kit) into a secure ceiling joist or beam.
- Hang the fan unit from the ceiling hook using the integrated hanging mechanism.

Image 5.3: The fan is designed for easy hanging and removal, particularly with the ceiling hook option.
6. Operating Instructions
The CROSSIO ceiling fan can be controlled using the included remote control or a smartphone application.

Image 6.1: The remote control and smartphone application provide comprehensive control over fan and light functions.
Remote Control Functions:
- Light Switch: Turns the light ON/OFF.
- Wind Speed Adjustment (1-6): Increases or decreases fan speed.
- Timer Button (1H/4H/8H): Sets the fan to automatically turn off after 1, 4, or 8 hours.
- Color Temperature Adjustment: Cycles through Warm (3000K), Natural (4500K), and Cool (6000K) light.
- Brightness Adjustment (+/-): Dims or brightens the light from 10% to 100%.
- F/R (Forward/Reverse) Button: Changes the direction of fan blade rotation.
Smartphone App Control:
Download the CROSSIO app from your device's app store. Follow the in-app instructions to pair your fan. The app provides all the functions available on the remote control, plus additional smart features.
Fan Speed Settings:
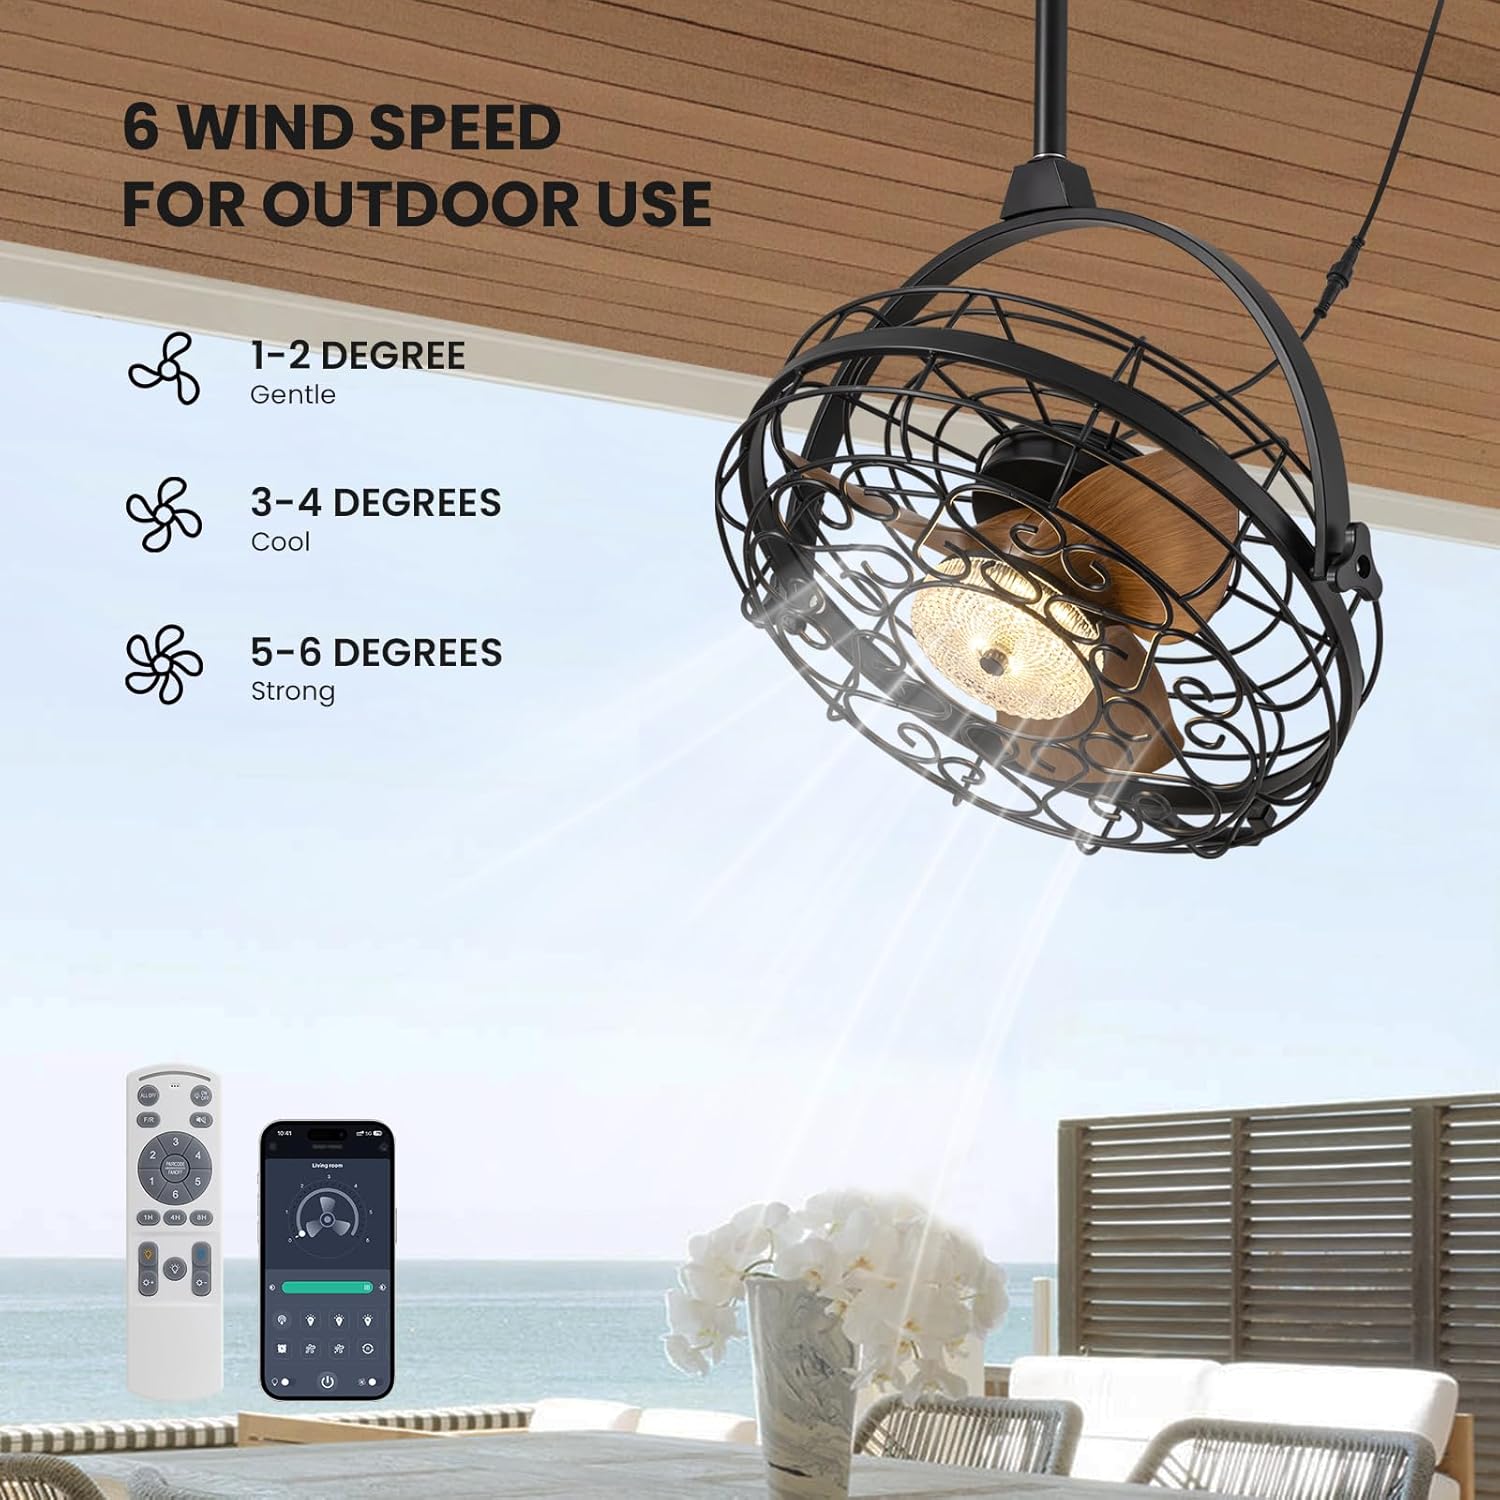
Image 6.2: The fan offers 6 distinct wind speed settings, from gentle to strong.
- Speeds 1-2: Gentle airflow, ideal for quiet environments or light breeze.
- Speeds 3-4: Cool airflow, suitable for moderate temperatures.
- Speeds 5-6: Strong airflow, effective for warmer conditions or larger areas.
Dimmable Light Operation:

Image 6.3: The integrated LED light can be adjusted to three color temperatures and dimmed from 10% to 100% brightness.
Use the color temperature button to cycle through 3000K (Warm), 4500K (Natural), and 6000K (Cool) settings. Use the brightness adjustment buttons to set the light intensity from 10% to 100%.
360° Rotation Feature:

Image 6.4: The fan head can be manually adjusted 360 degrees both horizontally and vertically to direct airflow precisely.
The fan head can be manually rotated 360 degrees horizontally and vertically. This allows you to direct the airflow to specific areas as needed, providing flexible cooling.
Reversible Motor Function:
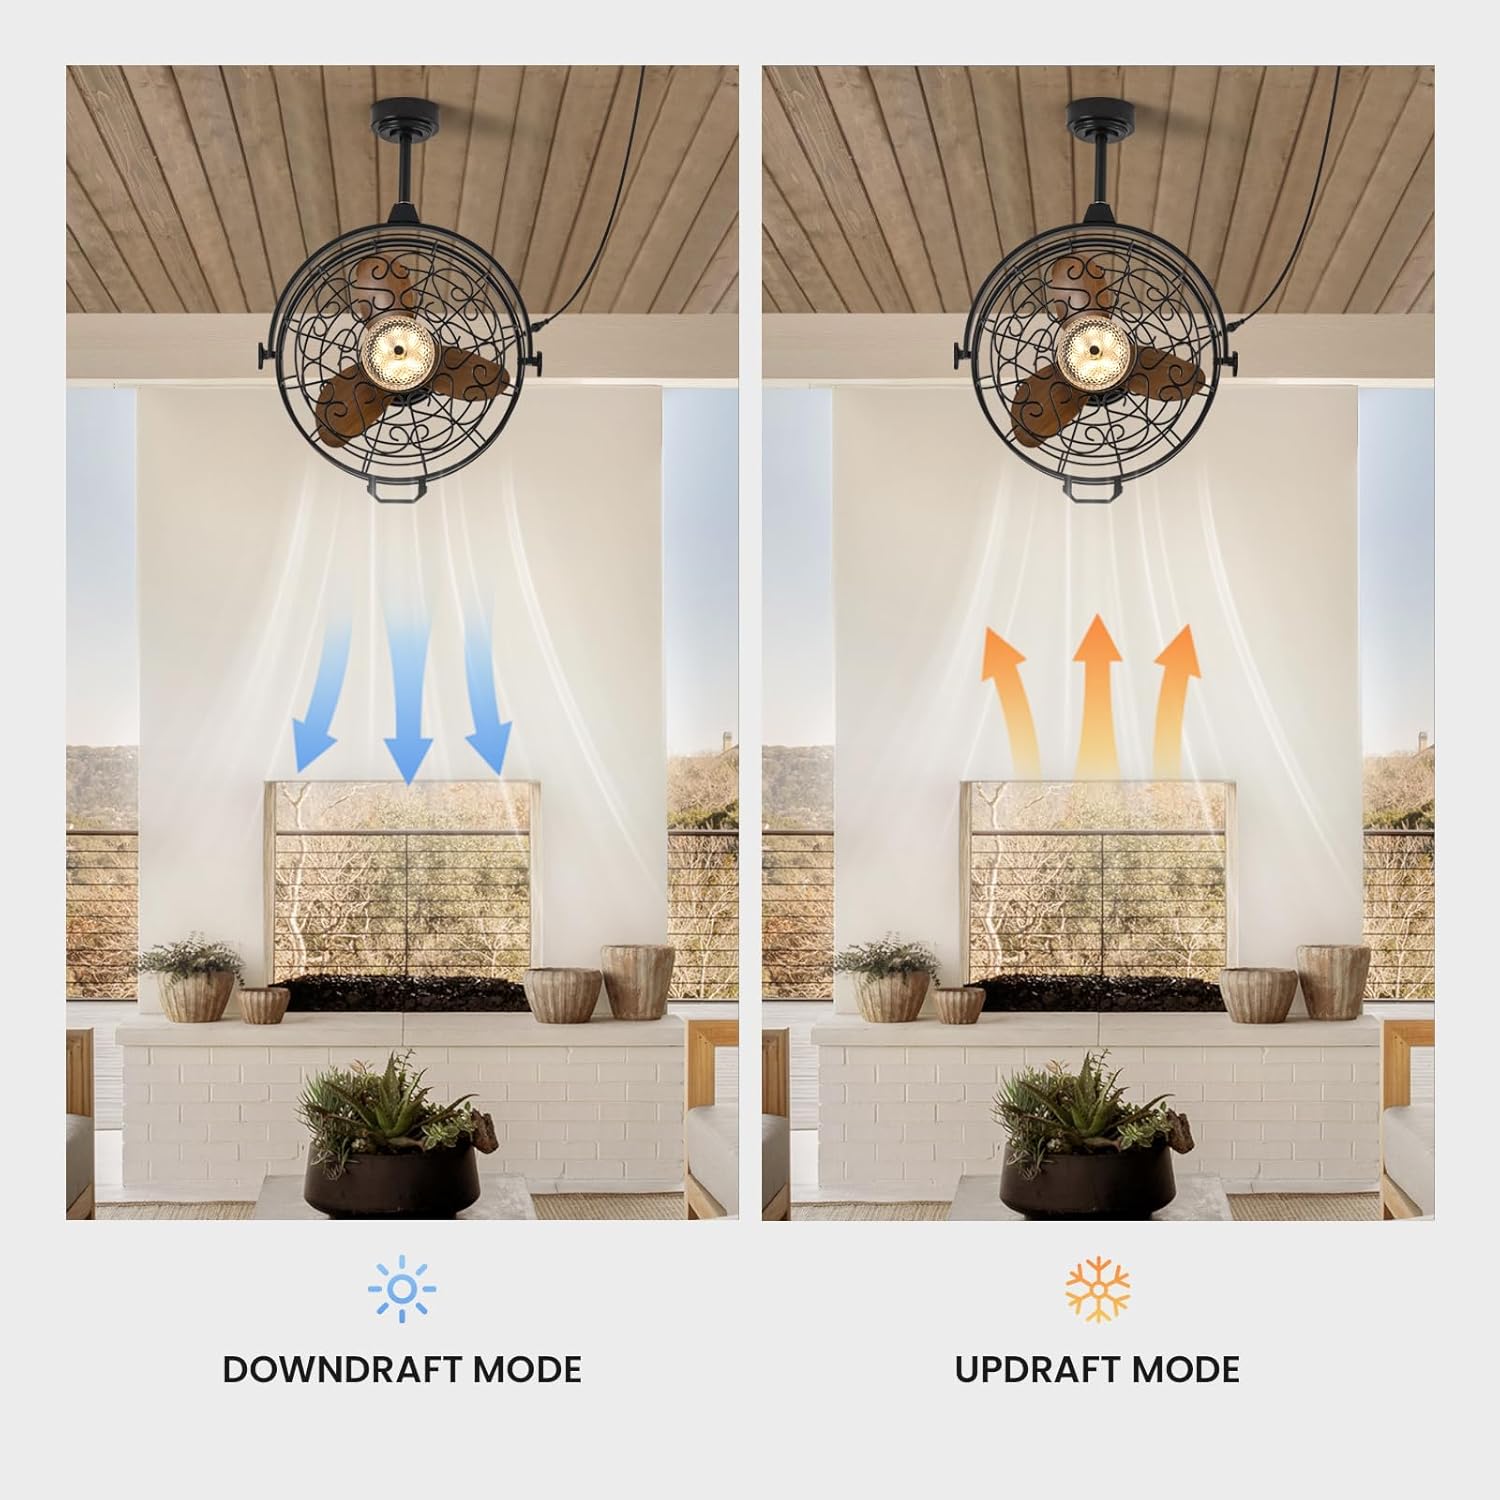
Image 6.5: The fan operates in downdraft mode for cooling in summer and updraft mode for circulating warm air in winter.
Use the F/R button on the remote or the corresponding setting in the app to switch the fan's rotation direction:
- Downdraft Mode (Summer): Blades rotate counter-clockwise, pushing air downwards to create a cooling effect.
- Updraft Mode (Winter): Blades rotate clockwise, drawing air upwards to circulate warm air trapped near the ceiling.
7. Maintenance
Regular maintenance ensures optimal performance and extends the lifespan of your fan.
- Cleaning: Wipe the fan housing and blades with a soft, damp cloth. Do not use abrasive cleaners or solvents. Ensure the fan is completely dry before operating.
- Dusting: Periodically dust the fan blades and light fixture to prevent buildup that can affect performance and light output.
- Inspections: Regularly check all connections and mounting hardware for tightness. Ensure the power cord is free from damage.
- Light Source: The LED light source is integrated and generally not user-replaceable. If the light fails, contact customer support.
Caution: Always disconnect power before cleaning or performing any maintenance.
8. Troubleshooting
If you encounter issues with your fan, refer to the following common problems and solutions.
| Problem | Possible Cause | Solution |
|---|---|---|
| Fan does not turn on | No power supply Remote control battery low/dead Fan not properly plugged in | Check circuit breaker and wall switch Replace remote control batteries Ensure plug is fully inserted into a working outlet |
| Light does not turn on | Light switch off LED failure | Press the light switch button on the remote/app Contact customer support for assistance |
| Fan makes excessive noise | Loose mounting screws Obstruction in fan blades | Ensure all mounting screws are tightened Check for any objects interfering with the blades (with power off) |
| Remote control not working | Batteries low/dead Obstruction between remote and fan Fan not paired | Replace batteries Ensure clear line of sight Refer to pairing instructions in the app or contact support |
| Weak airflow | Fan speed too low Incorrect fan direction (winter mode in summer) | Increase fan speed setting Switch to downdraft mode (counter-clockwise rotation) |
If the problem persists after attempting these solutions, please contact customer support.
9. Warranty and Support
Warranty Information:
This CROSSIO product is covered by a manufacturer's warranty against defects in materials and workmanship. The specific terms and duration of the warranty may vary. Please retain your proof of purchase for warranty claims.
Customer Support:
For any questions, technical assistance, or warranty claims, please contact CROSSIO customer support. You can typically find contact information on the product packaging, the official CROSSIO website, or through your purchase platform.
When contacting support, please have your product model number (FS8912-01) and proof of purchase readily available.


