
1. Product Overview
The BN-LINK Wireless Doorbell ESM241U offers a convenient and reliable solution for homes, offices, classrooms, and apartments. It features easy installation, a wide wireless range, multiple chime options, adjustable volume, and a durable waterproof design.
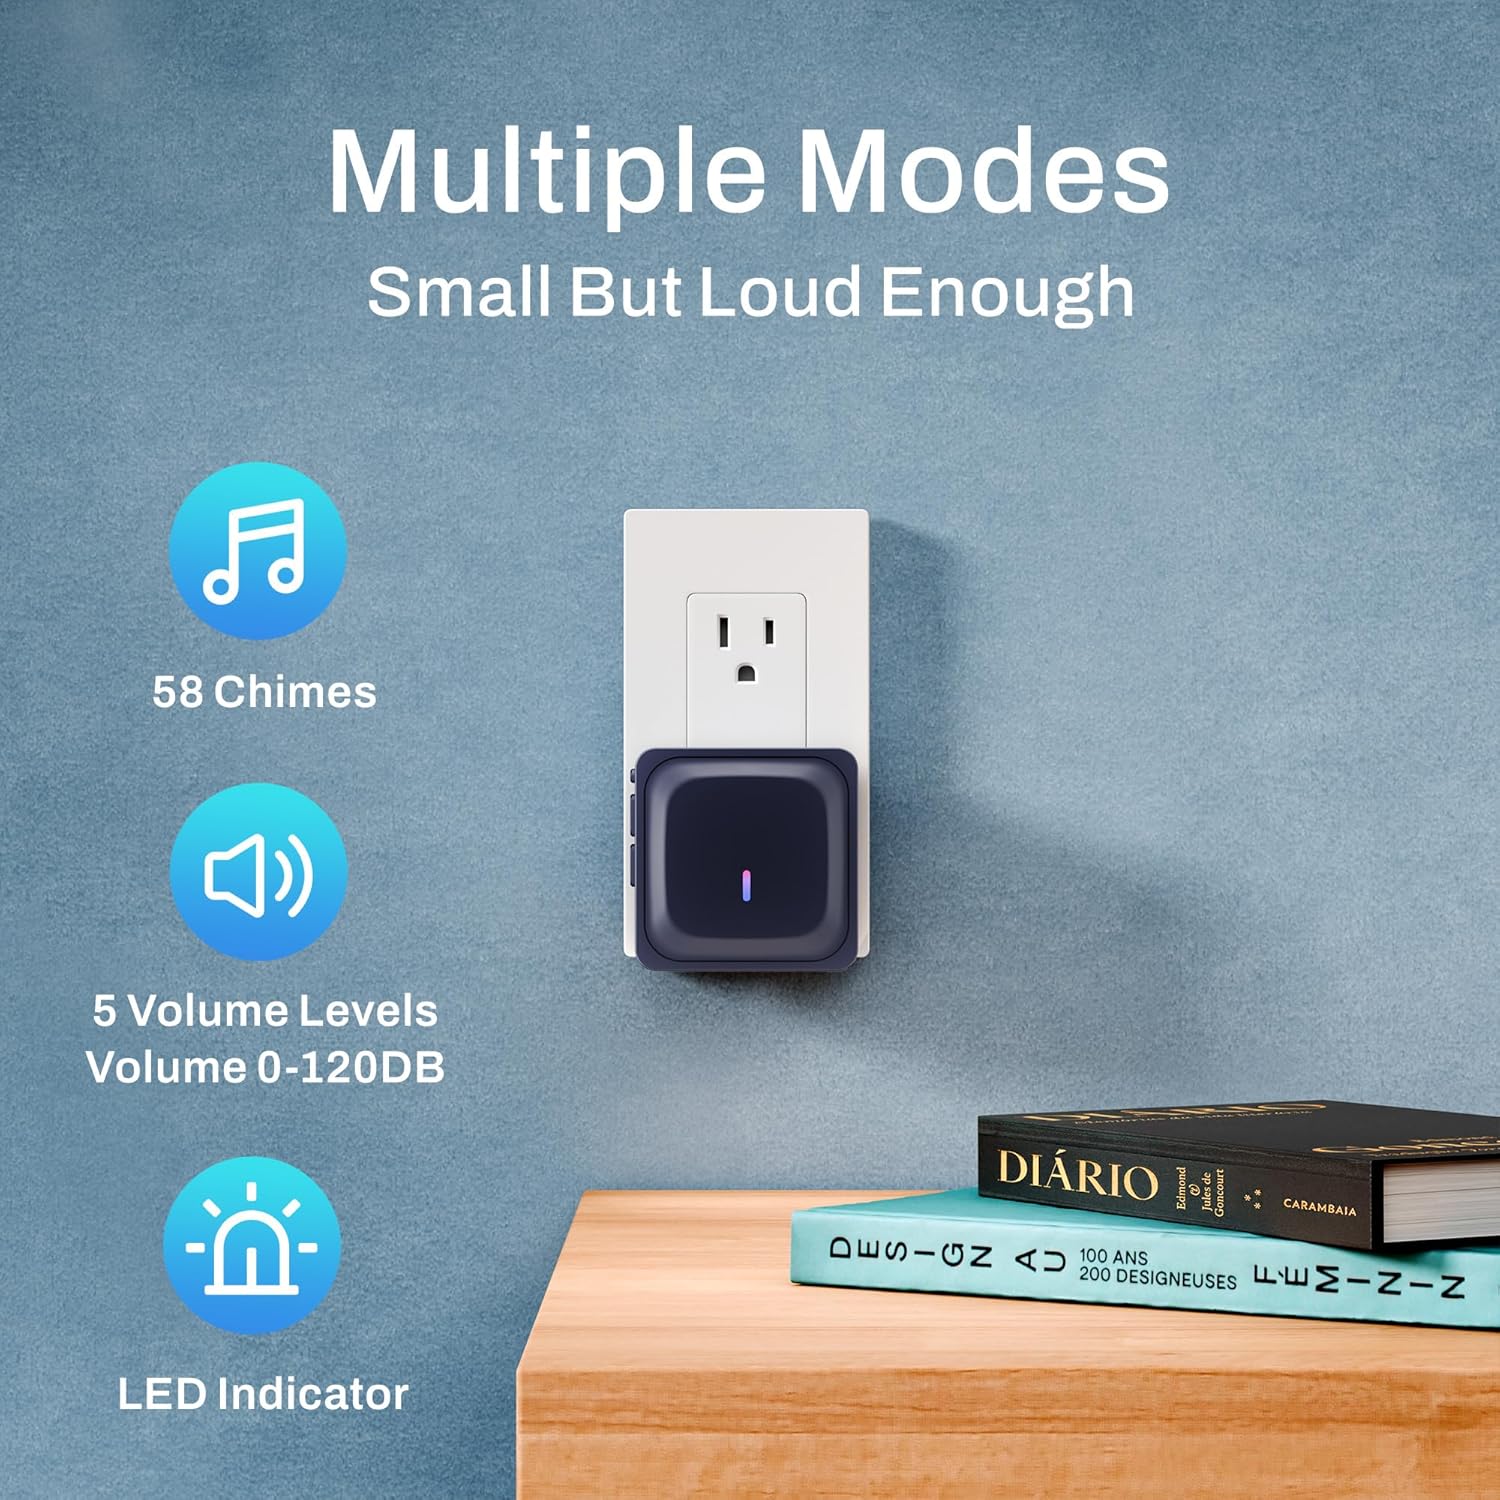
This image displays the compact design of the BN-LINK Wireless Doorbell receiver, plugged into a standard wall outlet, and the transmitter button mounted on a wall. Key features highlighted include 58 selectable chimes, 5 adjustable volume levels (0dB-120dB), and an LED indicator for visual alerts.
2. Setup
2.1 Easy Installation
The BN-LINK Wireless Doorbell is pre-paired at the factory for immediate use. No complex wiring or electrician is required. Simply plug the receiver into a standard electrical socket and attach the transmitter to your desired location.
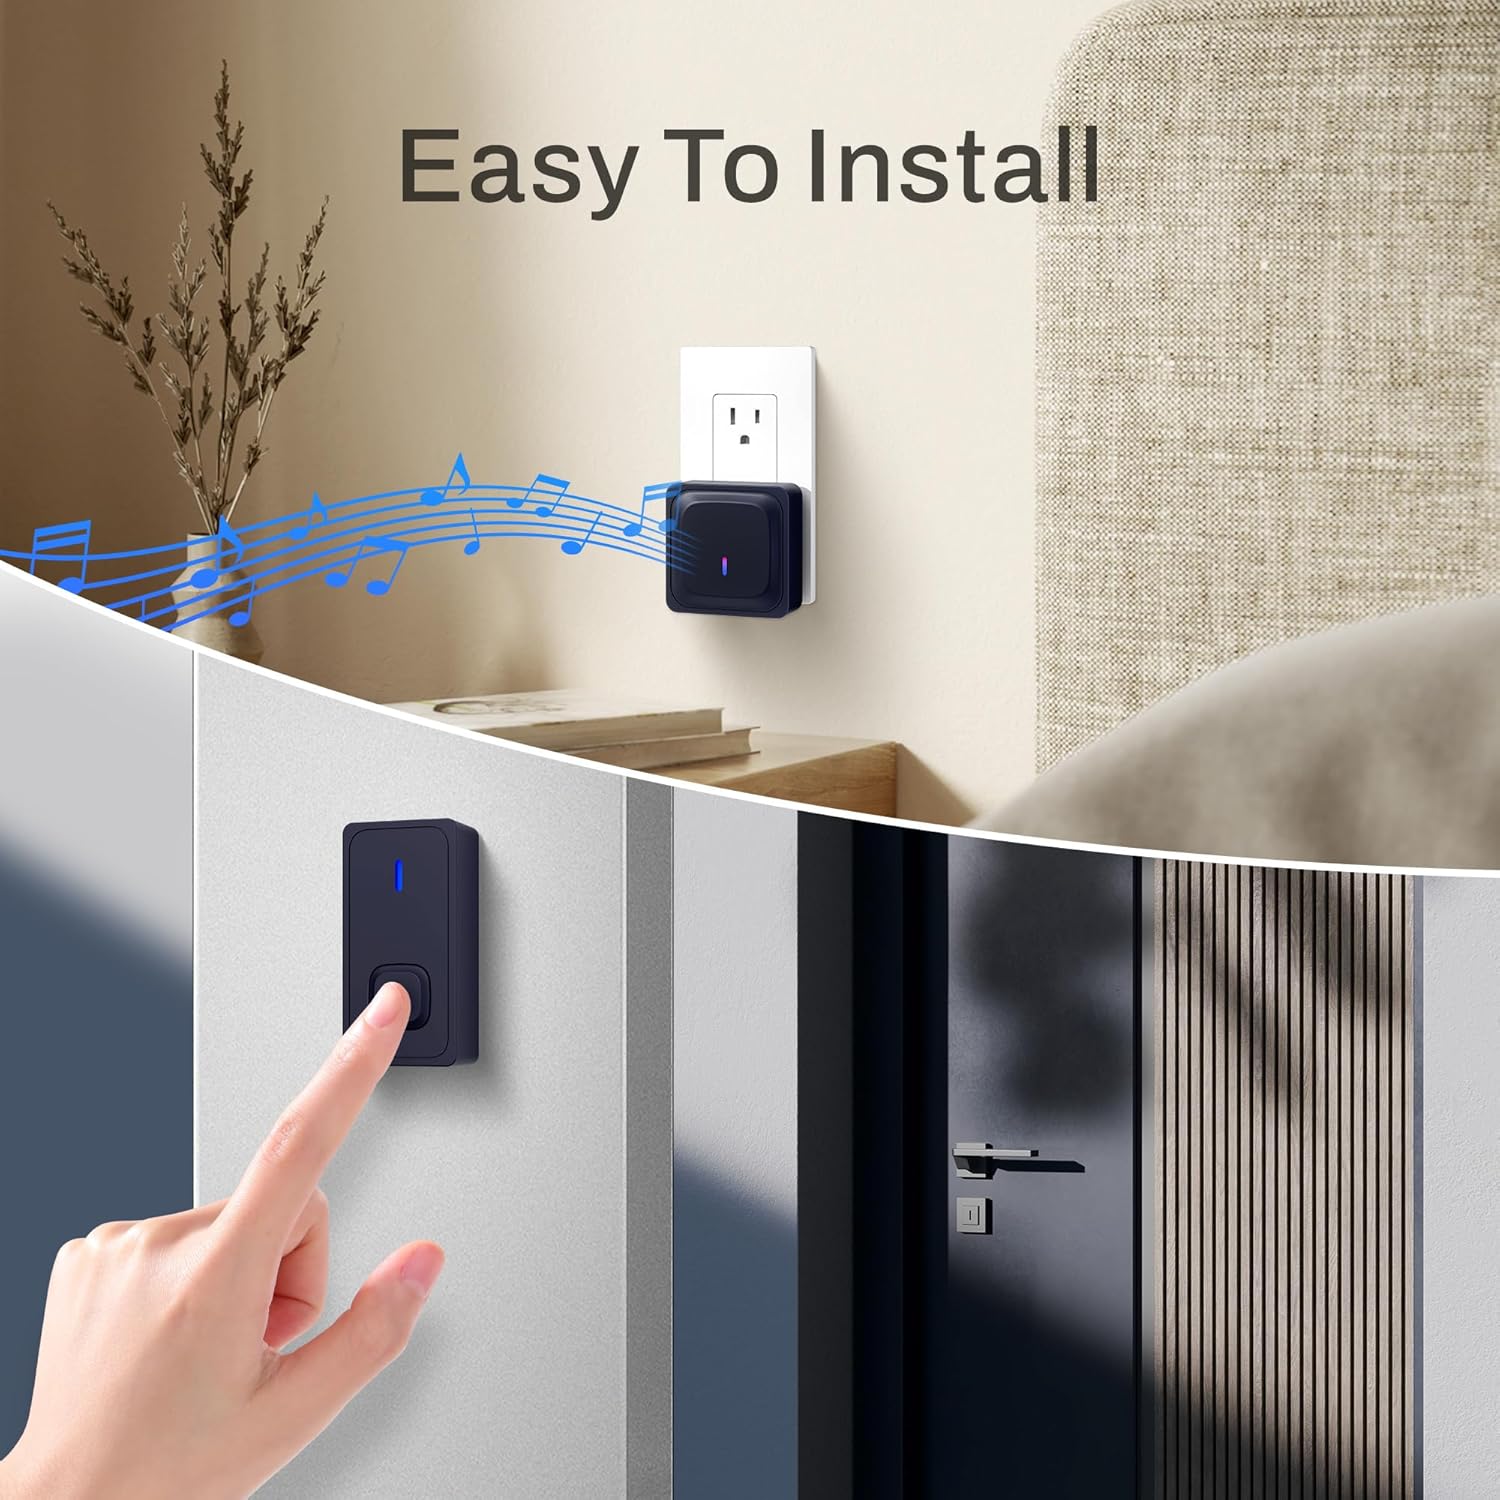
This image demonstrates the straightforward installation process. The transmitter button is shown being pressed on an exterior wall, while the receiver is visible plugged into an indoor electrical outlet, indicating the wireless functionality.
2.2 Mounting the Transmitter
The transmitter can be mounted using the provided adhesive sticker. Ensure the surface is clean and dry before application for optimal adhesion.

This diagram illustrates the steps for installing the doorbell transmitter. It shows applying the double-sided adhesive to the back of the transmitter and then pressing it firmly onto the desired surface.
2.3 Plugging in the Receiver
Plug the receiver into any standard indoor electrical outlet. Position it in a central location or where you are most likely to hear the chime.
2.4 Pairing (If Needed)
The doorbell is pre-paired. If re-pairing is necessary or if adding a new receiver, refer to the 'Function Button Operation Instructions' in the Operating section for detailed steps on button and receiver pairing.
3. Operating
3.1 Adjusting Volume
The receiver offers 5 adjustable volume levels (0dB-120dB). Short press the volume control button on the side of the receiver to cycle through the volume settings from low to high.
3.2 Changing Chimes
There are 58 unique melodies available. Short press the music control button on the side of the receiver to cycle through the different chimes.
3.3 Mute Mode
To activate or deactivate mute mode, short press the function button on the receiver. This is useful for situations where you do not wish to be disturbed, such as when a baby is sleeping.

This image illustrates the various volume levels and the mute mode feature of the receiver. It shows the receiver plugged into an outlet in a bedroom setting, with a sleeping baby, emphasizing the utility of the mute function.
3.4 LED Flash Indicator
The receiver includes an LED flash indicator that provides a visual alert when the doorbell is pressed, complementing the audible chime.
This video provides a general overview of the BN-LINK Wireless Doorbell, demonstrating its functionality and key features, including the chime and LED flash.
4. Maintenance
4.1 Battery Replacement (Transmitter)
To replace the battery in the transmitter, unscrew the four screws on the back cover using a screwdriver. Replace the old battery with a new one of the same type, ensuring correct polarity, then reattach the cover.

This image provides a visual guide for both the adhesive installation of the transmitter and the process of replacing its battery. It shows the back cover being removed with a screwdriver to access the battery compartment.
4.2 Waterproof and Dustproof Design
The transmitter is designed with IP55 dustproof and waterproof protection, allowing it to function reliably in various weather conditions, including heavy rain, snowstorms, or dust storms. The working temperature range is -4 °F to 140 °F.

This image visually represents the IP55 waterproof and dustproof capabilities of the doorbell transmitter, showing it enduring both snowy and rainy conditions, ensuring durability in diverse outdoor environments.
5. Troubleshooting
5.1 No Sound from Receiver
- Ensure the receiver is properly plugged into a live electrical outlet.
- Check the volume level; it might be set to mute (0dB). Adjust the volume using the volume control button.
- Verify that the transmitter battery is not depleted. Replace if necessary.
- Re-pair the transmitter and receiver if they have lost connection.
5.2 Short Wireless Range
- Ensure there are no significant metal objects or thick walls directly between the transmitter and receiver that could obstruct the signal.
- Relocate the receiver to a more central position within the 1000ft range.
- Avoid placing the receiver near other electronic devices that may cause interference.
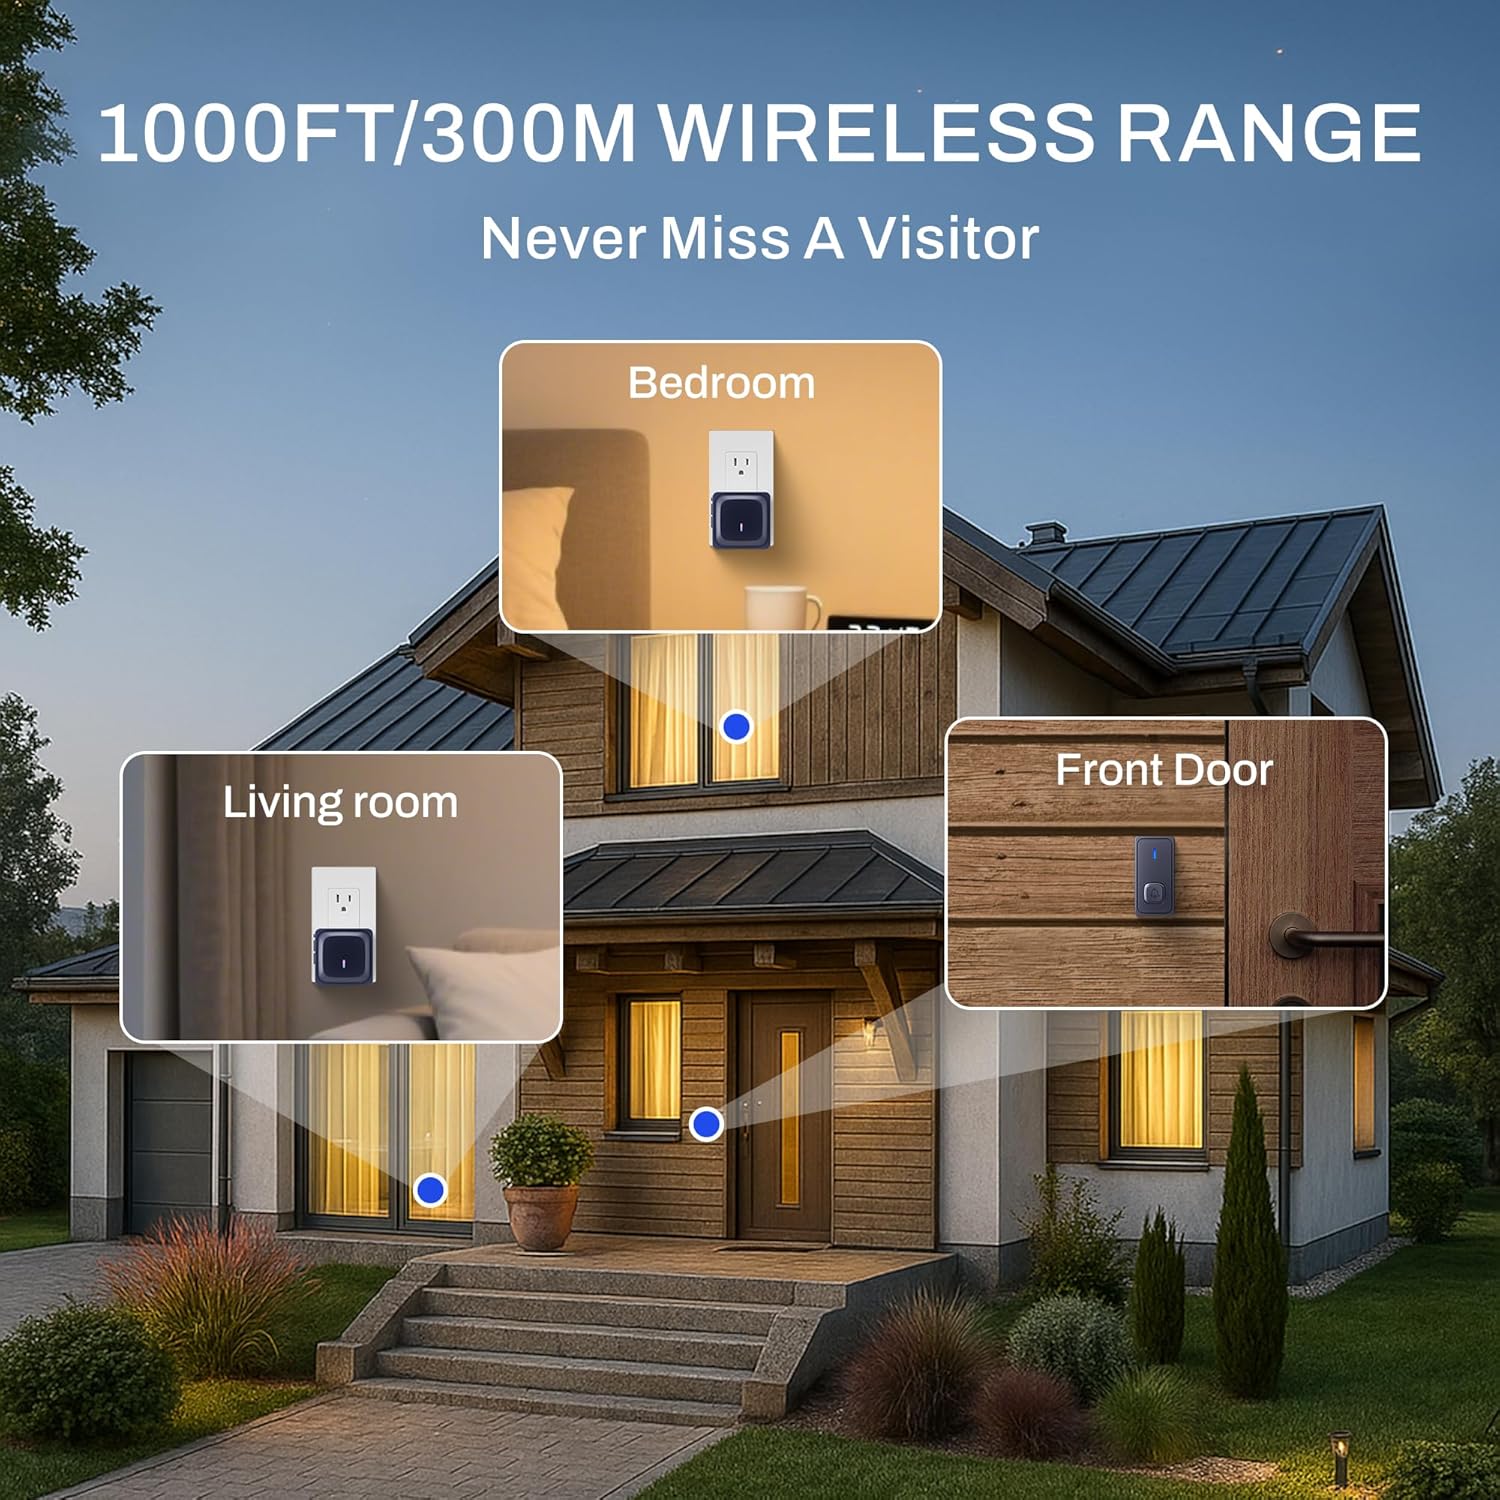
This image demonstrates the extensive 1000ft wireless range of the doorbell system, showing how the signal can reach various parts of a multi-story house, including the front door, living room, bedroom, and kitchen.
5.3 Resetting the Device
To reset the device to factory defaults, press and hold the function button on the receiver for 10 seconds until you hear a second beep. Release the button to confirm successful code clearing.
6. Specifications
| Feature | Description |
|---|---|
| Model Number | ESM241U |
| Wireless Range | Up to 1000 feet (300 meters) |
| Chimes | 58 unique melodies |
| Volume Levels | 5 adjustable levels (0dB-120dB) |
| Waterproof Rating | IP55 (Transmitter) |
| Working Temperature | -4 °F to 140 °F (-20 °C to 60 °C) |
| Power Source (Receiver) | AC Plug-in |
| Power Source (Transmitter) | Battery Operated |
7. Warranty and Support
BN-LINK provides a professional customer service team and experts to assist with pre-sales and after-sales inquiries. If you encounter any issues during use, please contact BN-LINK directly through Amazon for support.
