1. Introduction
Thank you for choosing the Yealink BH74 Wireless Headset. This manual provides detailed instructions on how to set up, operate, and maintain your headset to ensure optimal performance and longevity. Please read this manual thoroughly before using the product.
Safety Information:
- Do not expose the device to extreme temperatures or humidity.
- Avoid dropping or subjecting the headset to strong impacts.
- Use only Yealink-approved accessories and charging equipment.
- Keep out of reach of children.
2. Product Overview
The Yealink BH74 is a versatile Bluetooth wireless headset designed for various scenarios, offering superior audio quality and comfort.
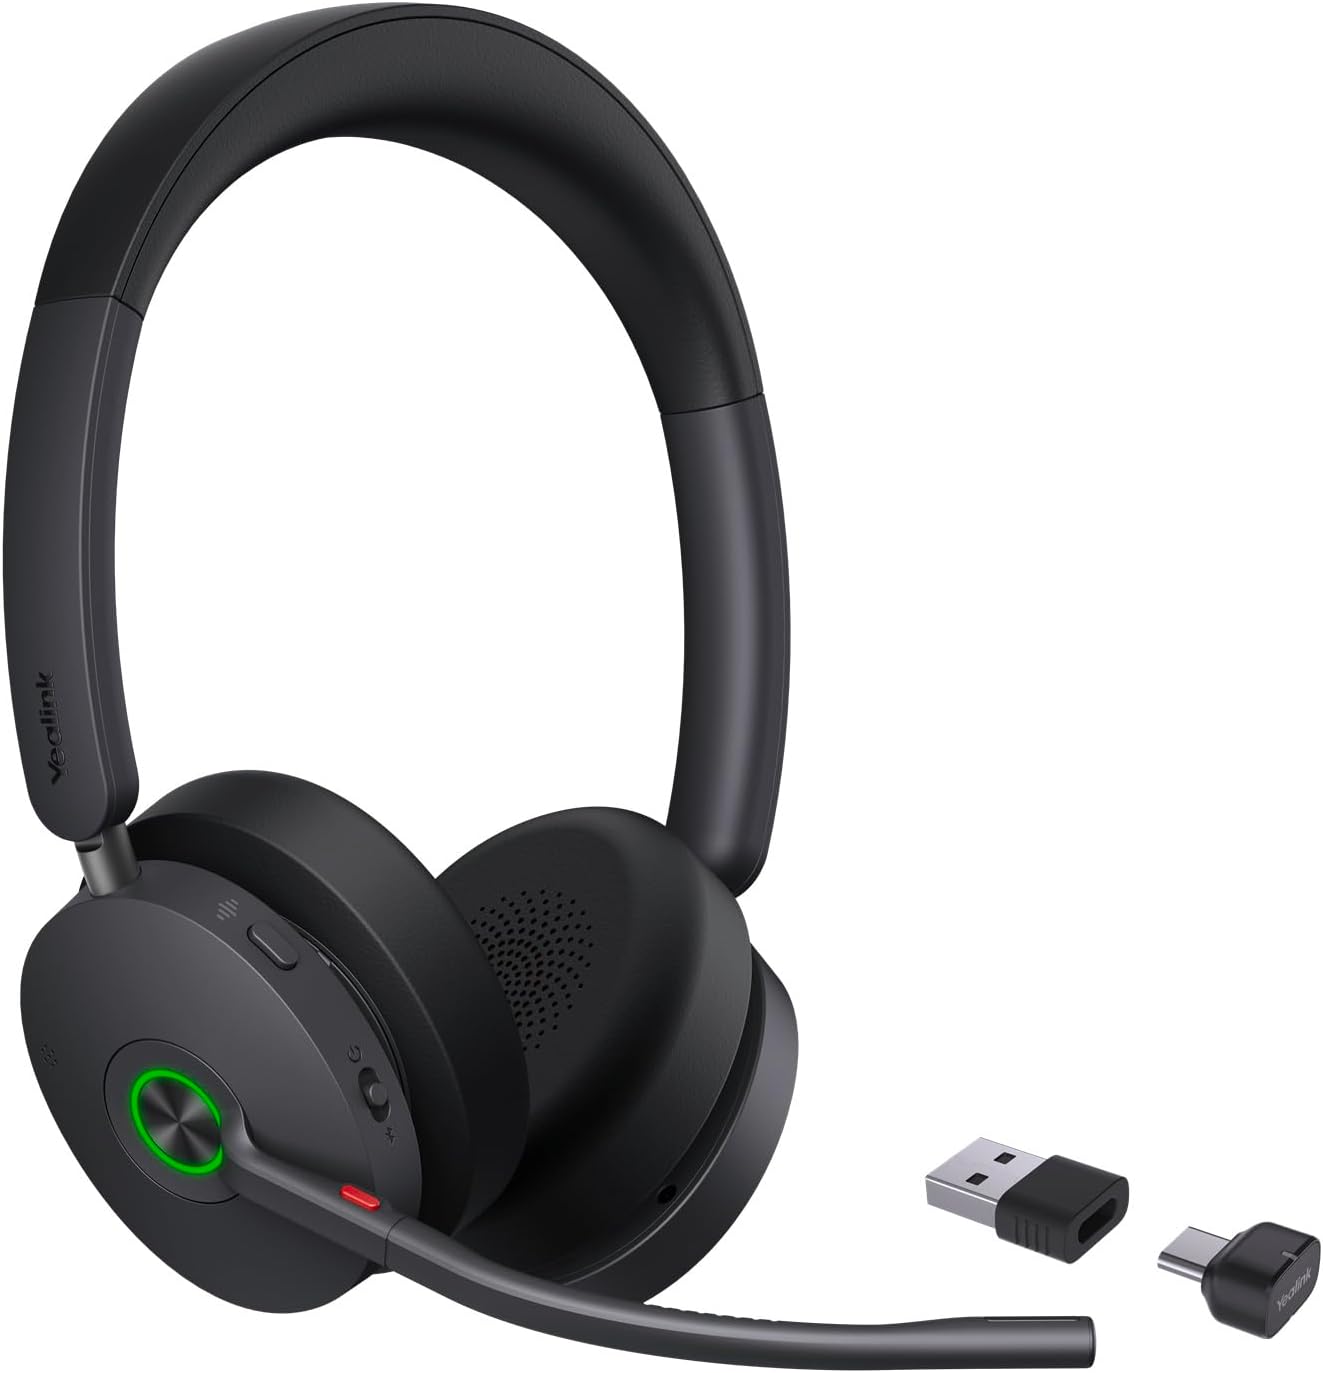
Figure 2.1: Yealink BH74 Wireless Headset with included accessories.
2.1 Package Contents
Ensure all items are present in your package:
- Yealink BH74 Wireless Headset
- Charging Station
2.2 Key Features
- Acoustic Shield Technology 3.0 for clear communication.
- All-day wearing comfort with ergonomic design.
- Dual-sided Busy Light for indicating call status.
- Hybrid ANC (Active Noise Cancellation) for immersive audio.
- Ultra-long battery life.
- Compatible with mainstream UC platforms.
- Teams Certified for seamless integration.

Figure 2.2: Side view of the headset highlighting control buttons.
3. Setup
3.1 Charging the Headset
- Place the headset onto the charging station, ensuring the charging contacts align.
- Connect the charging station to a power source using the provided USB cable.
- The LED indicator on the headset will show charging status. A full charge typically takes approximately 2 hours.
3.2 Connecting via Bluetooth
- Power On: Press and hold the Power button on the headset until the LED indicator lights up.
- Pairing Mode: With the headset powered on, press and hold the Bluetooth button for 3 seconds until the LED flashes blue and red, indicating pairing mode.
- Connect to Device: On your device (e.g., smartphone, computer), enable Bluetooth and search for "Yealink BH74". Select it to connect.
- Connection Confirmation: The LED indicator on the headset will turn solid blue when successfully connected.
3.3 Connecting via USB-C/A Dongle
- Plug the USB-C or USB-A dongle into an available USB port on your computer.
- Power on the headset. The headset will automatically attempt to connect to the dongle.
- The LED on the dongle and headset will indicate a successful connection (usually solid blue).
4. Operating Instructions
4.1 Basic Operations
- Power On/Off: Press and hold the Power button.
- Volume Up/Down: Use the '+' and '-' buttons on the earcup.
- Answer/End Call: Press the Call button (usually a phone icon).
- Reject Call: Press and hold the Call button.
- Play/Pause Music: Press the Multi-function button (often a circle or play/pause icon).
- Next/Previous Track: Double-press/triple-press the Multi-function button.
4.2 Active Noise Cancellation (ANC)
The BH74 features Hybrid ANC to reduce ambient noise.
- Toggle ANC: Press the ANC button (often labeled 'ANC') on the earcup to cycle through ANC modes (On/Off/Transparency).
4.3 Busy Light
The dual-sided busy light automatically illuminates red when you are on a call or in a meeting, signaling to others that you are occupied.
- The busy light can also be manually activated or deactivated via the Yealink USB Connect software.
4.4 Microsoft Teams Certification
The BH74 is Teams Certified, providing seamless integration with Microsoft Teams for enhanced call control and meeting experience.
- Teams Button: Press the dedicated Teams button to quickly join meetings, bring the Teams window to the foreground, or check notifications.
5. Maintenance
5.1 Cleaning
- Wipe the headset and charging station with a soft, dry, lint-free cloth.
- Do not use abrasive cleaners, solvents, or aerosol sprays.
- Avoid getting moisture into any openings.
5.2 Storage
- Store the headset in a cool, dry place away from direct sunlight.
- If storing for an extended period, ensure the battery is partially charged (around 50%) to preserve battery health.
6. Troubleshooting
If you encounter issues with your Yealink BH74 headset, refer to the following common problems and solutions:
| Problem | Possible Cause | Solution |
|---|---|---|
| Headset does not power on | Low battery | Charge the headset fully. |
| No audio / Cannot hear sound | Not connected; Volume too low; Incorrect audio output device selected | Ensure headset is connected; Increase volume; Select BH74 as default audio device in system settings. |
| Microphone volume is low | Microphone not positioned correctly; Input volume too low in system settings | Adjust microphone boom closer to your mouth; Check and increase microphone input level in your device's sound settings or communication application. |
| Bluetooth connection unstable | Interference; Too far from device | Move closer to your device; Avoid strong electromagnetic interference; Re-pair the headset. |
| Busy light not working | Software issue; Disabled | Ensure Yealink USB Connect software is installed and updated; Check busy light settings within the software. |
7. Specifications
| Feature | Detail |
|---|---|
| Model Name | Yealink Headset 1208680 |
| Connectivity Technology | Wireless (Bluetooth) |
| Ear Placement | Over Ear |
| Form Factor | Over Ear |
| Color | Black |
| Item Weight | 152 Grams (5.4 ounces) |
| Package Dimensions | 8.03 x 7.28 x 2.36 inches |
| Manufacturer | Yealink |
| Batteries | 1 Nonstandard Battery (included) |
| Included Components | Charging Station |
| Country of Origin | China |
8. Warranty and Support
Yealink products are designed for reliability and performance. This product is covered by a limited warranty. For specific warranty terms and conditions, please refer to the warranty card included with your product or visit the official Yealink website.
For technical support, frequently asked questions, and software updates, please visit the official Yealink support page or contact Yealink customer service directly. Keep your product model number (1208680) and serial number ready when seeking support.
Online Resources:
- Yealink Official Website: www.yealink.com
- Support Page: Refer to the website for specific support sections.


