
1. Introduction
This manual provides essential information for the safe operation, maintenance, and troubleshooting of your Master Mechanic 12-Volt Compact Cordless Drill Kit. Please read this manual thoroughly before using the tool to ensure proper handling and to maximize its performance and lifespan.
The Master Mechanic 12V cordless drill kit is designed for various drilling and fastening tasks. Its compact design and 3/8-inch keyless chuck accommodate a wide range of drill bits and screwdriver attachments. Powered by a lithium-ion battery, it offers cordless convenience for home repairs, furniture assembly, and general maintenance.
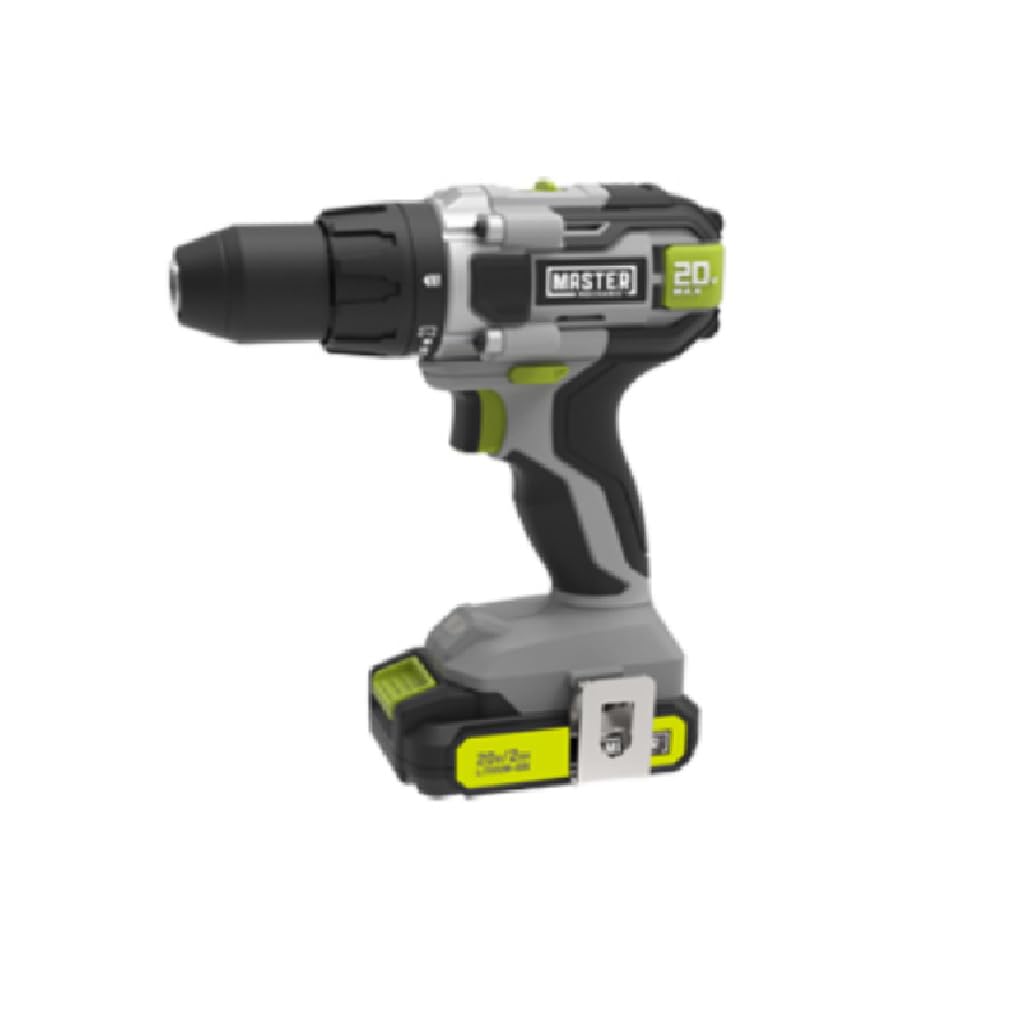
Figure 1.1: Master Mechanic 12-Volt Compact Cordless Drill Kit. This image shows the drill, a 12V lithium-ion battery, and a charger, typically included in the kit.
2. General Safety Instructions
WARNING: Read all safety warnings, instructions, illustrations, and specifications provided with this power tool. Failure to follow all instructions listed below may result in electric shock, fire, and/or serious injury.
- Work Area Safety: Keep your work area clean and well-lit. Cluttered or dark areas invite accidents. Do not operate power tools in explosive atmospheres, such as in the presence of flammable liquids, gases, or dust.
- Electrical Safety: Avoid body contact with earthed or grounded surfaces such as pipes, radiators, ranges, and refrigerators. There is an increased risk of electric shock if your body is earthed or grounded.
- Personal Safety: Always wear eye protection. Use appropriate safety equipment such as dust masks, non-skid safety shoes, hard hats, or hearing protection when necessary. Dress properly. Do not wear loose clothing or jewelry. Keep your hair and clothing away from moving parts.
- Tool Use and Care: Do not force the power tool. Use the correct power tool for your application. It will do the job better and safer at the rate for which it was designed. Disconnect the battery pack from the power tool before making any adjustments, changing accessories, or storing power tools.
- Battery Tool Use and Care: Recharge only with the charger specified by the manufacturer. A charger that is suitable for one type of battery pack may create a risk of fire when used with another battery pack. Use power tools only with specifically designated battery packs.
3. Package Contents
Verify that all items listed below are present and in good condition upon opening the package. If any parts are missing or damaged, please contact Master Mechanic customer support.
- 1 x Master Mechanic 12-Volt Compact Cordless Drill
- 1 x 12V Lithium-ion Battery
- 1 x Battery Charger
- 1 x Carrying Case
- 1 x Instruction Manual (this document)
4. Setup
4.1. Charging the Battery
The 12V lithium-ion battery is not fully charged at the factory. It is recommended to fully charge the battery before first use.
- Connect the charger to a standard 120V AC electrical outlet.
- Slide the battery pack into the charger until it clicks into place.
- The indicator light on the charger will illuminate, typically red for charging and green for fully charged. Refer to the charger's specific instructions for light indications.
- Once fully charged, disconnect the charger from the outlet and remove the battery pack.
- Do not overcharge the battery. Unplug the charger once the battery is fully charged.
4.2. Installing/Removing the Battery
- To Install: Align the battery pack with the base of the drill handle. Slide the battery into the handle until it clicks securely into place. Ensure it is firmly seated before operation.
- To Remove: Press the battery release button (usually located on the sides of the battery pack) and slide the battery out of the drill handle.
4.3. Installing Drill Bits/Accessories
This drill features a 3/8-inch keyless chuck for quick and convenient bit changes.
- Ensure the drill is off and the battery is removed for safety.
- Grip the rear half of the chuck firmly with one hand.
- Rotate the front half of the chuck counter-clockwise to open the chuck jaws.
- Insert the desired drill bit or screwdriver accessory into the chuck jaws. Ensure the bit is centered and inserted as far as possible without touching the chuck body.
- Rotate the front half of the chuck clockwise to tighten the jaws securely around the bit. Hand-tighten firmly.
- To remove a bit, reverse the process: grip the rear half, rotate the front half counter-clockwise, and pull the bit out.
5. Operating Instructions
5.1. Powering On/Off and Speed Control
- To Turn On: Press the trigger switch. The drill will start.
- To Turn Off: Release the trigger switch.
- Variable Speed: The drill features variable speed control. Pressing the trigger switch further increases the speed. This allows for precise control depending on the material and application.
5.2. Forward/Reverse Rotation
A forward/reverse selector switch is located above the trigger.
- Push the selector to the left for forward (clockwise) rotation, used for drilling and driving screws.
- Push the selector to the right for reverse (counter-clockwise) rotation, used for removing screws or backing out drill bits.
- When the selector is in the center position, the trigger is locked, preventing accidental startup. Always engage the lock when not in use or when changing bits.
5.3. Torque Settings (Clutch)
The drill features an adjustable torque collar (clutch) to prevent over-driving screws and damaging work surfaces.
- Rotate the numbered collar behind the chuck to select the desired torque setting. Lower numbers provide less torque, suitable for smaller screws or softer materials. Higher numbers provide more torque for larger screws or harder materials.
- The drill also has a drill mode setting (often indicated by a drill bit icon) which bypasses the clutch for maximum torque during drilling applications.
5.4. Drilling and Driving Tips
- Always secure your workpiece in a vise or with clamps.
- Apply steady, even pressure. Do not force the drill.
- For drilling, start with a slow speed to create a pilot hole, then increase speed as needed.
- For driving screws, use a lower torque setting and increase if the screw is not driving fully.
- When drilling metal, use cutting oil to prolong bit life and improve cutting efficiency.
6. Maintenance
Regular maintenance ensures the longevity and optimal performance of your drill. Always disconnect the battery before performing any maintenance.
- Cleaning: Keep the tool's air vents clean and free of debris to prevent overheating. Use a soft, damp cloth to clean the exterior. Do not use harsh chemicals or abrasive cleaners.
- Chuck Maintenance: Periodically clean the chuck jaws to ensure proper gripping of bits.
- Battery Care: Store batteries in a cool, dry place away from direct sunlight. Do not store fully discharged batteries for extended periods. Charge them periodically if not in use.
- Storage: When not in use, store the drill, battery, and charger in the provided carrying case in a dry, secure location out of reach of children.
7. Troubleshooting
Refer to the table below for common issues and their solutions. If the problem persists, contact Master Mechanic customer support.
| Problem | Possible Cause | Solution |
|---|---|---|
| Drill does not start. | Battery not charged or improperly installed. Forward/reverse switch in center (locked) position. | Ensure battery is fully charged and securely installed. Move forward/reverse switch to either forward or reverse position. |
| Battery not charging. | Charger not plugged in. Faulty battery or charger. | Check power connection to charger. Ensure battery is properly seated in charger. If problem persists, contact customer support for battery/charger replacement. |
| Drill loses power quickly. | Battery not fully charged. Battery reaching end of life. | Ensure battery is fully charged before use. Consider replacing the battery if it no longer holds a charge effectively. |
| Bit slips in chuck. | Chuck not tightened sufficiently. Bit shank is dirty or damaged. | Ensure chuck is hand-tightened firmly. Clean or replace the bit if necessary. |
8. Specifications
| Feature | Detail |
|---|---|
| Brand | Master Mechanic |
| Model Number | Mm12v38 |
| Power Source | Battery Powered (12V Lithium-ion) |
| Voltage | 12 Volts |
| Amperage | 2 Amps |
| Chuck Size | 3/8 Inch Keyless |
| Maximum Rotational Speed | 1500 RPM |
| Number of Speeds | 2 |
| Maximum Torque | 200 Newton Meters (approx. 130 Inch Pounds) |
| Item Dimensions (L x W x H) | 12 x 3.5 x 8 inches |
| Item Weight | 3.5 Pounds |
| Material Type | Metal, Plastic |
| Included Components | Drill, Lithium-ion Battery, Charger, Carrying Case |
9. Warranty and Support
For information regarding warranty coverage, technical support, or to order replacement parts, please contact Master Mechanic customer service. Keep your purchase receipt as proof of purchase for warranty claims.
Contact details can typically be found on the Master Mechanic official website or on the product packaging.