
Ulecoce ZD-U-01
Ulecoce Front Door Lock Set Instruction Manual
Model: ZD-U-01
Introduction
Thank you for choosing the Ulecoce Front Door Lock Set. This manual provides detailed instructions for the installation, operation, and maintenance of your new door lock. Please read this manual thoroughly before beginning installation to ensure proper function and safety. Keep this manual for future reference.
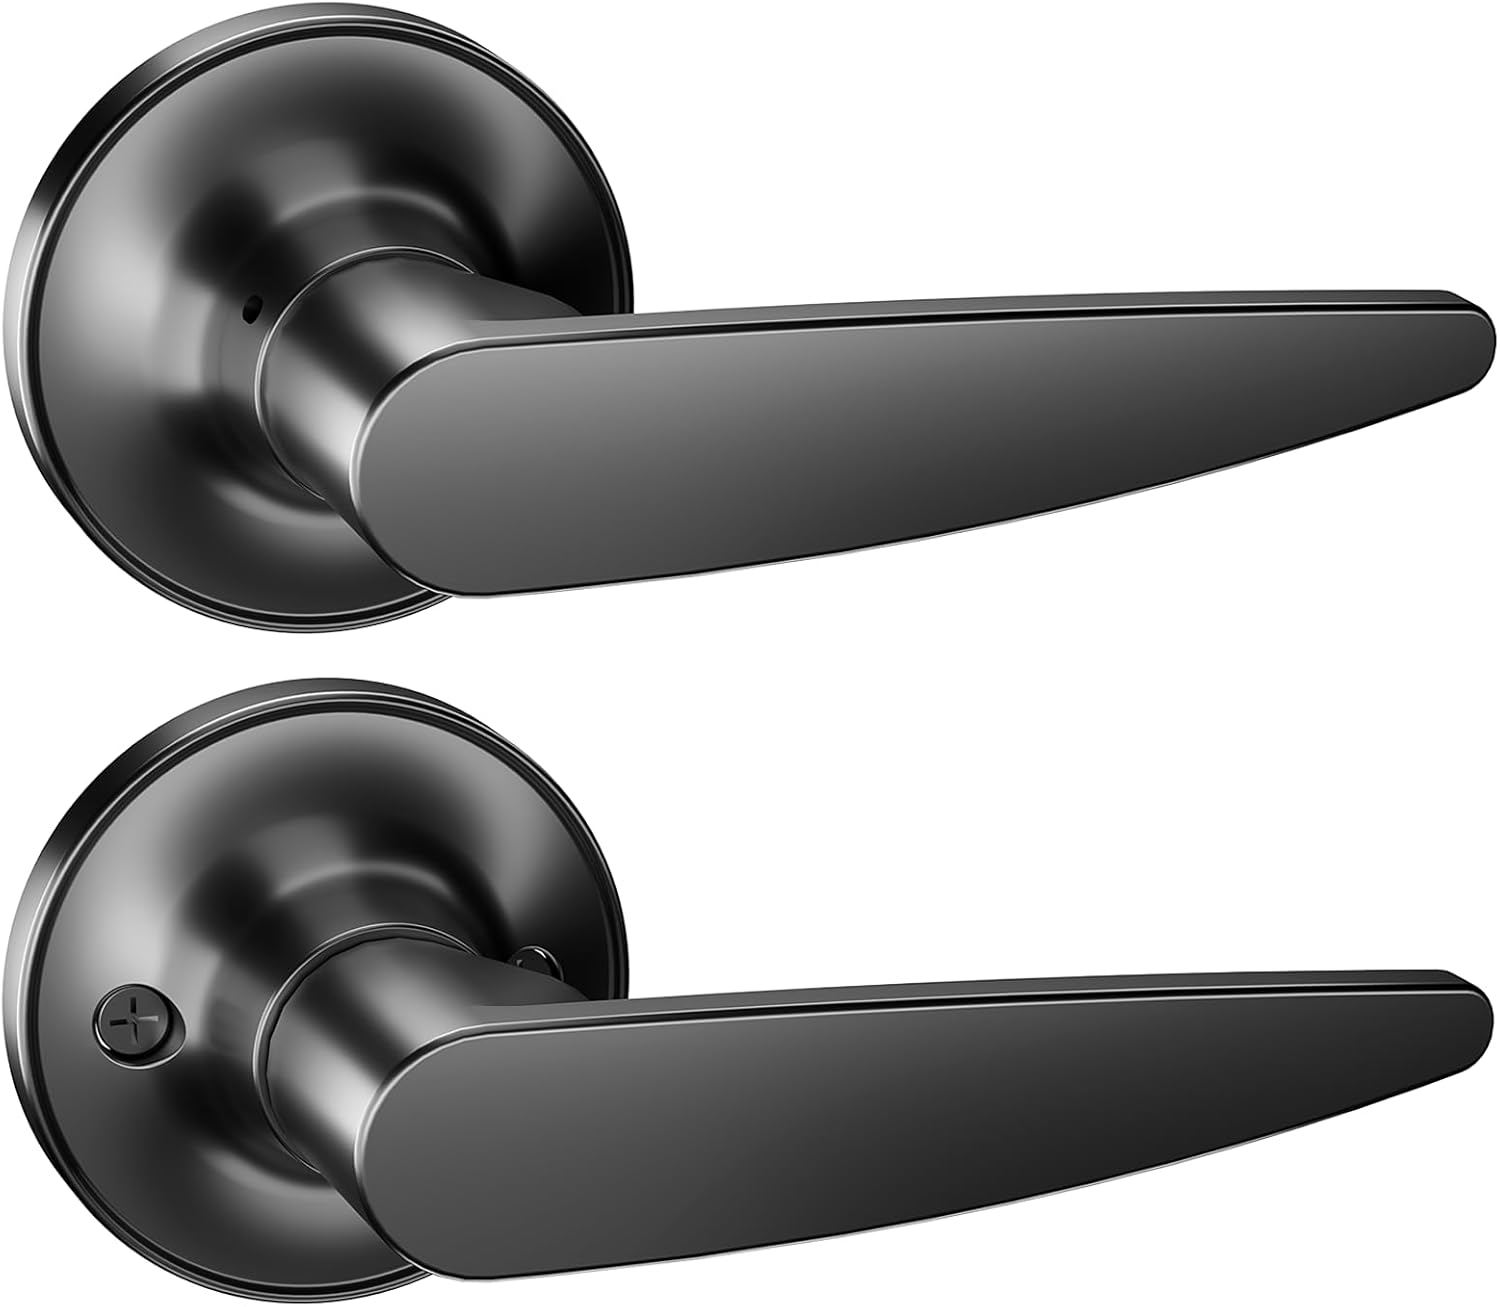
Image: The Ulecoce Front Door Lock Set, featuring two sleek black door handles.
Package Contents
Before installation, please verify that all components are present and undamaged:
- Front Door Lock Set (Knob/Lever Assembly)
- Installation Hardware (Screws, Latch, Strike Plate)
- Keys (if applicable for keyed entry models)
- Instruction Manual (this document)

Image: An illustration highlighting the key features and components of the Ulecoce door lock set, including installation hardware.
Setup and Installation
Before you begin, ensure you have the necessary tools: Phillips head screwdriver, tape measure, pencil, and a drill (if creating new holes).
Installation Steps:
- Prepare the Door: If replacing an existing lock, remove the old hardware. Ensure the door has standard bore holes (typically 2-1/8 inches for the lock body and 1 inch for the latch).
- Install the Latch: Insert the latch into the edge bore hole of the door. Ensure the latch bolt faces the correct direction (beveled edge towards the door frame). Secure with screws.
- Install the Exterior Assembly: Place the exterior knob/lever assembly through the larger bore hole, ensuring the spindle aligns with the latch mechanism.
- Install the Interior Assembly: Position the interior knob/lever assembly over the spindle and align the mounting posts with the holes on the exterior assembly.
- Secure the Assemblies: Fasten the interior and exterior assemblies together using the provided mounting screws. Do not overtighten; ensure the lock operates smoothly.
- Install the Strike Plate: On the door frame, align the strike plate with the latch bolt and secure it with screws. Ensure the latch bolt fully extends into the strike plate when the door is closed.
- Test Operation: Close the door and test the lock's operation from both the interior and exterior. Ensure the latch retracts and extends smoothly, and the lock engages properly.
For visual guidance, refer to the installation diagrams typically found on the product packaging or a dedicated installation guide.

Image: Ulecoce lock installed on an orange door.

Image: Ulecoce lock installed on a blue door.

Image: Ulecoce lock installed on a white door.
Operating Instructions
Locking the Door:
- From the Interior: Rotate the thumb-turn or push the button on the interior knob/lever to engage the lock.
- From the Exterior: Insert the key into the keyway and turn it to engage the lock. Remove the key.
Unlocking the Door:
- From the Interior: Rotate the thumb-turn or push the button on the interior knob/lever to disengage the lock. Turn the knob/lever to open the door.
- From the Exterior: Insert the key into the keyway and turn it to disengage the lock. Turn the knob/lever to open the door.
Ensure the door is fully closed before attempting to lock it.
Maintenance
Regular maintenance helps ensure the longevity and smooth operation of your Ulecoce Front Door Lock Set.
- Cleaning: Wipe the lock set with a soft, damp cloth. Avoid abrasive cleaners, solvents, or harsh chemicals, as these can damage the finish.
- Lubrication: Periodically apply a small amount of graphite lubricant or a silicone-based spray to the keyway and latch mechanism to ensure smooth operation. Do not use oil-based lubricants as they can attract dirt.
- Check Screws: Occasionally check and tighten any loose mounting screws to prevent wobbling and ensure secure installation.
- Inspect for Wear: If you notice any significant wear, damage, or difficulty in operation, consider contacting customer support for assistance or replacement.
Troubleshooting
| Problem | Possible Cause | Solution |
|---|---|---|
| Key is difficult to turn or remove. | Dirt in keyway, worn key, or misaligned cylinder. | Apply graphite lubricant to keyway. Try a spare key. Check for proper alignment during installation. |
| Latch bolt does not retract or extend smoothly. | Misalignment with strike plate, dirt in mechanism, or loose screws. | Check strike plate alignment. Clean and lubricate the latch mechanism. Tighten mounting screws. |
| Door does not close or latch properly. | Door frame or door itself has shifted, strike plate misalignment. | Adjust the strike plate position. Check door hinges for looseness. |
| Knob/lever is loose or wobbly. | Loose mounting screws. | Tighten all visible mounting screws. |
Specifications
| Brand | Ulecoce |
| Model Number | ZD-U-01 |
| Color | Black |
| Product Dimensions | 1"L x 1"W (Note: This might be a placeholder or simplified dimension, actual product dimensions may vary for full assembly) |
| Handle Type | Knob/Lever |
| Included Components | Installation Hardware |
| Item Weight | 1 pound |
| UPC | 768383681161 |
Warranty and Support
Ulecoce products are designed for durability and reliability. For specific warranty information, please refer to the warranty card included with your product or visit the official Ulecoce website.
If you encounter any issues or have questions regarding your Front Door Lock Set, please contact Ulecoce Customer Support:
- Website: Visit the Ulecoce Store on Amazon
- Email: Refer to product packaging or official website for contact email.
- Phone: Refer to product packaging or official website for contact phone number.
Please have your model number (ZD-U-01) and purchase date ready when contacting support.
Ask a question about this manual
Ask about setup, troubleshooting, compatibility, parts, safety, or missing instructions. Manuals+ will review the question and use this page’s manual context to help answer it.