
KUIIYER KU066PRO
KUIIYER KU066PRO 4-in-1 Biometric Time Clock
Instruction Manual
Model: KU066PRO | Brand: KUIIYER
Introduction
This manual provides detailed instructions for the setup, operation, and maintenance of your KUIIYER KU066PRO 4-in-1 Biometric Time Clock. This device offers multiple attendance verification methods including face recognition, fingerprint scanning, palm print recognition, and PIN entry, designed to streamline employee time tracking without recurring fees.
Safety Information
- Ensure the device is powered by the provided adapter to prevent damage.
- Avoid exposing the device to extreme temperatures, humidity, or direct sunlight.
- Do not attempt to disassemble or repair the device yourself. Contact customer support for assistance.
- Keep the device away from water or other liquids.
- Clean the screen and sensors with a soft, dry cloth.
Package Contents
Verify that all items listed below are included in your package:
- KUIIYER KU066PRO Biometric Time Clock
- Power Adapter
- USB Cable
- Wall Mounting Hardware (screws and anchors)
- User Manual
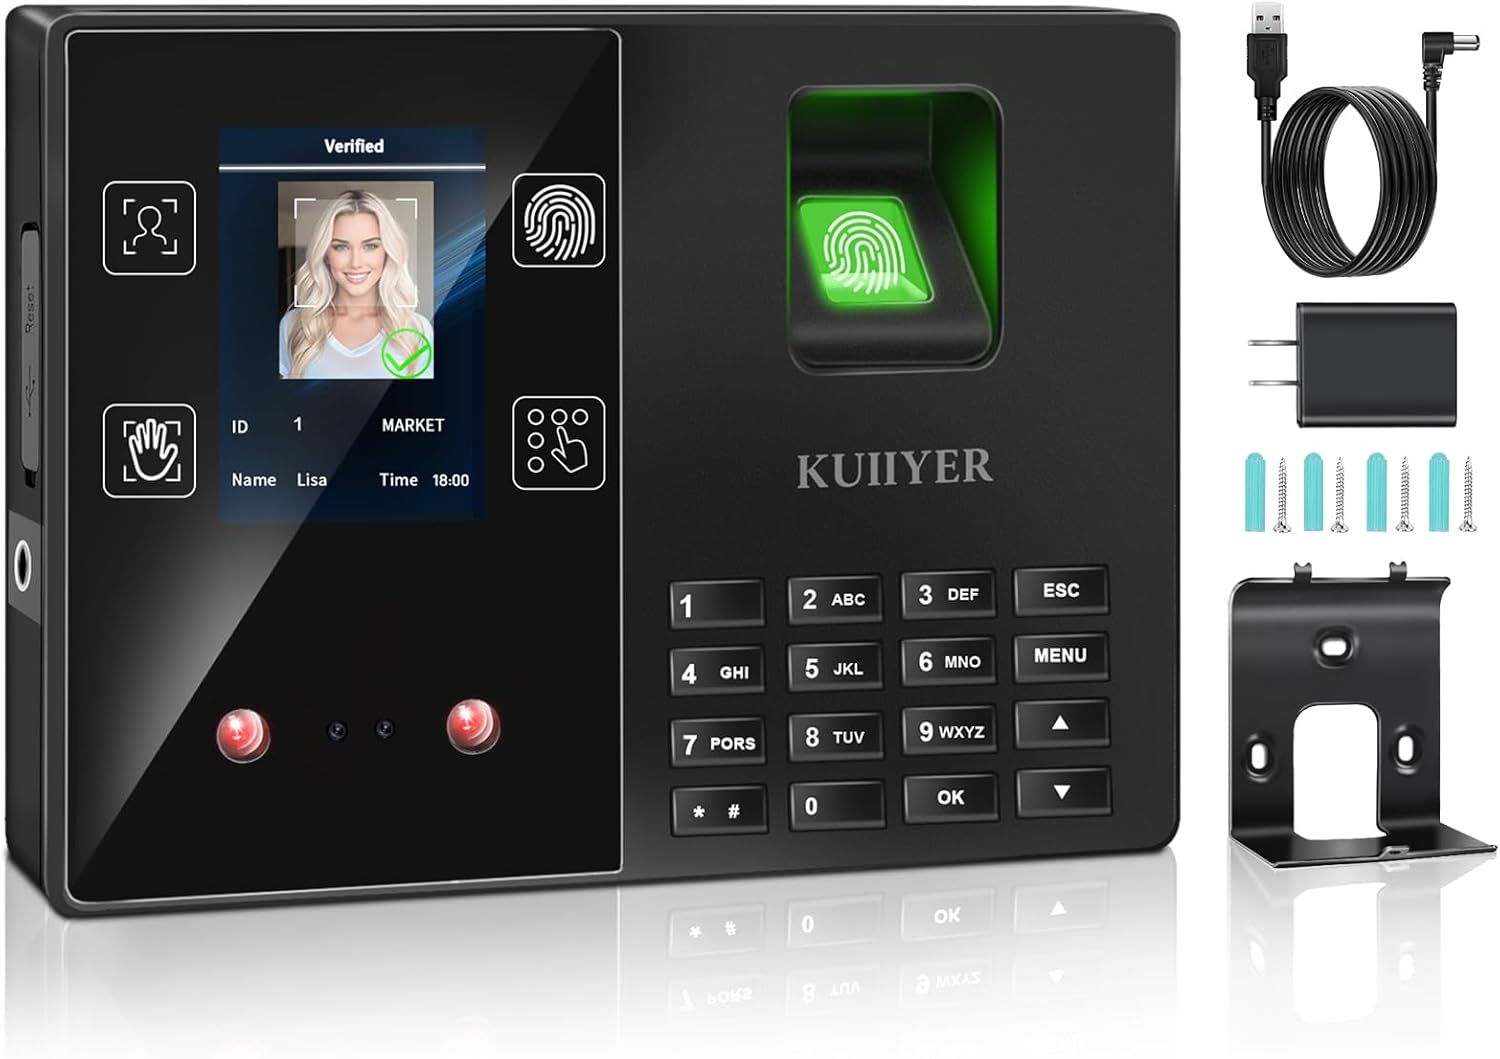
Figure 1: KUIIYER 4-in-1 Biometric Time Clock and included accessories: power adapter, USB cable, and wall mounting hardware.
Setup
1. Device Overview

Figure 2: Diagram illustrating the components of the KUIIYER time clock, including the 2.8-inch TFT color LCD display, reset hole, USB interface, power interface, infrared fill light, binocular camera, fingerprint collector, keyboard, and AI voice speaker.
2. Physical Installation
The KUIIYER KU066PRO can be placed on a desktop or wall-mounted for convenience.
- Desktop Placement: Simply place the device on a flat, stable surface.
- Wall Mounting: Use the provided mounting hardware to securely attach the device to a wall at an appropriate height for user access.

Figure 3: Image showing the KUIIYER time clock installed in two ways: on a desktop and wall-mounted, highlighting flexible placement options.
3. Power Connection
Connect the power adapter to the device's power interface and plug it into a standard electrical outlet.
4. Initial Configuration
Upon first power-up, the device may prompt you to set the date, time, and preferred language. Follow the on-screen instructions using the keypad.
Video 1: NGTeco Time Clock - Unboxing. This video demonstrates the unboxing process and initial setup steps for a similar time clock device.
Video 2: Improved H3 0 Monthly Fees Standalone Time Clock. This video provides a general overview of a standalone time clock, including some setup procedures.
Operating Instructions
1. User Enrollment
To enroll new users, navigate to the 'User' menu on the device. You can add user IDs, names, and assign various verification methods:
- Face Recognition: Follow on-screen prompts to capture the user's face.
- Fingerprint Scanning: Place the user's finger on the scanner multiple times from different angles as instructed.
- Palm Print Recognition: Position the user's palm over the sensor as guided.
- PIN Entry: Assign a unique numerical PIN to the user.

Figure 4: Visual representation of the four recognition methods: Face Recognition (0.6 seconds), Palmprint Recognition (0.6 seconds), Fingerprint Recognition (0.5 seconds), and Password Recognition (Immediate).
2. Clocking In/Out
Users can clock in or out using their registered verification method. The device will display a confirmation message upon successful verification.
Video 3: Two attendance methods of time clocks, 1080p. This short video demonstrates two methods of attendance on a time clock.
3. Data Management and Reporting
Attendance data can be easily downloaded from the device using a USB drive (not included). The device supports FAT32 format USB drives.
- Insert a FAT32 formatted USB drive into the device's USB port.
- Navigate to the 'Time Report' or 'Data Management' menu.
- Select the desired time period and initiate the download. The device will generate an Excel report.
- Safely remove the USB drive and transfer the report to your computer for review and payroll processing.
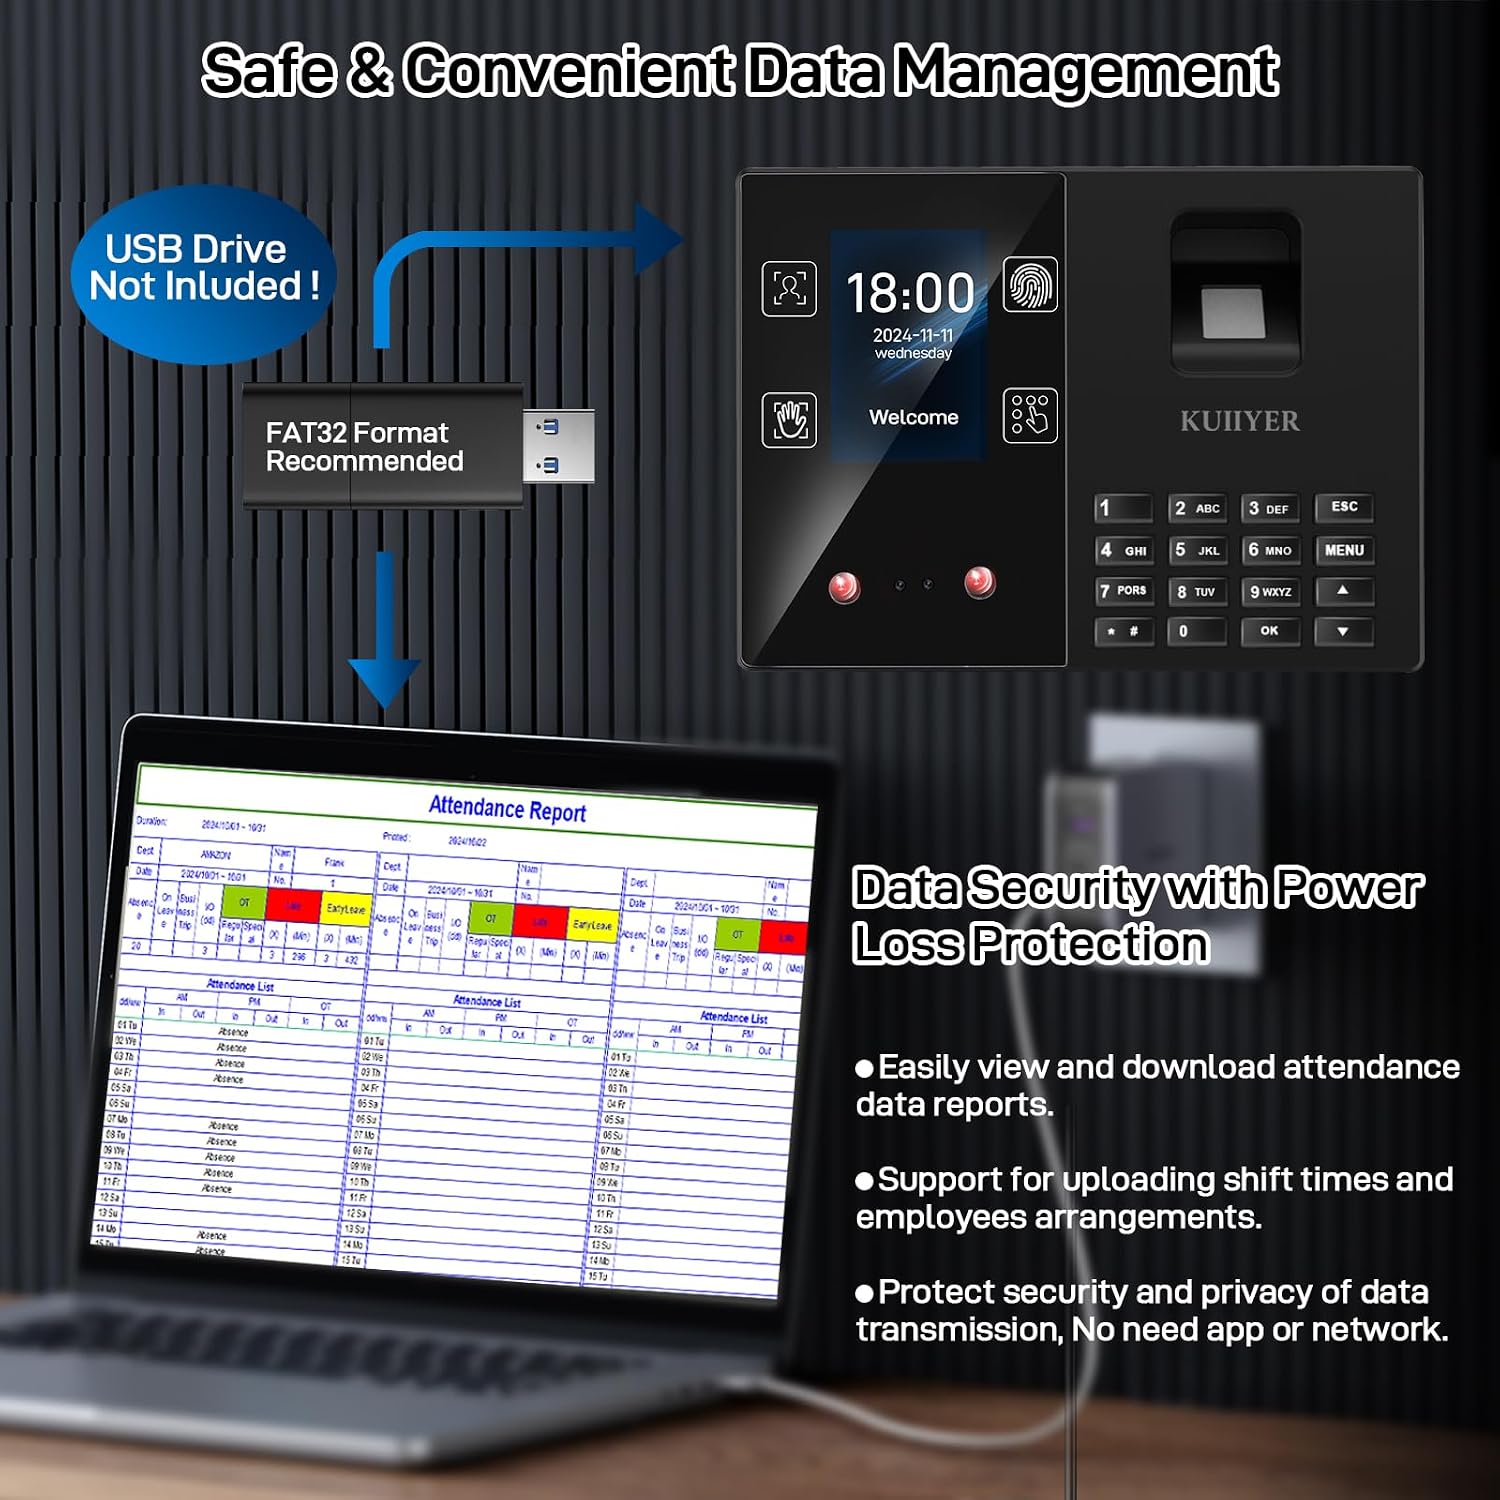
Figure 5: Diagram demonstrating USB data management, showing a USB drive connected to the time clock and an attendance report displayed on a laptop. Emphasizes data security and power loss protection.
Video 4: Two Ways to Download Time Report. This video illustrates the process of downloading time reports from the device.
Maintenance
- Regularly clean the fingerprint and palm print sensors with a soft, lint-free cloth to ensure accurate readings.
- Keep the device's screen clean to maintain visibility.
- Ensure the device is placed in a well-ventilated area to prevent overheating.
Troubleshooting
- Device not powering on: Check the power adapter connection and ensure the outlet is functional.
- Fingerprint/Palm/Face recognition failure: Ensure the sensor/camera is clean and the user's biometric data is correctly enrolled. Try re-enrolling the user's data.
- USB data transfer issues: Verify the USB drive is formatted to FAT32 and is inserted correctly. Try a different USB drive.
- Incorrect time/date: Access the 'System' menu to adjust date and time settings.
Specifications
| Feature | Detail |
|---|---|
| Brand | KUIIYER |
| Model Number | KU066PRO |
| Product Dimensions | 7.09 x 1.5 x 5.2 inches |
| Item Weight | 1.28 pounds |
| Connectivity Technology | USB |
| Operation Mode | Electrical |
| Alarm Clock | Yes |
| Batteries Included | No |
Warranty and Support
For warranty information or technical support, please refer to the contact details provided with your purchase documentation or visit the official KUIIYER website. Keep your purchase receipt for warranty claims.
Related documentsKU066PRO

Ask a question about this manual
Ask about setup, troubleshooting, compatibility, parts, safety, or missing instructions. Manuals+ will review the question and use this page’s manual context to help answer it.