
1. Product Overview
The REDCAMP 3.2 x 3.2m Event Shelter is a versatile and portable outdoor canopy designed for various activities such as beach trips, picnics, camping, and garden parties. It offers protection from sun and rain, with a spacious interior and a removable side wall for enhanced ventilation or privacy.
Key features include:
- Spacious Interior: Measures 3.2 x 3.2 meters, accommodating 6 to 8 people comfortably.
- Generous Height: A central height of 2.2 meters allows adults to stand upright.
- Sun and Rain Protection: Constructed from 150D Oxford fabric with a silver coating, providing UPF 50+ UV protection and waterproof capabilities.
- Ventilation and Wind Resistance: Features a removable side wall that acts as a windbreak or sunshade, promoting airflow when removed.
- Portability: Includes a convenient carry bag for easy transport.
- Stability: Enhanced stability with 4 wind ropes and 8 ground stakes.
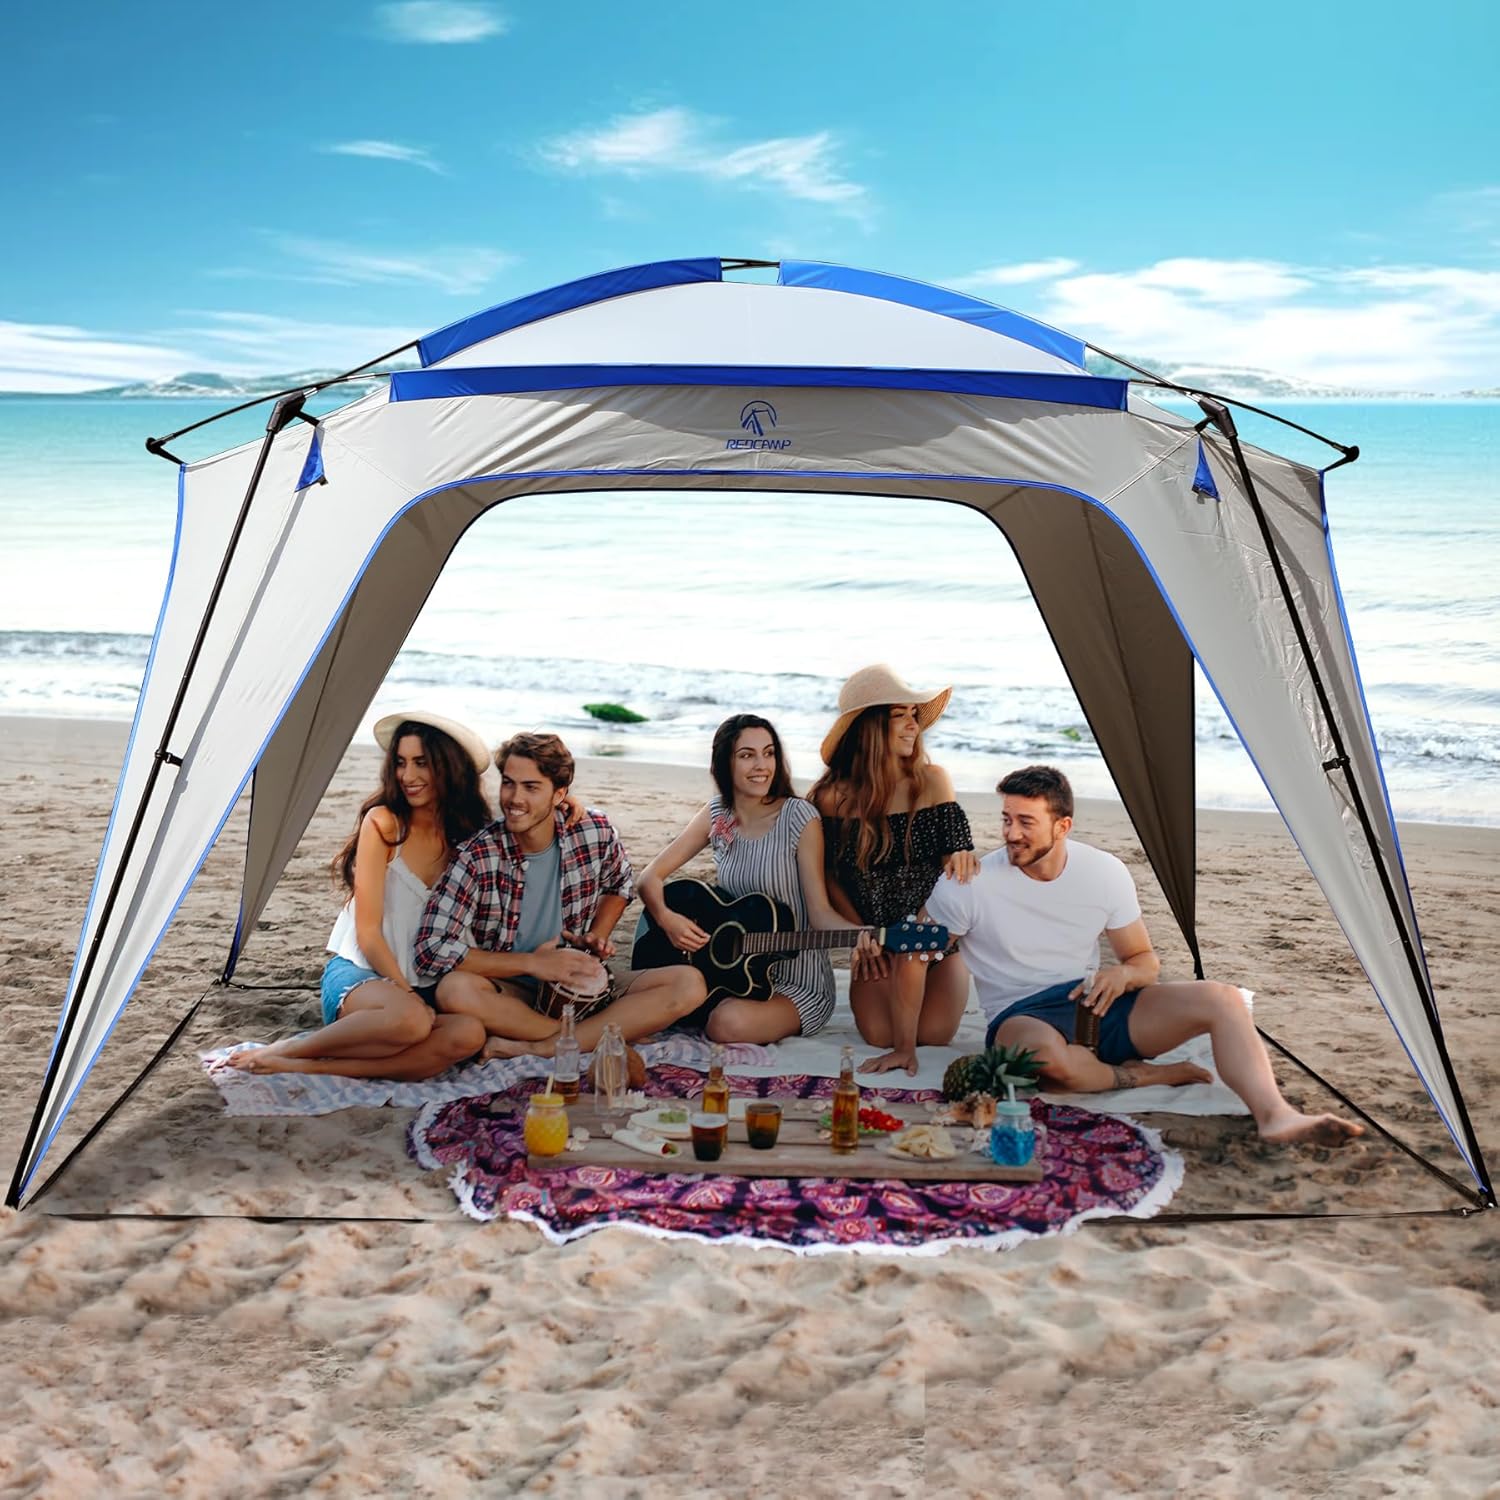
Image: The REDCAMP Event Shelter providing shade for a group of people on a beach.

Image: Illustration of the shelter's spacious interior, measuring 3.2 x 3.2 meters (126 inches), suitable for 6-8 people.

Image: A person standing comfortably inside the shelter, highlighting the 2.2 meter (7.2 feet) interior height.
2. Safety Information
Please read and understand all safety instructions before setting up and using the REDCAMP Event Shelter. Failure to follow these instructions may result in injury or damage to the product.
- Weather Conditions: Do not use the shelter in severe weather conditions, including strong winds, heavy rain, lightning, or snow. High winds can cause the shelter to become unstable and potentially fly away, causing damage or injury.
- Anchoring: Always properly anchor the shelter using all provided stakes and guy ropes. Ensure stakes are firmly driven into the ground.
- Fire Safety: Keep all flame and heat sources away from the shelter fabric. The fabric is not fireproof.
- Ventilation: Ensure adequate ventilation, especially if using any heating or cooking appliances nearby (though not recommended inside).
- Assembly: Assemble the shelter with at least two people to ensure safety and ease of setup.
- Site Selection: Choose a flat, clear area free from sharp objects, overhead power lines, and potential falling debris.
- Children: Keep children away from the assembly area during setup and take care to supervise them around the erected shelter.
3. Package Contents
Before assembly, verify that all components are present in the package:

Image: Visual representation of all items included in the REDCAMP Event Shelter package.
- Tent Fabric (x1)
- Support Poles (x8, typically 4 main poles and 4 roof poles)
- Wind Ropes (x4)
- Side Wall (x1)
- Carry Bag (x1)
- Ground Stakes (x8)
4. Setup Instructions
Follow these steps for proper assembly of your REDCAMP Event Shelter. It is recommended to have at least two people for setup.
- Unpack Components: Lay out all components on a clean, flat surface. Identify the tent fabric, poles, ropes, stakes, and side wall.
- Assemble Poles: Connect the pole sections to form the full-length support poles. There are typically main vertical poles and shorter roof poles.
- Lay Out Fabric: Spread the main tent fabric on the ground where you intend to set up the shelter. Ensure the corners are aligned.
- Insert Poles: Carefully insert the assembled poles into the designated sleeves or pockets on the tent fabric. Start with the main vertical poles at each corner.
- Raise the Structure: With assistance, lift the shelter structure by raising the main poles. Secure the ends of the poles into the base grommets or pins.
- Attach Roof Poles: Insert the shorter roof poles to create the canopy shape, connecting them to the main poles or designated attachment points.
- Secure with Stakes: Once the frame is upright, use the provided ground stakes to secure the base of each pole and any additional anchor points to the ground. Drive stakes firmly into the soil at an angle.
- Attach Guy Ropes: Attach the wind ropes to the designated loops on the shelter. Extend the ropes outwards at an angle and secure them to the ground with the remaining stakes. Adjust tension using the rope adjusters to ensure stability.
- Install Side Wall (Optional): If desired, attach the side wall to one side of the shelter using the integrated clips or toggles. This provides additional shade or wind protection.
5. Operating Instructions
The REDCAMP Event Shelter is designed for ease of use and adaptability.
5.1. Sun and Rain Protection
The shelter's 150D Oxford fabric with silver coating provides UPF 50+ sun protection, blocking harmful UV rays. It is also waterproof, offering protection during light to moderate rain. In heavy rain or strong winds, it is advisable to take down the shelter.

Image: Demonstrates the shelter's UPF 50+ sun protection and waterproof features.
5.2. Using the Side Wall
The included removable side wall offers flexibility:
- For Ventilation: Remove the side wall to allow maximum airflow, keeping the interior cool on hot days.
- For Shade/Wind Protection: Attach the side wall to block direct sunlight or shield against wind. The side wall also provides additional privacy.
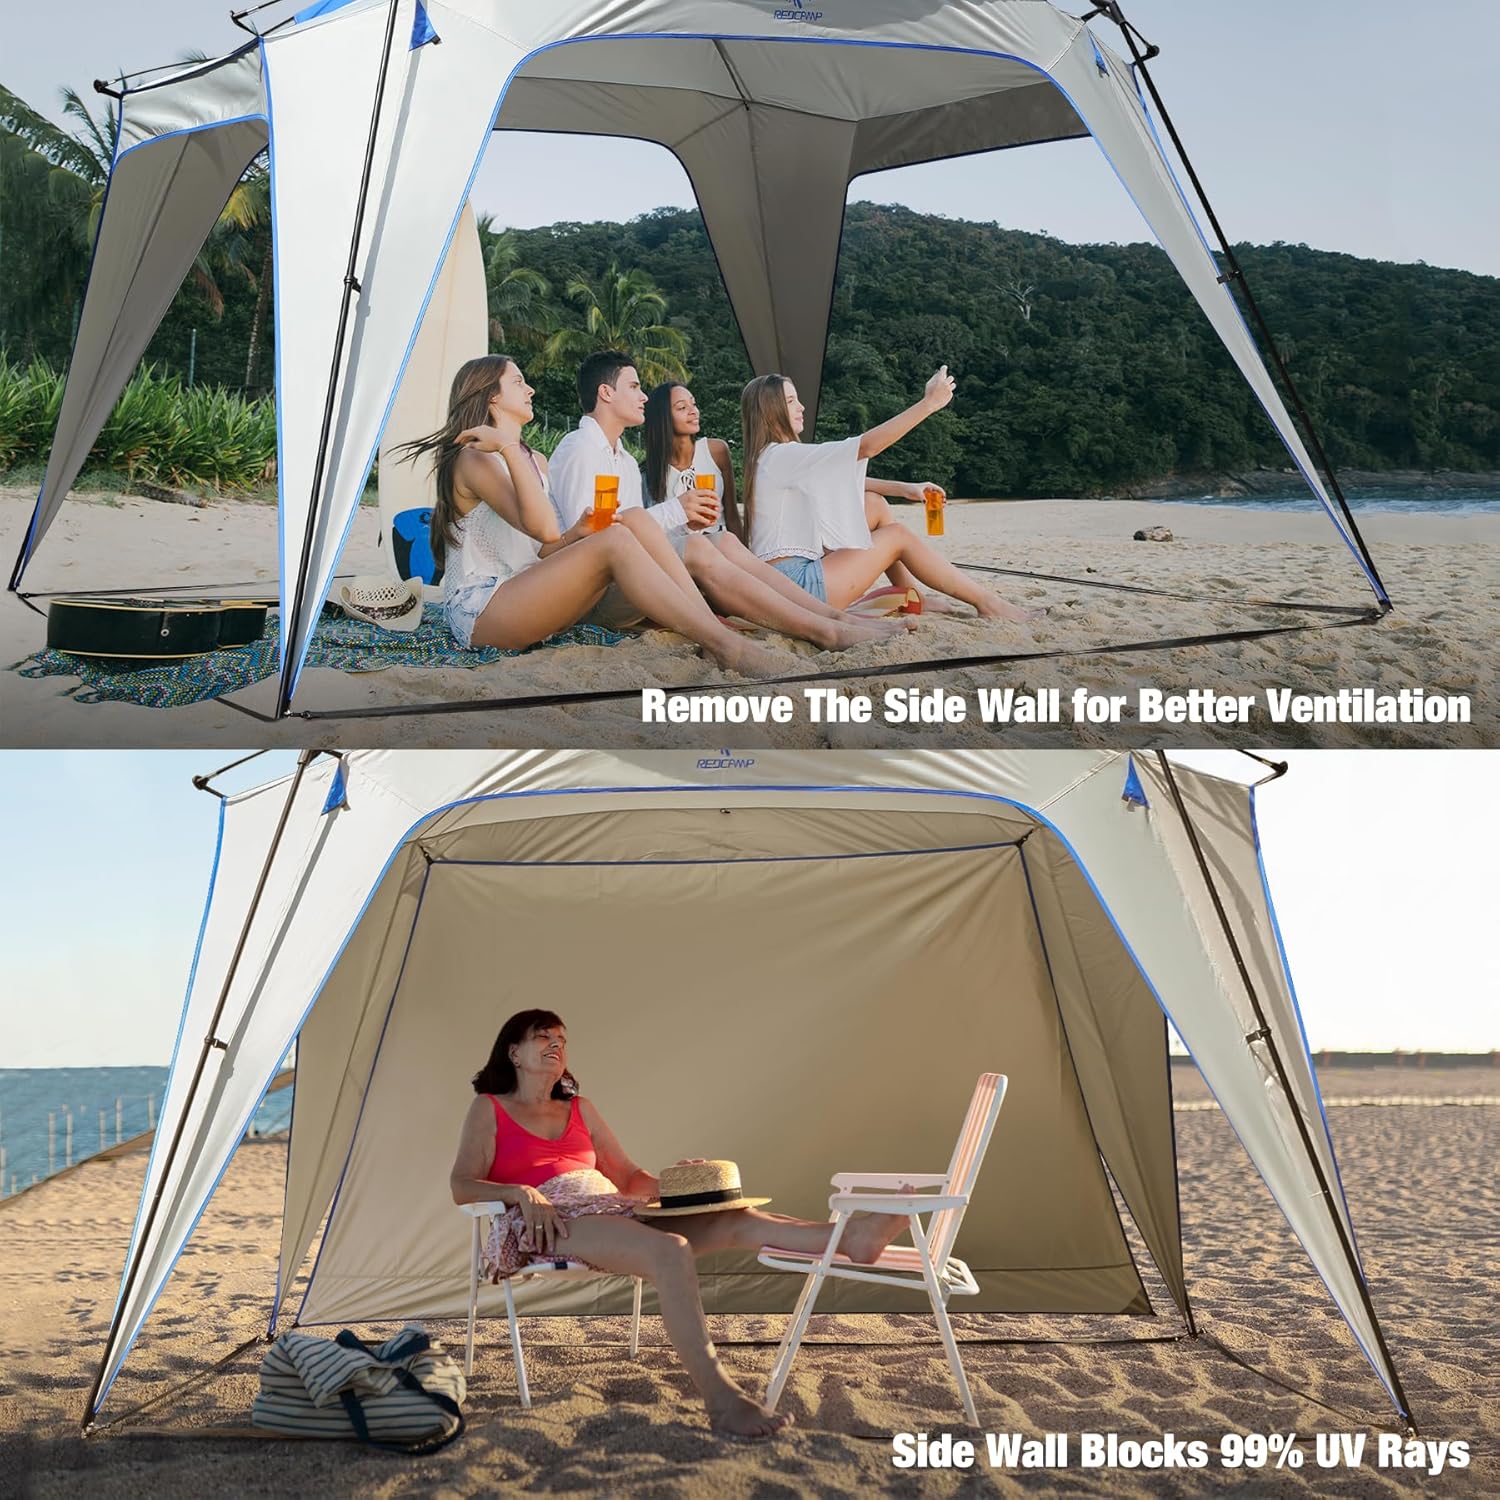
Image: Illustrates the versatility of the removable side wall for ventilation or protection.
5.3. Versatile Applications
This shelter is suitable for a wide range of outdoor activities:
- Beach cabana
- Picnic shelter
- Camping lounge
- Sports event shade
- Farmer's market stall
- Garden party headquarters
- Temporary play area (e.g., over a small pool)

Image: The shelter providing shade over a children's inflatable pool, demonstrating versatile use.
6. Maintenance
Proper maintenance will extend the life of your REDCAMP Event Shelter.
- Cleaning: Clean the fabric with a soft brush or sponge and mild soap. Rinse thoroughly with water. Do not use harsh detergents, bleach, or abrasive cleaners.
- Drying: Ensure the shelter fabric and poles are completely dry before packing away to prevent mildew and corrosion.
- Storage: Store the shelter in its carry bag in a cool, dry place, away from direct sunlight and extreme temperatures.
- Pole Care: Inspect poles for damage or bending before and after each use. Clean any dirt or sand from pole joints.
- Stakes and Ropes: Check stakes and ropes for wear and tear. Replace if damaged.
7. Troubleshooting
Here are solutions to common issues you might encounter:
- Shelter is unstable:
- Ensure all poles are fully assembled and correctly inserted into their sleeves/grommets.
- Verify all ground stakes are firmly driven into the ground.
- Make sure all wind ropes are attached, extended at an appropriate angle, and properly tensioned.
- Check for strong winds; if conditions are too windy, disassemble the shelter.
- Water pooling on roof:
- Ensure the roof poles are correctly installed to maintain the canopy's shape and tension.
- Adjust guy ropes to increase tension and prevent sagging.
- In prolonged or heavy rain, some pooling may occur; consider disassembling if rain is excessive.
- Difficulty packing into carry bag:
- Ensure the fabric is folded neatly and tightly.
- Disassemble poles completely and bundle them together.
- Expel as much air as possible from the fabric before rolling or folding.

Image: The shelter packed into its carry bag, demonstrating its portability.
8. Specifications
| Model Number | 10205 |
| Dimensions (L x W x H) | 320 x 320 x 220 cm (10.5 x 10.5 x 7.2 ft) |
| Weight | 7.85 kg (17.3 lbs) |
| Capacity | 6-8 people |
| Fabric Material | 150D Oxford Fabric with Silver Coating |
| UV Protection | UPF 50+ |
| Water Resistance | Waterproof |
| Manufacturer | REDCAMP |
9. Warranty and Support
For warranty information or customer support, please refer to the REDCAMP official website or contact your retailer. Keep your purchase receipt as proof of purchase.