
Introduction
This manual provides essential information for the proper setup, operation, and maintenance of your KUMENG KU-3506 88-Key Semi-Weighted Digital Piano. Please read this manual thoroughly before using the instrument to ensure safe and optimal performance. Keep this manual for future reference.
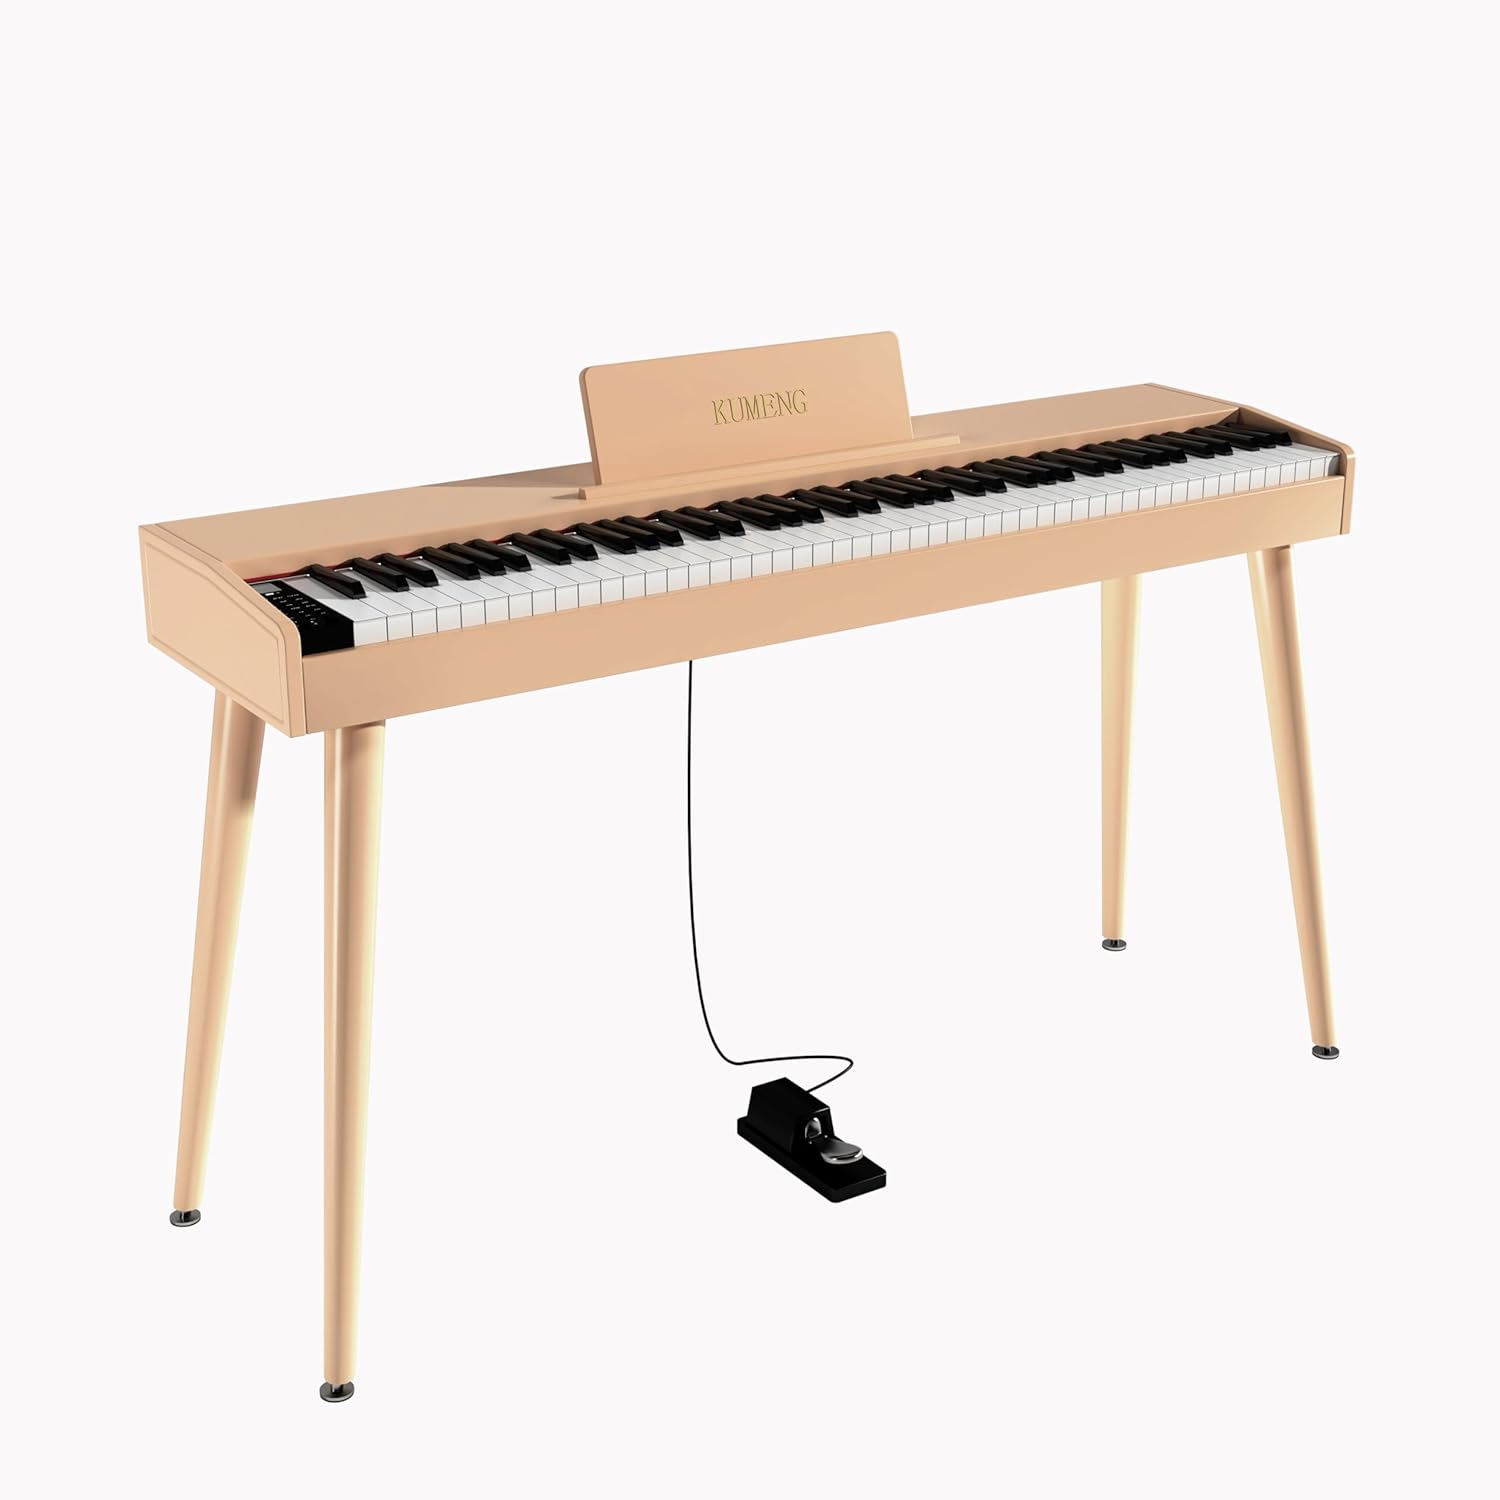
Image: The KUMENG KU-3506 Digital Piano, showcasing its full 88-key layout, wooden stand, and included sustain pedal.
Safety Information
- Do not expose the instrument to extreme temperatures, direct sunlight, or high humidity.
- Avoid placing the instrument near heat sources or in areas with excessive dust.
- Use only the specified power adapter.
- Do not attempt to disassemble or modify the instrument. Refer all servicing to qualified personnel.
- Keep liquids away from the instrument to prevent electric shock or damage.
- Ensure proper ventilation around the instrument.
Package Contents
Verify that all the following items are included in your package:
- KUMENG KU-3506 Digital Piano (Main Unit)
- Sheet Music Stand
- Sustain Pedal
- Power Adapter
- Headphones
- Assembly Tools (Screwdriver, etc.)
Setup
Follow these steps to assemble your digital piano:
- Carefully remove all components from the packaging. Place the main piano unit upside down on a soft, stable surface to avoid scratches.
- Attach the four wooden legs to the designated mounting points on the underside of the piano using the provided screws and screwdriver. Ensure they are securely fastened.
- Carefully flip the piano upright.
- Insert the sheet music stand into the slot on the top panel of the piano.
- Connect the sustain pedal cable to the designated pedal input port on the rear panel.
- Plug the power adapter into the DC 12V input port on the rear panel, then connect it to a power outlet.
- If desired, plug the headphones into the 3.5mm headphone jack on the rear panel for private practice.
Visual Guide: Installation Process
Video: A step-by-step demonstration of assembling the digital piano stand and connecting the accessories.
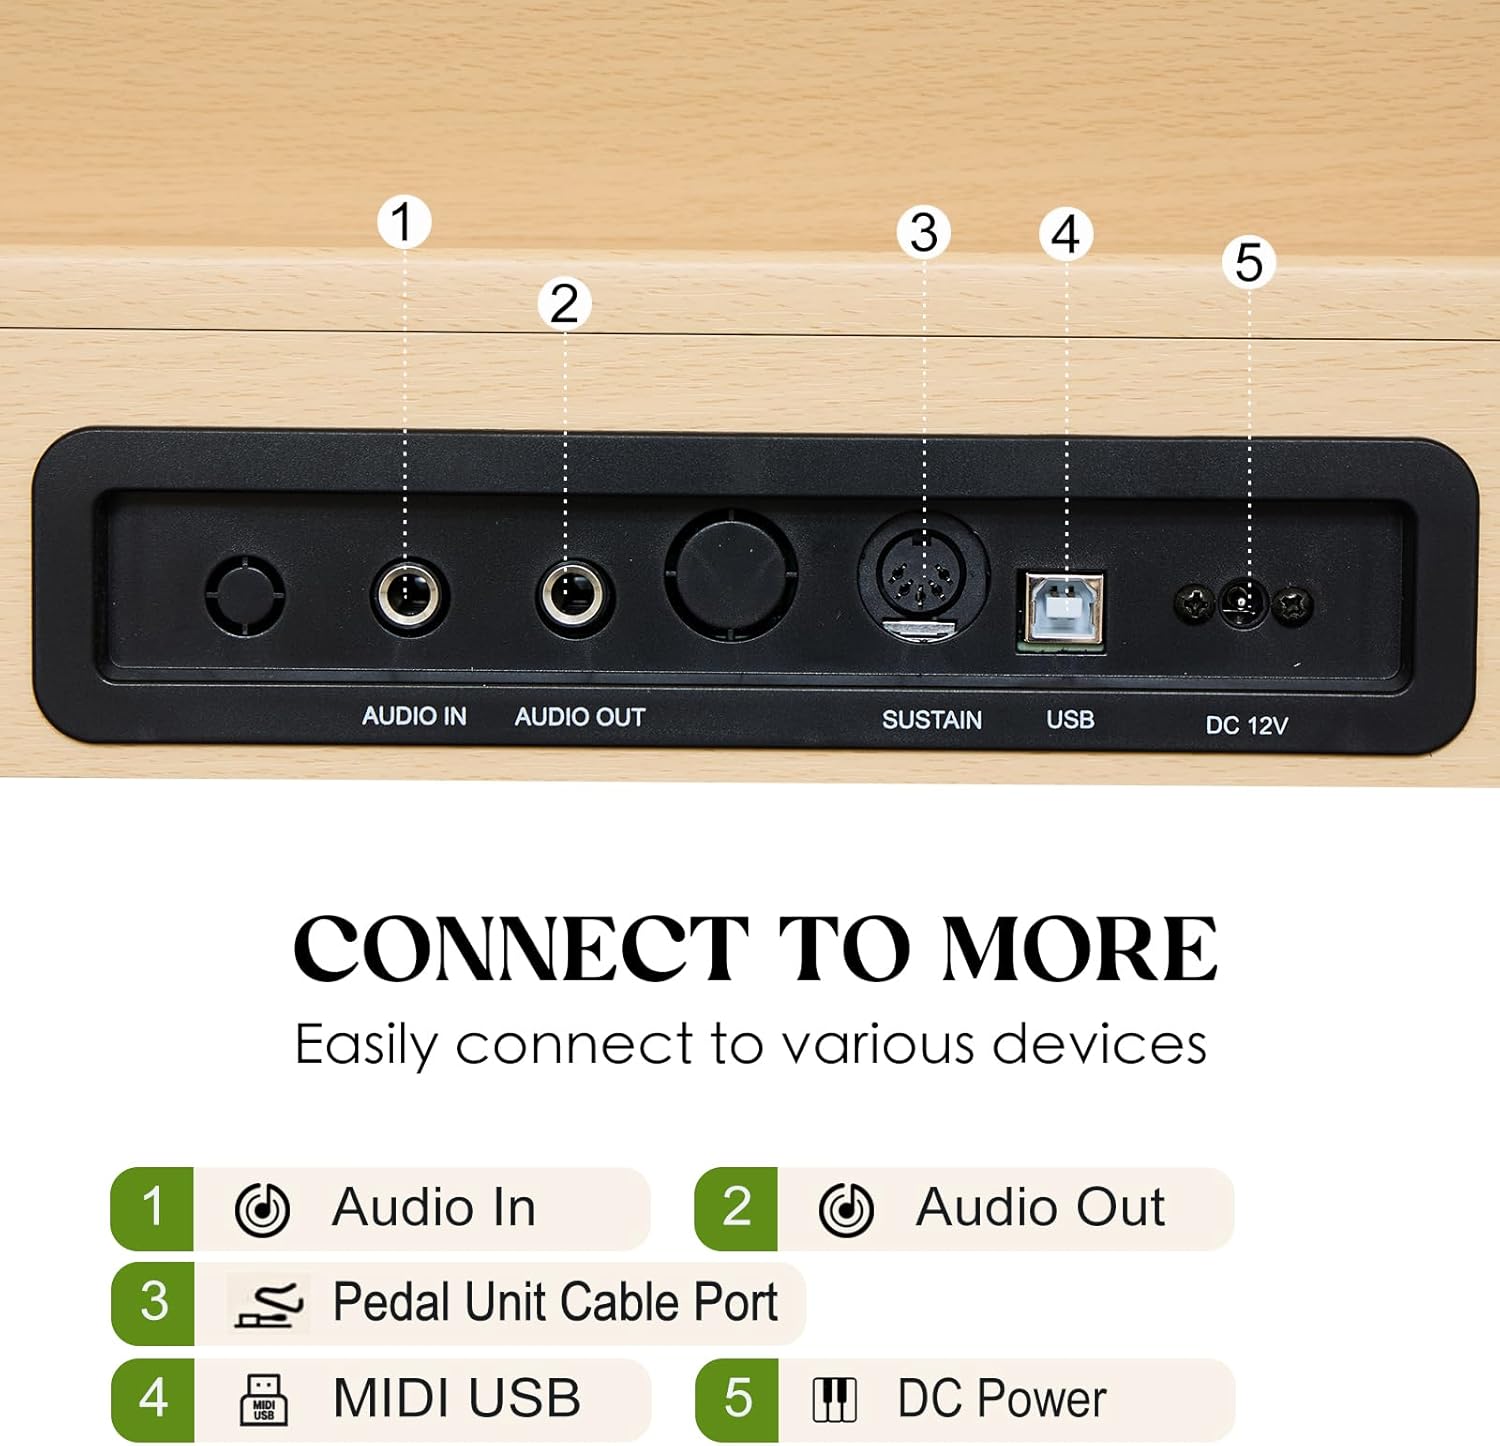
Image: Detailed view of the rear connectivity panel, showing ports for Audio In, Audio Out, Pedal Unit, MIDI USB, and DC Power.
Operating Instructions
Familiarize yourself with the control panel and various functions of your digital piano.

Image: Close-up of the multi-functional control panel, highlighting the digital display and various control buttons.
1. Power On/Off
Locate the power switch on the rear panel. Flip it to the 'ON' position to power on the piano. Flip to 'OFF' to power off.
2. Volume Control
Adjust the master volume using the dedicated volume knob or buttons on the control panel to suit your preference.
3. Tone Selection
Your piano features 800 tones. Use the 'TONE' button and the data wheel or number keys on the control panel to browse and select different instrument sounds.
4. Rhythm Function
Explore various built-in rhythms by pressing the 'RHYTHM' button. Use the data wheel or number keys to select a rhythm and adjust its tempo.
5. Recording and Playback
The piano supports sound recording. Press the 'REC' button to start recording your performance. Press 'PLAY' to listen to your recorded music.
6. Double Keyboard Split Function
Activate the 'SPLIT' function to divide the keyboard into two sections, allowing two different tones to be played simultaneously or for two players to use the keyboard at once.
7. Headphone Mode
For private practice, plug your headphones into the 3.5mm jack on the rear panel. The internal speakers will automatically mute.
8. USB-MIDI Connectivity
Connect your piano to a computer, tablet, or smartphone via the USB-MIDI port. This allows you to use the piano as a MIDI controller for music software (e.g., GarageBand) or connect to learning applications. The USB port also supports MP3 playback.
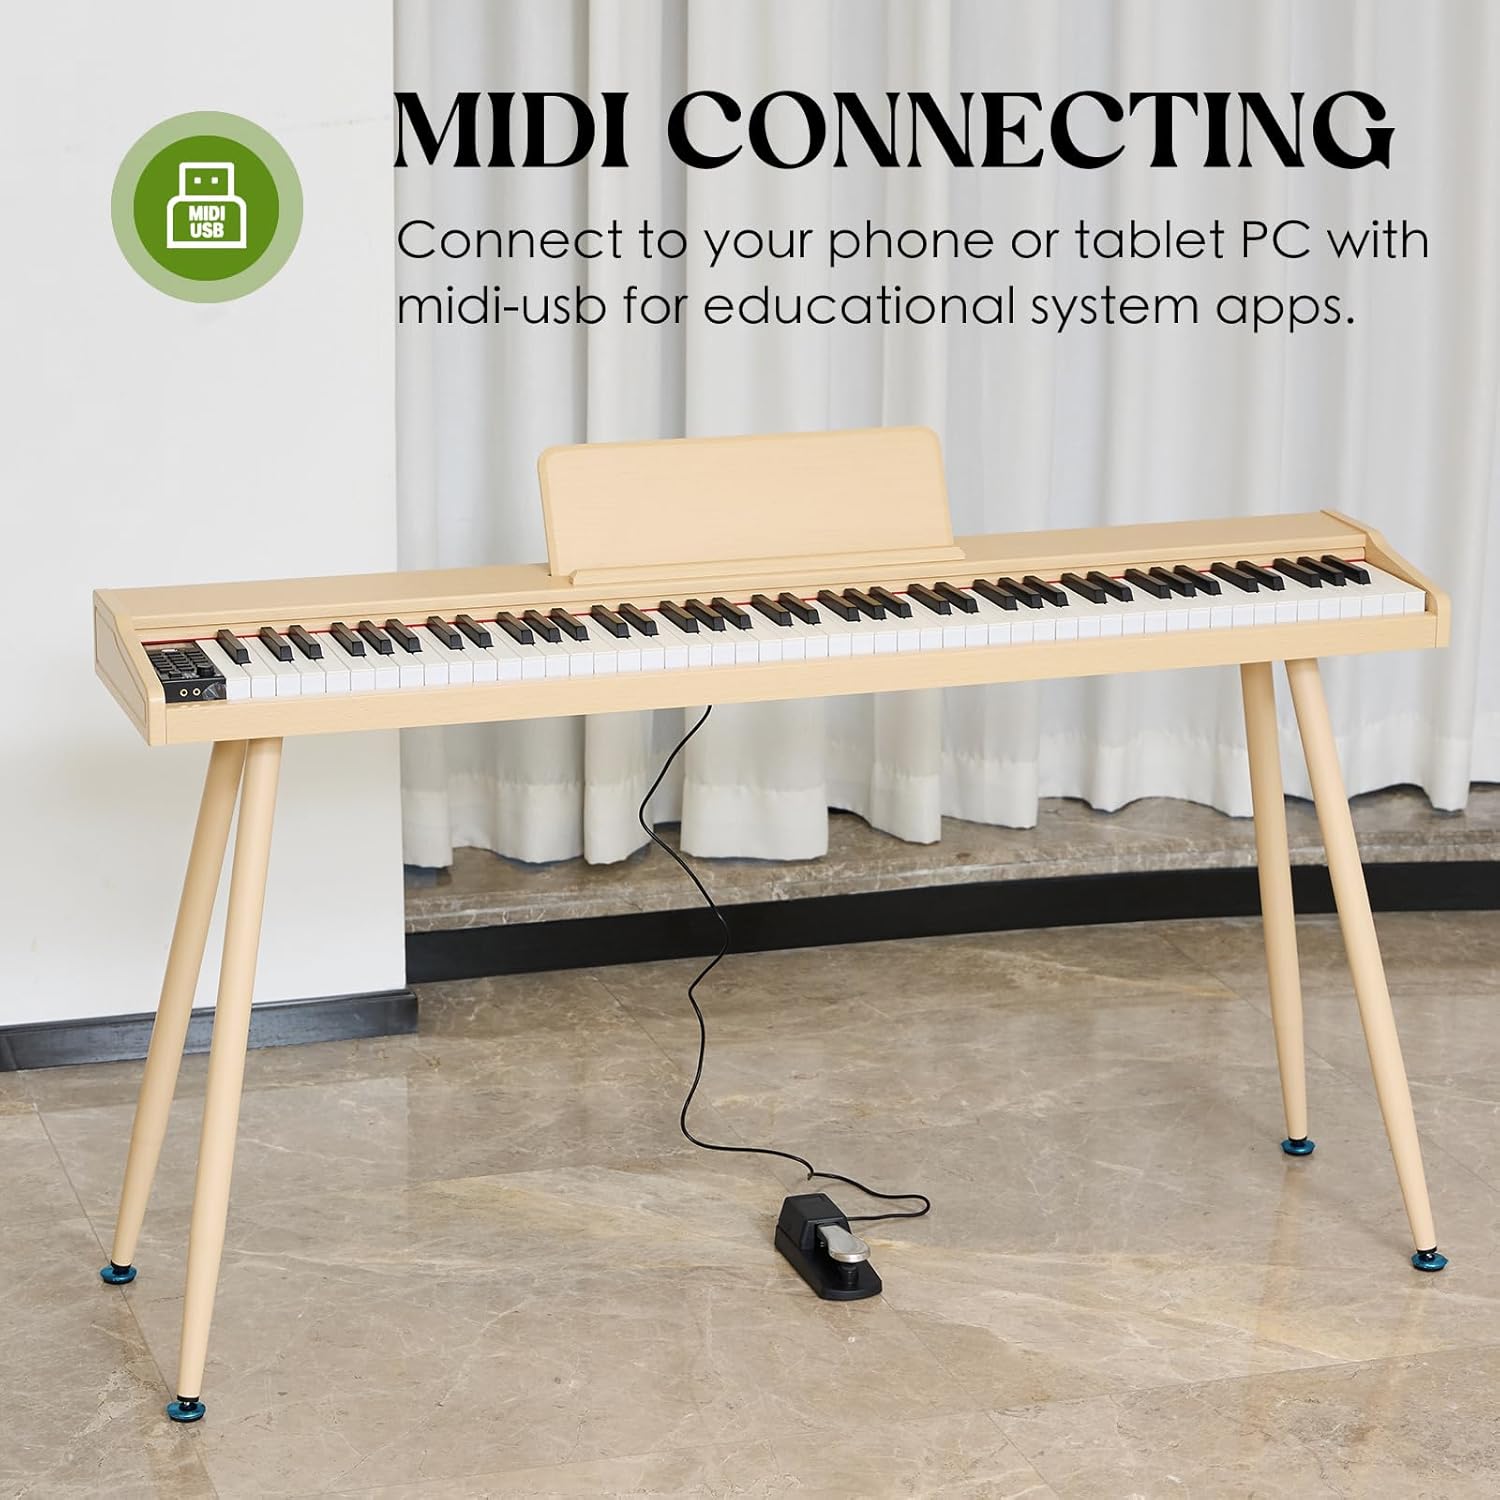
Image: The digital piano connected to a tablet, demonstrating USB-MIDI functionality with a music application.
Visual Guide: Digital Piano Features
Video: An overview of the digital piano's features, including semi-weighted keys, sound quality, and connectivity options.
Maintenance
- Clean the instrument regularly with a soft, dry cloth. Do not use abrasive cleaners or solvents.
- To clean the keys, wipe them gently with a soft cloth dampened with water and a mild soap solution, then dry immediately.
- Protect the piano from dust when not in use by covering it with a dust cover.
- Avoid placing heavy objects on the keyboard or stand.
Troubleshooting
- No Sound:
1. Ensure the power is on and the volume is turned up.
2. Check if headphones are plugged in; unplug them if you want sound from the speakers.
3. Verify that the correct tone is selected. - Keys Not Responding:
1. Check power connection.
2. If only some keys are affected, contact customer support. - Distorted Sound:
1. Lower the volume.
2. Check all cable connections for looseness.
3. Ensure the power adapter is functioning correctly. - MIDI Connection Issues:
1. Ensure the USB-MIDI cable is securely connected to both the piano and your device.
2. Check device settings to ensure the MIDI input is recognized and enabled.
3. Restart both the piano and the connected device.
Specifications
| Brand | KUMENG |
| Model Name | KU-3506 (Item model number: KU-0304-Apricot) |
| Number of Keys | 88 |
| Key Type | Semi-Weighted |
| Tones | 800 |
| Polyphony | 128 |
| Connectivity | USB-MIDI, Audio In, Audio Out, 3.5mm Headphone Jack |
| Power Source | Corded Electric (DC 12V) |
| Product Dimensions | 12.2"D x 53"W x 6.5"H |
| Item Weight | 30.7 pounds |
| Body Material | Plastic |
| Color | Apricot |
Warranty Information
For detailed warranty information regarding your KUMENG KU-3506 Digital Piano, please refer to the warranty card included in your product packaging or visit the official KUMENG website. Keep your proof of purchase for any warranty claims.
Customer Support
If you encounter any issues or have questions not covered in this manual, please contact KUMENG customer support. Contact details can be found on the official KUMENG website or on your product packaging.