
Lefant M2 Pro
Lefant M2 Pro Robot Vacuum Cleaner and Mop User Manual
Model: M2 Pro | Brand: Lefant
1. Introduction
Thank you for choosing the Lefant M2 Pro Robot Vacuum Cleaner and Mop. This advanced robotic cleaner is designed to provide efficient and thorough cleaning for your home, combining powerful vacuuming with effective mopping capabilities. Featuring 5000Pa strong suction, precise navigation, and anti-collision technology, the M2 Pro ensures a comprehensive clean while intelligently avoiding obstacles. Please read this manual carefully before using the product to ensure proper operation, maintenance, and safety.
2. Safety Information
To reduce the risk of injury or damage, read these safety instructions carefully and keep them handy for future reference. This appliance is for household use only.
- Do not allow children to play with the robot. Supervise children and pets when the robot is operating.
- Use only the original charger provided by the manufacturer.
- Do not handle the robot or charger with wet hands.
- Ensure the power voltage is compatible with the robot's requirements.
- Do not use the robot in environments with open flames or flammable materials.
- Remove any loose cables, small objects, or fragile items from the cleaning path before operation.
- Do not use the robot to pick up large debris, liquids, or burning objects.
- Regularly clean the brushes and sensors to maintain optimal performance.
- If the robot is not functioning correctly, do not attempt to repair it yourself. Contact customer support.
3. Package Contents
Please check the contents of your package to ensure all items are present:
- Lefant M2 Pro Robot Vacuum Cleaner and Mop
- Charging Dock
- Power Adapter
- Side Brushes (2 pairs)
- Main Brush
- Dust Bin
- Water Tank
- Mop Pads (2)
- Cleaning Tool
- User Manual
4. Product Overview
Familiarize yourself with the components of your Lefant M2 Pro robot vacuum and its accessories.

Figure 4.1: Angled top view of the Lefant M2 Pro Robot Vacuum Cleaner, showing the power button and LiDAR sensor on top.
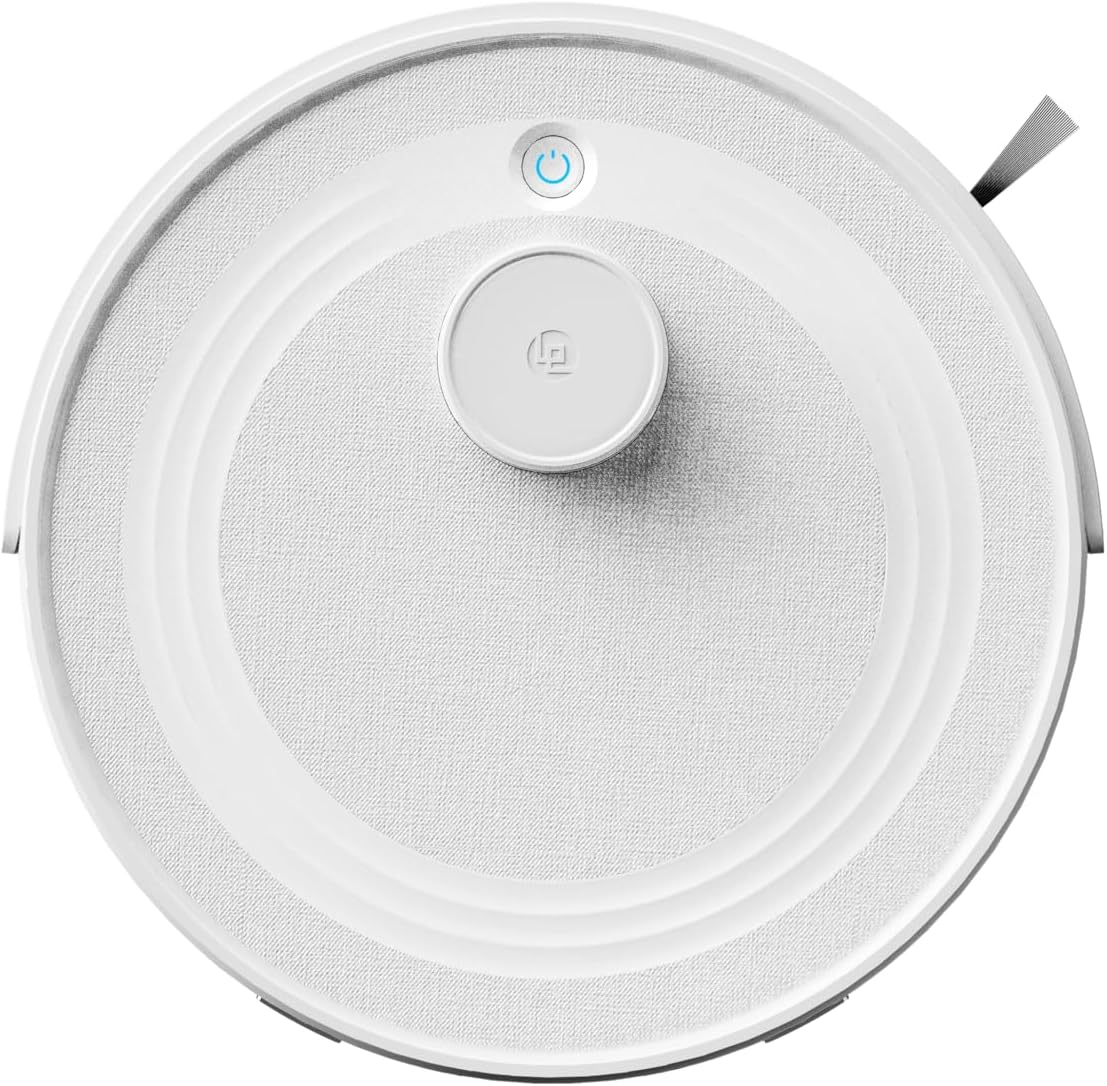
Figure 4.2: Top-down view of the Lefant M2 Pro Robot Vacuum Cleaner, highlighting the clean, circular design and central LiDAR module.

Figure 4.3: The Lefant M2 Pro Robot Vacuum Cleaner positioned next to its charging dock, illustrating the compact design of both units.
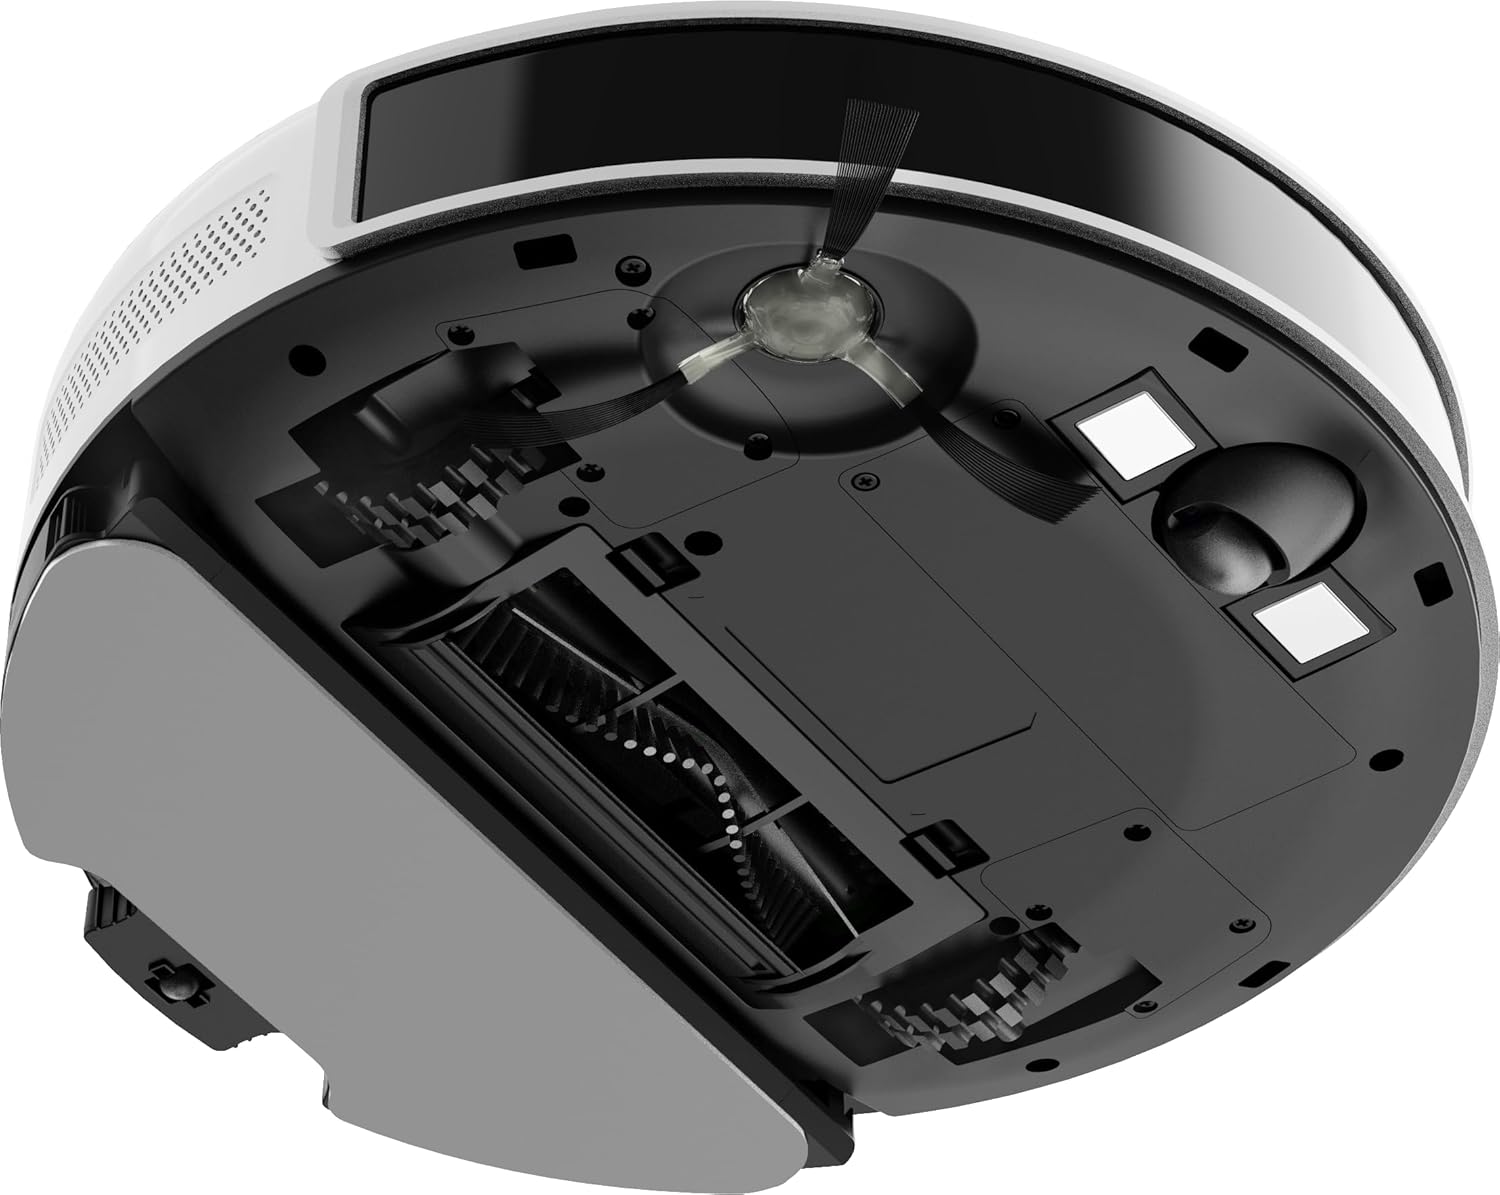
Figure 4.4: Underside view of the Lefant M2 Pro Robot Vacuum Cleaner, showing the main brush, side brushes, and wheels.
5. Setup
5.1 Charging Dock Placement
- Place the charging dock against a wall in an open, uncluttered area.
- Ensure there is at least 0.5 meters (1.6 feet) of clear space on both sides of the dock and 1.5 meters (4.9 feet) in front.
- Plug the power adapter into the charging dock and then into a wall outlet.
5.2 Initial Charge
- Place the robot onto the charging dock, ensuring the charging contacts align.
- The indicator light on the robot will show charging status. Allow the robot to fully charge before its first use (approximately 4-5 hours).
5.3 App Connection (Optional)
- Download the 'Lefant' app from your mobile app store.
- Register an account and follow the in-app instructions to connect your M2 Pro robot. This enables advanced features like scheduling and mode selection.
6. Operating Instructions
6.1 Starting/Stopping Cleaning
- To Start: Press the power button on the robot or use the 'Start Cleaning' option in the Lefant App.
- To Pause: Press the power button again during cleaning or use the 'Pause' option in the app.
- To Stop/Return to Dock: Press and hold the power button for 3 seconds, or select 'Return to Dock' in the app.
6.2 Cleaning Modes
The M2 Pro supports various cleaning modes, selectable via the Lefant App:
- Arranged Cleaning (Zig-zag Route): The robot cleans in an efficient back-and-forth pattern, covering the entire area systematically.
- Random Cleaning: The robot cleans randomly, suitable for smaller, less complex areas.
- Spot Cleaning: The robot focuses on a specific dirty area, cleaning in a spiral pattern.
- Wall Cleaning: The robot cleans along the edges of walls and furniture.
- Schedule Cleaning: Set specific times for the robot to automatically start cleaning.
- Manual Control: Control the robot's movement directly using the directional controls in the app.
6.3 Mopping Function
- Fill the water tank with clean water. Attach a clean mop pad securely to the water tank.
- Insert the filled water tank into the robot.
- The robot will automatically switch to mopping mode or combine vacuuming and mopping, depending on the selected cleaning mode.
- Do not use the mopping function on carpets or rugs.
7. Maintenance
Regular maintenance ensures optimal performance and extends the lifespan of your robot vacuum.
7.1 Emptying the Dust Bin
- Press the dust bin release button and pull out the dust bin.
- Open the dust bin lid and empty its contents into a trash can.
- Recommended frequency: After each use or when full.
7.2 Cleaning the Filter
- Remove the filter from the dust bin.
- Tap the filter gently to remove loose dirt. You may rinse the filter under running water if it's washable (check filter type), ensuring it's completely dry before reinserting.
- Recommended frequency: Weekly, replace every 3-6 months.
7.3 Cleaning Brushes
- Main Brush: Remove the main brush cover and lift out the brush. Use the cleaning tool to remove hair and debris tangled around the brush.
- Side Brushes: Gently pull off the side brushes. Remove any hair or debris. If bent, soak in warm water for a few minutes to reshape.
- Recommended frequency: Weekly.
7.4 Cleaning Sensors and Charging Contacts
- Wipe the anti-drop sensors (on the bottom of the robot) and anti-collision sensors (on the bumper) with a clean, dry cloth.
- Clean the charging contacts on both the robot and the charging dock with a dry cloth.
- Recommended frequency: Monthly.
7.5 Cleaning Water Tank and Mop Pad
- After each mopping session, empty any remaining water from the tank.
- Rinse the water tank thoroughly.
- Remove the mop pad and wash it by hand or machine. Allow it to air dry completely before reuse.
8. Troubleshooting
If your Lefant M2 Pro encounters issues, refer to the following common problems and solutions:
| Problem | Possible Cause | Solution |
|---|---|---|
| Robot does not turn on | Low battery; Power switch off | Charge the robot; Ensure power switch is ON. |
| Robot gets stuck frequently | Obstacles (cables, rugs); Dirty sensors | Clear cleaning area; Clean sensors. |
| Poor cleaning performance | Full dust bin; Clogged filter/brushes | Empty dust bin; Clean/replace filter and brushes. |
| Robot does not charge | Charging contacts dirty; Dock not powered | Clean charging contacts; Check power connection to dock. |
| Mopping function not working | Empty water tank; Mop pad not attached | Fill water tank; Attach mop pad correctly. |
If the problem persists, please contact Lefant customer support for further assistance.
9. Specifications
| Feature | Detail |
|---|---|
| Product Dimensions | 12 x 12 x 3.5 inches |
| Item Weight | 15.12 pounds |
| ASIN | B0DZ2DLMSV |
| Batteries | 1 12V batteries required. (included) |
| Date First Available | March 4, 2025 |
| Brand | Lefant |
| Filter Type | Hepa Filter |
10. Warranty and Support
Lefant products come with a standard manufacturer's warranty. Please refer to the warranty card included in your package for specific terms and conditions. For technical support, troubleshooting assistance, or warranty claims, please contact Lefant customer service through the official website or the contact information provided in your product packaging.
You can also visit the official Lefant Store on Amazon for more information and support: Lefant Store
Related documentsM2 Pro


Ask a question about this manual
Ask about setup, troubleshooting, compatibility, parts, safety, or missing instructions. Manuals+ will review the question and use this page’s manual context to help answer it.