1. Introduction
This manual provides detailed instructions for the setup, operation, maintenance, and troubleshooting of your ACEMAGIC K1 Mini PC. Please read this guide thoroughly before using the device to ensure proper functionality and longevity.
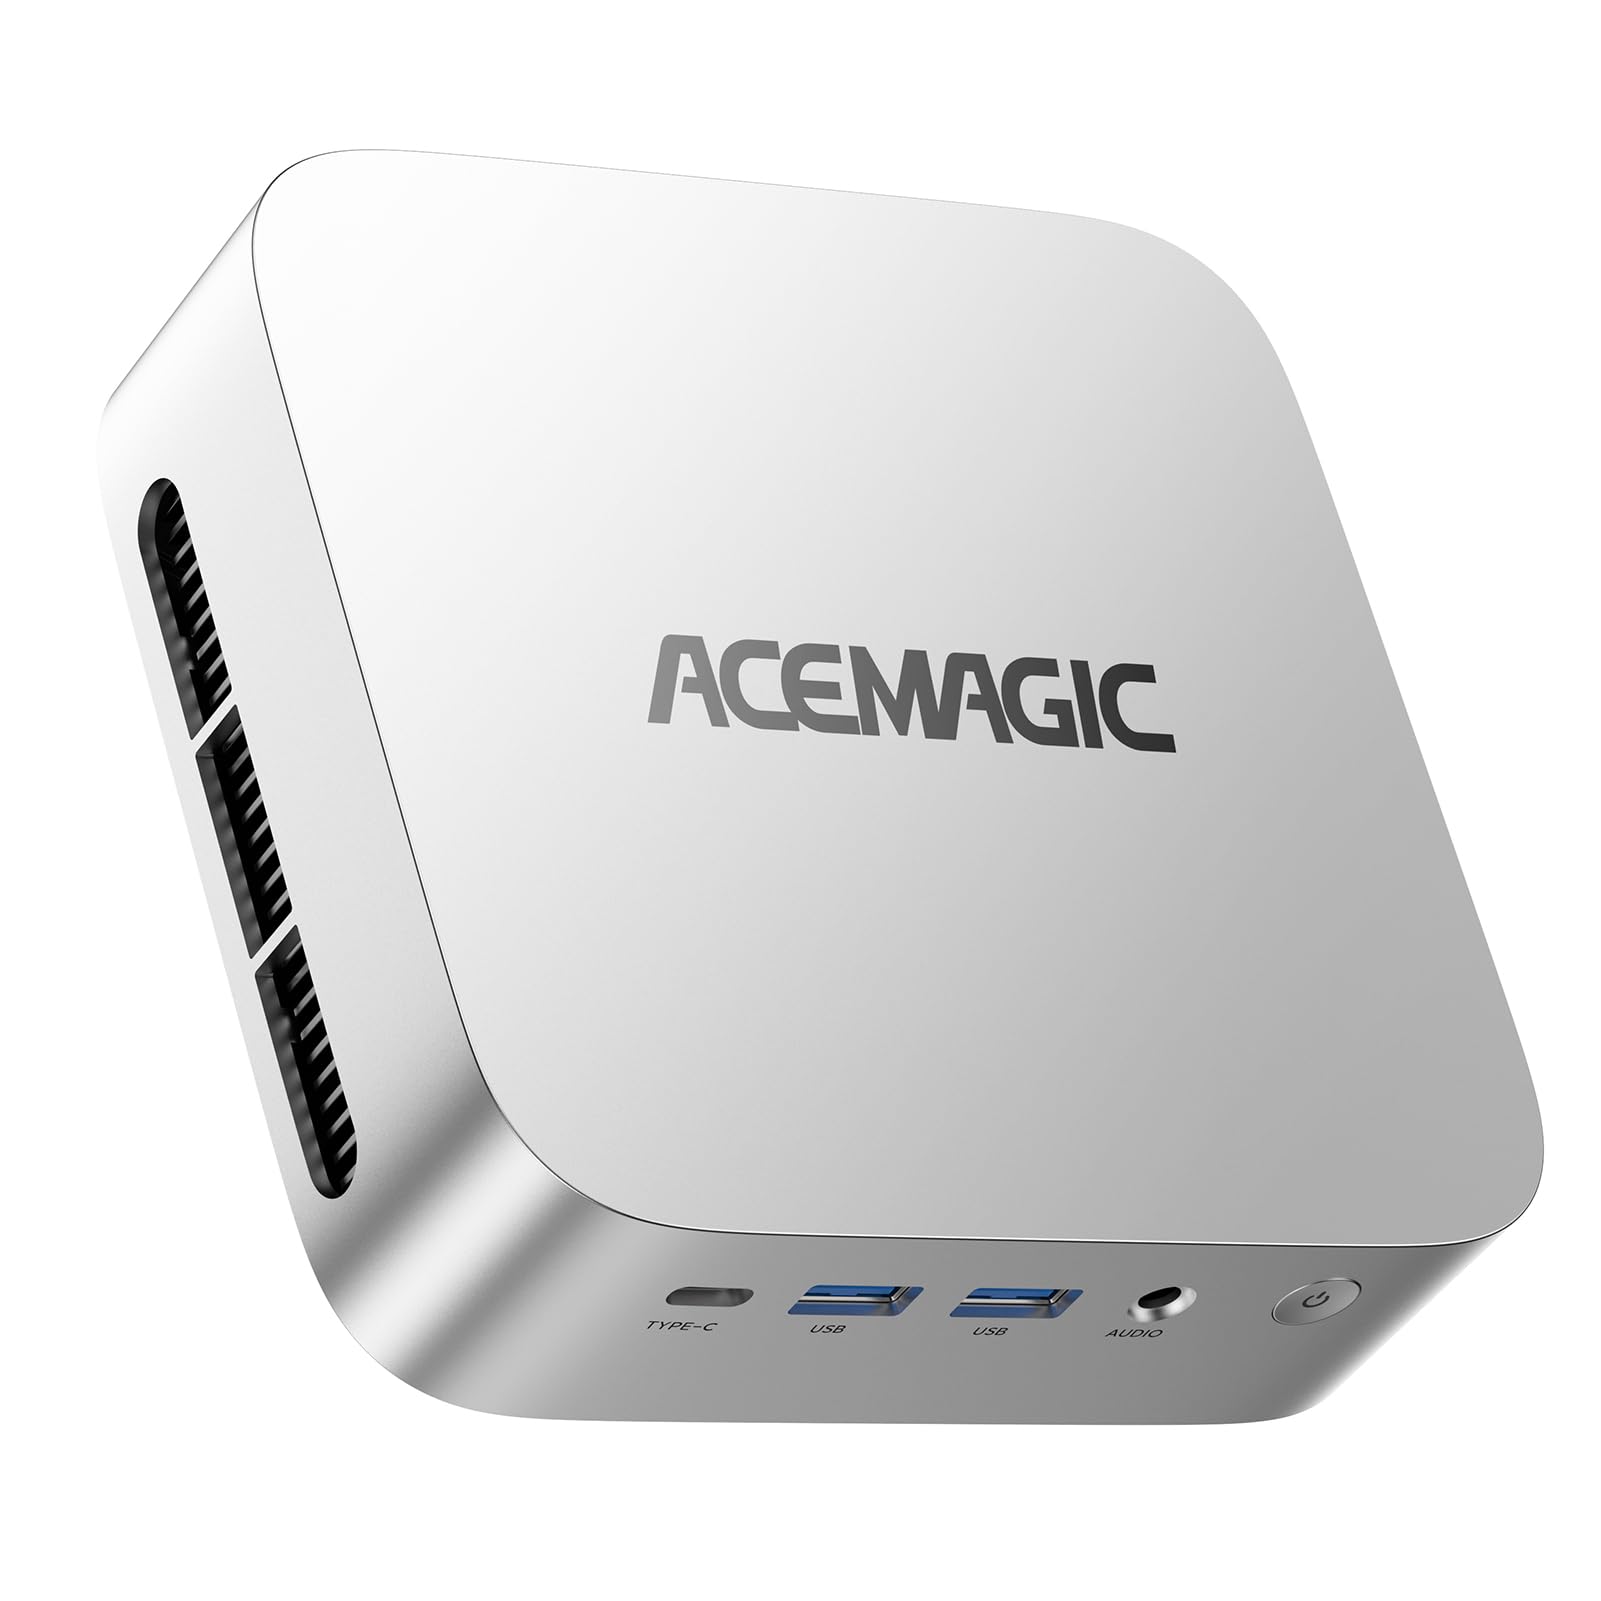
The ACEMAGIC K1 Mini PC, a compact and powerful computing solution.
Overview of the ACEMAGIC Vista Mini V1, highlighting its compact design and features.
2. Setup Guide
2.1. Unboxing and Package Contents
Carefully unpack your ACEMAGIC K1 Mini PC and verify that all components are present:
- 1 x K1 Mini PC
- 1 x HDMI Cable
- 1 x User Manual (this document)
- 1 x Power Adapter
- 1 x VESA Mount with Screws
2.2. Connecting Peripherals
Before powering on your Mini PC, connect the necessary peripherals:
- Connect Display: Use the provided HDMI cable to connect your monitor to the HDMI 2.0 port on the Mini PC. For triple display setups, utilize the DP 1.4 and USB-C 3.2 ports.
- Connect Keyboard and Mouse: Plug your USB keyboard and mouse into any of the available USB 3.2 ports.
- Connect Power: Insert the power adapter into the DC Jack on the Mini PC and then plug it into a power outlet.
- Network Connection (Optional): For a wired connection, connect an Ethernet cable to the RJ45 Gigabit Ethernet Port.

Front and rear port layout of the ACEMAGIC K1 Mini PC, showing USB, audio, power, HDMI, DisplayPort, and Ethernet connections.
2.3. VESA Mount Installation
The ACEMAGIC K1 Mini PC supports VESA mounting, allowing you to attach it to the back of a compatible monitor or a wall mount. This helps save desk space and creates a cleaner workspace.
- Prepare Tools: Ensure you have a screwdriver and the VESA mounting bracket suitable for your Mini PC and display.
- Install Bracket on Display: Attach the mounting bracket to the VESA mounting holes on the back of your display using a screwdriver.
- Mount Mini PC: Align the back of the Mini PC with the corresponding part of the bracket and secure it using screws or other fastening devices.
Video demonstrating the installation process of the VESA mount for the ACEMAGIC Mini PC onto a monitor.
3. Operating Instructions
3.1. Power On/Off
- Power On: Press the power button located on the front of the Mini PC. The power indicator light will illuminate.
- Power Off: To shut down, go to the Windows Start Menu, select Power, and then choose 'Shut down'. Alternatively, press and hold the power button for 5 seconds for a forced shutdown (use only when necessary).
3.2. Initial Windows Setup
Upon first boot, the Mini PC will guide you through the Windows 11 Pro setup process. Follow the on-screen prompts to configure language, region, network, and user accounts.
3.3. Network Connectivity
- Wi-Fi: The Mini PC supports Wi-Fi 5 (802.11ac). To connect, navigate to Windows Settings > Network & Internet > Wi-Fi, select your network, and enter the password.
- Ethernet: If you connected an Ethernet cable during setup, the Mini PC should automatically establish a wired network connection.
- Bluetooth: Built-in Bluetooth 4.2 allows for wireless connection to peripherals like keyboards, mice, and headsets. Access Bluetooth settings via Windows Settings > Bluetooth & devices.

The ACEMAGIC K1 Mini PC features Wi-Fi 5 for fast wireless connectivity and Bluetooth 4.2 for peripheral pairing.
3.4. Display Configuration (Triple Display)
The ACEMAGIC K1 Mini PC supports up to three 4K displays simultaneously, enhancing productivity and multimedia experiences. Connect monitors using the HDMI 2.0, DP 1.4, and USB-C 3.2 ports. Once connected, configure display settings in Windows by right-clicking on the desktop and selecting 'Display settings' to extend or duplicate your screens.

The Mini PC supports a triple screen display setup for expanded workspace and multitasking.
4. Maintenance and Upgrades
4.1. Storage and RAM Upgrades
The ACEMAGIC K1 Mini PC offers flexible upgrade options for both RAM and storage. It features dual SO-DIMM memory slots supporting up to 64GB DDR4 RAM and two M.2 2280 storage interfaces (1x SATA/NVMe PCIe 3.0 + 1x SATA) with a maximum capacity of 4TB.
To access the internal components for upgrades:
- Power Off: Ensure the Mini PC is completely powered off and disconnected from the power source.
- Remove Screws: Carefully remove the screws securing the bottom panel.
- Disassemble: Gently separate the chassis components to expose the motherboard.
- Install/Replace Components: Insert new RAM modules into the SO-DIMM slots or install M.2 SSDs into the available slots. Ensure they are securely seated.
- Reassemble: Carefully reassemble the Mini PC, ensuring all connections are secure and screws are tightened.
Video guide on how to disassemble the ACEMAGIC Mini PC to upgrade RAM and storage components.

Illustration of the dual SO-DIMM DDR4 slots and M.2 2280 SSD slots for memory and storage expansion.
4.2. Efficient Cooling System
The K1 Mini PC features an upgraded cooling system with a fan operating at 2000+ RPM, high thermal conductivity aluminum profiles, and professional airflow dual air outlets. This design minimizes heat and noise, ensuring stable performance and quiet operation even under heavy workloads.

Visual representation of the intelligent heat dissipation design, highlighting increased air volume and pressure, effective heat dissipation rate, and noise reduction.
5. Troubleshooting
If you encounter issues with your ACEMAGIC K1 Mini PC, consider the following common solutions:
- No Power: Ensure the power adapter is securely connected to both the Mini PC and a working power outlet. Check if the power indicator light is on.
- No Display: Verify that the monitor is powered on and correctly connected to the Mini PC's display ports (HDMI, DP, USB-C). Try a different cable or monitor if possible.
- No Internet Connection: For Wi-Fi, check your router and ensure the Wi-Fi adapter is enabled in Windows settings. For Ethernet, ensure the cable is properly connected and your network is active.
- Peripheral Not Detected: Try connecting the peripheral to a different USB port. Ensure drivers are up to date.
- System Slowdown: Check for background processes, update drivers, or consider upgrading RAM/storage if performance issues persist.
For persistent issues or advanced troubleshooting, please refer to the Warranty and Support section for contact information.
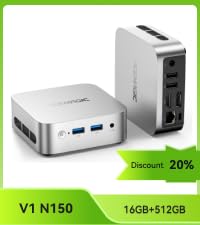
6. Specifications
Below are the technical specifications for the ACEMAGIC K1 Mini PC:
| Feature | Specification |
|---|---|
| Processor | AMD Ryzen 4300U (4 cores/4 threads, base 2.7GHz, boost up to 3.7GHz) |
| Graphics | Integrated AMD Radeon Graphics (max 1400Mhz, 5 graphics cores) |
| RAM | 16GB DDR4 (Dual SO-DIMM slots, expandable up to 64GB) |
| Storage | 512GB M.2 SSD (1x SATA/NVMe PCIe 3.0 + 1x SATA, expandable up to 4TB) |
| Operating System | Windows 11 Pro |
| Display Output | 1x HDMI 2.0 (4K@60Hz), 1x DP 1.4 (4K@60Hz), 1x USB-C 3.2 (DP 1.4, 4K@60Hz) |
| USB Ports | 6x USB 3.2 ports (including 1x USB-C Gen 2 with 10Gbps data transfer) |
| Network | Gigabit Ethernet (1000Mbps), Wi-Fi 5 (802.11ac), Bluetooth 4.2 |
| Dimensions | 6 x 5 x 2 inches |
| Weight | 1.5 pounds |
| Special Features | VESA Mount support, Auto Power-On, RTC Wake, Wake-on-LAN |

Key features of the AMD Ryzen 3 4300U processor, including cores, threads, base frequency, turbo frequency, and L3 cache.

Details of the integrated AMD Radeon Graphics, including frequency and core count.
7. Warranty and Support
The ACEMAGIC K1 Mini PC is covered by a 12-month assurance from the date of purchase. ACEMAGIC is committed to providing excellent customer support.
7.1. Customer Support
If you have any questions or require assistance with your purchase, please contact ACEMAGIC customer support:
- Via Amazon: Log in to your Amazon buyer account, find your order, and click 'Get Help'.
- Support Email: service@acemagicians.com
- Telephone (US): +1 800 908 1980
Contact details for ACEMAGIC customer support, including Amazon help, email, and phone number.


